Create Manual Release with State-Based Development
In this lab, we will begin manually releasing our changes to downstream local database.
DevOps MPP Course Source
- This lab is used in course DevOps200.6x: DevOps for Databses - Module 3.
Prerequisites:
- Completion of Module 2 lab Changes Using a State Based Methodology
Lab Tasks:
- Prepare your local environment
- Implement a Manual Release for Integration
Estimated Lab Time:
- approx. 30 minutes
Task 1: Prepare our local environment
We will set up a local environment for releases.
-
Open Management Studio and connect to your instance. Enter this code in a query window and execute it. This will create the empty databases that we will use for our release process.
CREATE DATABASE WWI_SSDT_QA; GO CREATE DATABASE WWI_SSDT_Staging; GO -
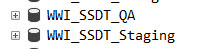
Verify that the databases exist. You should see the WWI_SSDT_QA and WWI_SSDT_Staging databases if you refresh the database folder.
Task 2: Implement a Manual for Integration
We will implement a manual release for build output.
In this task, we will deploy the latest build that is available from VSTS to our local database server.
-
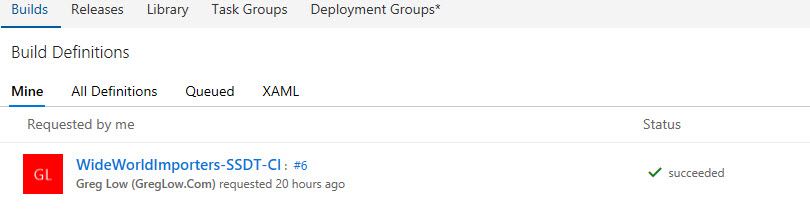
Open your VSTS account, select WideWorldImporters-SSDT project. From the Build&Release menu click Builds. You should see the build that you created previously.
-
Click to open the WideWorldImporters-SSDT-CI build.
-
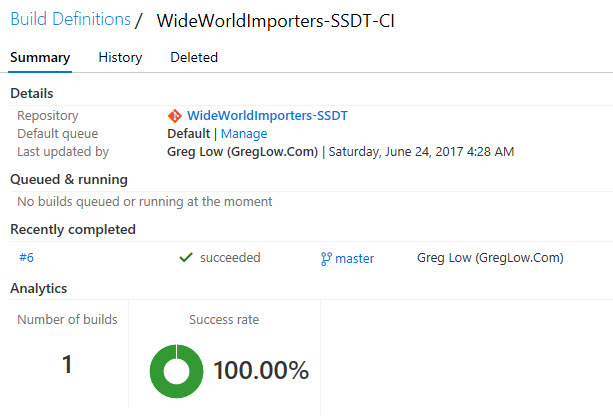
Click the latest build number that was completed to open it.

Note that you might have a series of warnings in the list of build issues. You can see that these warnings did not prevent the build from continuing. SQL Server has a mechanism called Deferred Name Resolution. This means that a stored procedure can refer to objects that do not as yet exist. In the example shown, the AddRoleMemberIfNonexistent procedure has unresolved references. In fact, in this case, it is because the views that are mentioned are present in the master database, not in the current database. This distinction is not important at this time for our lab at this time.
-
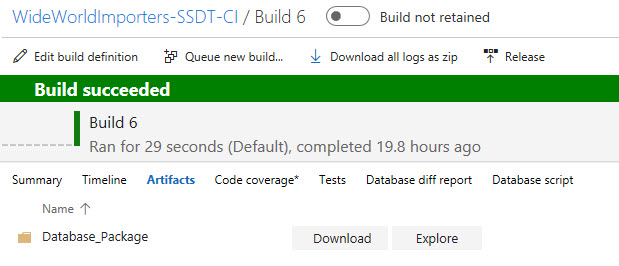
Click on the Artifacts tab.
-
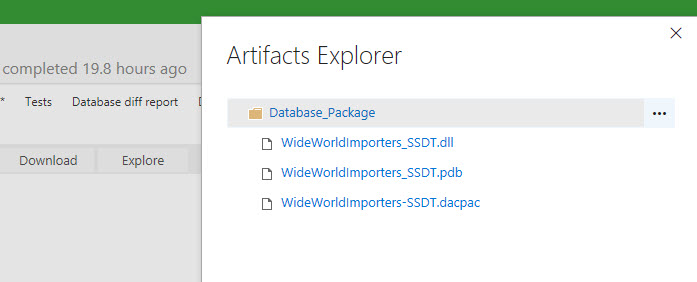
Click the Explore link, then in Artifacts Explorer, expand the Database_Package folder to see what the package contains.
-
Click the ellipsis to the right of the Database_Package folder, and from the drop-down list, click Download as zip.
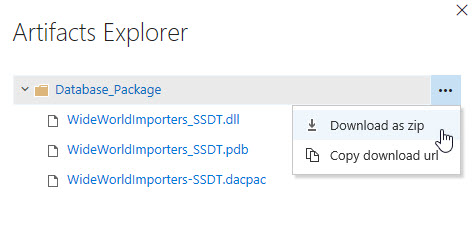
Save the file to a known location. (You might want to create a folder specifically for downloaded packages). Click Close to close the Artifacts Explorer. Using Windows Explorer, extract the contents of the downloaded package to the folder.
-
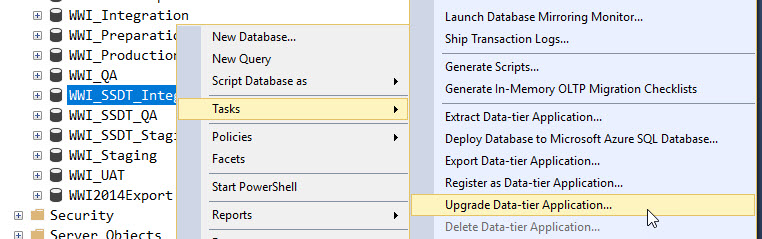
In SQL Server Management Studio, in Object Explorer, right-click the WWI_SSDT_Integration database, click Tasks, then click Upgrade Data-tier Application.
-
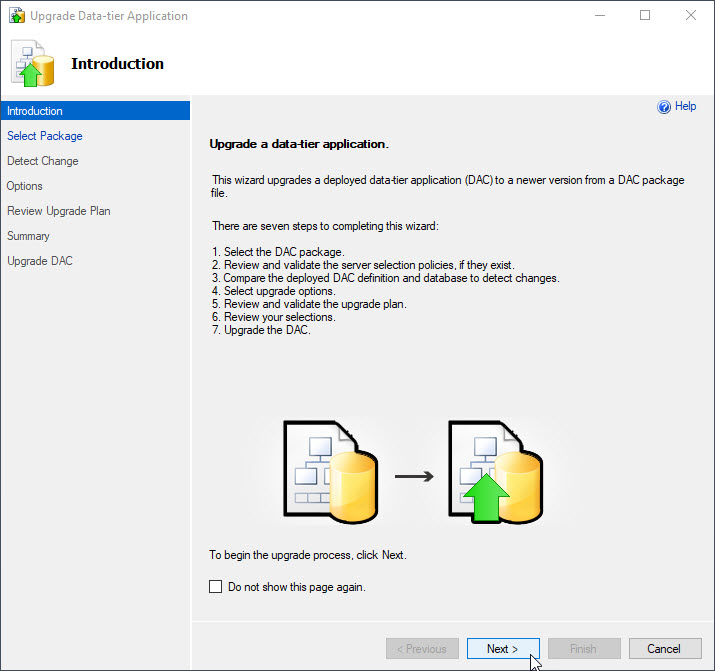
In the Upgrade Data-tier Application window, in the Introduction page, note details of the process, then click Next.
-
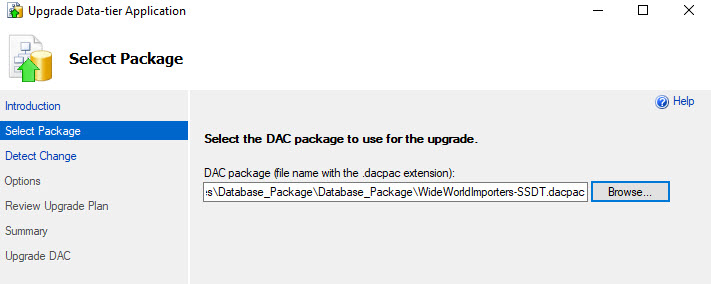
On the Select Package page, click Browse and locate the .dacpac file that you extracted earlier, then click Next.
-
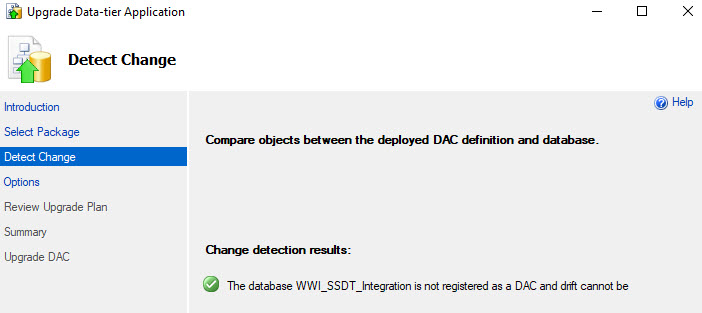
On the Detect Change page, note that this database has not previously been registered as a data tier application (DAC). Click Next.
-
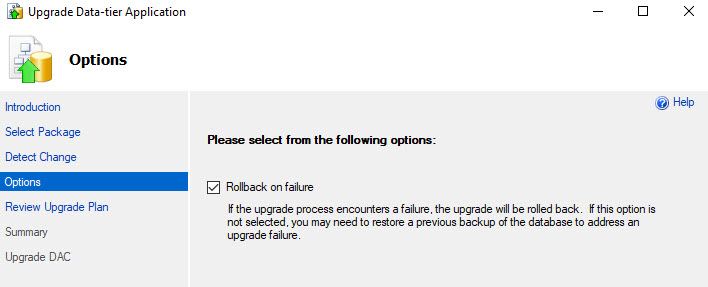
On the Options page, note that we are able to have a failed deployment rolled back. Check this option and click Next.
-
On the Review Upgrade Plan page, review the plan shown, then click Next.

-
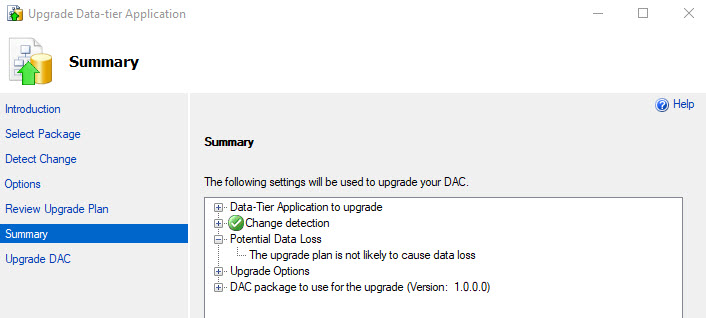
On the Summary page, review the summary, expand the Potential Data Loss node, then click Next.
-
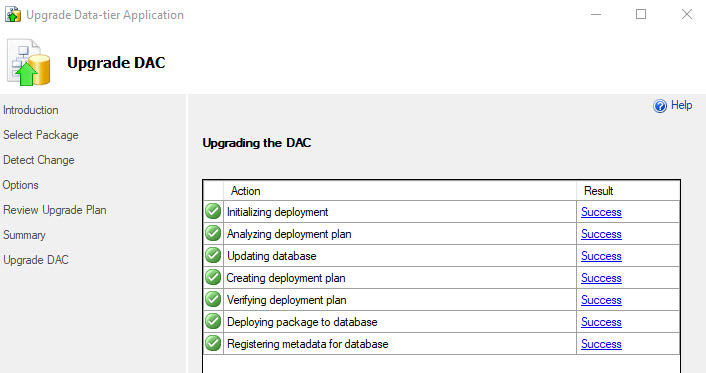
The upgrade should then run to completion. If so, click Finish.
-
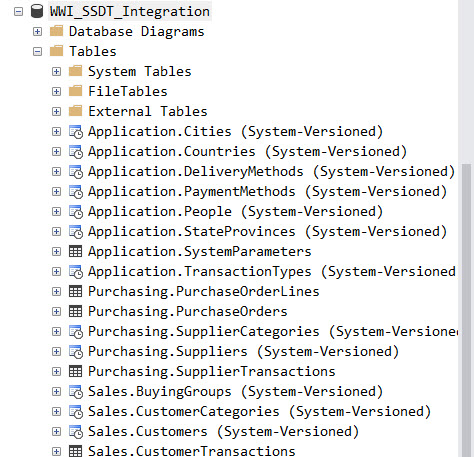
In Object Explorer, right-click the WWI_SSDT_Integration database and click Refresh. Expand the WWI_SSDT_Integration database, expand the Tables folder, and note the tables that are now present. (This was previously an empty database that you created earlier).
Summary
In this lab you completed the following tasks:
- Prepared your local environment
- Implemented a Manual Release for Integration