Merge Code from Two Branches
In this lab, we will learn how to merge code from two different branches.
DevOps MPP Course Source
- This lab is used in course DevOps200.6x: DevOps for Databses - Module 4.
Prerequisites:
- Completion of the Module 3 labs Creating a Release Process with either State-Based or Migration-Based development and configuring the environment, as per the labs listed below.
Lab Tasks:
- Create a new branch for development
- Merge changes from two branches with a pull request
Estimated Lab Time:
- approx. 40 minutes
Task 1: Create a new branch for development
We will set up a new local branch for development and make changes
-
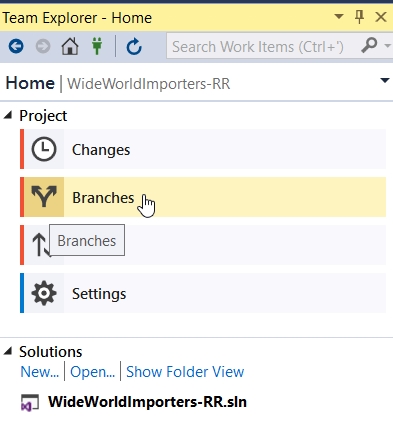
Open your WideWorldImporters-RR project in Visual Studio and select Team Explorer. In the Home page, click Branches.
-
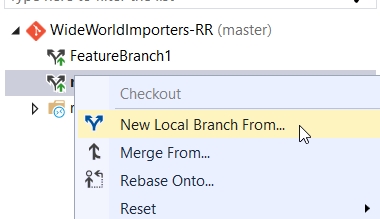
Right-click the master branch and select New Local Branch From
-
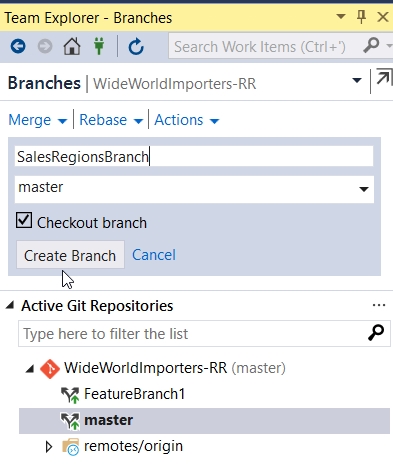
Enter SalesRegionsBranch as the name and then click Create Branch.
-
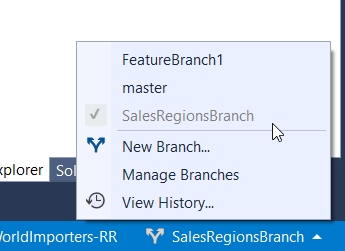
In the lower right corner of Visual Studio, the current branch is listed. Clicking the up arrow will show you the other branches.
-
Return to the Solution Explorer and add a new script to the project. Enter the following code in the script.
ALTER PROCEDURE Website.GetOpenPurchaseOrderCount AS BEGIN SELECT [Open Orders] = COUNT(*), PurchaseOrderID FROM Purchasing.PurchaseOrders WHERE IsOrderFinalized = 0 GROUP BY PurchaseOrderID; END; GO -
Save this file, click Deploy Project, then Commit All and Push the changes to VSTS using Team Explorer.
Task 2: Merge changes from two branches with a pull request
We will use VSTS to merge the changes from two branches.
-
Open the VSTS project and select the Code menu. Ensure the master branch is selected. Notice that there is a gray bar that lets you know a branch was updated.

-
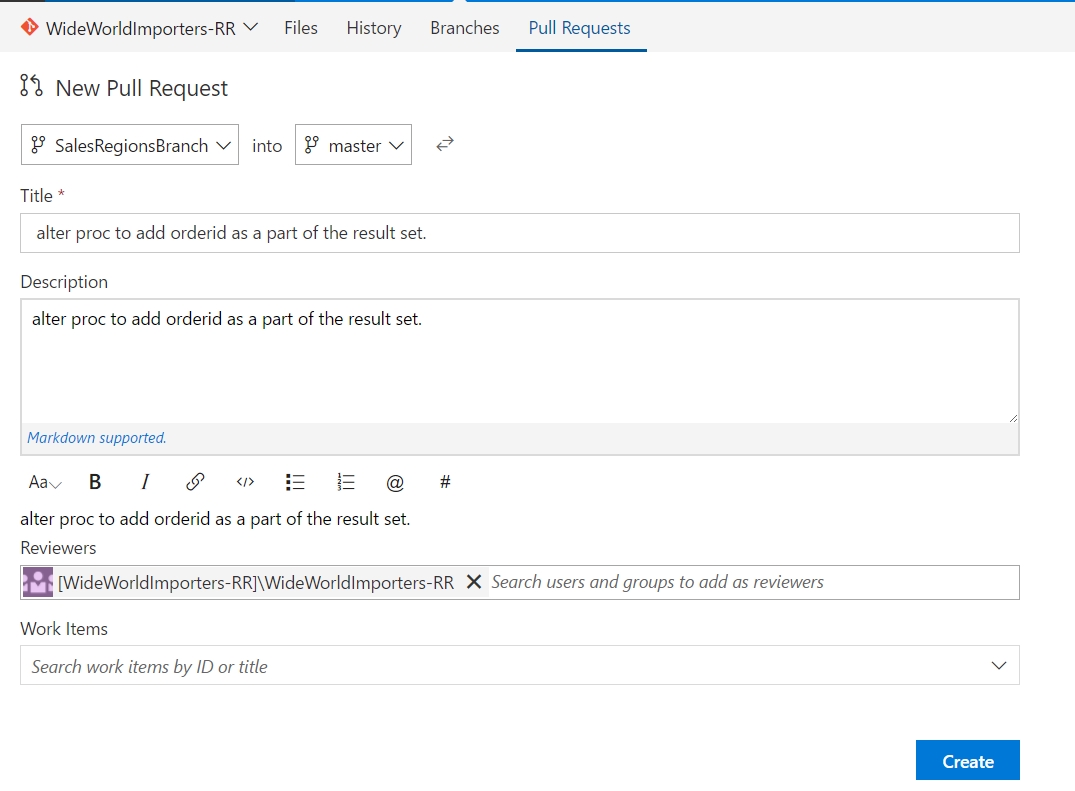
Click Create a Pull Request. This will open the New Pull Request page. This pages fills in a number of items from the pull request. You can alter the title and add more details to the description field. You can also use the Reviewers dialog to specify other users that should approve the request.
-
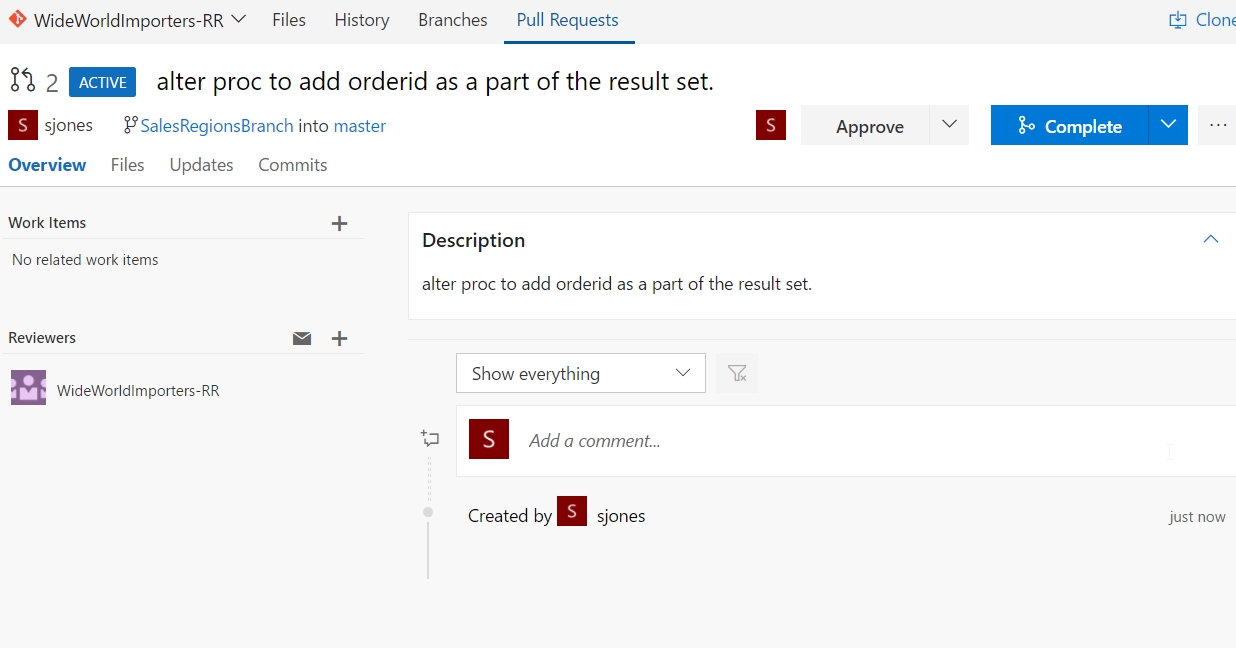
Click Create. This will show you the pull request. You can approve and complete this yourself as part of this lab.
-
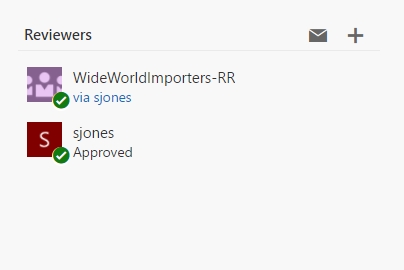
Click Approve. The left side will show who approved the PR.
-
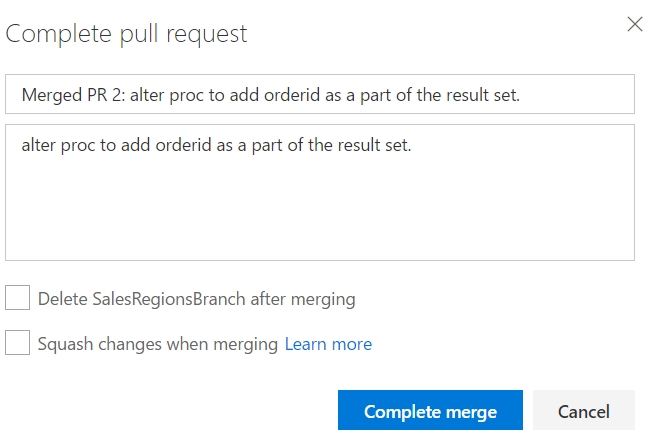
Click Complete. This will allow you to complete the merge. The title and description can be edited. You can also delete the branch after merging or squash the changes. Click Complete Merge.
-
The specific changes have been merged into the master branch. You can click the the Files menu area and find your changes in both branches.
Summary
In this lab you have completed the following tasks:
- Created a new branch for development
- Merged changes from two branches with a pull request