Setup SSDT and Sample db with Visual Studio and VSTS
In this lab, we will set up and use SQL Server Data Tools (SSDT) in Microsoft Visual Studio 2017 Enterprise. We will also import our database and make an initial commit to our Visual Studio Team Services repository.
DevOps MPP Course Source
- This lab is used in course DevOps200.6x: DevOps for Databses - Module 1.
Prerequisites:
- Visual Studio 2017 Enterprise (or evaluation), patched to SP1 on LocalDB
- Internet access
- LocalDB installed with the sample databases by completing the earlier lab Setup WideWorldImporters sample database Development Environment
Lab Tasks:
- Add SQL Server Database Tools (SSDT) to Visual Studio
- Create a new SSDT project
- Make an initial commit to version control in your VSTS project
Estimated Lab Time:
- approx. 30 minutes
Task 1: Add SQL Server Database Tools (SSDT) to Visual Studio
Include the Data storage and processing workload to add the SQL Server Database Tools features to your Visual Studio installation.
If the Data storage and processing workload is already installed in Visual Studio, skip this section.
-
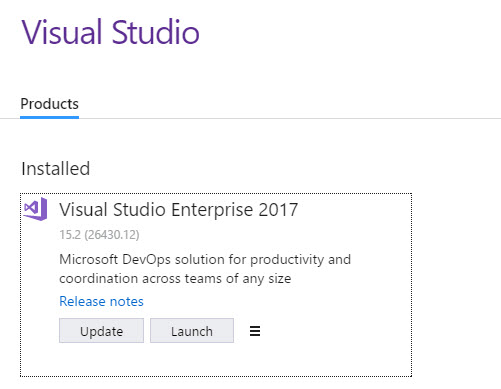
Start the Visual Studio 2017 Installer from your Start Menu. (This is separate from the Visual Studio IDE).
-
Click the Update button to get a list of workloads. Check the box next to the Data storage and processing workload box.

This process is described in this article: Modify Visual Studio 2017 by adding or removing workloads and componentst
-
Once the installation completes, close the Visual Studio Installer.
Task 2: Create a new SSDT project
Use SSDT to create a new project and connect this to your database.
-
Start Visual Studio 2017. If you have not signed into Visual Studio.com, you may receive a dialog to do so. Use the credentials for your VisualStudio.com account.
-
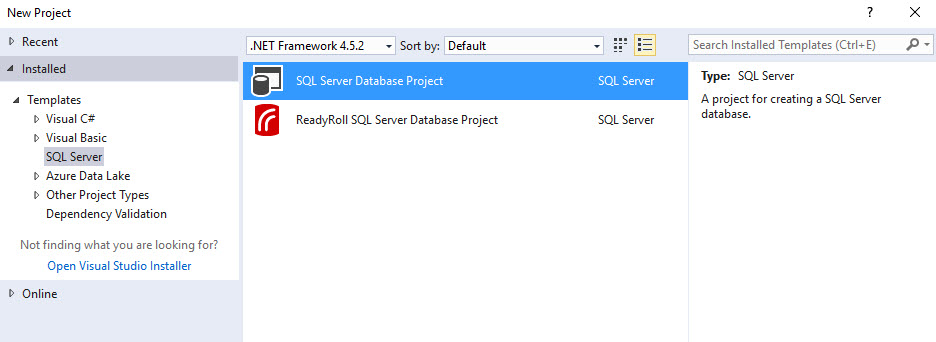
From the File menu, click New, then click Project (or click CTRL+Shift+N). You will receive a new project dialog. Click the SQL Server template on the left, and you should be presented with two options in the middle pane.
-
Select the SQL Server Database Project, and type and enter WideWorldImporters-SSDT as the project name. Ensure the Add to Source Control check box is selected. Change the folder if you want to store this in a different location.
-
Click OK to create the project.
-
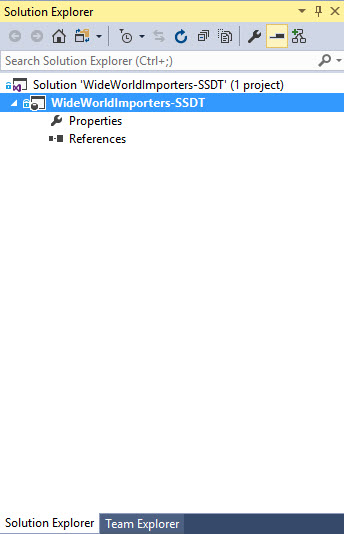
After the project is created, you will have a new project in the Solution Explorer. This will look similar to the image below.
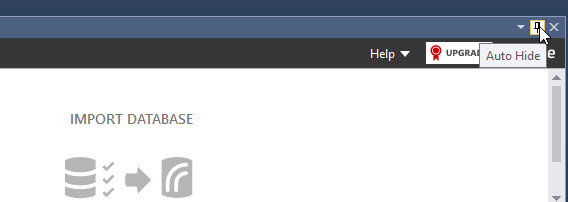
You might also see a ReadyRoll Core Edition pane at the bottom of the Visual Studio window. If this is visible, you can unpin it to increase available space on your screen.
-
In Solution Explorer, right-click the WideWorldImporters-SSDT project and choose Properties. Select the Project Settings tab and ensure the Target platform is SQL Server 2016. On the toolbar, click Save Selected Items, then close the tab.
-
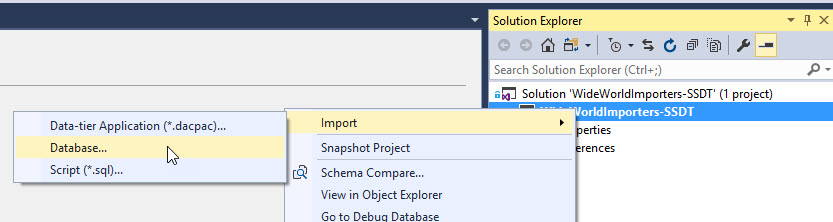
In Solution Explorer, right-click the WideWorldImporters-SSDT project, click Import, then click Database.
-
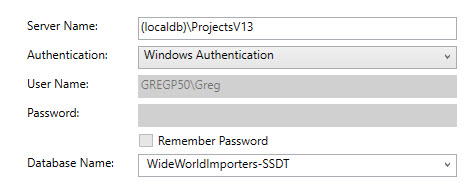
In the Import Database window, click Select Connection. In the Connect window, configure your connection properties, then click Connect.
-
In the Import Database window, click Start.
This will read the schema from the WideWorldImporters-SSDT database and import all the schema into the database project. When it completes successfully, click Finish.

-
Use Solution Explorer to browse the objects that have been imported to see how the folders are structured.
Task 3: Make an initial commit to version control in your VSTS project
Publish our project to your VSTS project.
In this section, we want to commit our code to our Visual Studio Team Services project that we created in a previous lab.
-
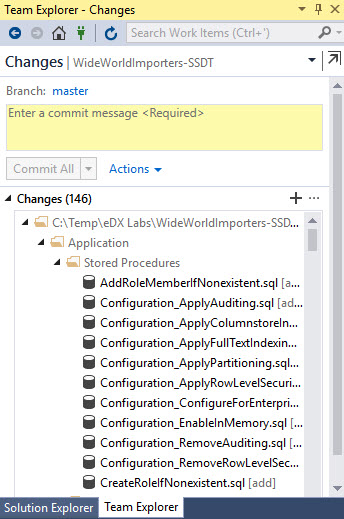
Open the Team Explorer toolbar (or select it from beside Solution Explorer if it is already open), then click Changes. You should see a list of changes that also include the various Visual Studio project items.
Note: If prompted to connect to Git, do so at this point.
-
In the commit message (yellow) box, enter WideWorldImporters-SSDT initial schema. I typically use “Initial Commit” for the first set of code. After you have entered this, click Commit All.
-
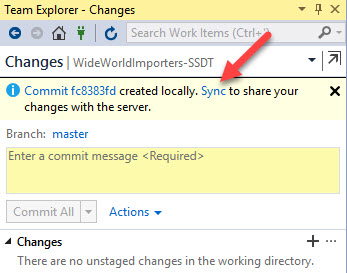
After the commit is complete, you should see a message that confirms that. Click Sync in the message.
-
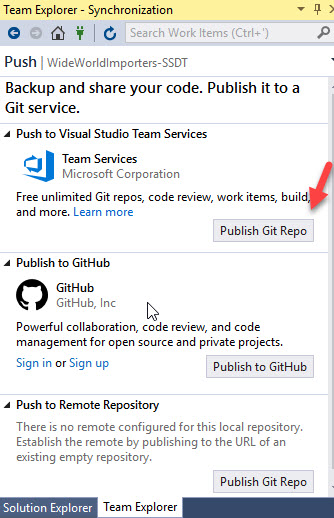
This will bring you to the synchronization dialog in Team Explorer, which allows you to publish this to a VSTS repo. Click the Publish Git Repo button under Push to Visual Studio Team Services.
-
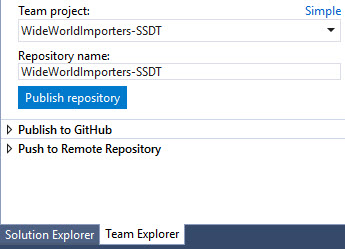
In the next dialog, you should see your account along with the Team Services domain filled in. If not, you might need to log in to your VSTS account from Visual Studio. In the upper right corner of Visual Studio, there is a sign-in link. Then click Publish repository.
Note: If an error is returned indicating that the repository already exists, click Advanced, then set the Team Project to your WideWorldImporters-SSDT repository, then click Publish repository.
-
After this is complete, you should see a message at the top of Team Explorer that confirms the repo was pushed. Click See it on the web.
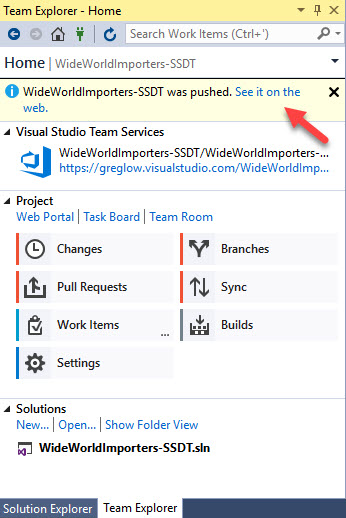
-
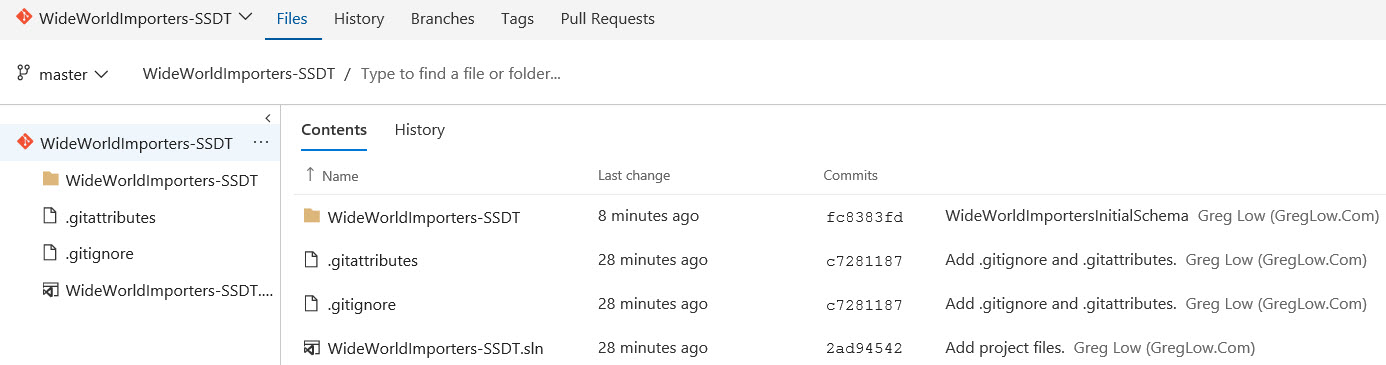
A browser should open with your Visual Studio Team Services domain and project selected, on the Code tab. You should see your project listed. Review the contents, then close the browser window.
Summary
In this lab you completed the following tasks:
- Added SQL Server Database Tools (SSDT) to Visual Studio
- Created a new SSDT project
- Made an initial commit to version control in your VSTS project