Changes Using a State-Based Methodology
In this lab we will make changes to a database using Stated-Based Methodology
DevOps MPP Course Source
- This lab is used in course DevOps200.6x: DevOps for Databses - Module 2.
Prerequisites:
- Completion of Module 1 labs
Lab Tasks:
In this lab, we will begin making a variety of changes to our database and committing them to version control.
- Alter an existing stored procedure
- Add a new sequence
- Check in changes
Estimated Lab Time:
- approx. 30 minutes
Task 1: Alter an existing stored procedure
We will examine the process for altering a stored procedure through code.
-
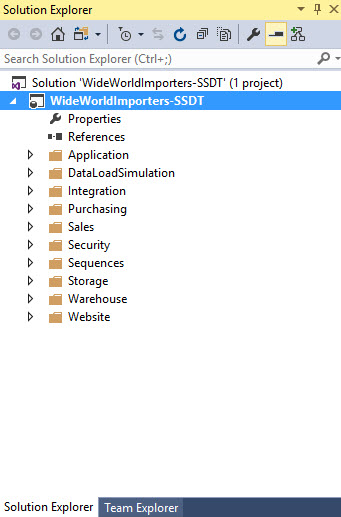
Open your SSDT project WideWorldImporters-SSDT in Visual Studio. The project should contain database objects from the previous lab. (The Recent Projects and Solutions option from the File menu might help with opening this project).
-
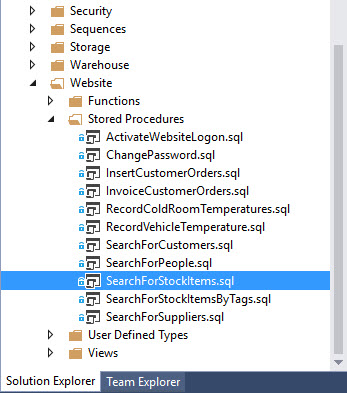
In Solution Explorer, expand the Website folder, expand the Stored Procedures folder and note the available procedures.
-
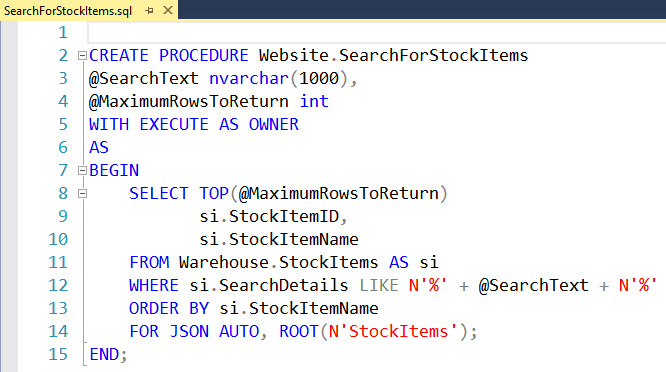
Right-click the SearchForStockItems stored procedure and click Open.
-
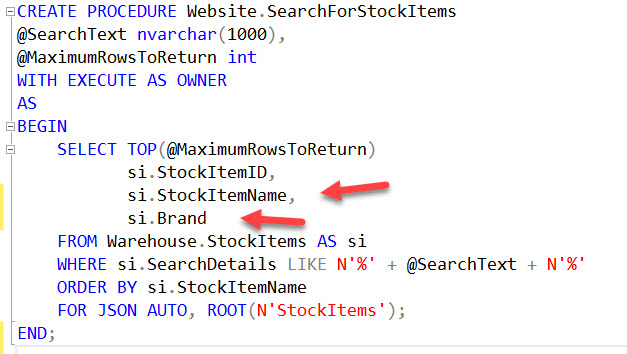
Add a line to display the brand as follows:
-
From the File menu, click Save SearchForStockItems.sql. In Solution Explorer, note that the lock icon has changed to a check mark to indicate that the file is now checked out.

-
Close the SearchForStockItems.sql tab.
Task 2: Add a new sequence
We will add a new sequence to the database.
Let add a new sequence to the database. We want to add a sequence that will be used as a default for a new table that is being developed.
-
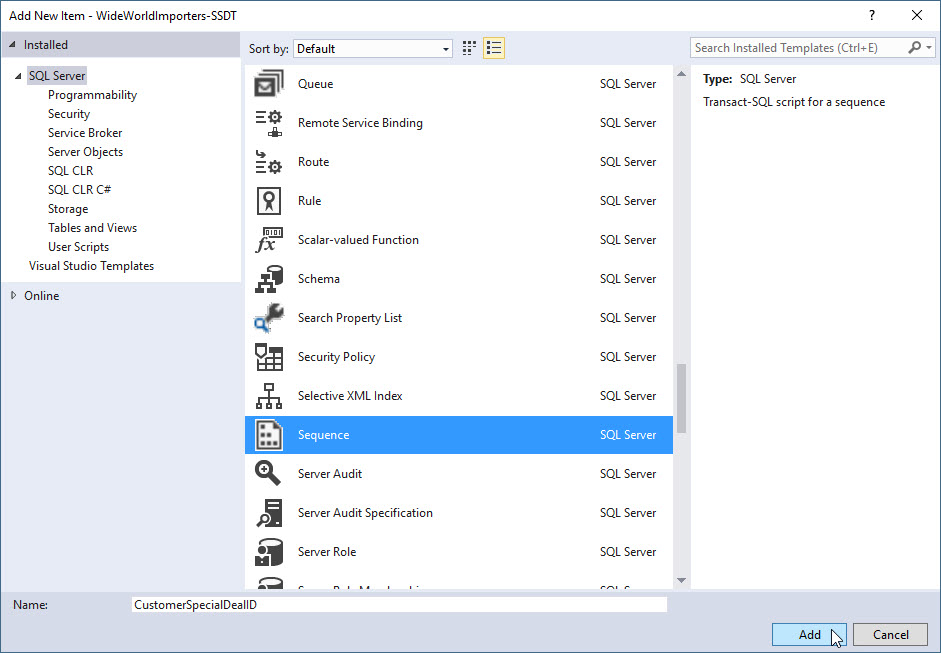
In Solution Explorer, expand the Sequences folder, then right-click the Sequences folder (second level folder), then click Add, then click New Item. In the Add New Item - WideWorldImporters-SSDT window, in the center pane select Sequence, in the Name enter CustomerSpecialDealID, then click Add.
-
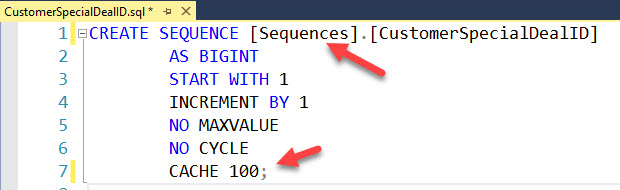
Then modify the code as shown.
-
From the File menu, click Save All.
-
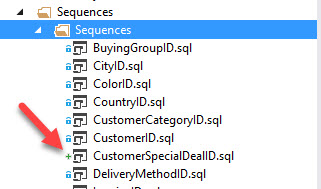
Close the CustomeSpecialDealID.sql tab and in Solution Explorer, note the + icon for a newly added item.
Task 3: Check in code
We will check our changes into the VCS.
-
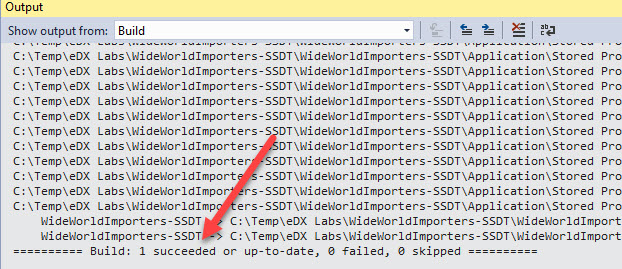
Before checking in our code, let’s ensure that it builds OK. From the Build menu, click Build WideWorldImporters-SSDT. When the build completes, in the Output pane, check that it was successful.
-
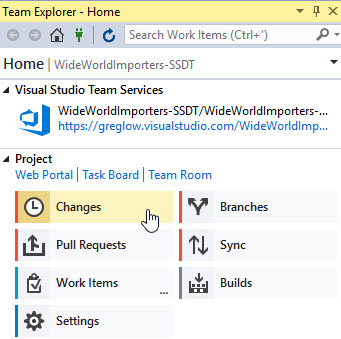
In the Team Explorer pane, click Changes.
-
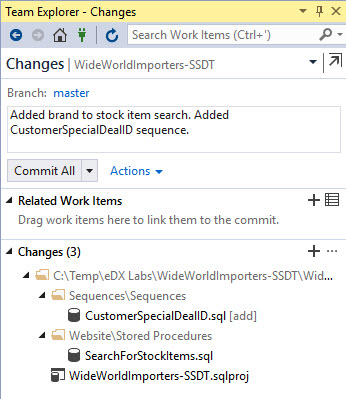
Add a commit message as shown.
-
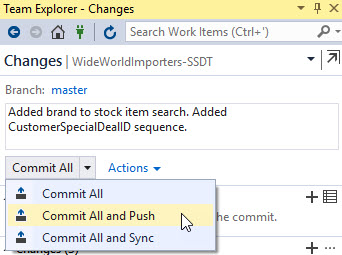
From the Drop-down menu beside Commit All, click Commit All and Push.
-
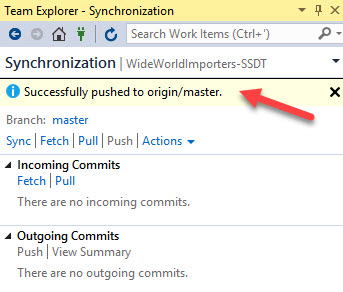
When all steps have finished executing, you should receive a message indicating success.
Summary
In this lab you completed the following tasks:
- Added ReadyRoll to Visual Studio
- Created a new ReadyRoll project
- Made an initial commit to version control