Configure CD of Azure SQL database using Azure DevOps and Visual Studio
In this lab we will configure Continuous Integration and Continuous Deployment of Azure SQL Database using Azure DevOps and Visual Studio.
DevOps MPP Course Source
- This lab is used in course DevOps200.2x: Infrastructure as Code - Module 4.
Pre-requisites:
- An Azure account
- Visual Studio 2017 Community Edition
- Git command prompt tools
Lab Tasks:
- Create and Configure Azure DevOps environment
- Create Azure SQL Database target infrastructure
- Initiate Deployment
Estimated Lab Time:
- approx. 80 minutes
Task 1: Create and Configure Azure DevOps environment
-
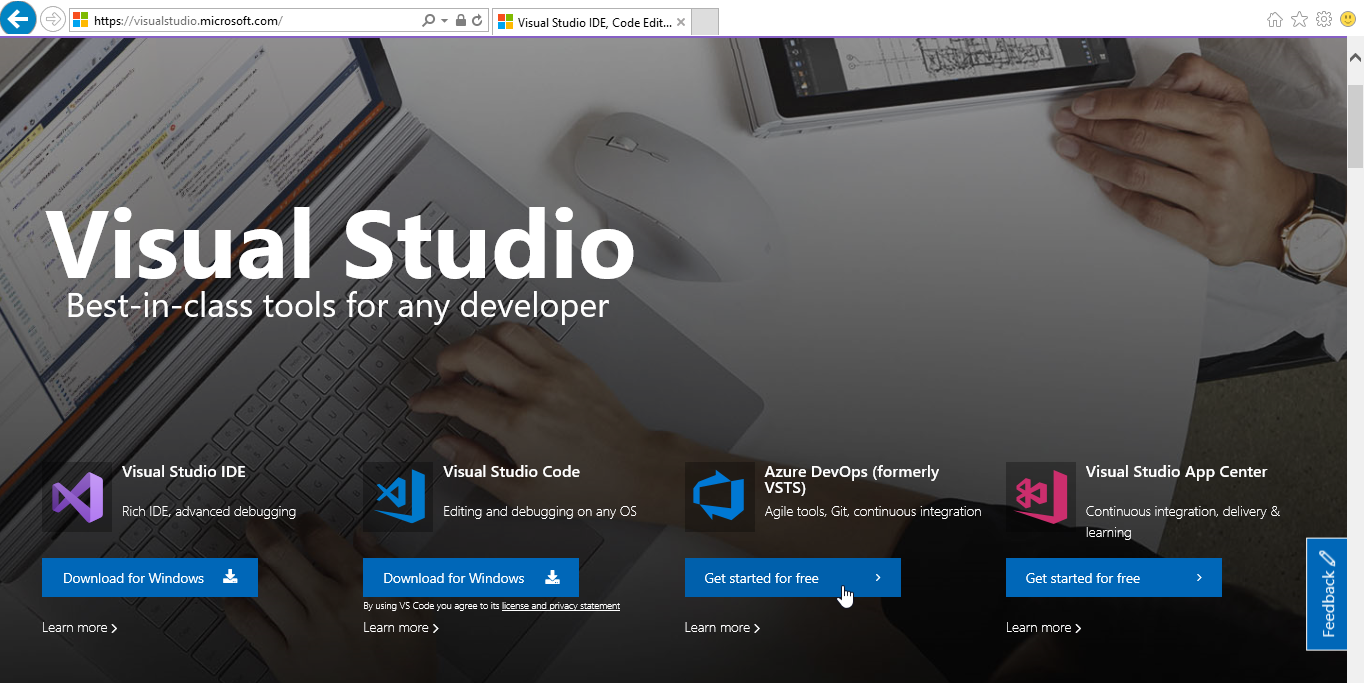
On your local machine, navigate to https://visualstudio.microsoft.com/ and click Get started for free under Azure DevOps(formerly VSTS).
-
Sign in with the Microsoft Account which is the Service Administrator of your Azure subscription.
-
To create an Azure DevOps organization, provide a unique name, specify the Azure region to host your projects and click Create.

-
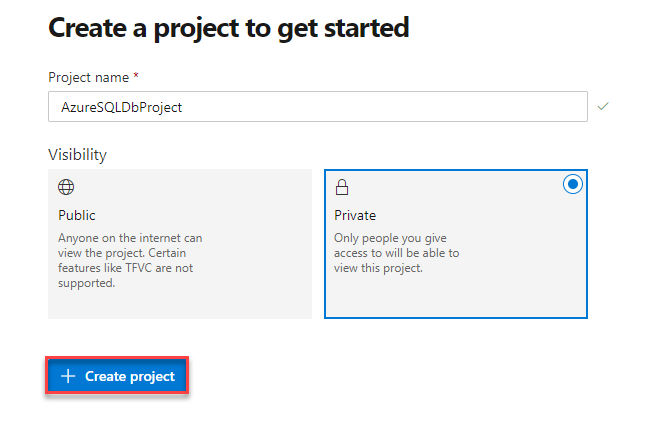
Once the organization is created, you will be directed to your organization page to create a new project. Set the project name as AzureSQLDbProject and click + Create project.
-
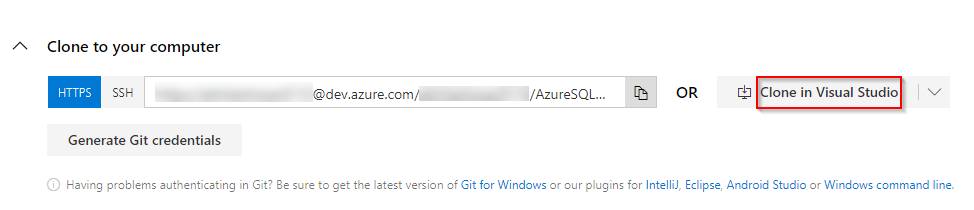
After the project is created, from Repos page in the Azure DevOps portal, click Clone in Visual Studio. When prompted, click Allow. This will start Visual Studio with the new project loaded.
-
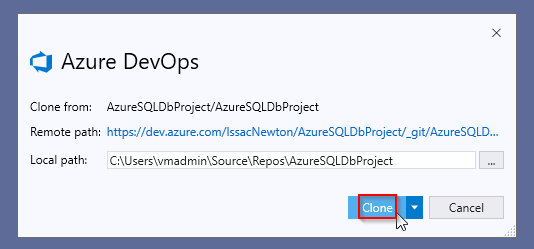
Once the project loads, you will be prompted to clone from the server to your local path. Change the local path if required and click Clone.
-
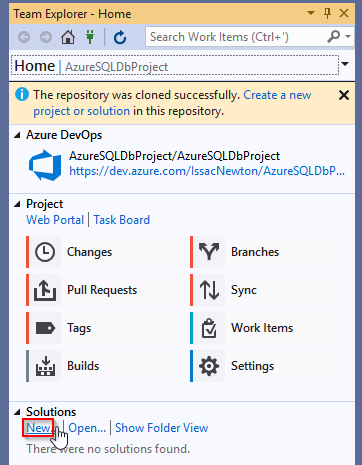
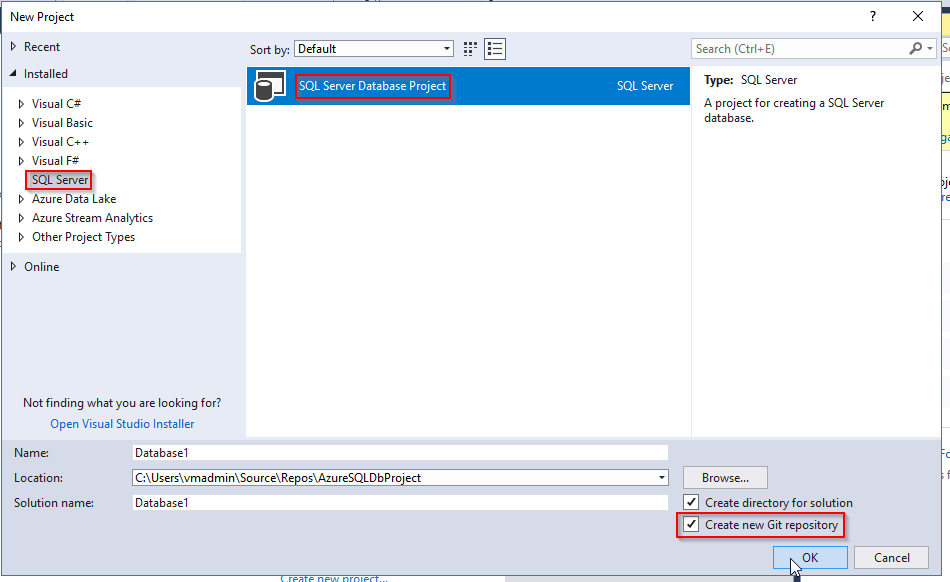
Next, click New in the Solutions section of the Team Explorer window. This will display the New Project dialog box. From there, click SQL Server in the list of installed templates, ensure that the SQL Server Database Project is selected, specify a project name, ensure that the Create a git repository checkbox is selected, and click OK. This will create Database1 project.
-
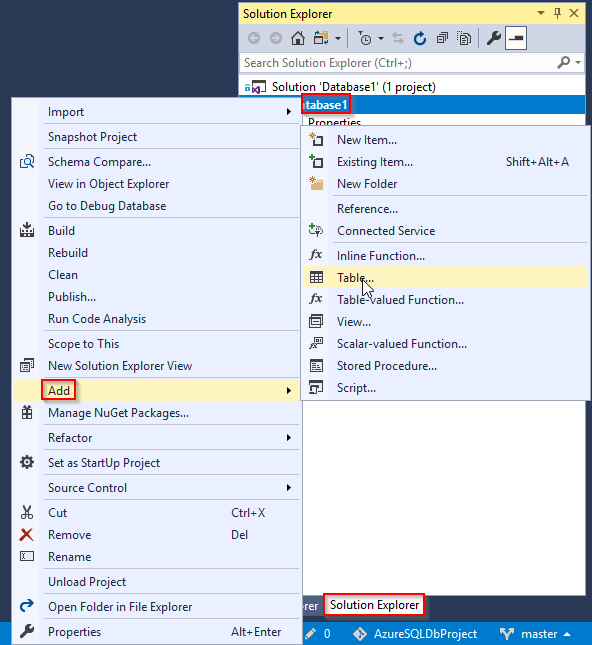
Click Solution Explorer. In the Solution Explorer window, right click Database1, in the drop-down menu, click Add and click Table.
-
In the Add New Item – Database 1 dialog box, ensure that Table is selected and click Add.
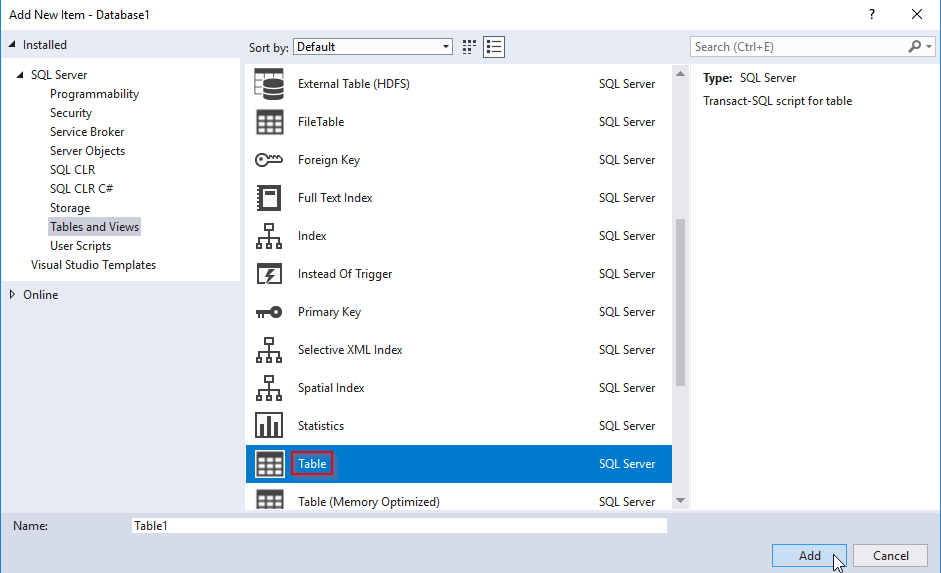
We will accept the default table definition, since our intention is to demonstrate the process of continuous integration and continuous deployment, however, in real-life scenarios,your database structure would obviously be more elaborate. The process of configuring described in this lab would not change in this case.
-
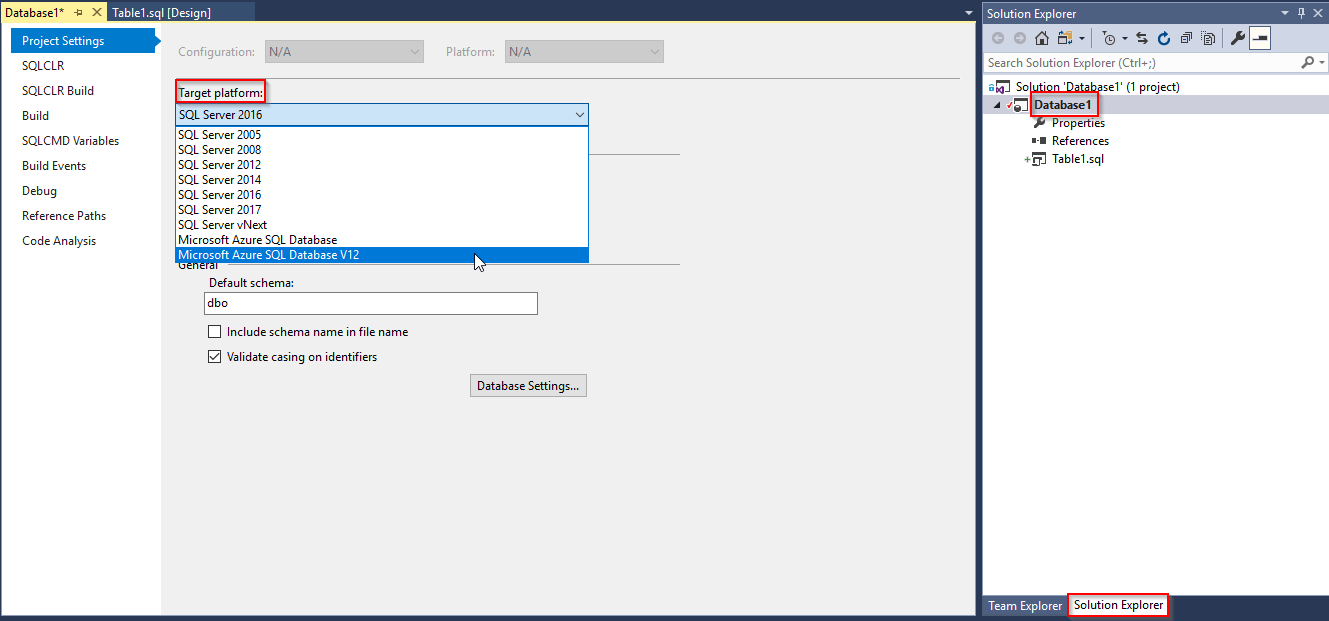
In the Solution Explorer window, right-click Database1 and, in the right-click menu, click Properties. In the Project Settings window, in the Target platform drop down list, click Microsoft Azure SQL Database V12.
-
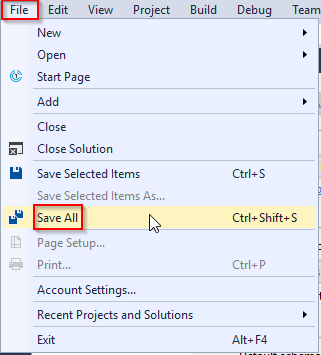
Click File and, in the File menu, click Save All.
-
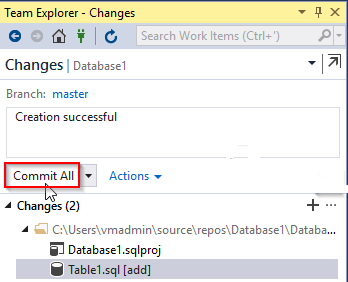
To commit the project to your repository, switch to the Team Explorer window, click Changes, enter a message describing the changes you made and click Commit.
-
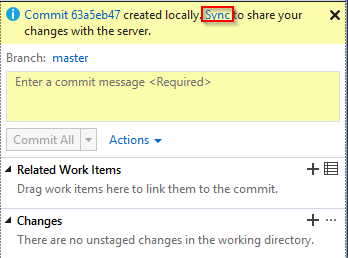
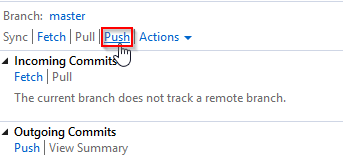
Next, click the Sync link and then, on the Synchronization page within the Team Explorer window, in the Outgoing Commits, click Push to push changes to Azure DevOps.
-
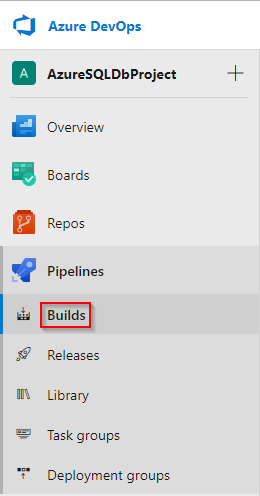
Switch back to the Azure DevOps interface and refresh the project page. Under the Pipelines section, click on Build.
-
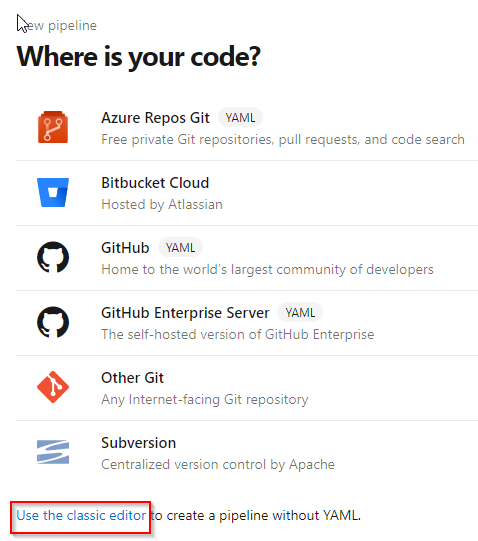
Create a new pipeline and select Use the classic editor option, accept the default settings and click on Continue.

-
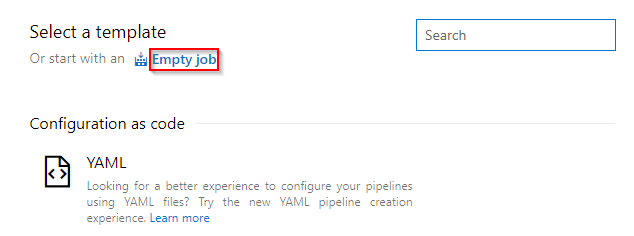
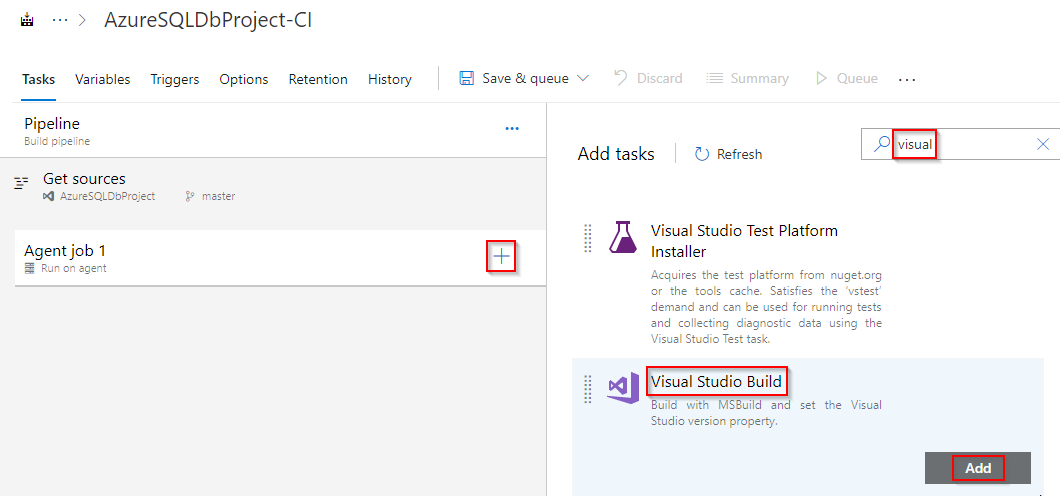
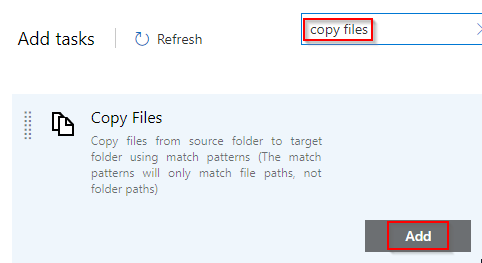
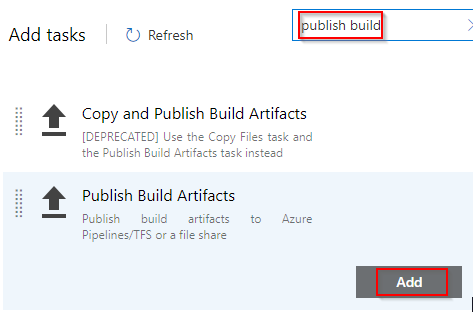
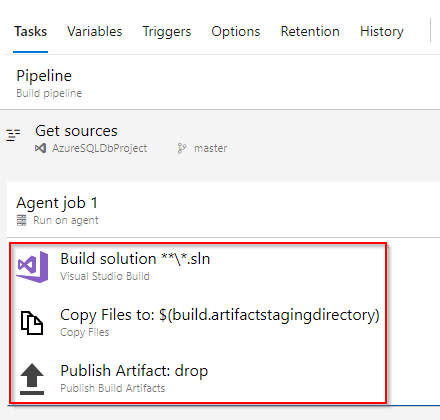
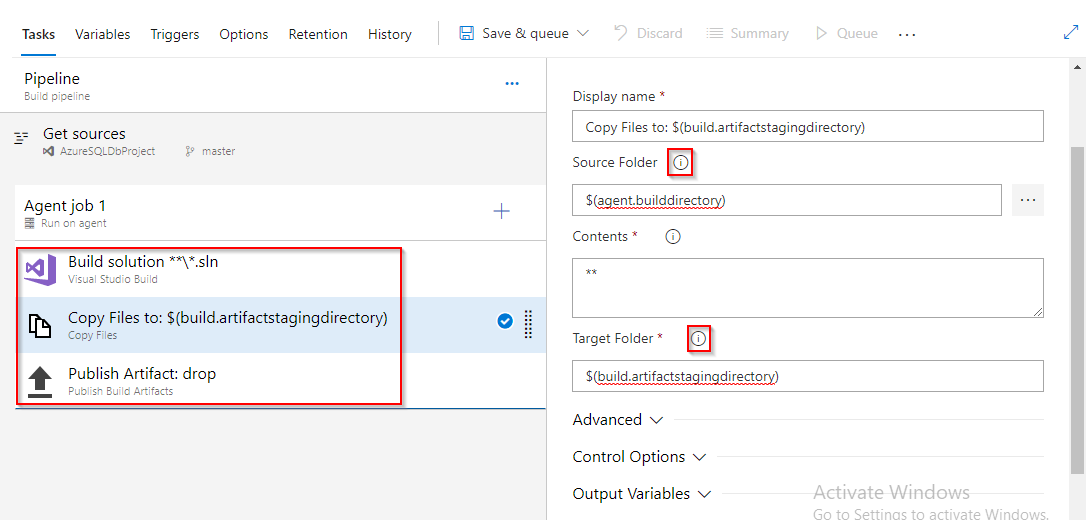
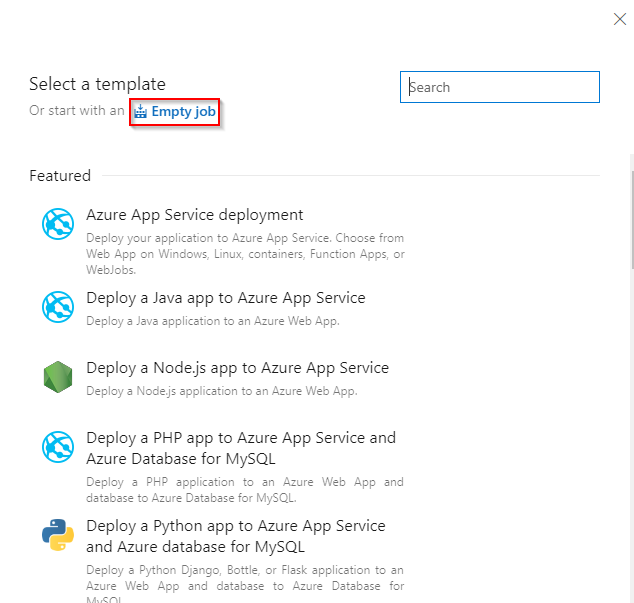
Now we have to select a template. Click on Empty Job, type visual studio in the search bar, select the Visual Studio Build template and click Add. In a similar way, add Copy Files and Publish Artifacts templates one after the other. A build sequence is created as shown.
-
Under Copy Files task, paste $(agent.builddirectory) in the text box of Source Folder and $(build.artifactstagingdirectory) as the value for Target Folder. Now, navigate to the Triggers tab and enable the Continuous integration (build whenever this branch is updated) checkbox, and click Create.

-
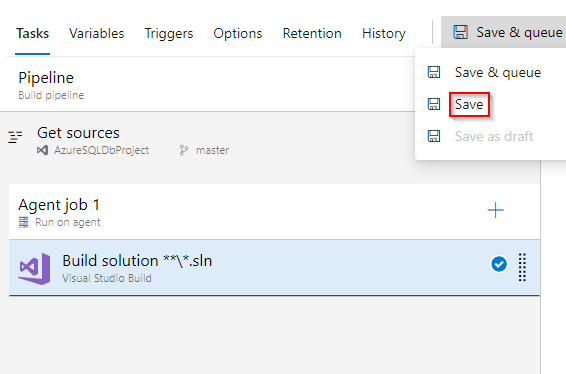
On the Build tab of the Build Definitions page, accept the default sequence of build steps and click Save.
-
In the Save dialog box, specify a name describing the build definition (we will call it Default Build) and click OK.
-
Now you can queue the build by clicking Queue on the Build definitions page. Accept the default settings and click Queue. This will automatically display the Console view on the Builds tab in the Build & Release section, showing progress of the build process.

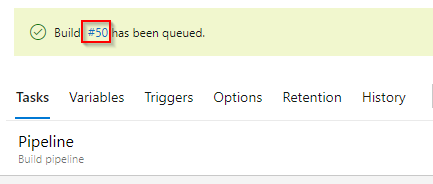
To validate the outcome, refresh the Builds tab, click Artifacts and click Explore. In the Artifacts Explorer window, drill down the folder hierarchy until you reach the DACPAC file generated by the build. This file will result in an update of a target Azure SQL database during code releases once you configure continuous deployment.
Task 2: Create Azure SQL Database target infrastructure
Next, you need to create the target Azure SQL Database instance that you will deploy the build to by using continuous deployment. To accomplish this, start a new Internet Explorer window and browse to the Azure portal. If prompted, sign in with the Microsoft Account that is the Service Administrator of your Azure subscription.
-
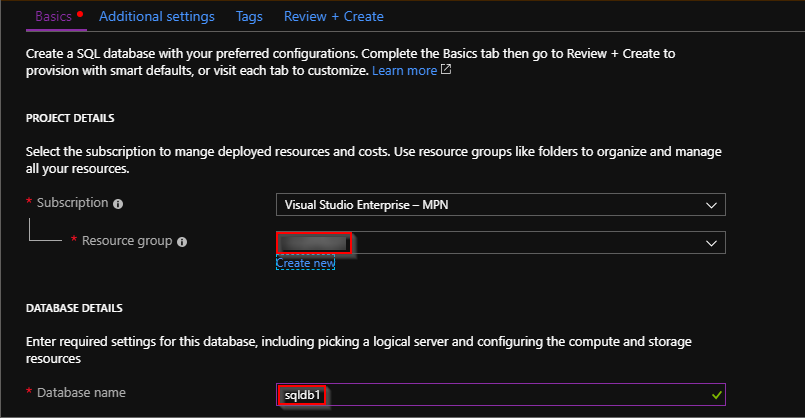
In the Azure portal, click Create a resource, on the Create a resource blade, search for Databases, click SQL Database.
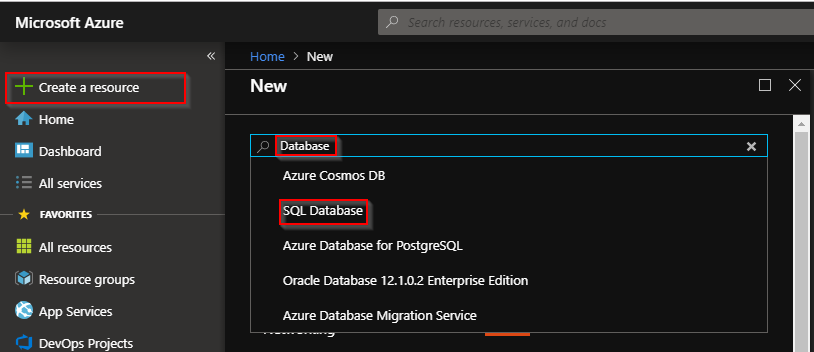
- Create a new SQL Database with the following settings:
- Database name: sqldb1
- Subscription: your Azure subscription
- Resource group: DevOpsLab4bRG
- Select source: Blank database
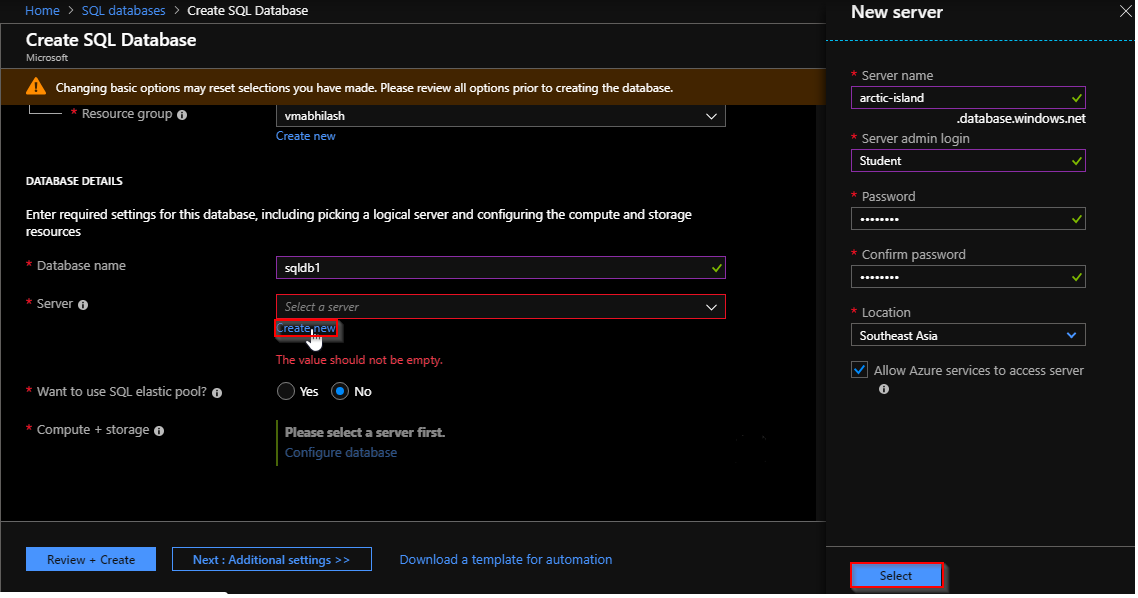
- Server: create a new server with the following settings:
- Server name: a unique, valid name
- Server admin login: Student
- Password: Pa55w.rd
- Confirm password: Pa55w.rd
- Location: an Azure region close to the lab location
- Allow azure services to access server: Enabled
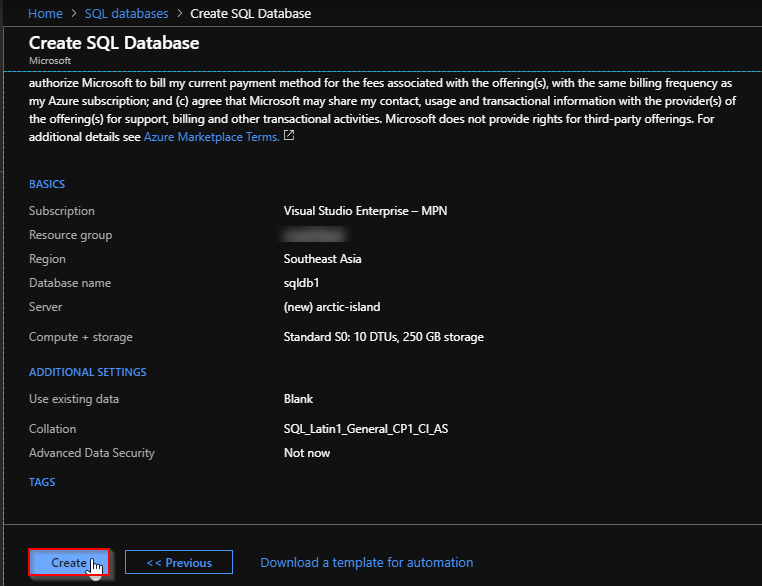
- Want to use SQL elastic pool?: Not now
- Pricing tier: Basic
- Collation: accept the default
-
Switch back to the Azure DevOps interface and, in the Build & Release section, click the Releases tab and click + New definition.

-
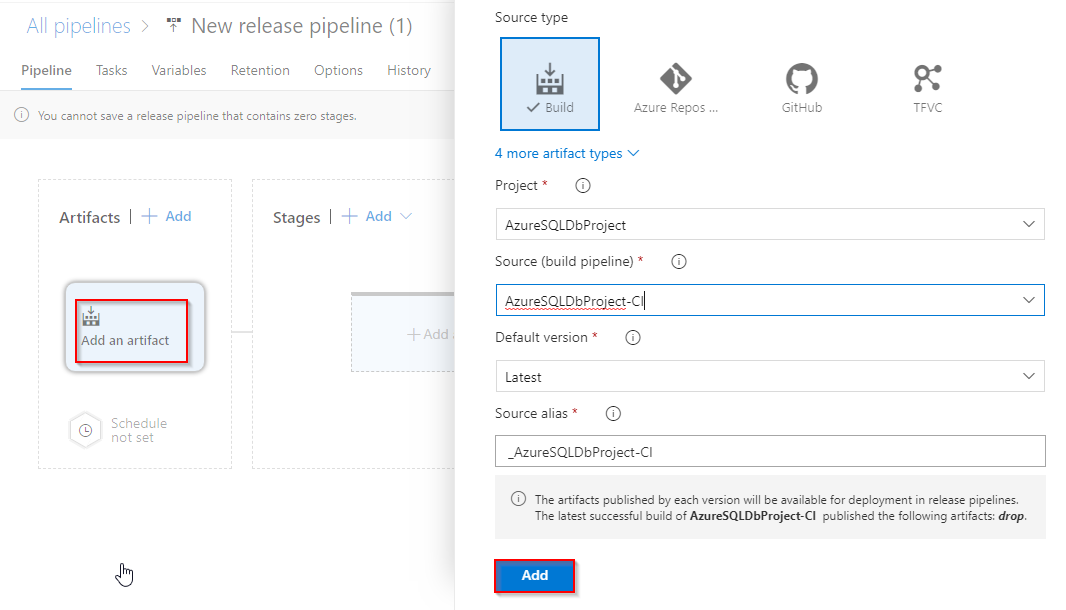
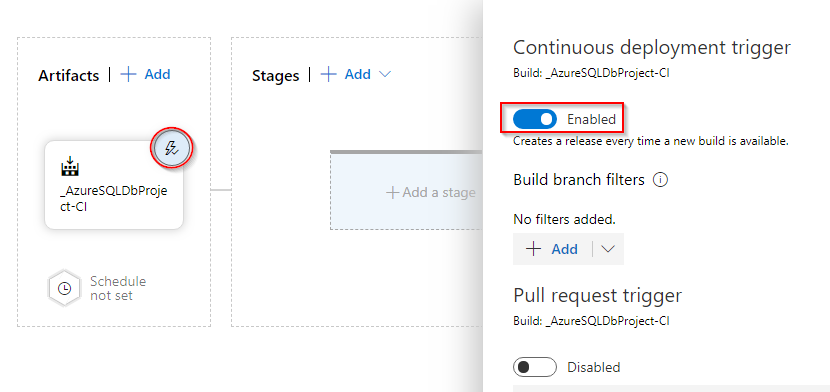
In the Create release definition window, click the Empty job. Click ellipses and select save template option with default settings. On the Artifacts page, make sure that the current settings point to the Default Build build definition you created earlier. Enable the Continuous deployment (create release and deploy whenever a build completes) checkbox and click Create. This will create a new release definition and display its Environments tab.
-
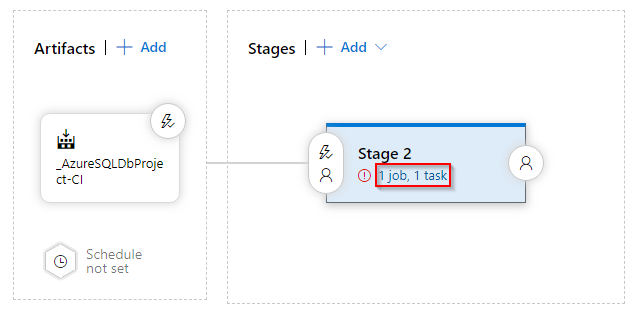
On the Environments tab, click 1 job,1 task.
-
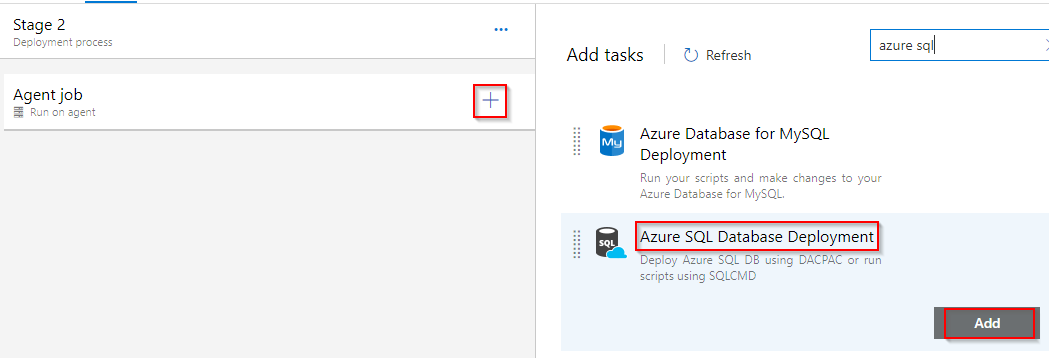
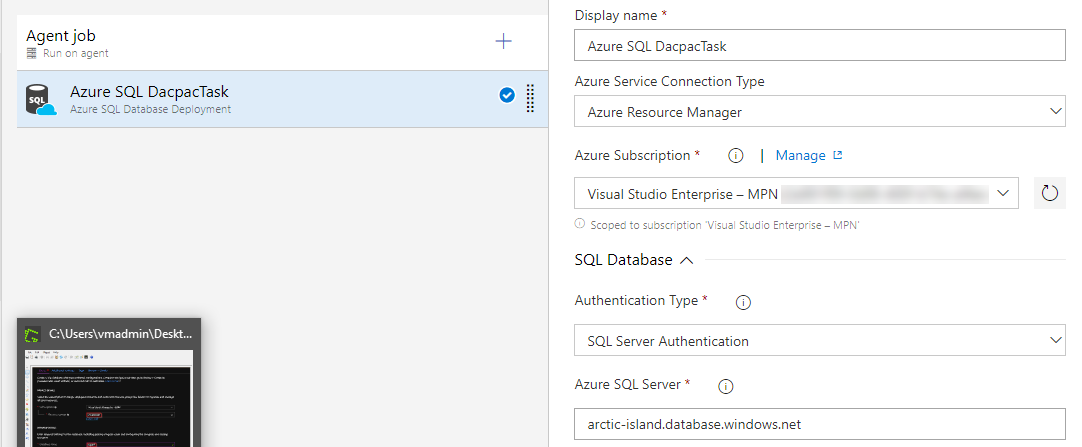
Click on + symbol. In the Task catalog window, search for Azure SQL Database Deployment, select Azure SQL Database Deployment and click on the Add option.
- In the Execute Azure SQL: DacpacTask section, configure the following settings:
- Azure Connection Type: Azure Resource Manager
- Azure RM Subscription: the subscription where you created the Azure SQL database. Once you select it, click Authorize and, when prompted, sign in to your subscription.
- Azure SQL Server Name: the name of Azure SQL server you created (including the .database.windows.net suffix)
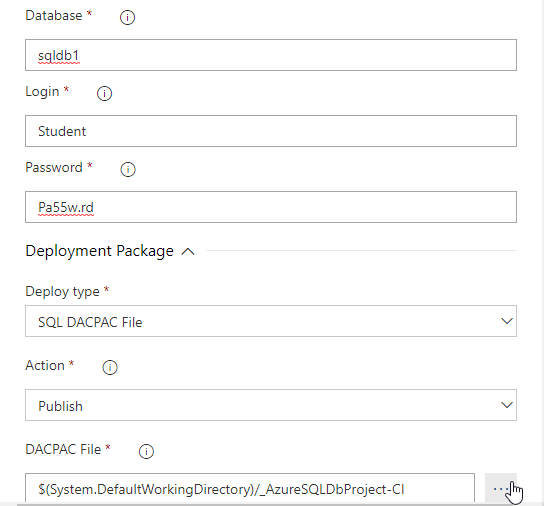
- Database Name: sqldb1
- Server Admin Login: Student
- Password: Pa55w.rd
- Type: SQL DACPAC File
- DACPAC File: the full path to the .DACPAC file included in the build. Click the ellipsis (…) on the right hand side and, in the Select File or Folder dialog box, drill down through the folder hierarchy to the Database1.dacpac file.
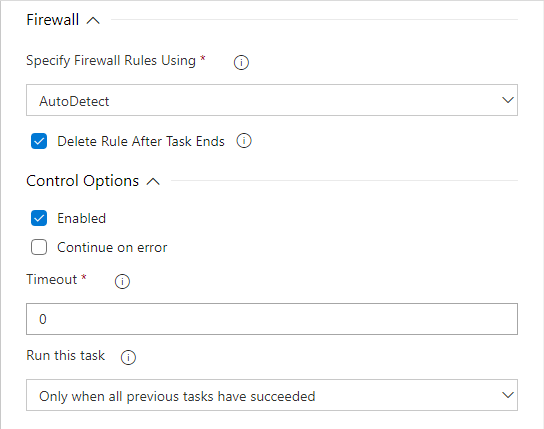
- Specify Firewall Rules Using: AutoDetect
- Delete Rule After Task Ends: enabled
- Control options:
- Enabled: enabled
- Continue on error: leave cleared
- Always run: leave cleared
-Timeout: 0
- Click Save and, in the Save dialog box, click OK.
Task 3: Initiate Deployment
-
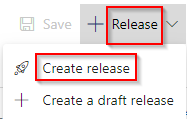
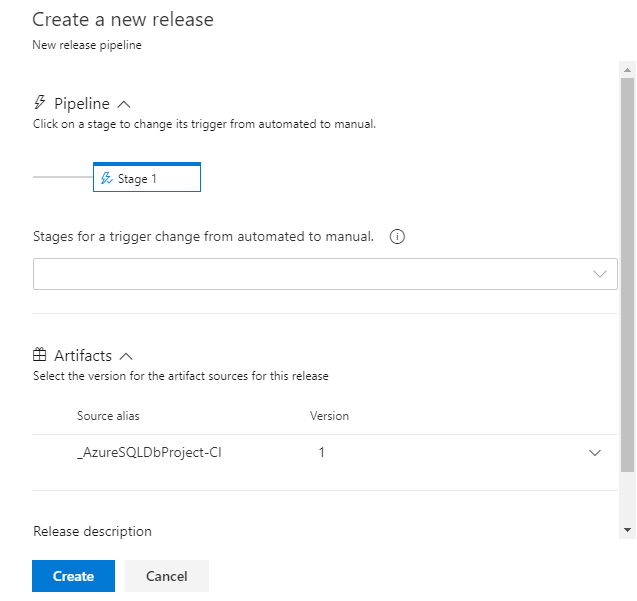
Click +Release, followed by Create Release to initiate deployment of the DACPAC file to the target Azure SQL database.
-
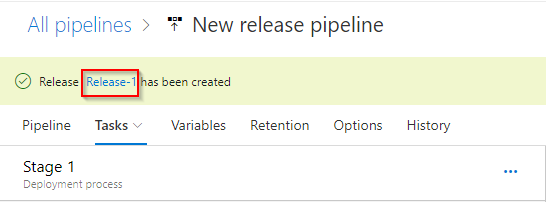
In the Create new release window, click Create. Finally, click the link Release-1.
-
In the Environments section, monitor the status of the deployment and verify that the outcome was successful.
Summary
In this lab you have created and configured Continuous Integration and Continuous Deployment in Azure DevOps to deploy into Azure SQL database. You have completed the following tasks:
- Create and Configure Azure DevOps environment
- Create Azure SQL Database target infrastructure
- Initiate Deployment