Agents
Register a Managed Identity agent with Azure
This article shows how to register an agent with the Azure AI Bot Service.
You can manage your agent identity in Azure in a few different ways.
- As a user-assigned managed identity, so that you don’t need to manage your agent’s credentials yourself.
- As a single-tenant app.
- As a multi-tenant app.
These instructions are for user-assigned managed Identity. If you plan to use the agent for local debugging then managed identity will not work. You should use SingleTenant instead.
For those on the Microsoft Tenant, using either MultiTenant or SingleTenant with a secret is prohibited. There are limited options for running locally in this case, with Certiciate SN+I being a viable alternative. If this does not work for you, the only alternative is to deploy the Agent code to Azure and run there.
Create the resource
Create the Azure Bot resource. This allows you to register your agent with the Azure AI Bot Service.
-
Go to the Azure portal.
-
In the right pane, select Create a resource.
-
In the search box enter
bot, then press Enter. -
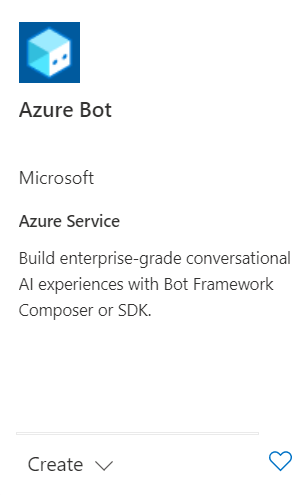
Select the Azure Bot card.

-
Select Create.
-
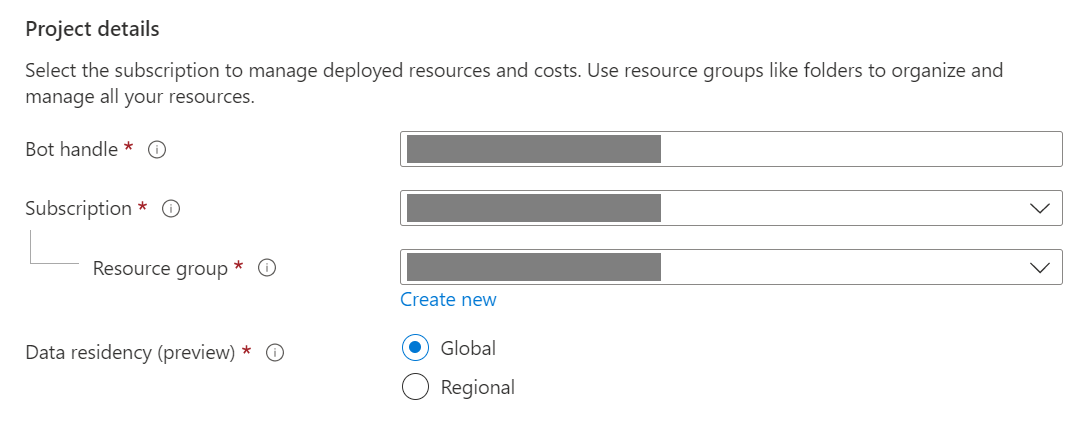
Enter values in the required fields and review and update settings.
a. Provide information under Project details. Select whether your agent will have global or local data residency. Currently, the local data residency feature is available for resources in the “westeurope” and “centralindia” region. For more information, see Regionalization in Azure AI Bot Service.

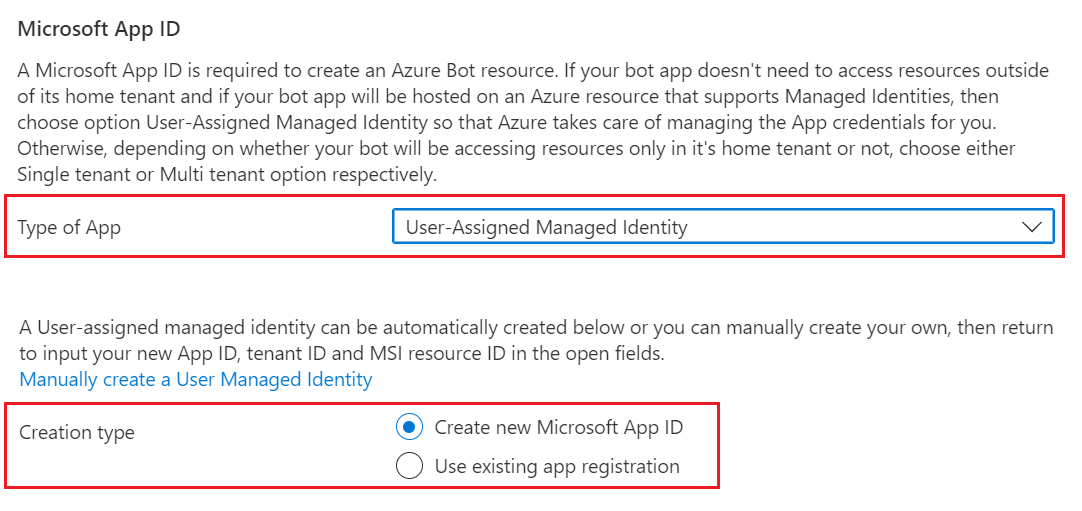
b. Provide information under Microsoft App ID. Select how your agent identity will be managed in Azure and whether to create a new identity or use an existing one.

-
Select Review + create.
-
If the validation passes, select Create.
-
Once the deployment completes, select Go to resource. You should see the agentand related resources listed in the resource group you selected.
-
If this is a Teams bot
- Select Settings on the left sidebar, then Channels.
- Select Microsoft Teams from the list, and choose appropriate options.