
TIP
🔥 Make sure you star the repo (opens new window) to keep up to date with new tips and tricks.
💡 Learn more : Azure Image Builder overview (opens new window).
📺 Watch the video : Getting started with Azure Image Builder (opens new window).
# Getting started with Azure Image Builder
# Virtual Machine Images
Having standard Virtual Machine (VM) images can help you to make sure that your VMs are all configured the same and have the same properties and security policies applied to them. You can create VM images with the Azure Image Builder (opens new window). This allows you to define VM images in json format, store them somewhere (like in the Azure Shared Image Gallery (opens new window)), build them and deploy them into VMs.
In this post, we'll build a Linux-based VM image and create a VM from it using Azure Image Builder.
# Prerequisites
If you want to follow along, you'll need the following:
- An Azure subscription (If you don't have an Azure subscription, create a free account (opens new window) before you begin)
- The Azure CLI (opens new window). You can download it for Windows, Linux or Mac (opens new window). Or you can use the Azure Cloud Shell (opens new window)
# Creating a Linux VM image using Azure Image Builder
Let's use Azure Image Builder to create a Linux VM image, build that image and deploy it as a VM. We'll do all of this using the Azure CLI, which you can run on your local machine (opens new window) or in the cloud using Azure Cloud Shell (opens new window).
Things to do whilst Azure Image Builder is in Preview
Azure Image Builder is currently in preview. This means that we need to run a couple of commands to register the preview feature. You can skip this part when Azure image Builder is generally available.
First, register the new feature:
az feature register --namespace Microsoft.VirtualMachineImages --name VirtualMachineTemplatePreview
Next, check if the registration succeeded. It can take a while until the feature is registered, so keep trying this command until it is:
az feature show --namespace Microsoft.VirtualMachineImages --name VirtualMachineTemplatePreview
We also need to make sure that certain resource providers are registered in your subscription. You can check that with:
az provider show -n Microsoft.VirtualMachineImages

az provider show -n Microsoft.Storage
2
3
If these are not registered, run the following command:
az provider register -n Microsoft.VirtualMachineImages

az provider register -n Microsoft.Storage
2
3
Setup variables and create the VM image
Before we begin, we should create some variables for the things that we are going to use more often. The following commands set variables that we'll use. Make sure to insert your Azure Subscription ID, which you can find with az account show or by looking in the Azure portal under Subscriptions:
# Resource group name - we are using myImageBuilderRG in this example
imageResourceGroup=myImageBuilerRGLinux
# Datacenter location - we are using West US 2 in this example
location=WestUS2
# Name for the image - we are using myBuilderImage in this example
imageName=myBuilderImage
# Run output name
runOutputName=aibLinux
# Set Azure Subscription ID
subscriptionID=<Your subscription ID>
2
3
4
5
6
7
8
9
10
Next, we'll create the resource group that will contain the VM image:
az group create -n $imageResourceGroup -l $location
We also need to grant Image Builder contributor rights on the Resource Group that we've just created. It needs this to build the image. You can use the exact assignee id in the code below. This is the app registration for the image Builder service and is the same for everyone.
az role assignment create \
    --assignee cf32a0cc-373c-47c9-9156-0db11f6a6dfc \
    --role Contributor \
    --scope /subscriptions/$subscriptionID/resourceGroups/$imageResourceGroup
2
3
4
Now to download the example VM template, which is a json file and apply our variables to it:
curl https://raw.githubusercontent.com/danielsollondon/azvmimagebuilder/master/quickquickstarts/0_Creating_a_Custom_Linux_Managed_Image/helloImageTemplateLinux.json -o helloImageTemplateLinux.json

sed -i -e "s/<subscriptionID>/$subscriptionID/g" helloImageTemplateLinux.json
sed -i -e "s/<rgName>/$imageResourceGroup/g" helloImageTemplateLinux.json
sed -i -e "s/<region>/$location/g" helloImageTemplateLinux.json
sed -i -e "s/<imageName>/$imageName/g" helloImageTemplateLinux.json
sed -i -e "s/<runOutputName>/$runOutputName/g" helloImageTemplateLinux.json
2
3
4
5
6
7
You can see the json file and that the parameters have been applied in the code editor by using:
code helloImageTemplateLinux.json
Next, we'll submit the image configuration to the VM Image Builder service:
az resource create \
    --resource-group $imageResourceGroup \
    --properties @helloImageTemplateLinux.json \
    --is-full-object \
    --resource-type Microsoft.VirtualMachineImages/imageTemplates \
    -n helloImageTemplateLinux01
2
3
4
5
6
When that is done, we can build the image with the command below. Note that this can take about 15 minutes or so.
az resource invoke-action \
     --resource-group $imageResourceGroup \
     --resource-type  Microsoft.VirtualMachineImages/imageTemplates \
     -n helloImageTemplateLinux01 \
     --action Run
2
3
4
5
Once the build has completed, we can create a VM from the image using the following command:
az vm create \
  --resource-group $imageResourceGroup \
  --name myVM \
  --admin-username azureuser \
  --image $imageName \
  --location $location \
  --generate-ssh-keys
2
3
4
5
6
7
Note that you can also build and deploy and image using a task in Azure DevOps (opens new window).
Once this is done, you should see a public IP address of the VM in the output. Use that IP address in the following command to SSH into the VM:
ssh azureuser@<publicIpAddress>
That's it! You should now be connected with the VM and see something like the image below, which shows that this VM was built from the VM Image:

(Connected to the VM that was built from the image)
Also, if you go to the Azure portal and take a look at the Resource Group that we've created, you'll find the VM in there:
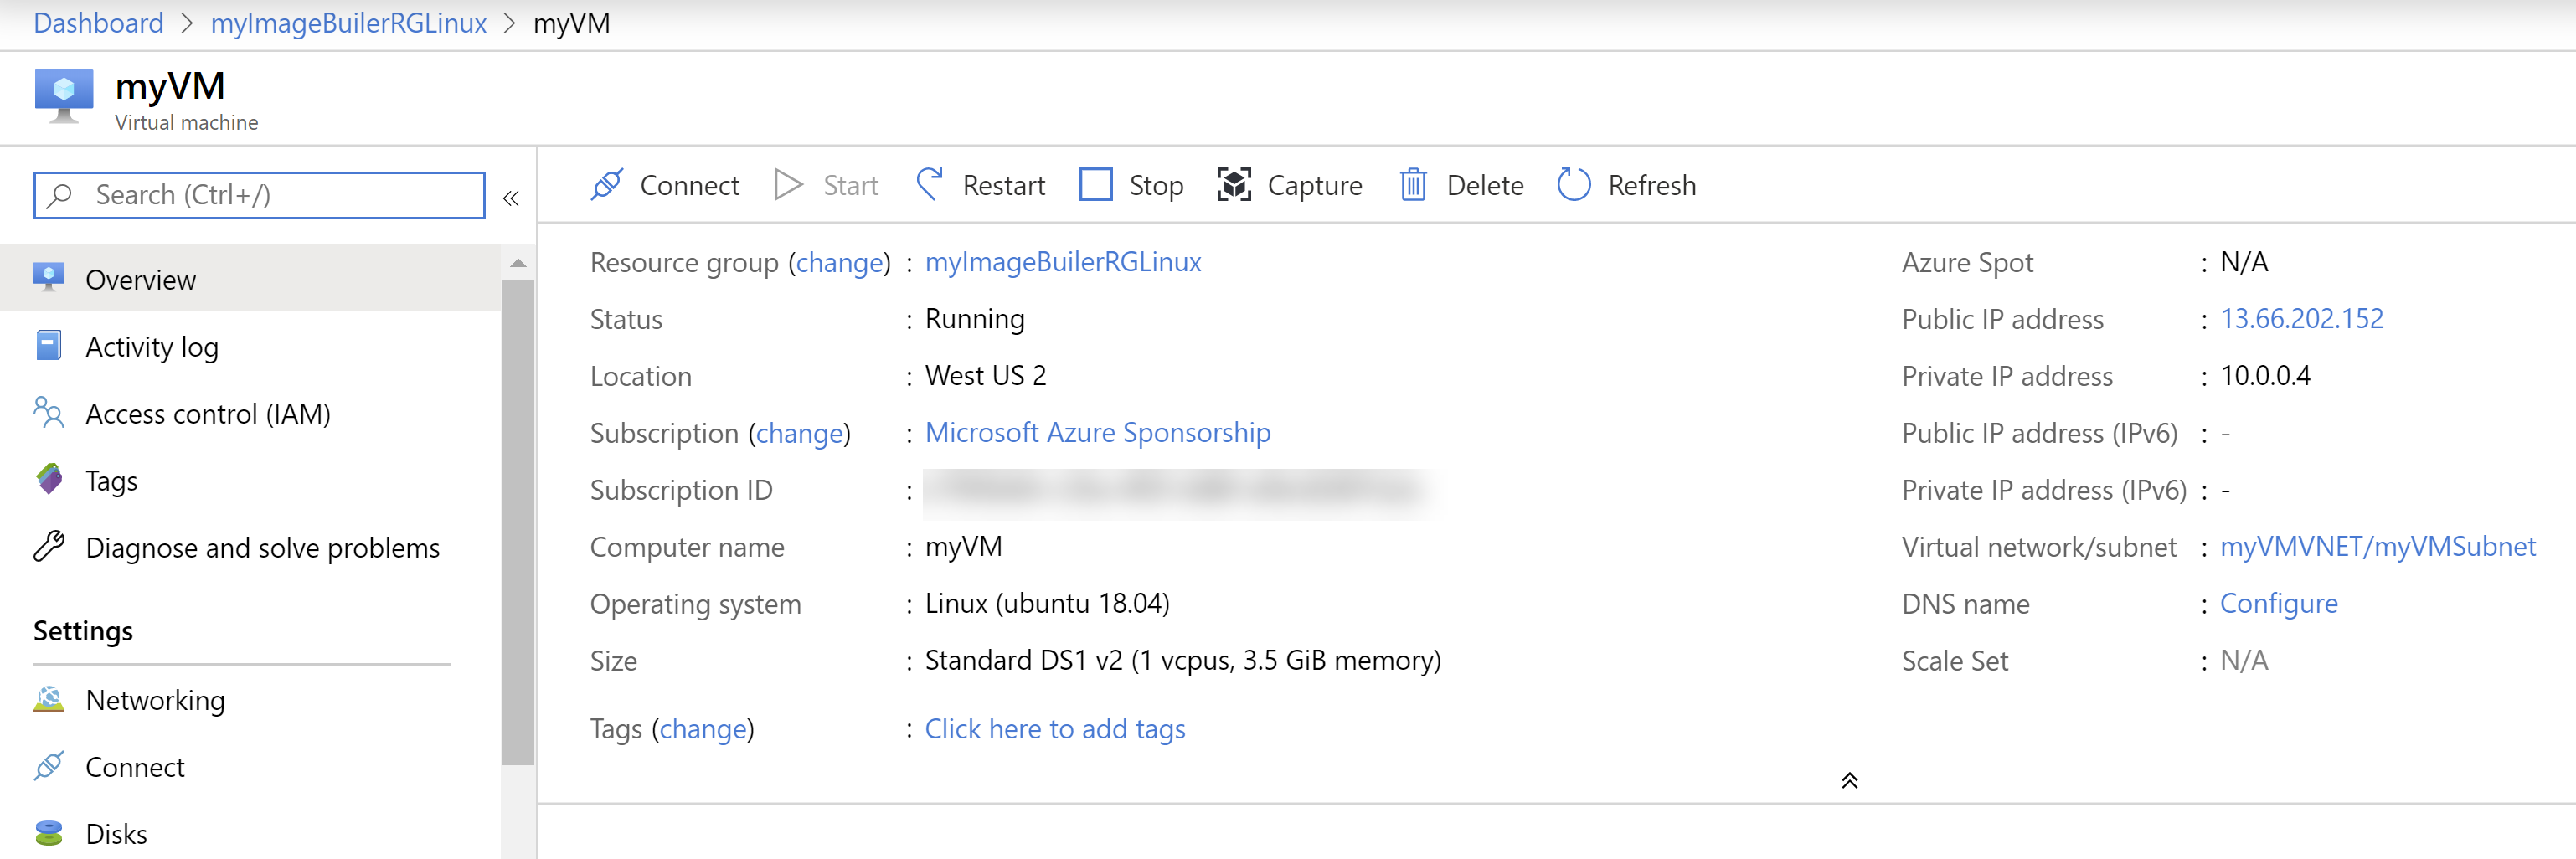
(The VM in the Azure portal)
# Conclusion
Azure Image Builder (opens new window) provides a great way to create customized VM images that you can use as a standard to make sure that you can deploy consistent VMs with the same properties and policies. Go and check it out!