
TIP
🔥 Make sure you star the repo (opens new window) to keep up to date with new tips and tricks.
💡 Learn more : The Azure CLI Interactive Mode (opens new window).
📺 Watch the video : A lap around Azure Kung Fu Toolkit (opens new window).
# A lap around Azure Kung Fu Toolkit
# Azure CLI examples
The Azure CLI (opens new window) is a great way to get things done in Azure. But it isn't always easy to know what you can do with the CLI and how to do that. Sure, you can look at the help instructions, but those don't provide hands-on examples.
The Azure Kung Fu Toolkit (opens new window) is created by Chris Pietschmann (opens new window) who is the founder and primary author at Build5Nines.com (opens new window). The Azure Kung Fu Toolkit contains tons of practical scripts and examples for the Azure CLI. In this post, we'll show how to get started with the toolkit.
# Prerequisites
If you want to follow along, you'll need the following:
- An Azure subscription (If you don't have an Azure subscription, create a free account (opens new window) before you begin)
- The Azure CLI (opens new window). You can download it for Windows, Linux or Mac (opens new window)
- Visual Studio Code (opens new window)
- Alternatively, you can provision the Azure Kung Fu VM (opens new window) to get started
# Getting started with the Azure Kung Fu Toolkit
Let's take a lap around the Azure Kung Fu Toolkit. Let's start by getting it on our local machine:
- Go to the Azure Kung Fu Toolkit GitHub page https://github.com/Build5Nines/az-kung-fu (opens new window)

(Azure Kung Fu Toolkit GitHub repository)
- Download the repository .zip file
- Unzip the .zip file
- Open the unzipped repository folder with Visual Studio Code
Alternatively, you can also clone the Azure Kung Fu Toolkit repository using the VS Code Git Clone command (opens new window).
Once you have opened the toolkit in VS Code, you need to make sure that you have the VS Code Azure CLI Tools Extension (opens new window) installed. If you don't:
- In VS Code, go to the Extensions tab
- Search for Azure CLI Tools
- Install the Azure CLI Tools extension
Now you can browse through the folders of the toolkit and see which scripts are available. There are scripts for creating and deleting Azure Resource Groups (opens new window). Scripts for starting and stopping Azure Virtual Machines (opens new window). Scripts for managing Azure Virtual Networks (opens new window) and lots more. There are also a lot of samples that you can use for specific scenarios, like alter managed disks (opens new window) in a resource group.
You can easily run the scripts from VS Code by replacing the parameter values in a script with your own values, selecting the script and selecting Terminal > Run Selected Text. Make sure that your default VS Code terminal is set to Git Bash as all the scripts are written in Bash.
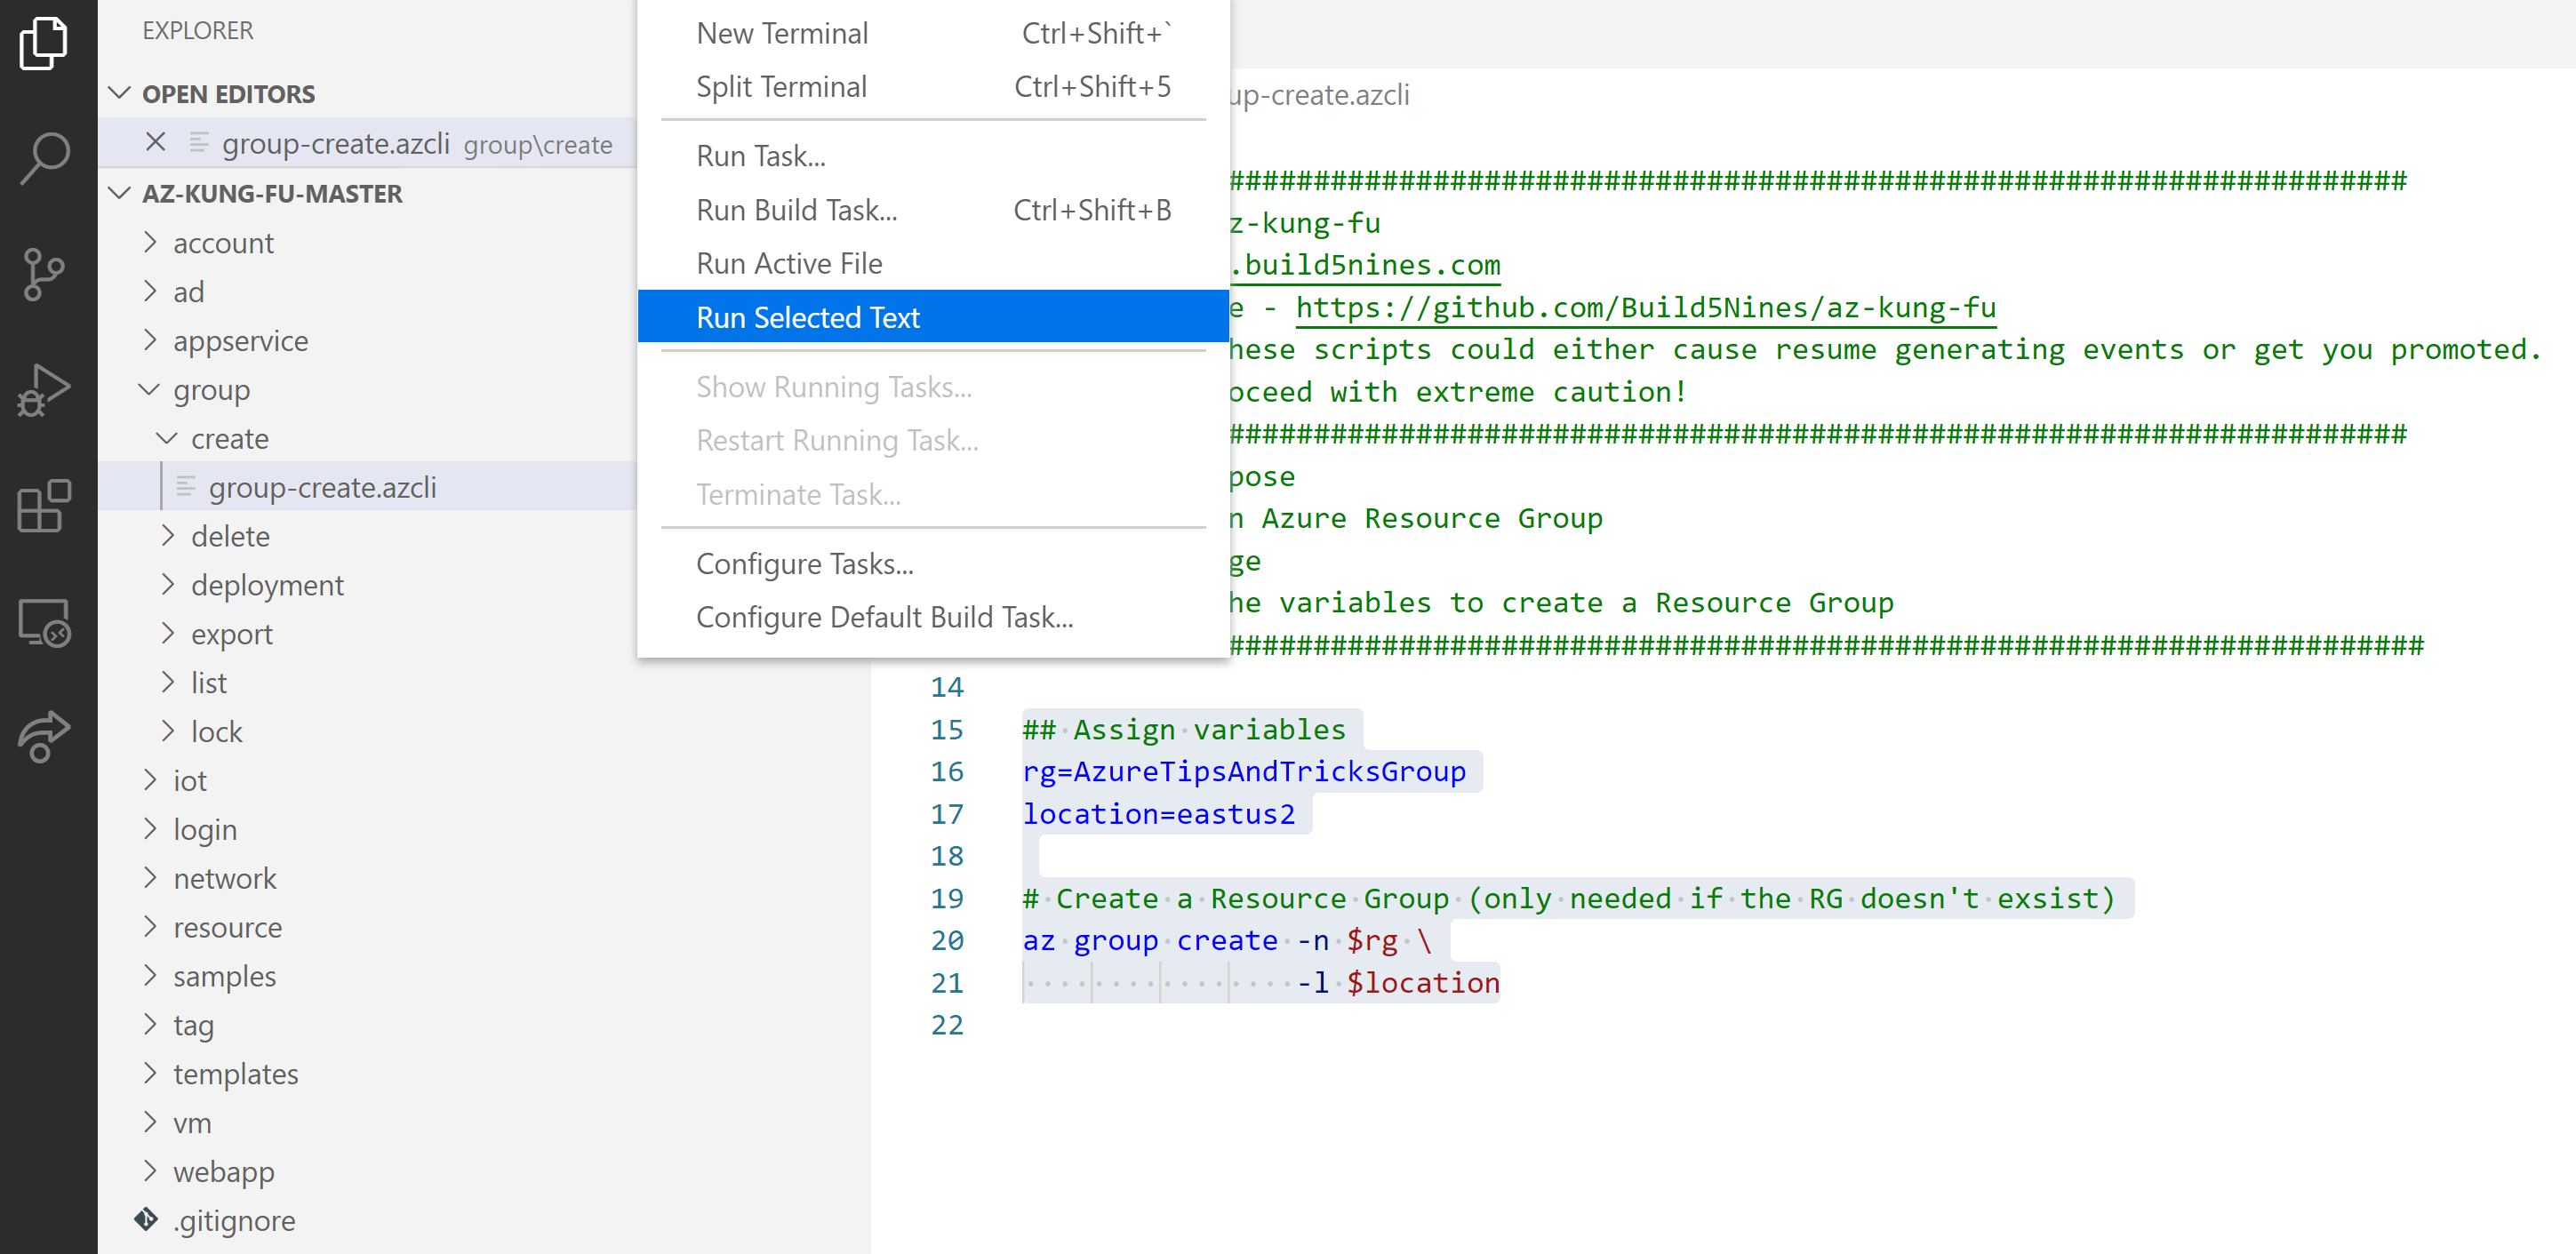
(Run scripts in Visual Studio Code)
Let's try it out by using the scripts to create an Azure Web App (opens new window):
- Navigate to the group > create folder and select the group-create.azcli file. We'll use this to create an Azure Resource Group
- In the file, replace the parameters by something like this:
## Assign variables
rg=AzureTipsAndTricksGroup
location=eastus2
2
3
- Select all the lines in the file and select Terminal > Run Selected Text to create an Azure resource Group
- Next, we'll create an Azure App Service Plan (opens new window). Go to appservice > plan > create and select appservice-plan-create.azcli
- Replace the parameters with something like this:
## Assign variables
rg=AzureTipsAndTricksGroup
location=eastus2
appServicePlanName=MyTipsAppServicePlan
sku=B3
2
3
4
5
- Select only one of the commands, like the one below and run it by selecting it, together with the parameters script and selecting Terminal > Run Selected Text
## Create new App Service Plan (default hosted on Windows)
az appservice plan create --name $appServicePlanName \
    --sku $sku \
    --location $location \
    --resource-group $rg
2
3
4
5
- Finally, we'll create the Azure Web App. Go to webapp \ create and select webapp-create.azcli
- Change the parameters in the file into something like this:
## Assign variables
rg=AzureTipsAndTricksGroup
webApp=MyTipsKungFuWebApp
appServicePlan=MyTipsAppServicePlan
2
3
4
- Run the first command (shown below), together with the parameter script by selecting it and selecting Terminal > Run Selected Text
## Create a Web App (default configuration)
az webapp create -g $rg \
    -n $webApp \
    -p $appServicePlan
2
3
4
That's it. You will now have an Azure Resource Group with an Azure App Service Plan and Azure Web App in it.
(Create an Azure Web App with the Azure Kung Fu Toolkit)
# Conclusion
The Azure Kung Fu Toolkit (opens new window) contains lots of practical Azure CLI scripts and examples that you can easily use by replacing parameters and running the scripts. Go and check it out!