
TIP
🔥 Download the FREE Azure Developer Guide eBook here (opens new window).
💡 Learn more : What is Neural Text-to-speech? (opens new window).
💡 Checkout Azure AI resources for developers (opens new window).
📺 Watch the video : How to get started with Neural Text to Speech in Azure (opens new window).
# How to get started with Neural Text to Speech in Azure
# Synthesize text to speech with in Azure
Azure Neural Text-to-Speech (opens new window) is part of the Azure Cognitive Services family (opens new window). You can use it to synthesize text into natural human speech. You can translate text into speech in more than 54 languages and locales (opens new window) with a growing list of 129 neural voices.
In this post, we'll create a simple application that can turn text into speech.
# Prerequisites
If you want to follow along, you'll need the following:
- An Azure subscription (If you don't have an Azure subscription, create a free account (opens new window) before you begin)
- The latest version of Visual Studio (opens new window) or Visual Studio Code (opens new window). This post uses Visual Studio, and you can also use VS Code to accomplish the same result.
# Use the Text-To-Speech service in Azure
To start turning text into speech, we need to create an Azure Cognitive Service Speech service. We'll do that in the Azure portal.
- Click the Create a resource button (the plus-sign in the top left corner)
- Search for speech, select the "Speech" result and click Create
- This brings you to the Create Speech blade
- Fill in a Name for the speech service
- Pick a Location
- Select a Pricing Tier. The free tier is fine for this demo
- Finally, select a Resource Group
- Click Create to create the speech service
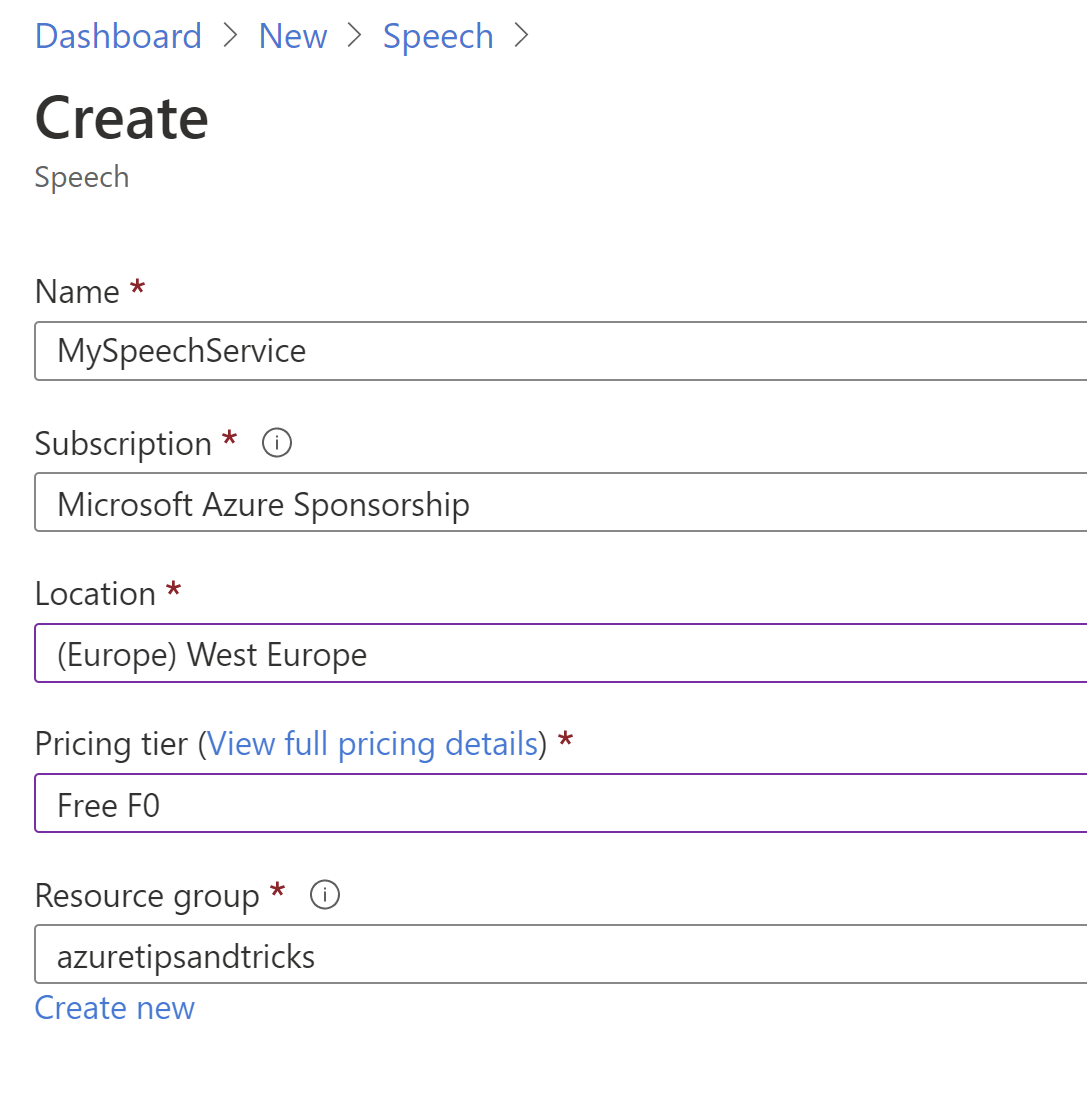
(Create Speech service blade in the Azure portal)
When the speech service is created, navigate to it to see its access keys. You'll need one of the access keys and the location to use the service in an application.
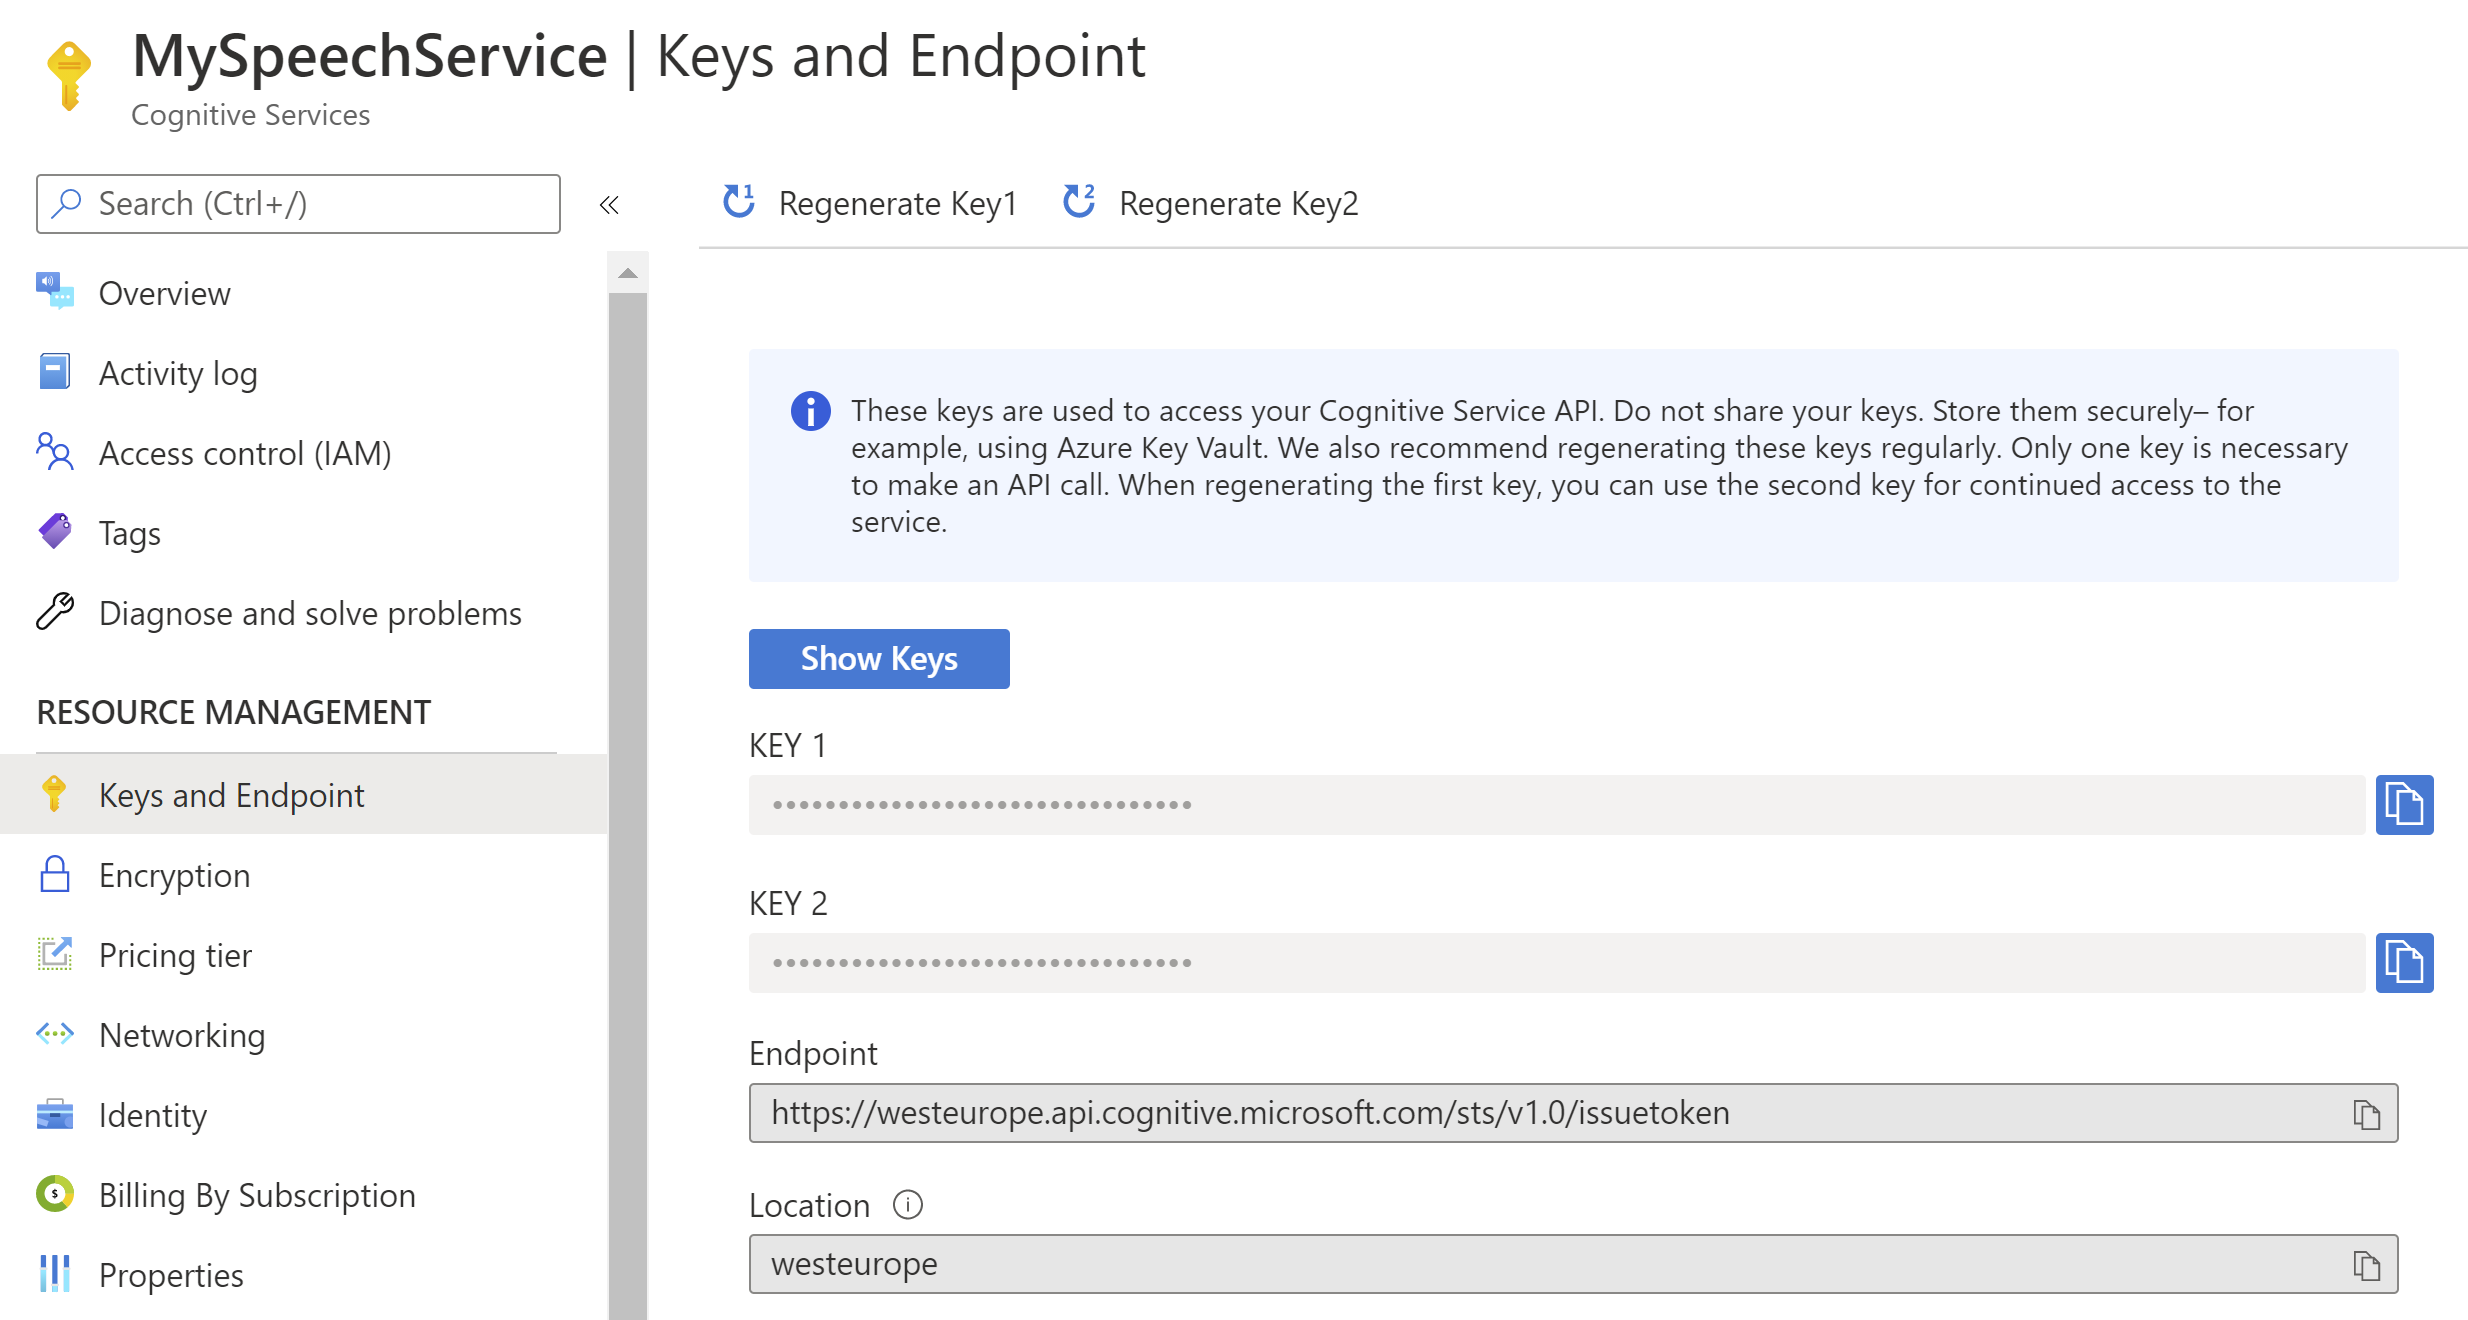
(Speech service access keys in the Azure portal)
Let's use the speech service in an application that we'll create with Visual Studio.
- Open Visual Studio
- Create a new Console application by navigating to File > New > Project and selecting Console Application
- The first thing that we need to do, is to reference a NuGet package to work with the Speech service. Right-click the project file and select Manage NuGet Packages
- Find the package Microsoft.CognitiveServices.Speech and install it
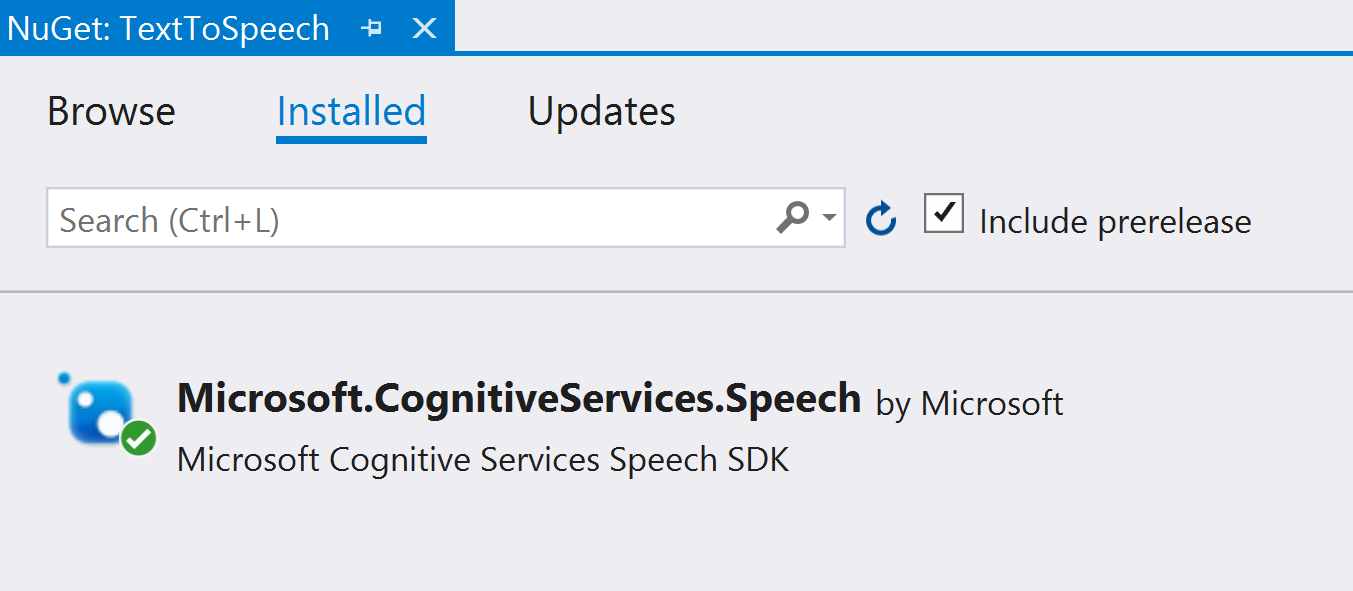
(Speech NuGet package in Visual Studio)
- Next, create the code in the Program.cs file. The file should look like this:
using Microsoft.CognitiveServices.Speech;
using Microsoft.CognitiveServices.Speech.Audio;
using System.Threading.Tasks;

namespace TextToSpeech
{
    class Program
    {
        static async Task Main()
        {
            await SynthesizeAudioAsync();
        }

        static async Task SynthesizeAudioAsync()
        {
            var config = SpeechConfig.FromSubscription("servicekey", "servicelocation");

            using var synthesizer = new SpeechSynthesizer(config, audioConfig);

            await synthesizer.SpeakTextAsync("Synthesizing directly to speaker output.");
        }
    }
}
2
3
4
5
6
7
8
9
10
11
12
13
14
15
16
17
18
19
20
21
22
23
24
In the SynthesizeAudioAsync method, the first thing that happens is that a SpeechConfig is created using the access key and the service location. Leaving the config variable as it is, it is passed to a new SpeechSynthesizer, which is used to turn text into speech
- Run the code to see if it works. It should output the text synthesizing directly to speaker output from your default audio output device
- By default, the service detects the language of the text and uses the default synthesizer voice for it. In this case, it detects the language as en-US and will use the default voice for output. You can change the language that it uses to analyze the text, although the default detection works very good. You can also change the output voice by using the config variable and passing that to the SpeechSynthesizer, like in the example below:
        var config = SpeechConfig.FromSubscription("servicekey", "servicelocation");
        config.SpeechSynthesisVoiceName = "en-GB-RyanNeural";

        using var synthesizer = new SpeechSynthesizer(config, audioConfig);
2
3
4
- Instead of outputting the voice to the default audio output, you can also output the audio to a memory stream or to a file. For instance, to a .wav file, like in the example below:
        var config = SpeechConfig.FromSubscription("servicekey", "servicelocation");
        AudioConfig audioConfig = AudioConfig.FromWavFileOutput("c:/audio.wav");

        using var synthesizer = new SpeechSynthesizer(config, audioConfig);
2
3
4
# Conclusion
The Azure Neural Text-to-Speech (opens new window) service enables you to convert text to lifelike speech which is close to human-parity. Go and check it out!