
TIP
🔥 Checkout the Azure Developer page at azure.com/developer (opens new window).
💡 Learn more : Azure DevTest Labs overview (opens new window).
📺 Watch the video : How to get started with Azure DevTest Labs (opens new window).
# How to get started with Azure DevTest Labs
# Reusable lab environments for testing and training
Azure DevTest Labs (opens new window) helps you quickly create environments in Azure while minimizing waste and controlling cost. You can test the latest version of your application by quickly provisioning environments using reusable templates and artifacts like Visual Studio (opens new window) and Node (opens new window), and easily integrate it with your DevOps pipeline (opens new window), or create pre-provisioned environments for training and demos.
In this post, we'll spin up and explore an Azure DevTest Lab (opens new window).
# Prerequisites
If you want to follow along, you'll need the following:
- An Azure subscription (If you don't have an Azure subscription, create a free account (opens new window) before you begin)
# Create a pool of claimable Virtual Machines (VMs) with all your favorite tools preinstalled
We'll create a small DevTest Lab environment that we can use for software development. Let's start by creating the DevTest Lab resource in Azure:
- Go to the Azure portal (opens new window)
- Click the Create a resource button (the plus-sign in the top left corner)
- Search for DevTest, select the "DevTest Labs" result and click Create
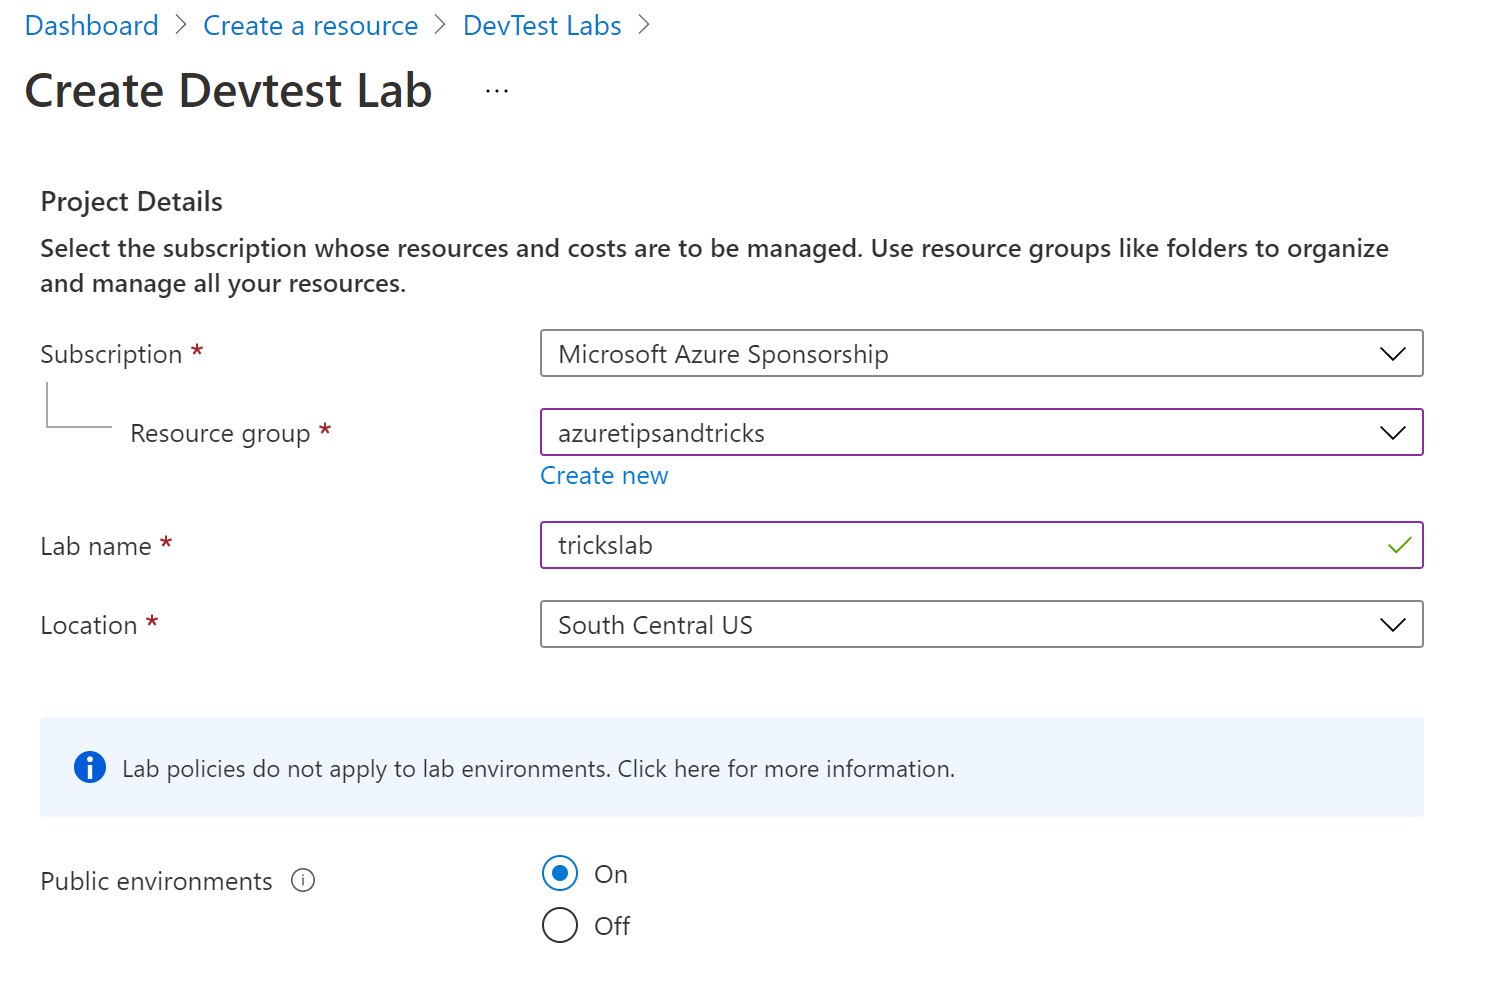
- Select a Resource group
- Type in a Lab name
- Select a Location for the lab
- Leave the Public environments setting to On
(Create a DevTest Lab in the Azure portal)
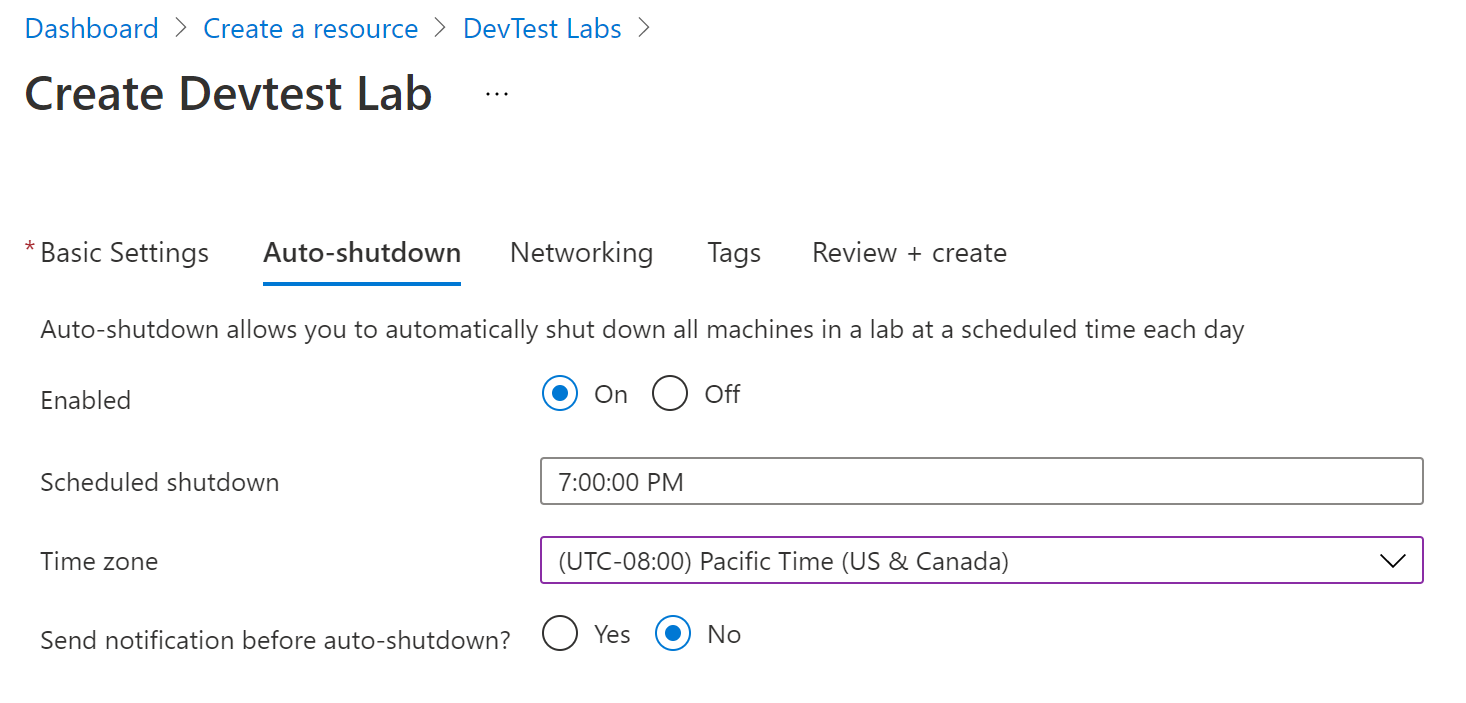
- Click Next: Auto-shutdown
- Select On for the Enabled setting. This will enable auto-shutdown for all VMs that you create in the lab
- Fill in the Scheduled shutdown time
- Pick the correct Time zone
- Click Review + create and then Create to create the lab
(Configure DevTest Lab default auto-shutdown settings)
When the DevTest Lab is created, navigate to it in the Azure portal. From the overview, we can create an environment of VMs. We'll keep it simple and create single VMs for the lab users to claim. You can also use Azure Resource Manager (ARM) templates (opens new window) to create more complex lab environments, with multiple VMs.
- In the overview blade of the DevTest Lab, click Add to start creating a VM
- You can now pick a base for your environment. Search for "Visual Studio" and click on one of the results that contains Visual Studio. This creates a VM that has Visual Studio preinstalled on it
- In the next blade, configure the settings for the lab resource
- Fill in a Name for the VM
- Provide a Username
- Also fill in a Password, or use a saved secret for the password
- Check the Save as default password box
- You can leave the Disk and Size for the VM as it is, or change it if you'd like
- Leave the OS disk type to the default setting
- Click on Add or Remove Artifacts. This is one of the best features of DevTest Labs. In the Add artifacts blade (opens new window), you can pick software that will be preinstalled on all VMs in your lab. There are lots of standard software items that you can choose from the public DevTest Labs Git repository (opens new window). And you can add artifacts from your own Git repository
- Search for Notepad++
- Click in the arrow next to the result
- Select OK to add the artifact
- Click OK to go back to the previous blade
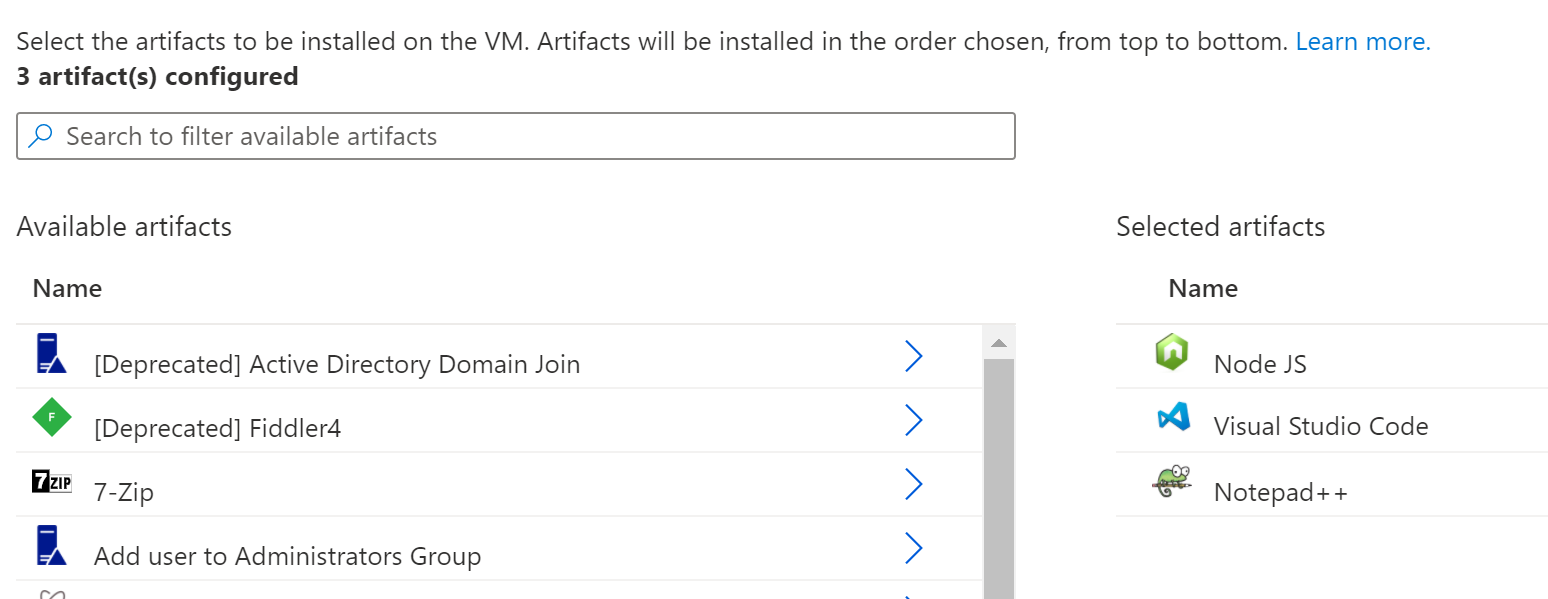
(Add artifacts to the VM)
- Next, click on the Advanced Settings tab
- Set Make this machine claimable to Yes. This will enable lab users to claim the VM, so that they can use it exclusively
- Change Number of instances to 3
- Go back to the Basic Settings tab
- click Create to create the lab with 3 VMs
When the VMs are created, you can find them in the Claimable virtual machines menu of the DevTest Lab resource. Click on one of the VMs to see its details. You'll see that it has the auto-shutdown feature enabled by default.
(Unclaimed VM in Azure DevTest Lab)
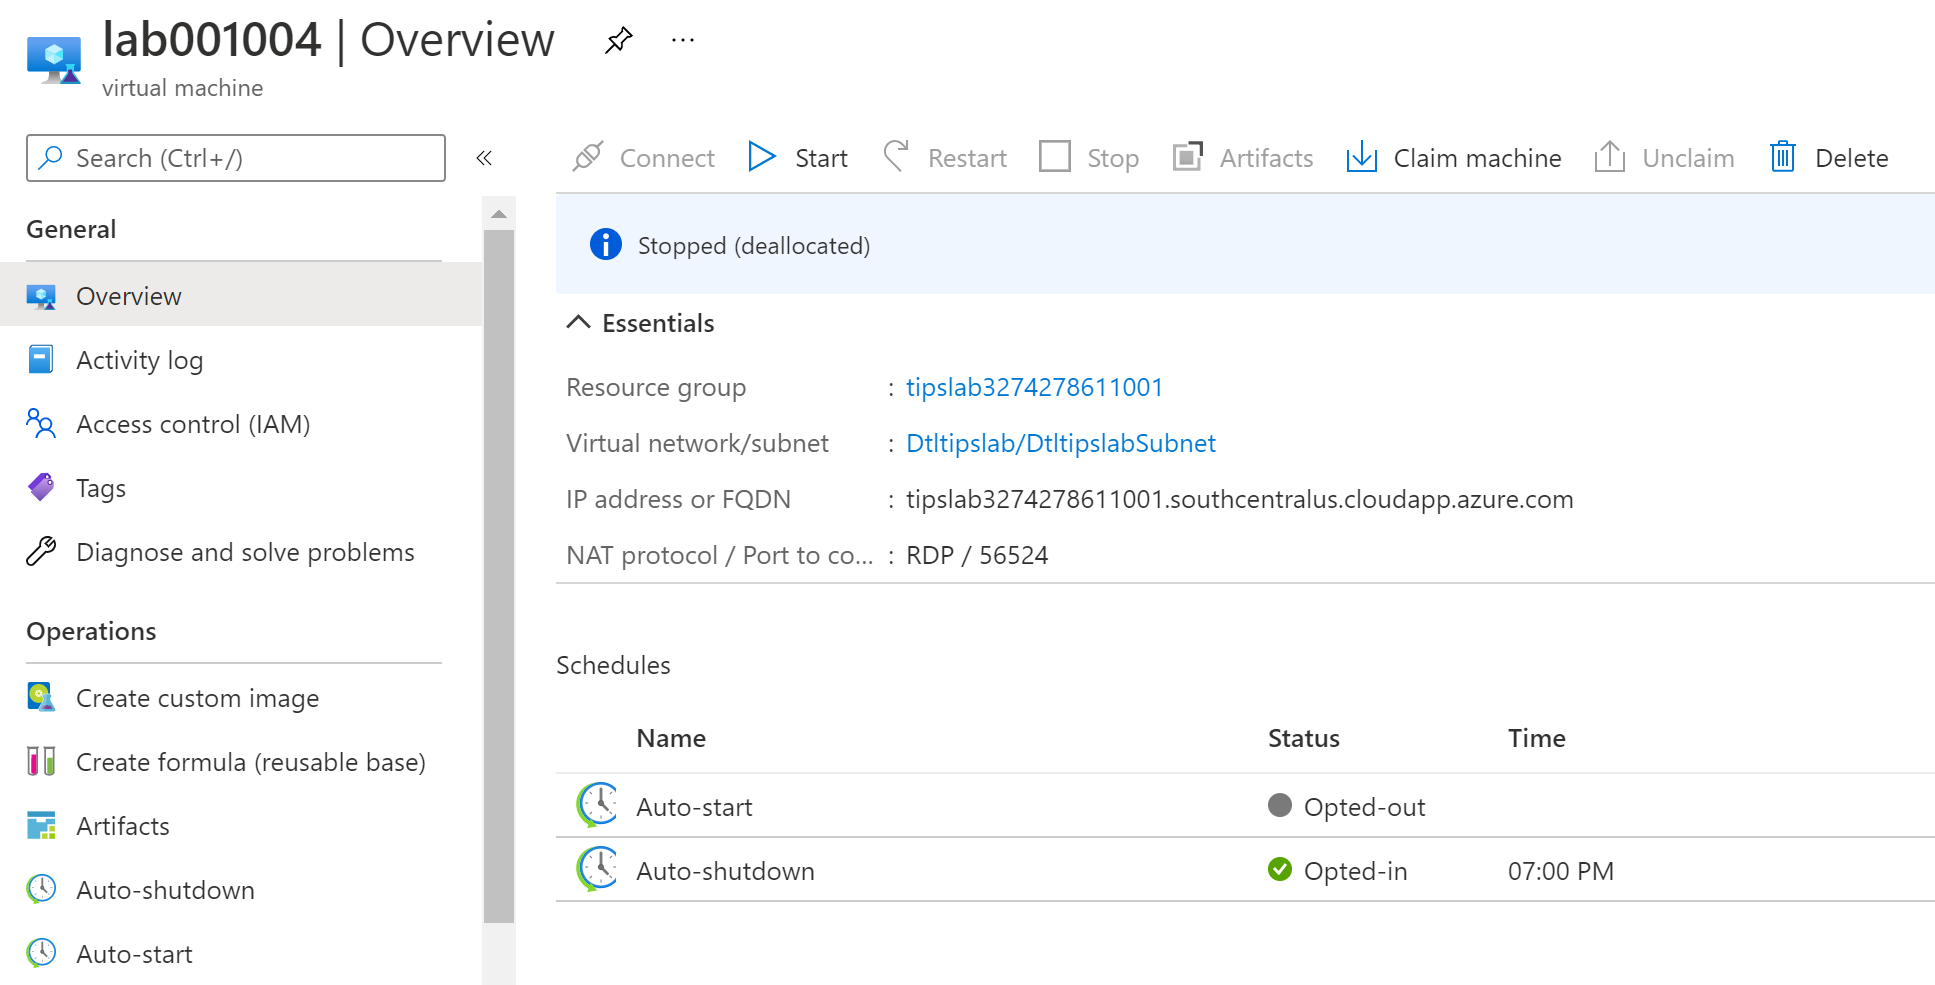
- Click Claim machine to claim the VM. This means that the VM is now yours to use, until you unclaim it
- Navigate to the Create formula menu. Here, you can create a reusable base from this VM, including its artifacts. This is useful when you want to create more VMs based on this one
- Next, click on the Artifacts menu. This shows you the artifacts that you configured earlier, and shows when they were installed
- Go back to the overview blade of the VM and click Connect. This downloads an RDP file
- Open the RDP file and fill in the username and password for the VM
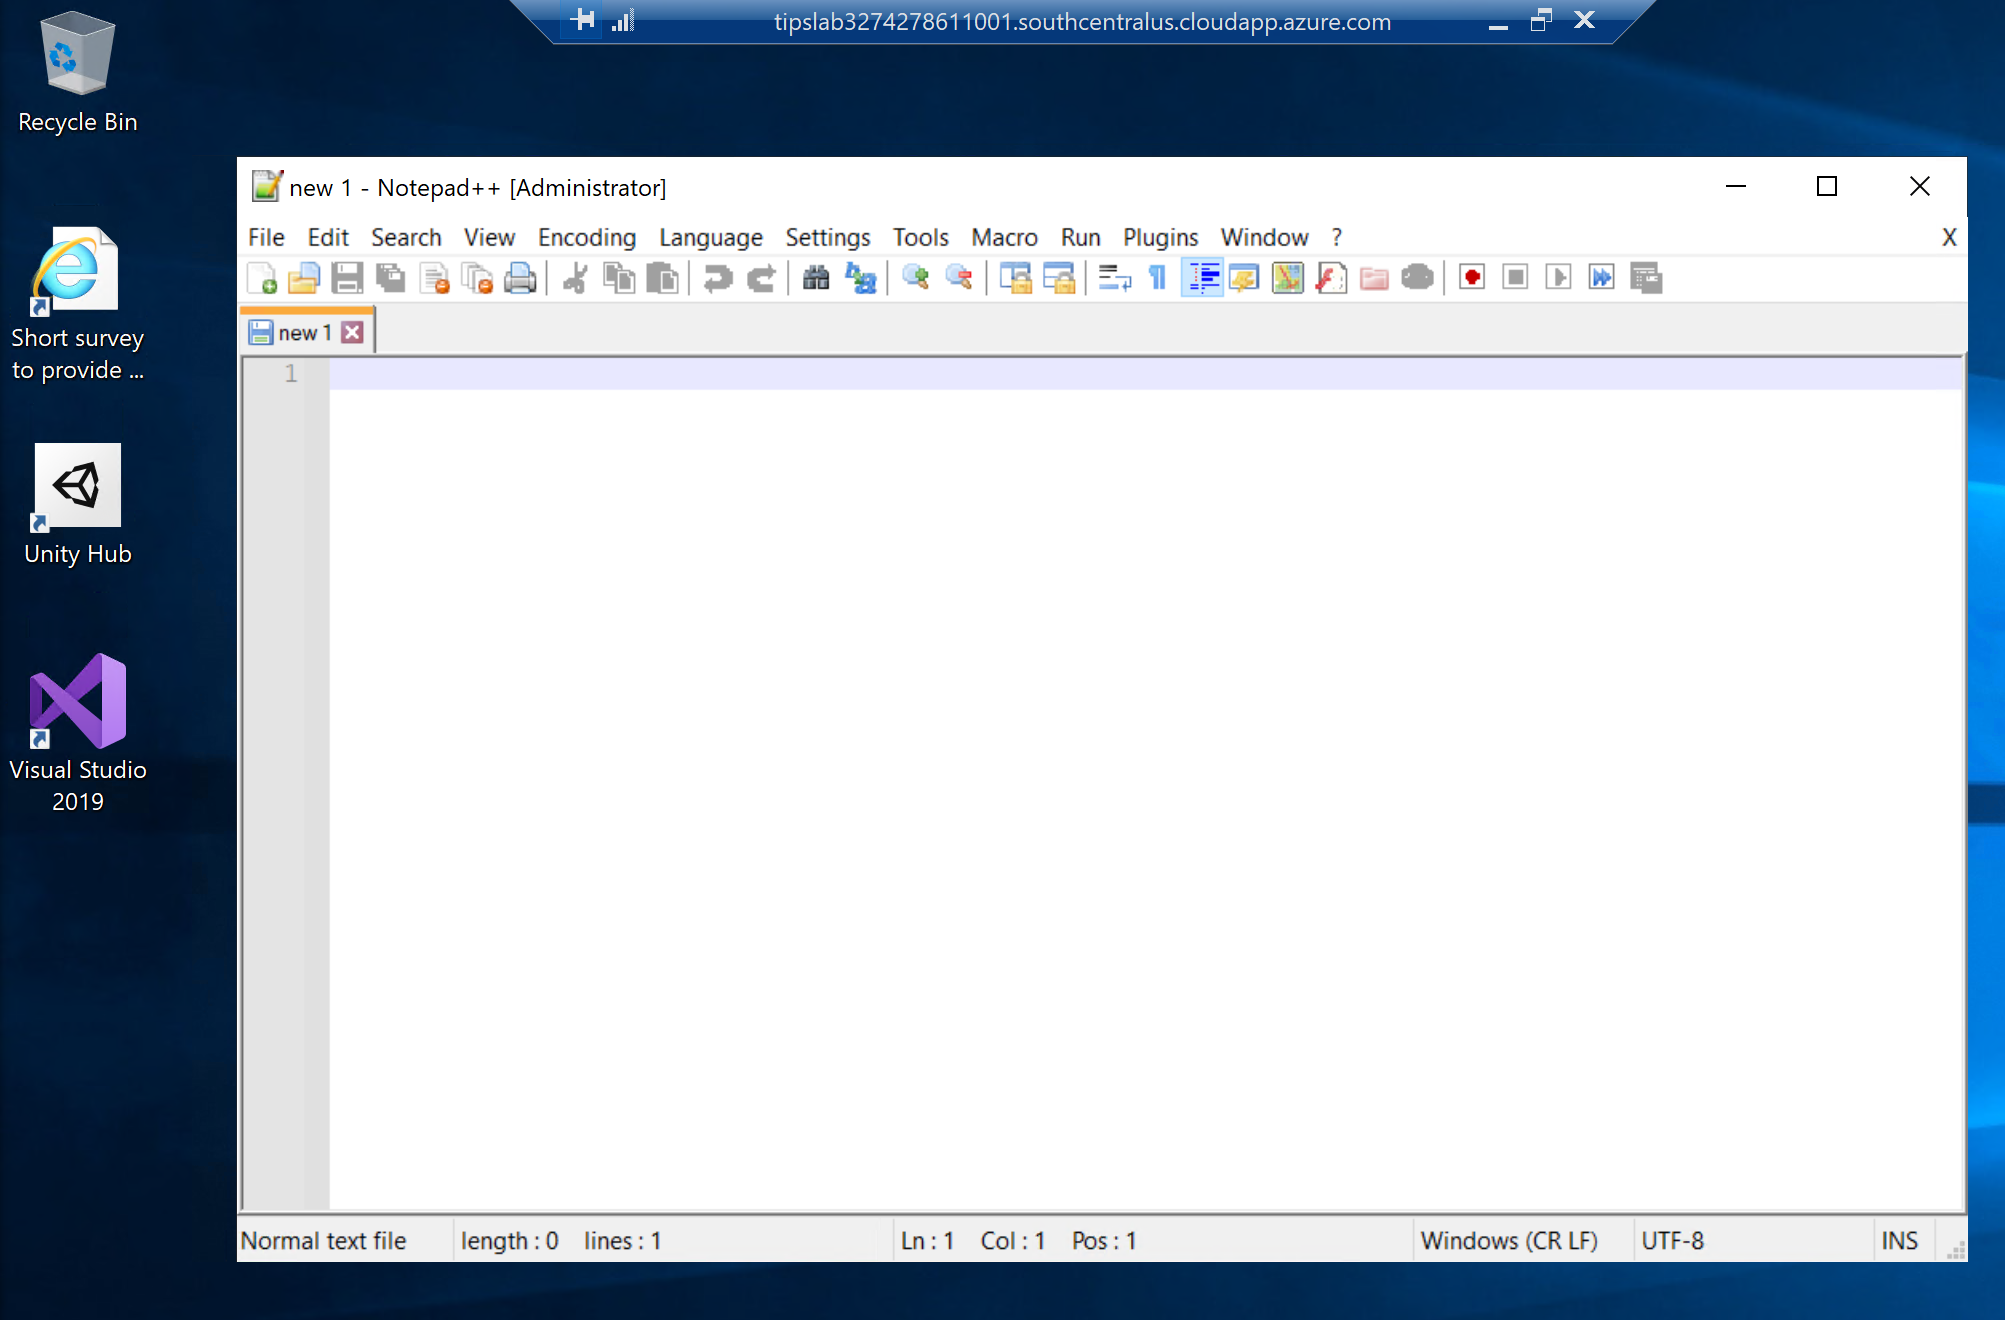
- In the VM, search for Notepad++. You'll see that it is preinstalled on the machine
(Notepad++ is a preinstalled artifact on the VM)
# Conclusion
Azure DevTest Labs is great for quickly spinning up customized VM environments that your team can use for development, testing and training. And with intelligent features like auto-shutdown (opens new window), policies (opens new window), and integration with Azure DevOps (opens new window), administrators have control over costs, security and customization. Go and check it out!