
TIP
🔥 Help shape the future of Azure Tips and Tricks by telling what you'd like for us to write about here (opens new window).
💡 Learn more : GitHub Codespaces overview (opens new window).
📺 Watch the video : How to work with your Azure apps in GitHub Codespaces (opens new window).
# How to work with your Azure apps in GitHub Codespaces
# An Integrated Development Environment in the cloud
You can now use GitHub Codespaces (opens new window) to develop your applications. This means that you can open a browser and start coding. Or you can use VS Code (opens new window) on your local machine and connect that to GitHub Codespaces. This is a great way to develop a resource-intensive application on a simple device. You run VS Code on a laptop or tablet without much power and GitHub Codespaces does the heavy lifting in the cloud.
In this post, we'll use GitHub Codespaces to develop a simple Azure Function (opens new window) in a browser.
# Prerequisites
If you want to follow along, you'll need the following:
- A GitHub account (If you don't have an account, create a free account (opens new window) before you begin)
# Developing an Azure Function in GitHub Codespaces
You use GitHub Codespaces with GitHub repositories. So let's start by creating a repository.
- Go to github.com (opens new window) and log into your account
- Change the URL to github.com/new (opens new window) to start creating a new repository
- Enter a Name for the repository
- Check the "Add a README file" box
- Click "Create repository". This will take you to the landing page of the new repository
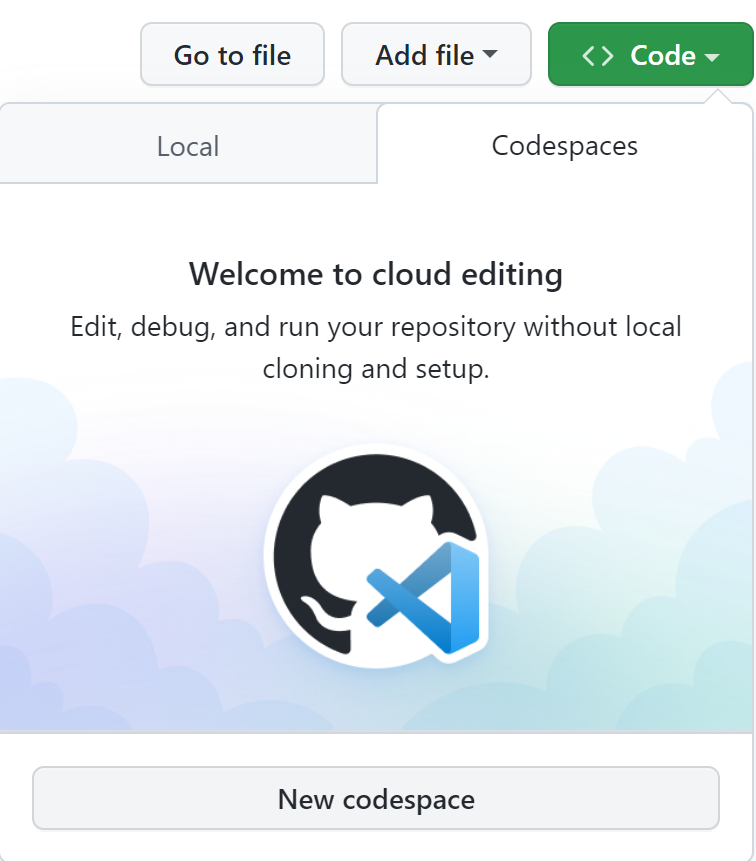
- In the repository, you'll see a button that says "<> Code". Click on it and select the Codespaces tab
- Click "New codespace". This will create a GitHub Codespace and open it in a browser window
(Create a GitHub Codespace)
You are now connected to GitHub Codespaces in your browser. It looks and feels exactly like VS Code, and it has the same capabilities. By default, it has features like IntelliCode (opens new window) enabled, and you can install any VS Code extension that you want.
If you switch back to GitHub, you can see and manage the codespace from the codespaces menu in your profile.
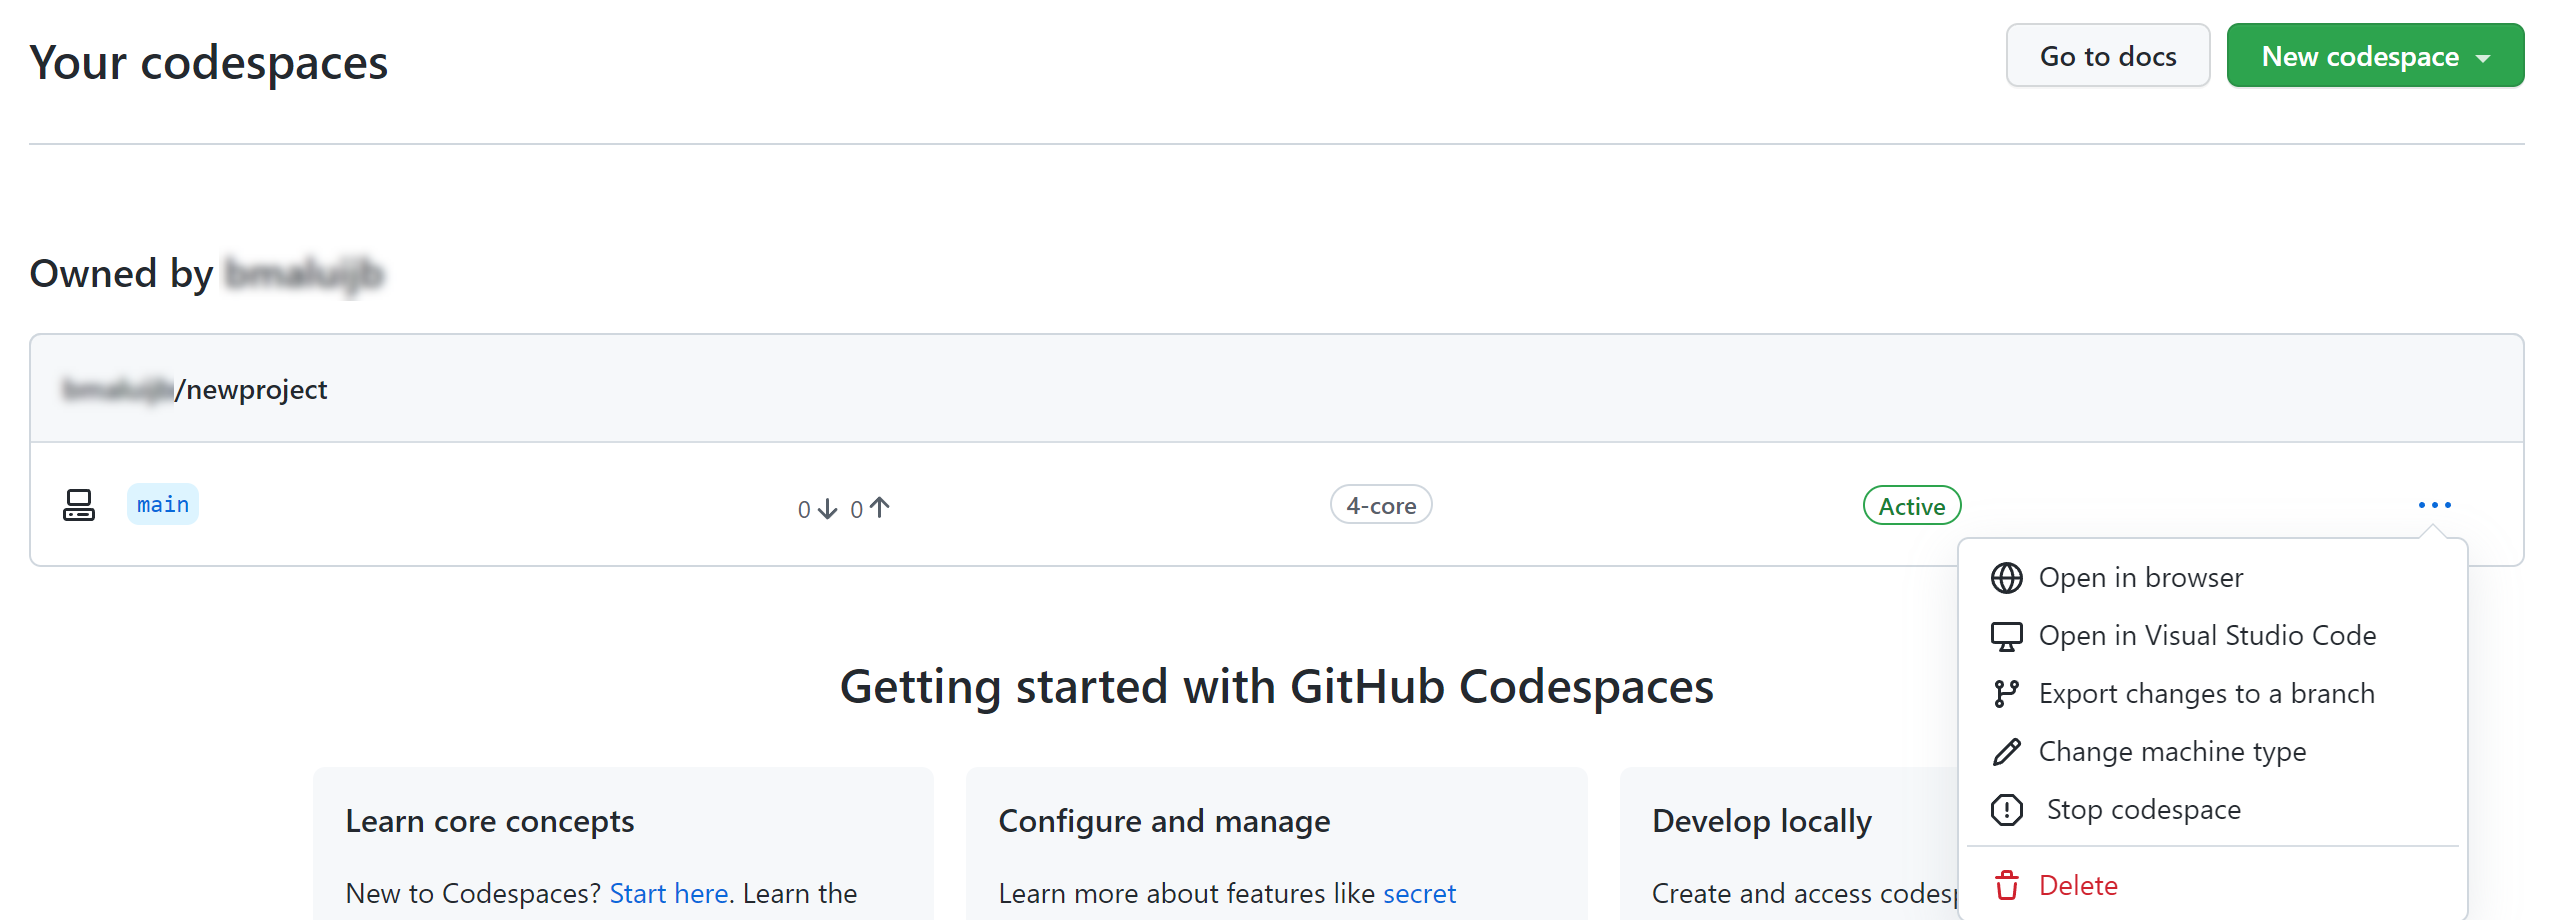
(Manage codespaces in GitHub)
Let's create an Azure Function and run it.
- In the GitHub Codespace, go to the Extensions tab
- Search for the Azure Functions extension.
- Install the official Azure Functions extension (opens new window) and click reload to reload the environment
- We just need one more thing: the Azure Functions Core Tooling. Open the Terminal (Menu > Terminal > New Terminal)
- Install the Azure Functions Core tooling by executing the following command in the Terminal:
npm i -g azure-functions-core-tools@4 --unsafe-perm true
- Next, open the Command Palette (Menu > View > Command Palette)
- In the Command Palette, type Azure Functions: Create New Project
- Select the repository folder in which to store the files for the project
- Select C#
- Pick the latest version of .NET
- Select HttpTrigger
- Fill in a Name for the Function
- And enter a name for the Namespace of the Function
- Select Anonymous for the AccessRights and press Enter. This creates a default HttpTrigger Azure Function

(Azure Function in GitHub Codespace)
- Leave the out-of-the-box code and Run and Debug menu
- Click on the start button to run the Function and start debugging. The terminal will show the build progress and will show the URL of the Function
- The Azure Function is reachable through a URL and its port is forwarded to your local machine automatically. You can see this in the Remote Explorer
- Click on the Azure Function URL in the terminal to open it in your browser. This uses port forwarding technology to call the Function

(Azure Function called from local machine)
# Conclusion
GitHub Codespaces (opens new window) provides a full-fledged development environment in the cloud that you can access from your browser, or from your local VS Code (opens new window). It can replace your development computer and enables you to do compute-intensive work from any device that has a browser. Go and check it out!