TIP
💡 Learn more : Azure for Containers (opens new window).
# Use .NET Core WebAPI and Docker Compose
How hard do you think it is to:
- Create and Publish a .NET Core WebAPI project
- Add it to a Docker Container using Docker Compose and push it to a Docker Hub
- Use it in Azure with Web App for Containers
In this mini-series, we'll build on each part starting with creating and publishing a .NET Core WebAPI project. Today, we'll use Docker Compose to create an image and push it to Docker Cloud and we'll wrap up by deploying it to Azure using Web App for Containers (opens new window).
# Use .NET Core WebAPI and Docker Compose
Now that we have created and published a .NET Core WebAPI project (opens new window), we'll resume by using Docker Compose to create an image.
Think of this as three steps:
1.) We need a Dockerfile for the entire to understand the image we are creating. 2.) We need a docker-compose.yml file to pass to the Docker Compose Command 3.) We need to run the Docker Compose command.
# Step 1
Let's begin by creating a Dockerfile.
What is a DockerFile? It is simply a text file containing the instructions needed to create a new container image. These instructions include identification of an existing image to be used as a base, commands to be run during the image creation process, and a command that will run when new instances of the container image are deployed. In other words, this file defines your app’s environment so it can be reproduced anywhere.
Copy and paste the following and name it Dockerfile without an extension and place it in the same folder as your source code.
FROM microsoft/aspnetcore:2.0
ARG source
WORKDIR /app
EXPOSE 80
COPY ${source:-obj/Docker/publish} .
ENTRYPOINT ["dotnet", "mbcwebapi.dll"]
2
3
4
5
6
Let's go over the main instructions:
- The FROM instruction sets the container image that will be used during the new image creation process. In this case, we're using the base aspnetcore image from Microsoft.
- The EXPOSE instruction sets the port number.
- The COPY instruction provides where it is going to pull the final release from
- The ENTRYPOINT instruction provides the entry point into the application and in our case, we specify the release .dll.
# Step 2
We need a docker-compose.yml file to pass to the Docker Compose Command
What is docker-compose.yml? This file defines the services that make up your app so they can be run together in an isolated environment.
version: '3'

services:
  mbcwebapi:
    image: mbcrump/mbcwebapi
    build:
      context: ./mbcwebapi
      dockerfile: Dockerfile
2
3
4
5
6
7
8
Let's go over the main instructions:
When composing this Docker image, we will use the mbcwebapi project and build an image called mbcrump/mbcwebapi. We'll set the context to look in the ./mbcwebapi folder and there it will find the Dockerfile.
Note: Please note that the image name mbcrump/mbcwebapi was based my Docker username and then the app name. If you don't have a Docker account, then you probably want to create one now.
# Step 3
We need to simply run docker-compose up and Docker Compose will start and run your entire app.
Michaels-MacBook-Pro:mbcwebapi mbcrump$ docker-compose up
Creating network "mbcwebapi_default" with the default driver
Building mbcwebapi
Step 1/6 : FROM microsoft/aspnetcore:2.0
 ---> 757f574feed9
Step 2/6 : ARG source
 ---> Using cache
 ---> 96deb3aec068
Step 3/6 : WORKDIR /app
 ---> Using cache
 ---> c0fecb757aa4
Step 4/6 : EXPOSE 80
 ---> Using cache
 ---> e4f034c54397
Step 5/6 : COPY ${source:-obj/Docker/publish} .
 ---> 6bd68f6553c4
Step 6/6 : ENTRYPOINT dotnet mbcwebapi.dll
 ---> Running in 7036d9913baa
 ---> 90384b8ed543
Removing intermediate container 7036d9913baa
Successfully built 90384b8ed543
Successfully tagged mbcrump/mbcwebapi:latest
WARNING: Image for service mbcwebapi was built because it did not already exist. To rebuild this image you must use `docker-compose build` or `docker-compose up --build`.
Creating mbcwebapi_mbcwebapi_1 ...
Creating mbcwebapi_mbcwebapi_1 ... done
Attaching to mbcwebapi_mbcwebapi_1
mbcwebapi_1  | warn: Microsoft.AspNetCore.DataProtection.Repositories.FileSystemXmlRepository[60]
mbcwebapi_1  |       Storing keys in a directory '/root/.aspnet/DataProtection-Keys' that may not be persisted outside of the container. Protected data will be unavailable when container is destroyed.
mbcwebapi_1  | warn: Microsoft.AspNetCore.DataProtection.KeyManagement.XmlKeyManager[35]
mbcwebapi_1  |       No XML encryptor configured. Key {70d9c953-b38f-4e26-92d2-6a07557aaefc} may be persisted to storage in unencrypted form.
mbcwebapi_1  | Hosting environment: Production
mbcwebapi_1  | Content root path: /app
mbcwebapi_1  | Now listening on: http://[::]:80
mbcwebapi_1  | Application started. Press Ctrl+C to shut down.
2
3
4
5
6
7
8
9
10
11
12
13
14
15
16
17
18
19
20
21
22
23
24
25
26
27
28
29
30
31
32
33
34
Excellent! We now have a ASP.NET WebAPI project living inside a Docker Container that we can push to Docker Hub.
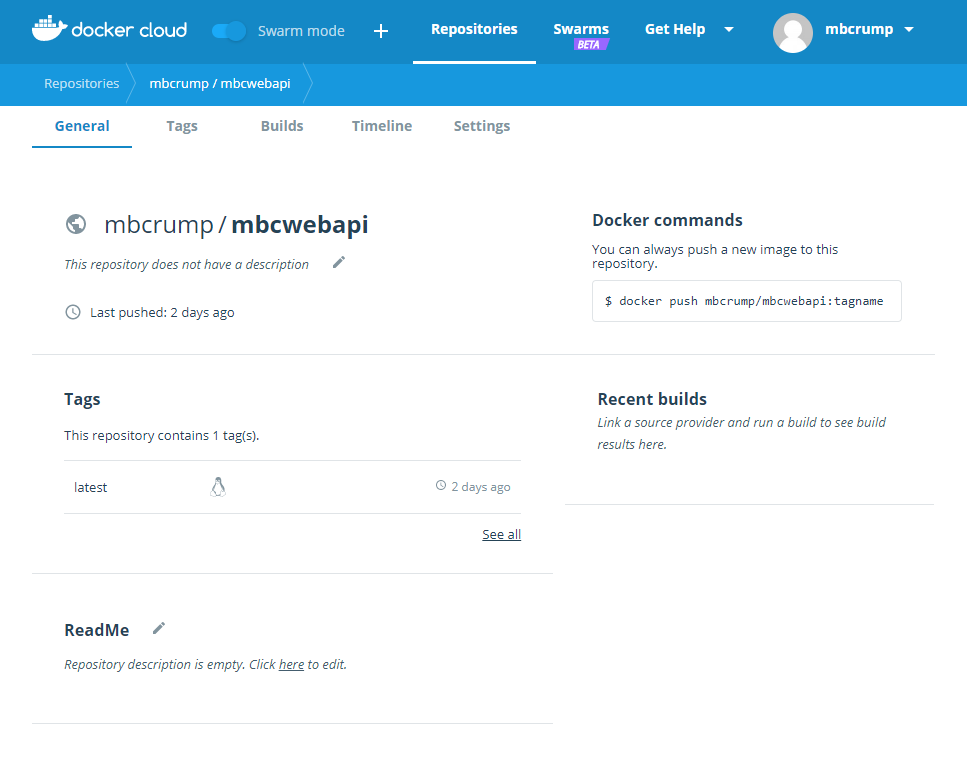
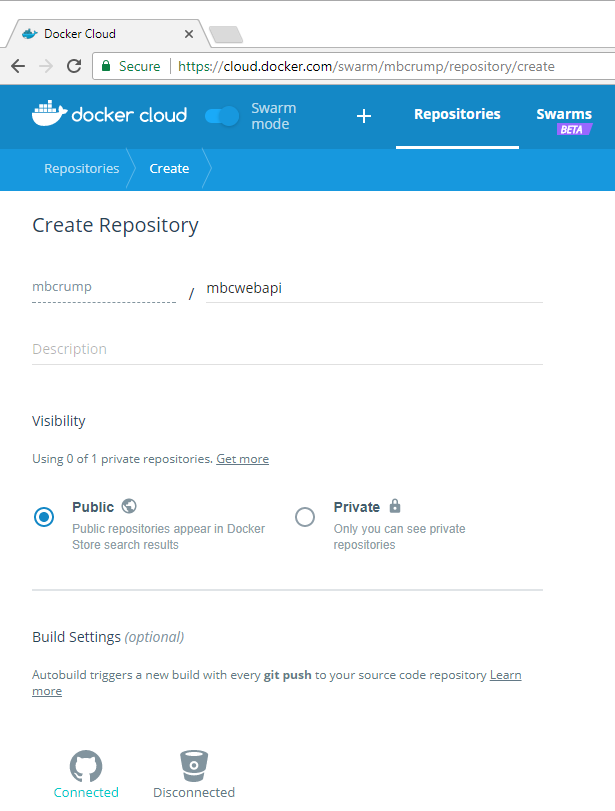
# Push to Docker Cloud
Login to Docker Cloud (opens new window) and create a repository. In my case, I used mbcrump/mbcwebapi just like in the docker-compose.yml example earlier.
Head back to the terminal or command prompt and enter:
docker login to authenticate your account.
docker push mbcrump/mbcwebapi:latest to push your image to Docker Cloud.
You can go back to Docker Cloud to verify it pushed successfully.