TIP
💡 Learn more : Azure for Containers (opens new window).
# Deploy a .NET Core WebAPI Project to Web App for Containers
# Use .NET Core WebAPI and Docker Compose
How hard do you think it is to:
- Create and Publish a .NET Core WebAPI project
- Add it to a Docker Container using Docker Compose and push it to a Docker Hub
- Use it in Azure with Web App for Containers
In this mini-series, we'll build on each part starting with creating and publishing a .NET Core WebAPI project. Yesterday, we used Docker Compose to create an image and push it to Docker Cloud and we'll wrap up today by deploying it to Azure using Web App for Containers (opens new window)?WT.mc_id=azure-azuredevtips-azureappsdev).
# Deploy a .NET Core WebAPI Project to Web App for Containers
In Tip 55 we pushed our Docker Image to Docker Cloud. As a reminder, we created a repository in Docker Cloud and headed back to our command prompt (or terminal) and ran the following commands:
docker login to authenticate
docker push mbcrump/mbcwebapi:latest to push your image to Docker Cloud.
Now that we have a Docker Cloud repository, we can push it to Azure using Web App for Containers (opens new window)?WT.mc_id=azure-azuredevtips-azureappsdev).
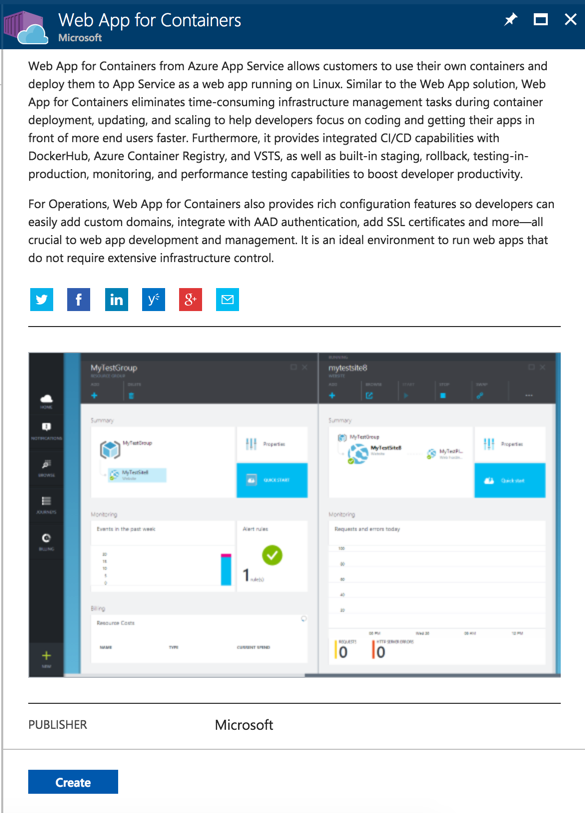
Go ahead and log into the Azure Portal and search for Web App for Containers. You should see the following:
Press the Create button and you should see the following:
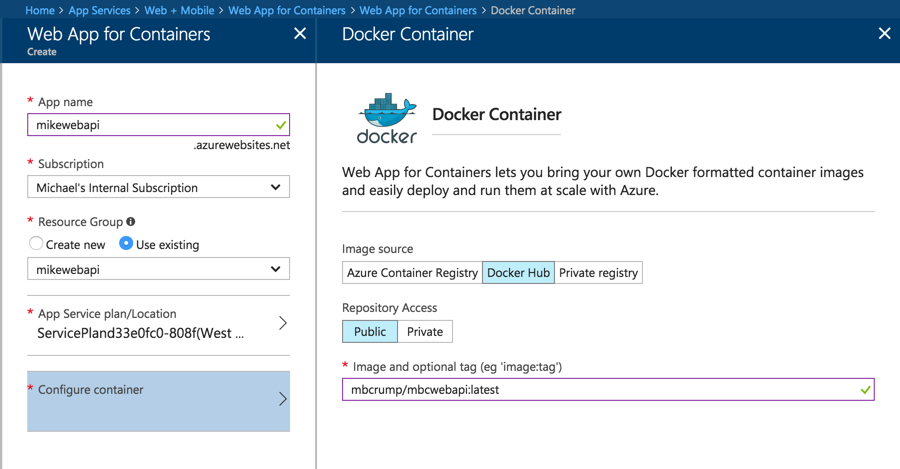
You should be familiar with (name, resource group, etc.) with the exception being the Configure Container section.
Here we will use Docker Hub (think Docker Cloud), our repo is public, and the name of the image. Which follows the format docker username/our app name:tag. For a refresher, visit Step 2 in yesterday's post.
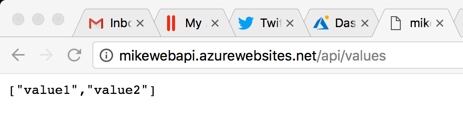
After our Web App for Container is deployed, you can simply go to your new url and append /api/values to see your new site.