
TIP
💡 Learn more : Azure Cognitive Services (opens new window).
💡 Checkout Azure AI resources for developers (opens new window).
# Language Detection with Cognitive Service and Azure
After reviewing the Text Analysis API (opens new window), I noticed three capabilities that I wanted to take a further look at:
- Sentiment Analysis - Find out what customers think of your brand or topic by analyzing raw text for clues about positive or negative sentiment.
- Key Phrase Detection - Automatically extract key phrases to quickly identify the main points.
- This post - Language Detection - For up to 120 languages, detect which language the input text is written in and report a single language code for every document submitted on the request.
In this post, we'll look at Language Detection which is part of Cognitive Services and is now inside the Azure portal.
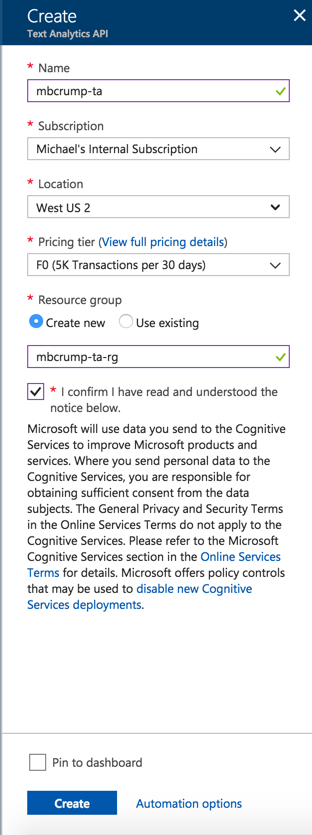
If you open the Azure portal and look for AI and Cognitive Services then you'll see the Text Analysis API that we worked with yesterday and we'll continue using it today. Open the blade and fill out the following info if you didn't do this yesterday. Be sure to select the Free tier (F0) as shown below:
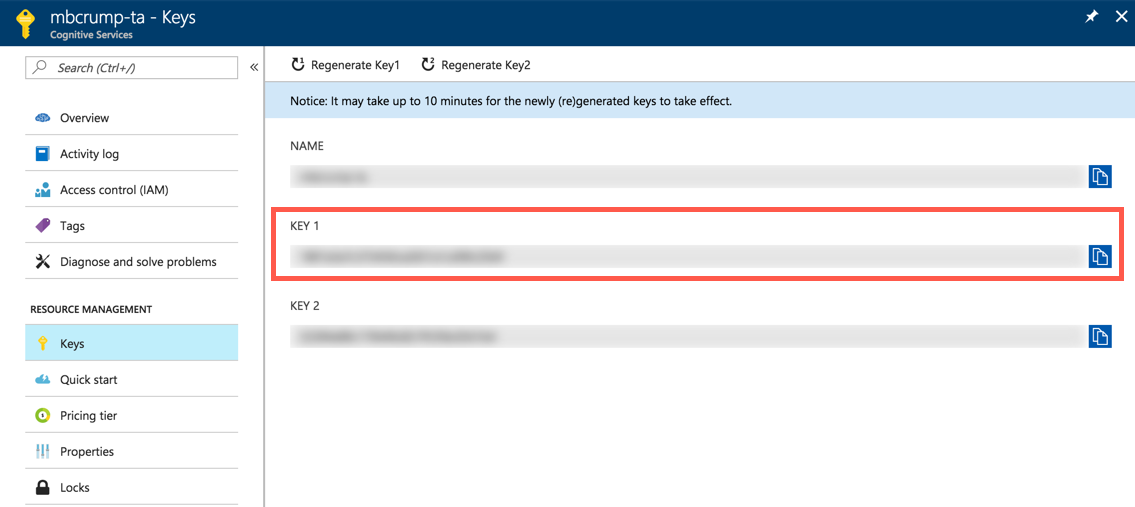
Select Keys and copy the value of KEY 1 if you don't already have this.
# Working with Language Detection and Postman
We need an endpoint to begin calling the API, if you look at the Overview option inside your cognitive service, then you'll see the following:
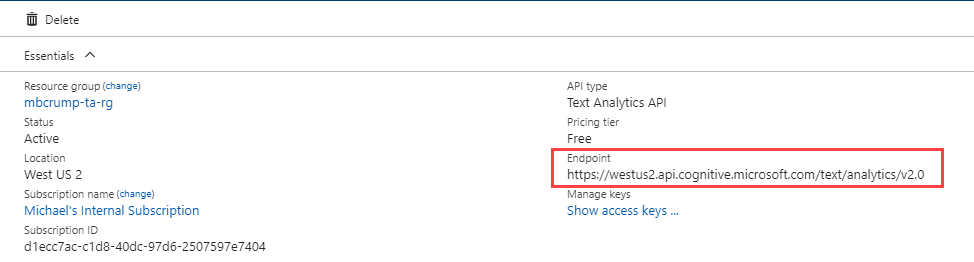
While that is the endpoint, it is missing the feature of the Text Analysis that you might want to call. A complete list is below:
sentiment
keyPhrases
languages
2
3
We want to use the languages endpoint for this tutorial.
What are languages? This feature detects which language the input text is written in and report a single language code for every document submitted on the request. The language code is paired with a score indicating the strength of the score.
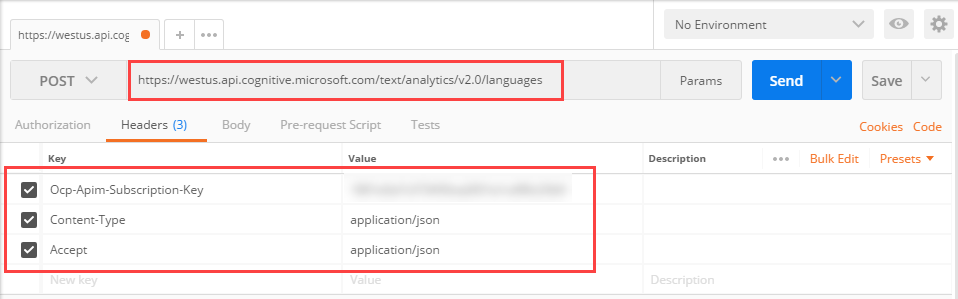
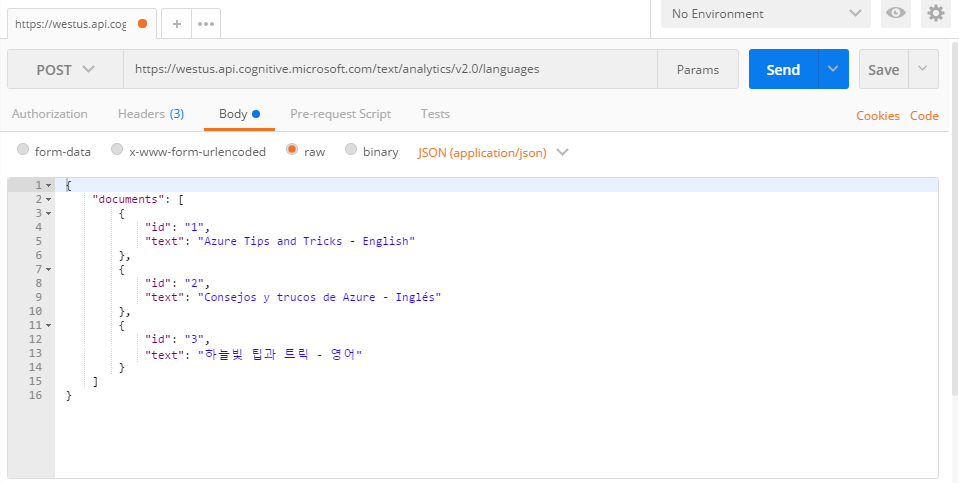
Copy the https://westus.api.cognitive.microsoft.com/text/analytics/v2.0/languages url into Postman and set the following three header properties:
- Ocp-Apim-Subscription-Key = should be your Key 1 (from our discussion earlier).
- Content-Type = Set it to
application/json. - Accept = Set it to
application/json.
Your screen should look like the following:
Now switch over to Body, then Raw and post the following JSON:
 {
     "documents": [
         {
             "id": "1",
             "text": "Azure Tips and Tricks - English"
         },
         {
             "id": "2",
             "text": "Consejos y trucos de Azure - Inglés"
         },
         {
             "id": "3",
             "text": "하늘빛 팁과 트릭 - 영어"
         }
     ]
 }
2
3
4
5
6
7
8
9
10
11
12
13
14
15
16
id 1 is obviously English, 2 is Spanish and 3 is Korean language.
Now press Send and it will return the languages detected.
{
  "documents": [{
    "id": "1",
    "detectedLanguages": [{
      "name": "English",
      "iso6391Name": "en",
      "score": 1.0
    }]
  }, {
    "id": "2",
    "detectedLanguages": [{
      "name": "Spanish",
      "iso6391Name": "es",
      "score": 1.0
    }]
  }, {
    "id": "3",
    "detectedLanguages": [{
      "name": "Korean",
      "iso6391Name": "ko",
      "score": 1.0
    }]
  }],
  "errors": []
}
2
3
4
5
6
7
8
9
10
11
12
13
14
15
16
17
18
19
20
21
22
23
24
25