
TIP
💡 Learn more : Azure Functions Documentation (opens new window).
# Create Thumbnail Images with Azure Functions and Azure Storage - Part 1
In this mini-series, we're going to create an Azure Function that detects when a new image is added to Azure Storage and automatically creates a thumbnail image for us.
- Azure Tips and Tricks Part 157 - Part 1 Create Thumbnail Images with Azure Functions and Azure Storage
- Azure Tips and Tricks Part 158 - Part 2 Create Thumbnail Images with Azure Functions and Azure Storage
# Part 1 (Setup) Azure Portal
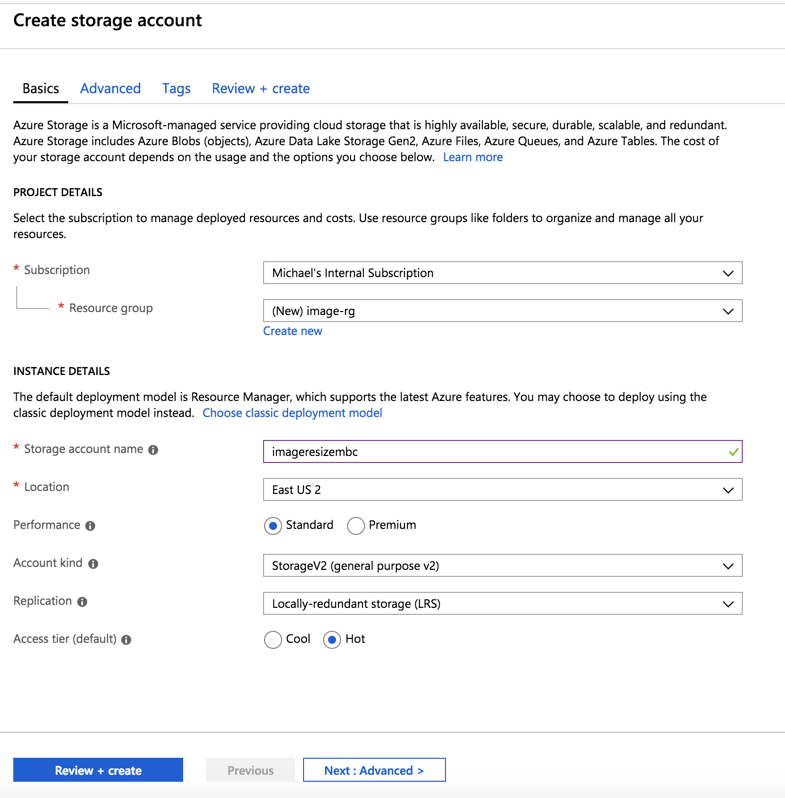
Go ahead and open the Azure Portal and click Create a Resource and select Azure Storage. We’ll keep it simple as shown below to get started.
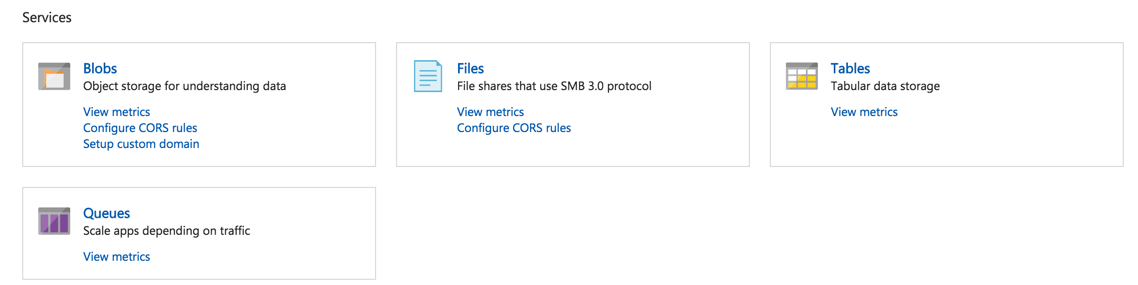
Once complete, go into the resource and look under Services.
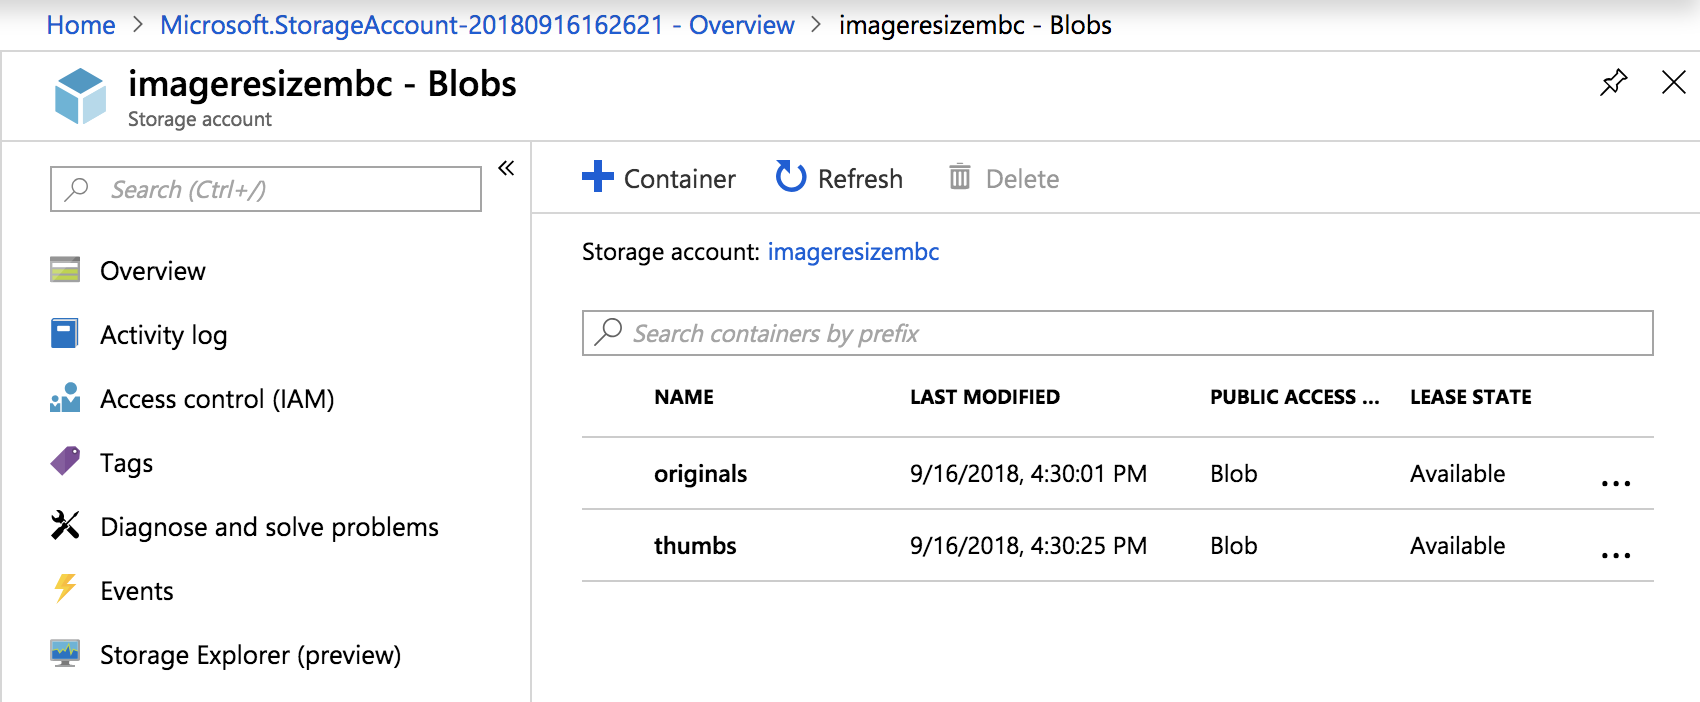
Go ahead and click on Blobs and create a Container and give it the name originals and then create another one called thumbs.
Remember this! Think of a container in this sense as a folder. https://myblob/container/image1.jpg
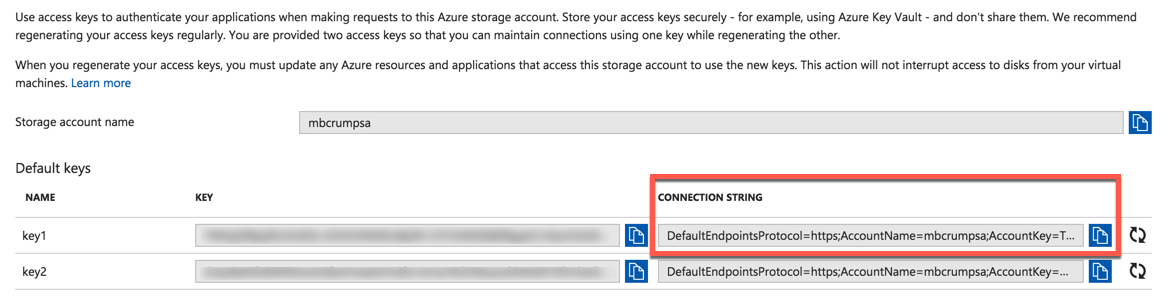
We're going to need our Access Key shortly, so look under Settings, then Access Keys and copy the connection string to your clipboard.
What is an Access Key? This string will allow us to connect to the Storage Account.
# Part 2 (Setup) Visual Studio
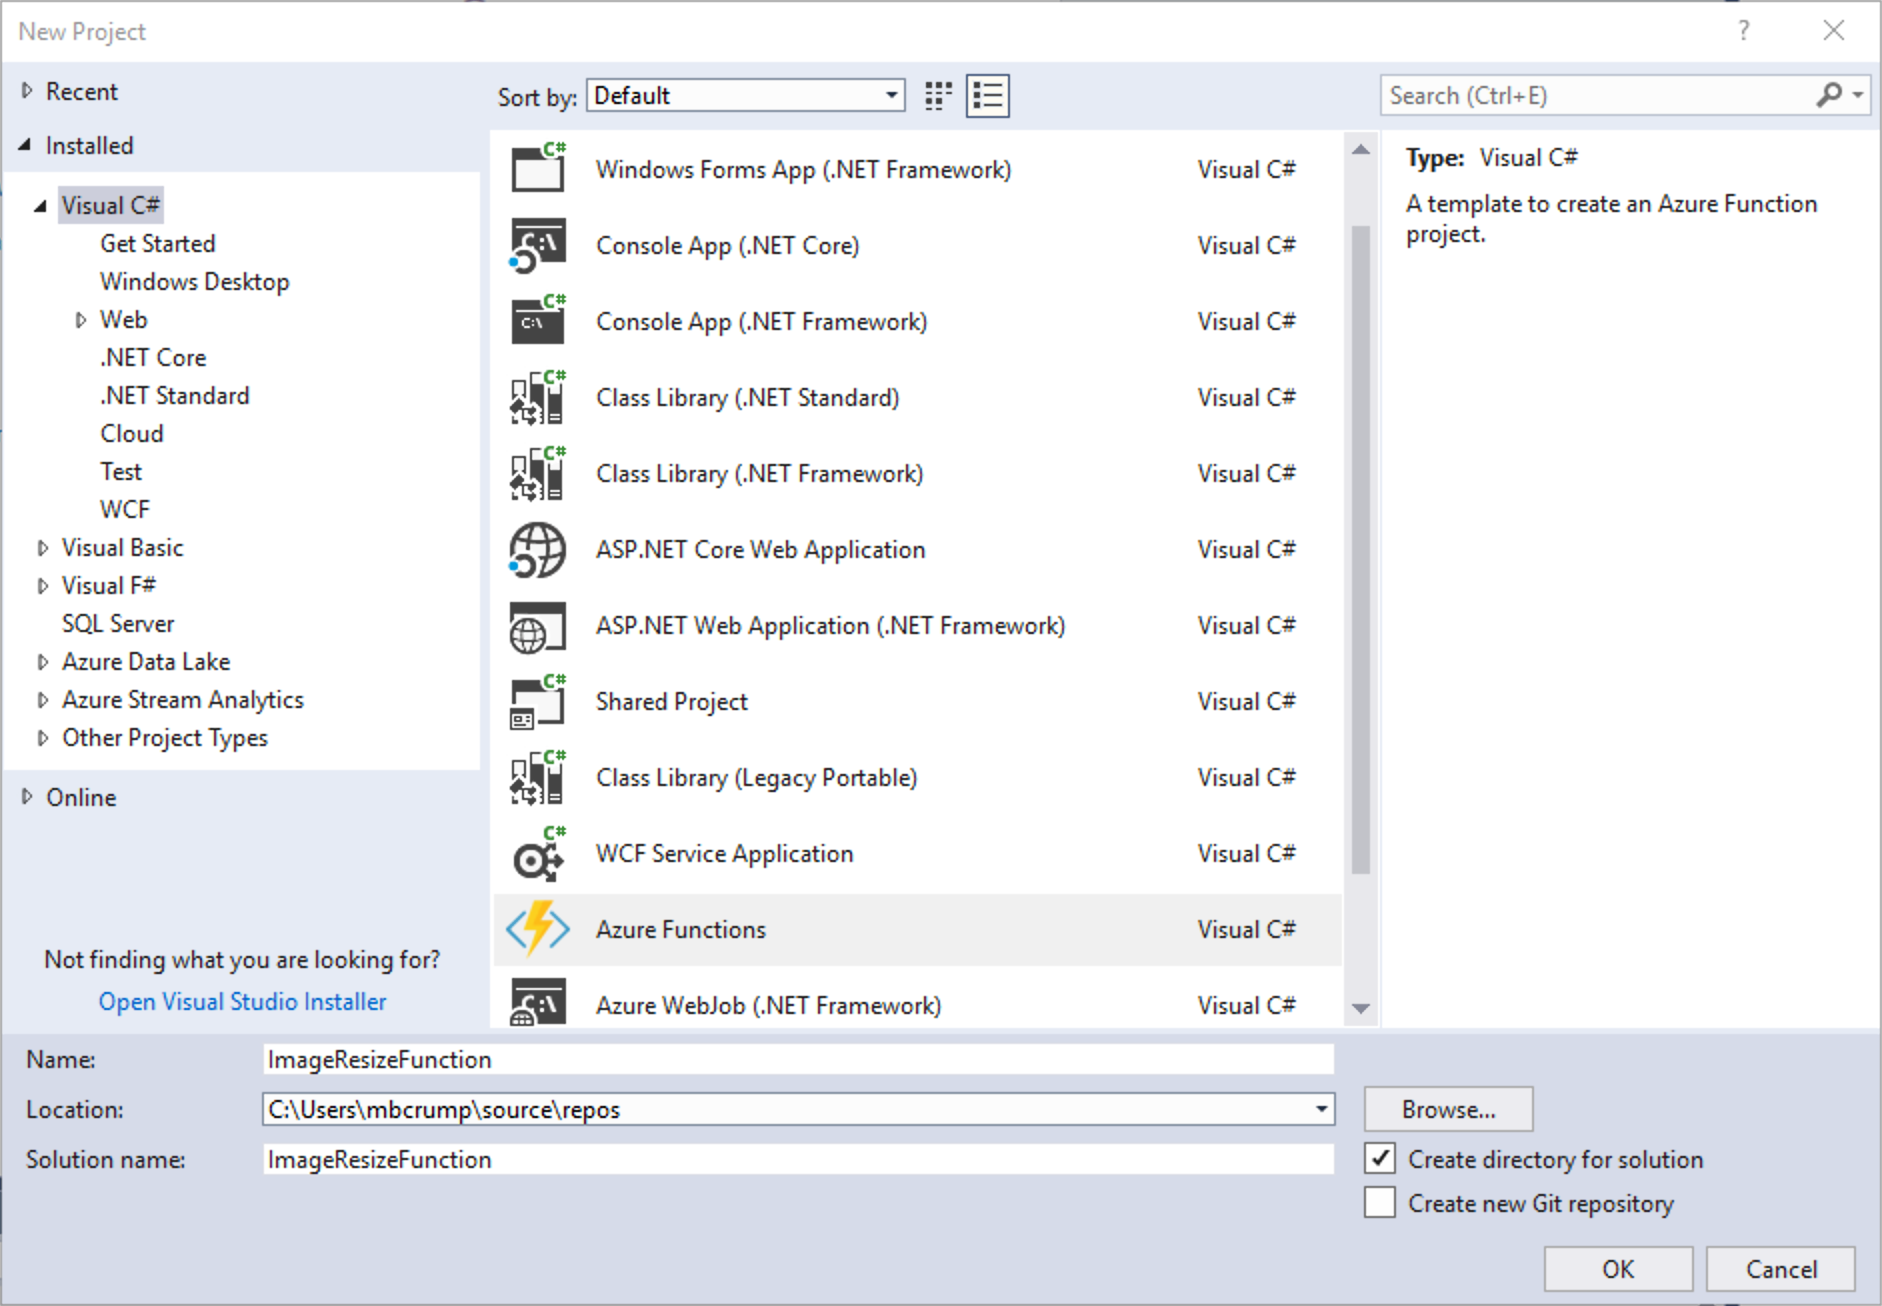
Create a C# Azure Function application by opening Visual Studio and selecting the template under the Cloud node as shown below:
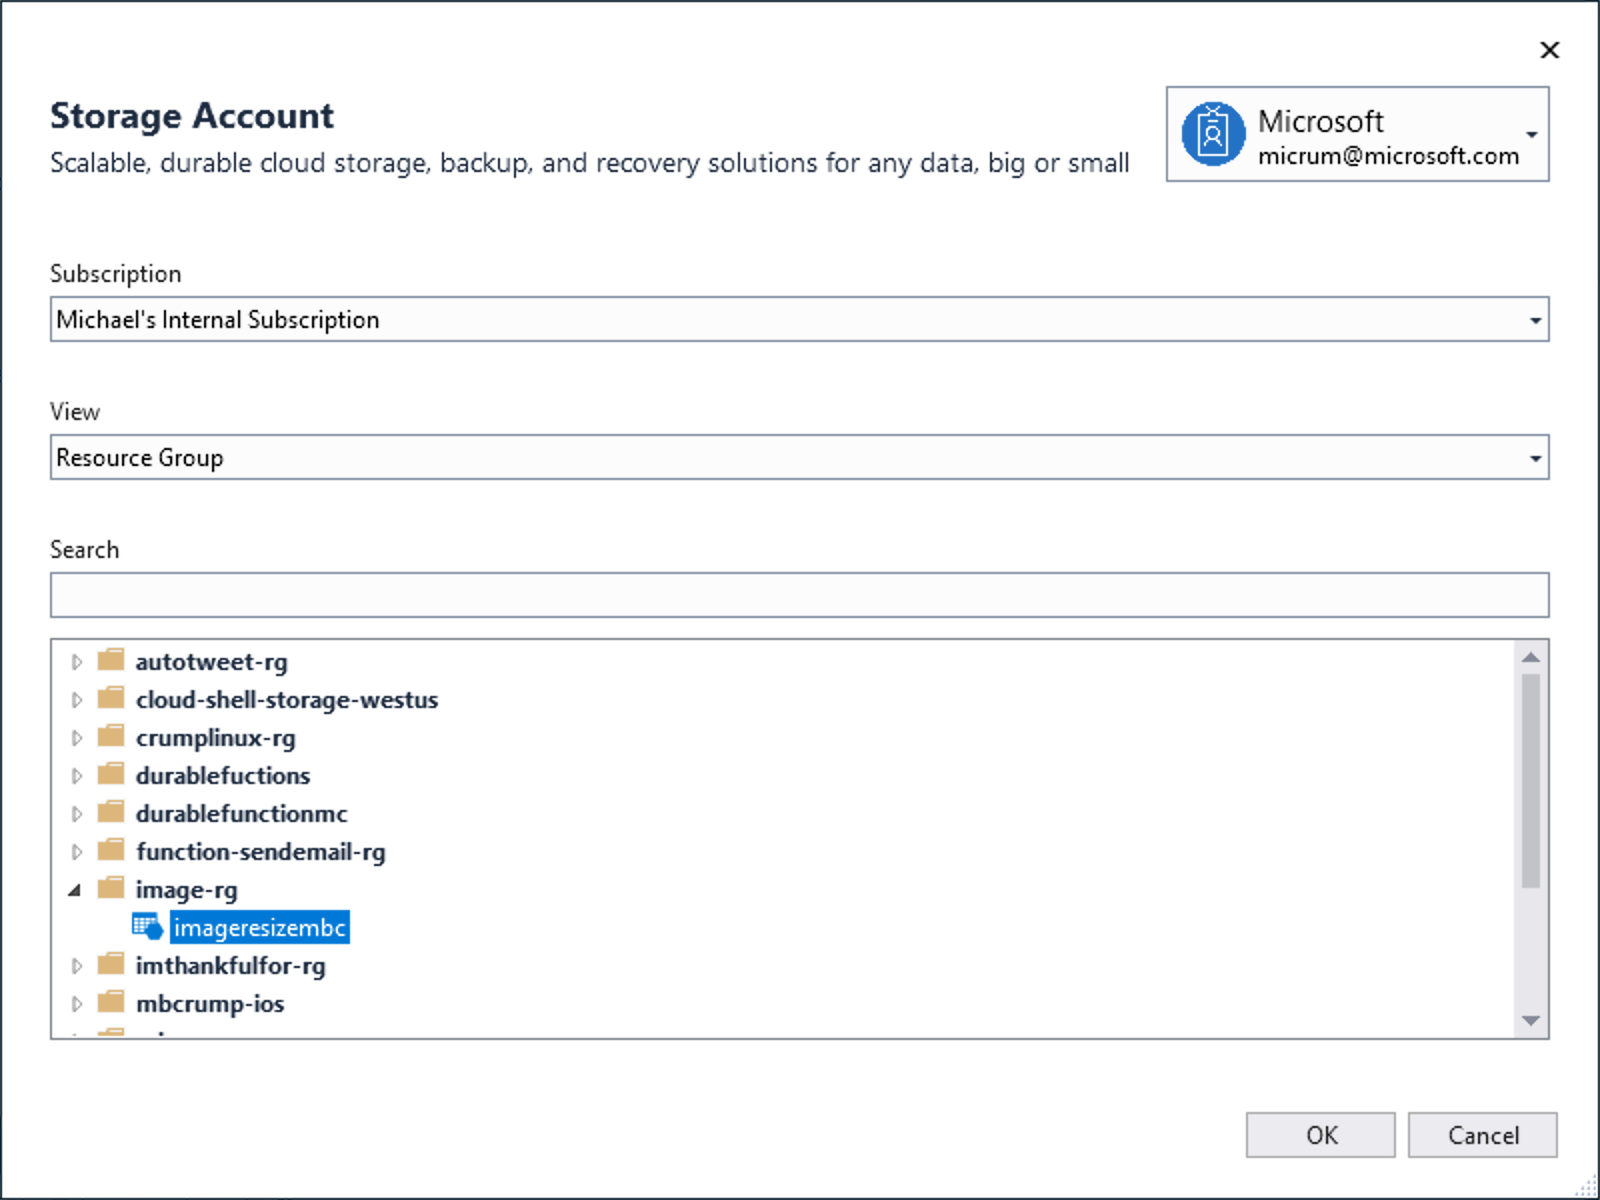
Under Storage, change the default emulator to the Azure Storage Account that we created earlier:
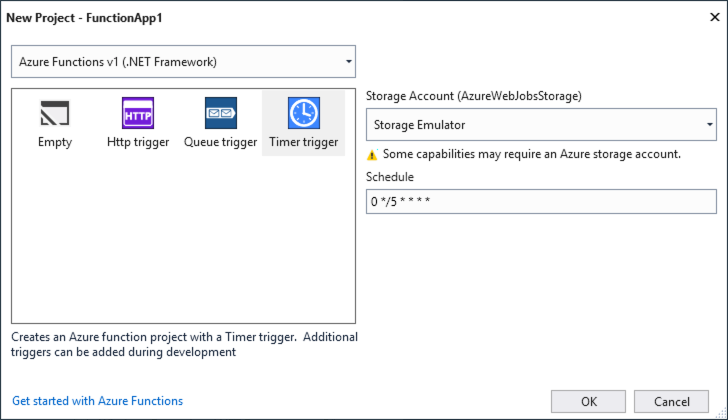
We'll begin by using the Timer Trigger and Azure Function v1 leaving everything as the defaults.
Once the project spins up, we'll use NuGet to pull in references to :
- ImageResizer
A helper class for Image Resizing
Looking good so far and a good stopping point for today. Come back soon for the next post in the series where we'll begin putting this all together.