Creating a project
In this tutorial we use .NET Core 3.1 to create a C# Desktop application. Because there is currently no simple solution to display raw video frames from a .NET Core application, like there is with UWP, we will limit this tutorial to creating a simple console application without graphics. Think of it as a recording tool to broadcast audio and/or video to a remote device.
Note
This tutorial assumes that the host device where the app will be running during the tutorial has access to:
- a webcam, or any other video capture device recognized by WebRTC
- a microphone, or any other audio capture device recognized by WebRTC
Install .NET Core 3.1
Download the latest .NET Core 3.1 SDK (and not Runtime) from its download page and install it.
Warning
Visual Studio v16.3 or later is required, otherwise the console application might not run correctly inside Visual Studio.
Generate the project
Open a terminal and use the dotnet command to create a new project from the console template. We will name this tutorial project TestNetCoreConsole.
dotnet new console --name TestNetCoreConsole
This generates a folder named TestNetCoreConsole which contains the following notable files:
TestNetCoreConsole.csproj: The C# projectProgram.cs: The C# source code for the application
Note
Starting Visual Studio v16.3, this project can also be generated from the Visual Studio wizard by creating a new project and selecting Console App (.NET Core), which will default to .NET Core 3.1.
Open the .NET Core project in Visual Studio 2019
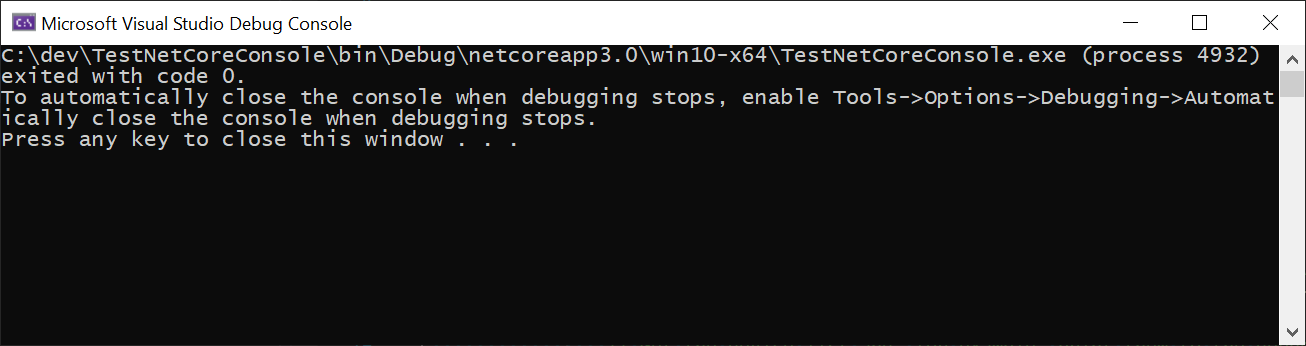
Open the C# project generated earlier (TestNetCoreConsole.csproj), then build and run it, either by pressing F5 or selecting in the menu Debug > Start Debugging. After the project built successfully, a terminal window should appear.
Note
The project can alternatively be built on the command line with dotnet build, and launched with dotnet run (which implies building). Executing a dotnet run returns immediately, since the empty generated program does not currently output anything.
Add a dependency to MixedReality-WebRTC
In order to use the MixedReality-WebRTC project in this new TestNetCoreConsole app, we will add a dependency to its C# NuGet package hosted on nuget.org. This is by far the easiest way, although a locally-built copy of the Microsoft.MixedReality.WebRTC.dll assembly could also be alternatively used (but this is out of the scope of this tutorial).
There are again multiple ways to add a reference to this NuGet package, in particular via the Visual Studio NuGet package manager for the project, or via the dotnet command line. For simplicity, we show here how to do so the dotnet way, which simply involves typing a single command from within the project folder.
dotnet add TestNetCoreConsole.csproj package Microsoft.MixedReality.WebRTC
This will download from nuget.org and install the Microsoft.MixedReality.WebRTC.nupkg NuGet package, which contains the same-named assembly, as well as its native dependencies (x86 and x64) for the Windows Desktop platform.
After that, TestNetCoreConsole.csproj should contain a reference to the package, with a version corresponding to the latest stable version found on nuget.org, or the one you specified with the --version option.
<ItemGroup>
  <PackageReference Include="Microsoft.MixedReality.WebRTC" Version="..." />
</ItemGroup>
Test the reference
In order to ensure everything works fine and the Microsoft.MixedReality.WebRTC assembly can be used, we will use one of its functions to list the video capture devices, as a test. This makes uses of the static method DeviceVideoTrackSource.GetCaptureDevicesAsync(). This is more simple than creating objects, as there is no clean-up needed after use.
Edit the Program.cs file:
At the top of the file, add some
usingstatement to import theMicrosoft.MixedReality.WebRTCassembly. Also import theSystem.Threading.Tasksmodule, as we will use theasync/awaitconstruct and theTaskobject.using System.Threading.Tasks; using Microsoft.MixedReality.WebRTC;Modify the signature of the
Mainfunction to make it asynchronous, by changing its return type fromvoidtoTaskand adding theasynckeyword. This allows using theawaitkeyword inside its body, which greatly simplifies the writing for asynchronous code.static async Task Main(string[] args)Change the body of the
Mainfunction to callGetCaptureDevicesAsync()and display the list of devices found on the standard output.static async Task Main(string[] args) { try { // Asynchronously retrieve a list of available video capture devices (webcams). var deviceList = await DeviceVideoTrackSource.GetCaptureDevicesAsync(); // For example, print them to the standard output foreach (var device in deviceList) { Console.WriteLine($"Found webcam {device.name} (id: {device.id})"); } } catch (Exception e) { Console.WriteLine(e.Message); } }
Launch the application again. This time the terminal window shows a list of devices. This list depends on the actual host device (computer) where the application is running, but looks something like:
Found webcam <some webcam name> (id: <some long ID>)
Note that there might be multiple lines if multiple capture devices are available, which is unusual but can happen e.g. if you plug a USB webcam into a laptop which already has an integrated webcam. In general the first capture device listed will be the default one used by WebRTC, although it is possible to explicitly select a device (see DeviceVideoTrackSource.CreateAsync() for more details).
Next : Creating a peer connection