PPCC25-ALM
🧪 Lab 4: Power Pages
Table of Contents
- Pre-requisites
- Overview
- Tasks
- Create Power Pages site
- Add site to solution
- Configure Power Pipelines
- Deploy to Prod Environment
- Activate Site in Prod Environment
- Committing changes to Source Control
- Cloning the repository locally
- Editing the site in VS Code
- Pulling changes in Solution Explorer
- Updating Environment Variables
- Deploy the updated solution to Prod Environment
- Verify changes
- Optional: Manage and deploy Single Page Application using Power Pages
📋 Pre-requisites
- Complete labs 1 and 2.
- Install VS Code Desktop from this download link.
- Install Git from this download link.
- Following steps will work on EDM environments. (This should be enabled by default).
🗒️ Overview
In this lab, you will learn how to create a Power Pages site, add it to a solution, and set up Power Pipelines for deploying the solution to a production environment. You will also learn how to commit changes to source control using Azure DevOps and make edits to the site using VS Code with GitHub Copilot.
🎯 Tasks
🏗️ Create Power Pages site
-
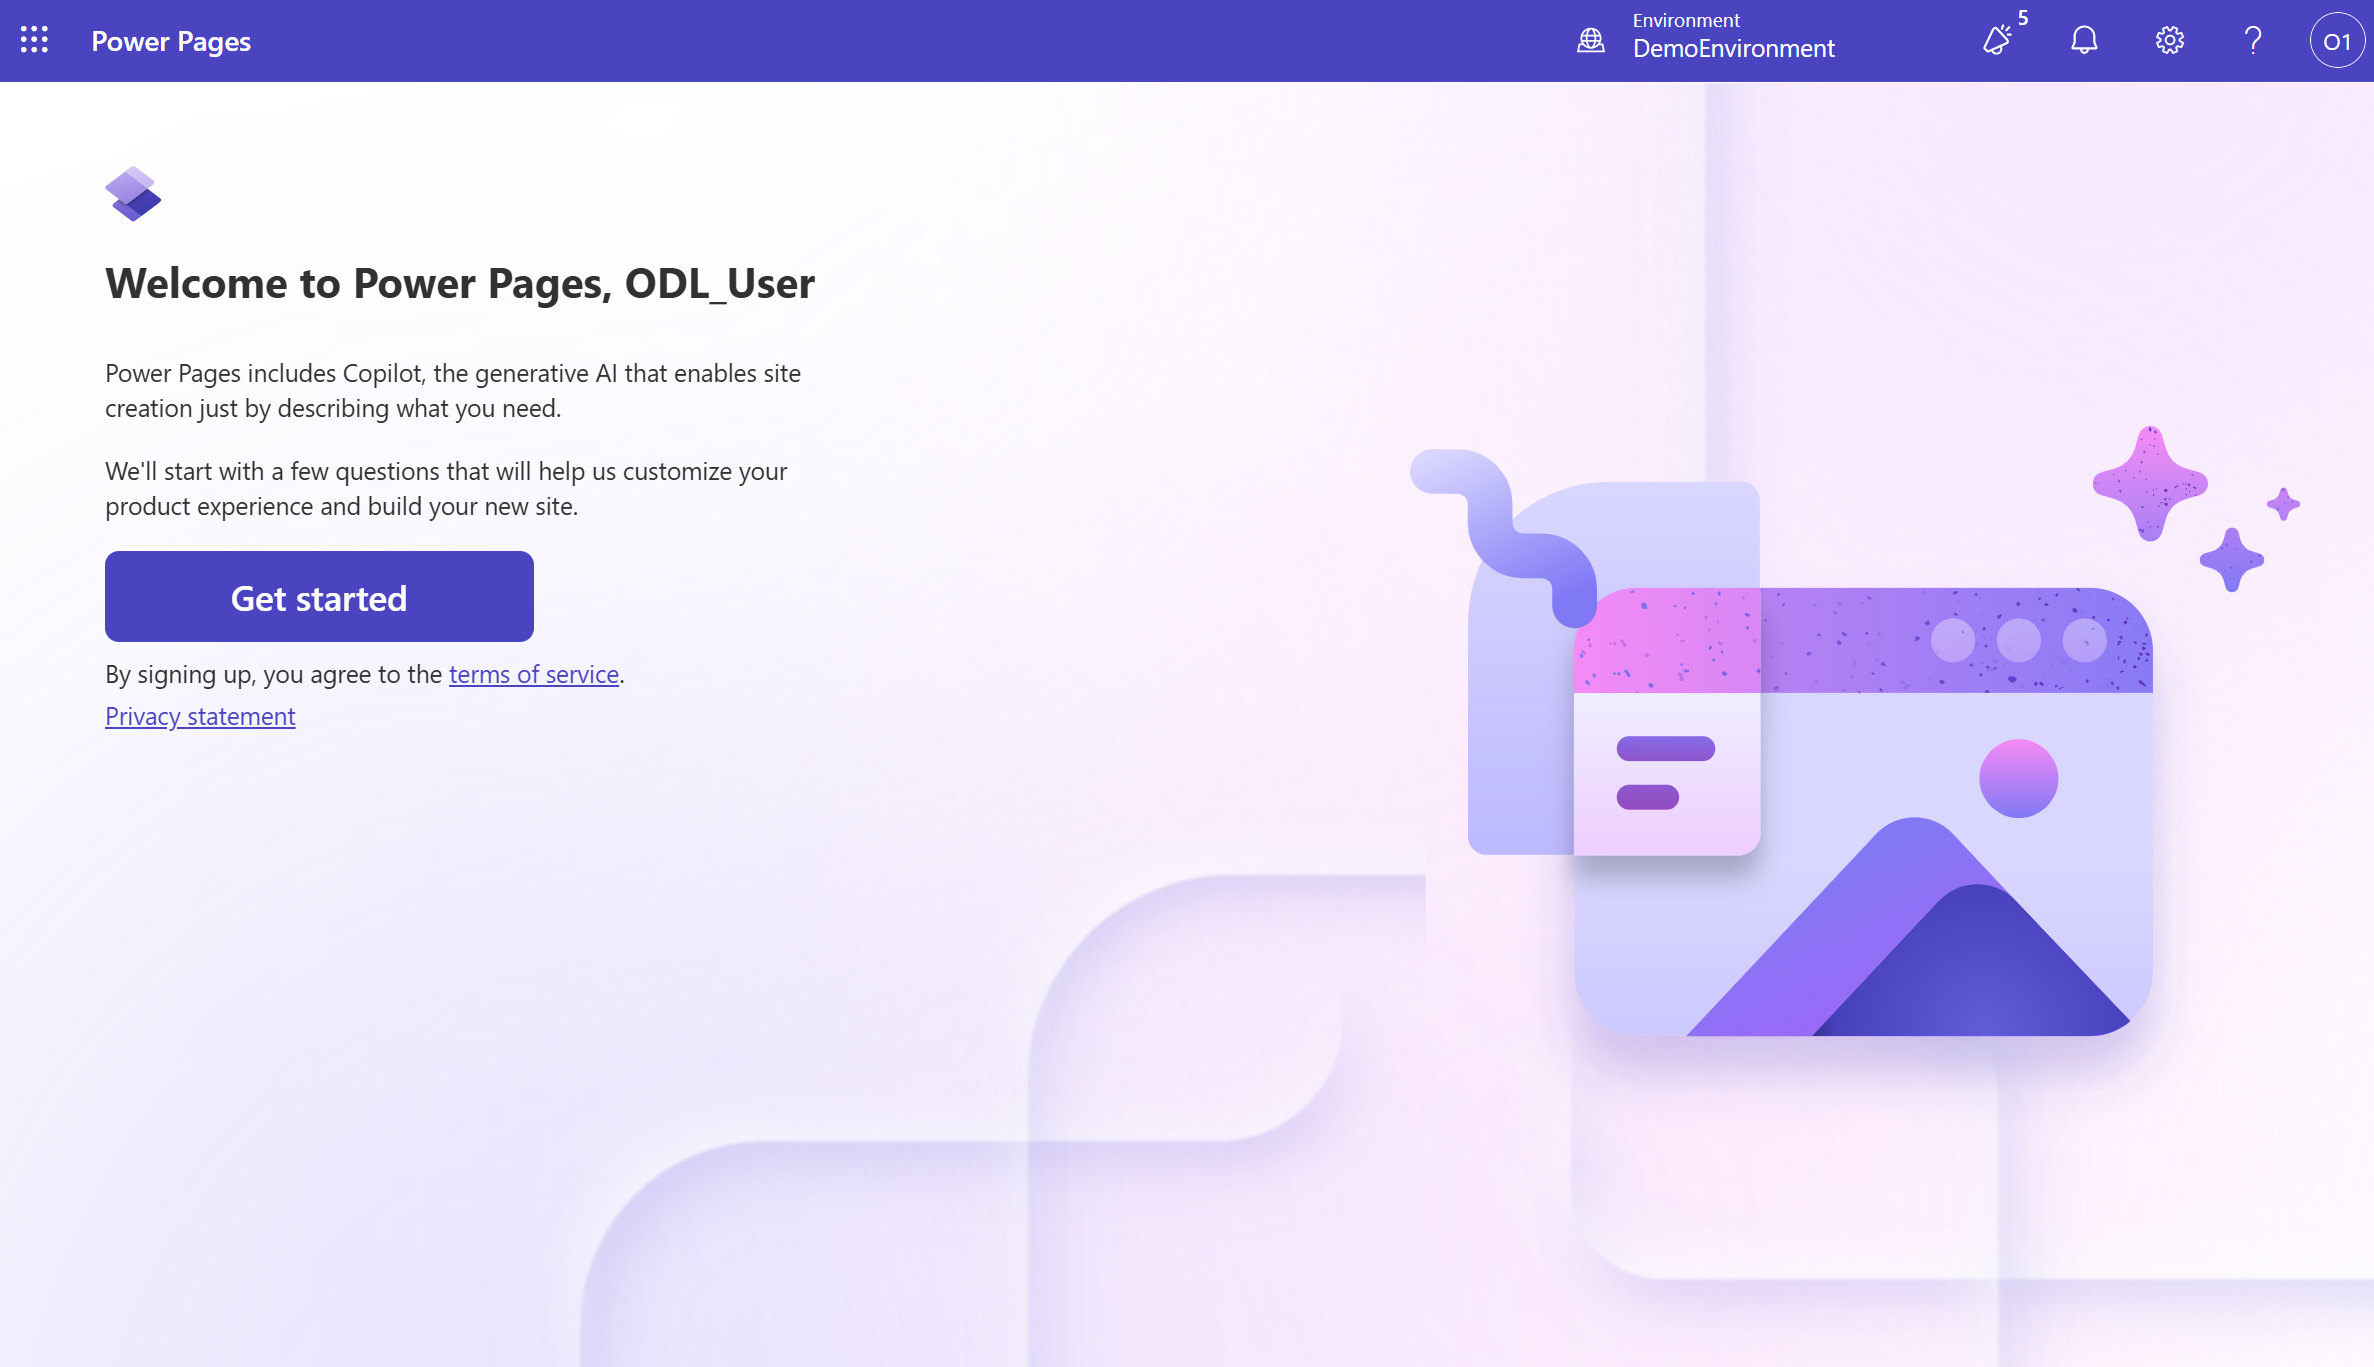
Open Power Pages Maker Studio in a new tab.
-
You will see the first run experience. Click on Get Started button.
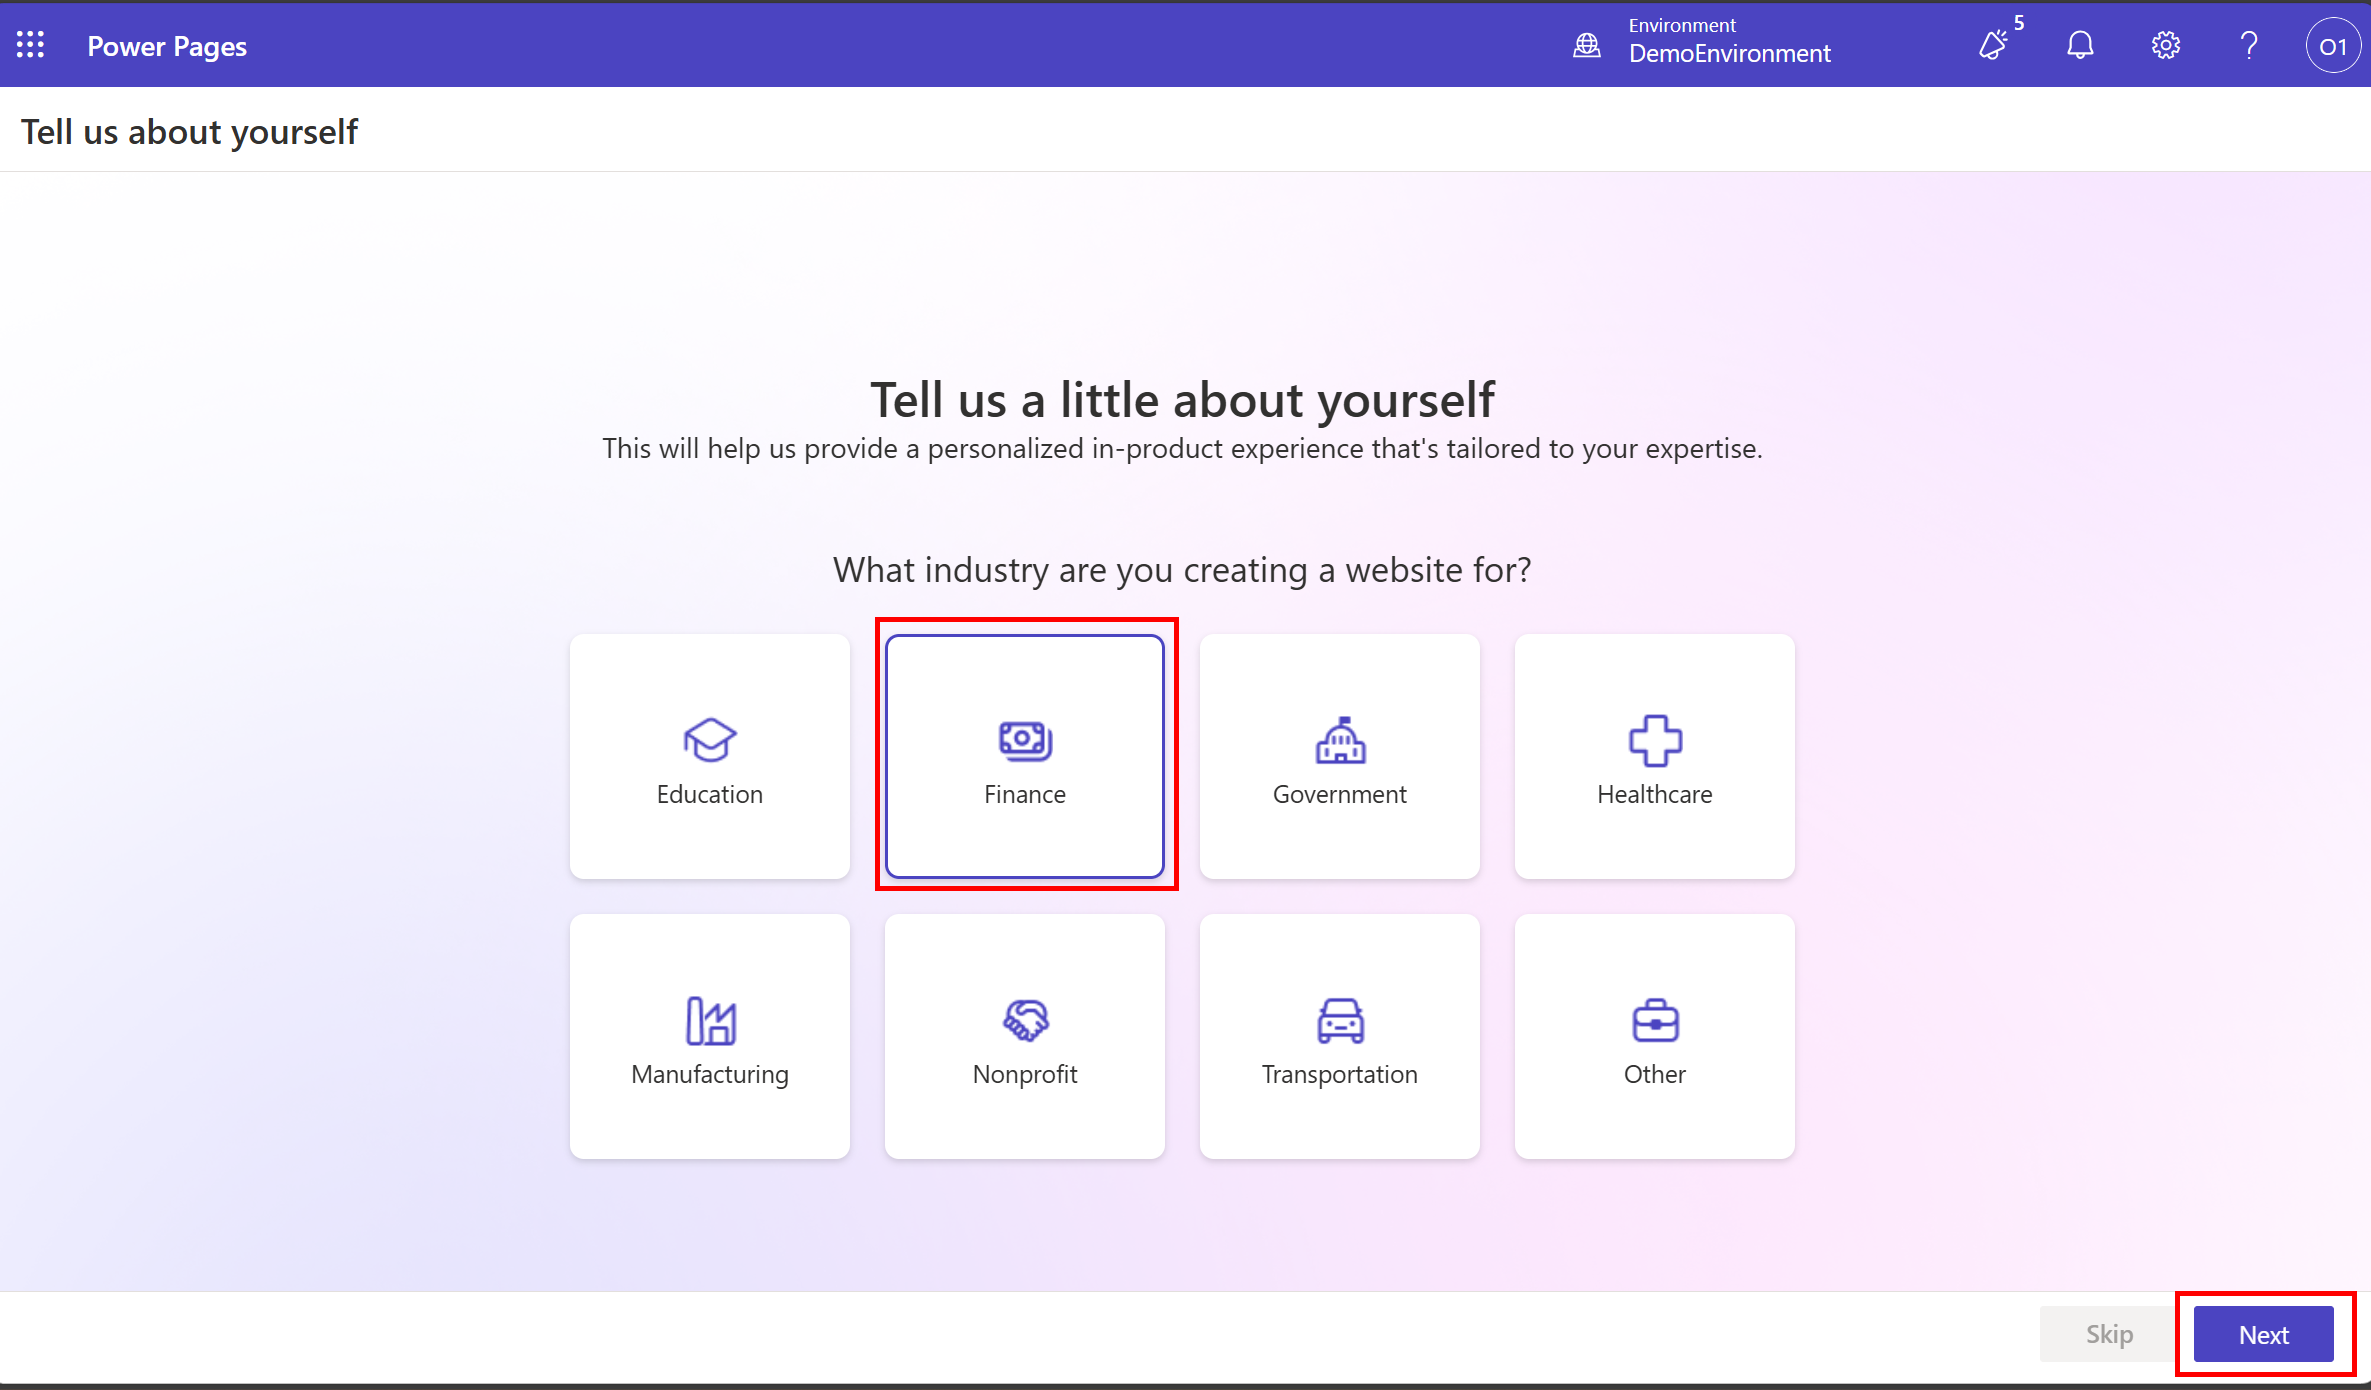
-
Select any industry you want, for example Finance and click on Next.
-
Select any of the suggestions or you can also write your own prompt and click on Build my site.

-
Change the site name to PPCC ALM Dev and click on Next.

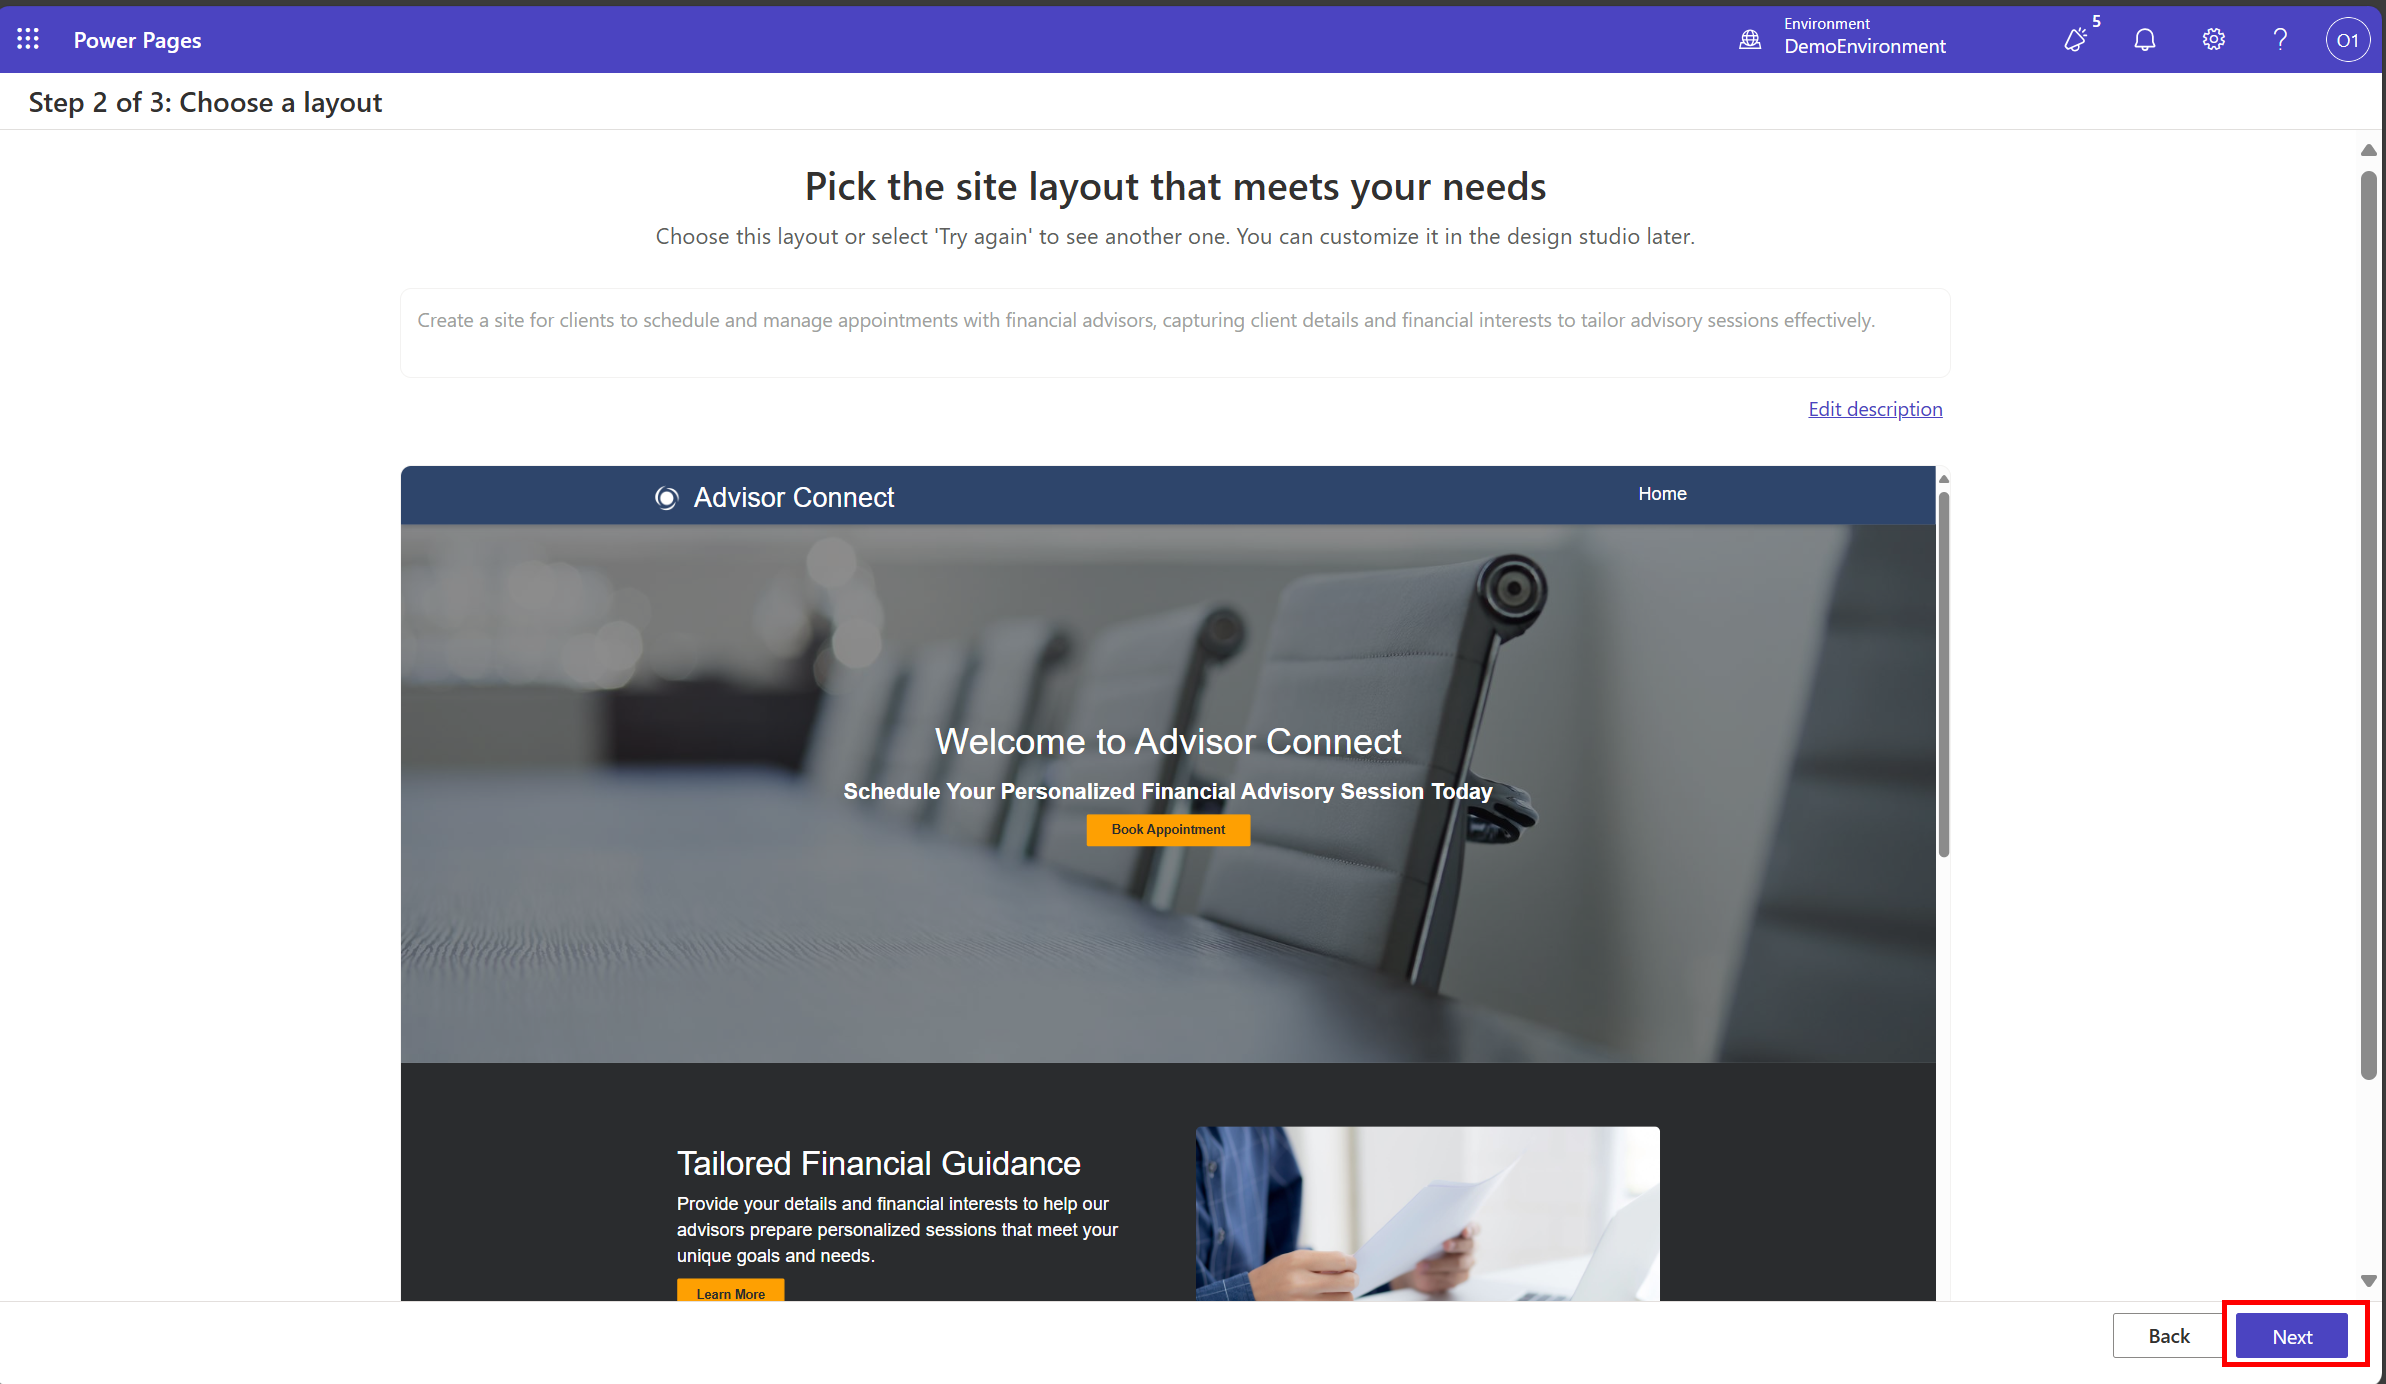
-
If the layout looks good, click on Next.
-
Select few pages to be included in the site and click on Next.
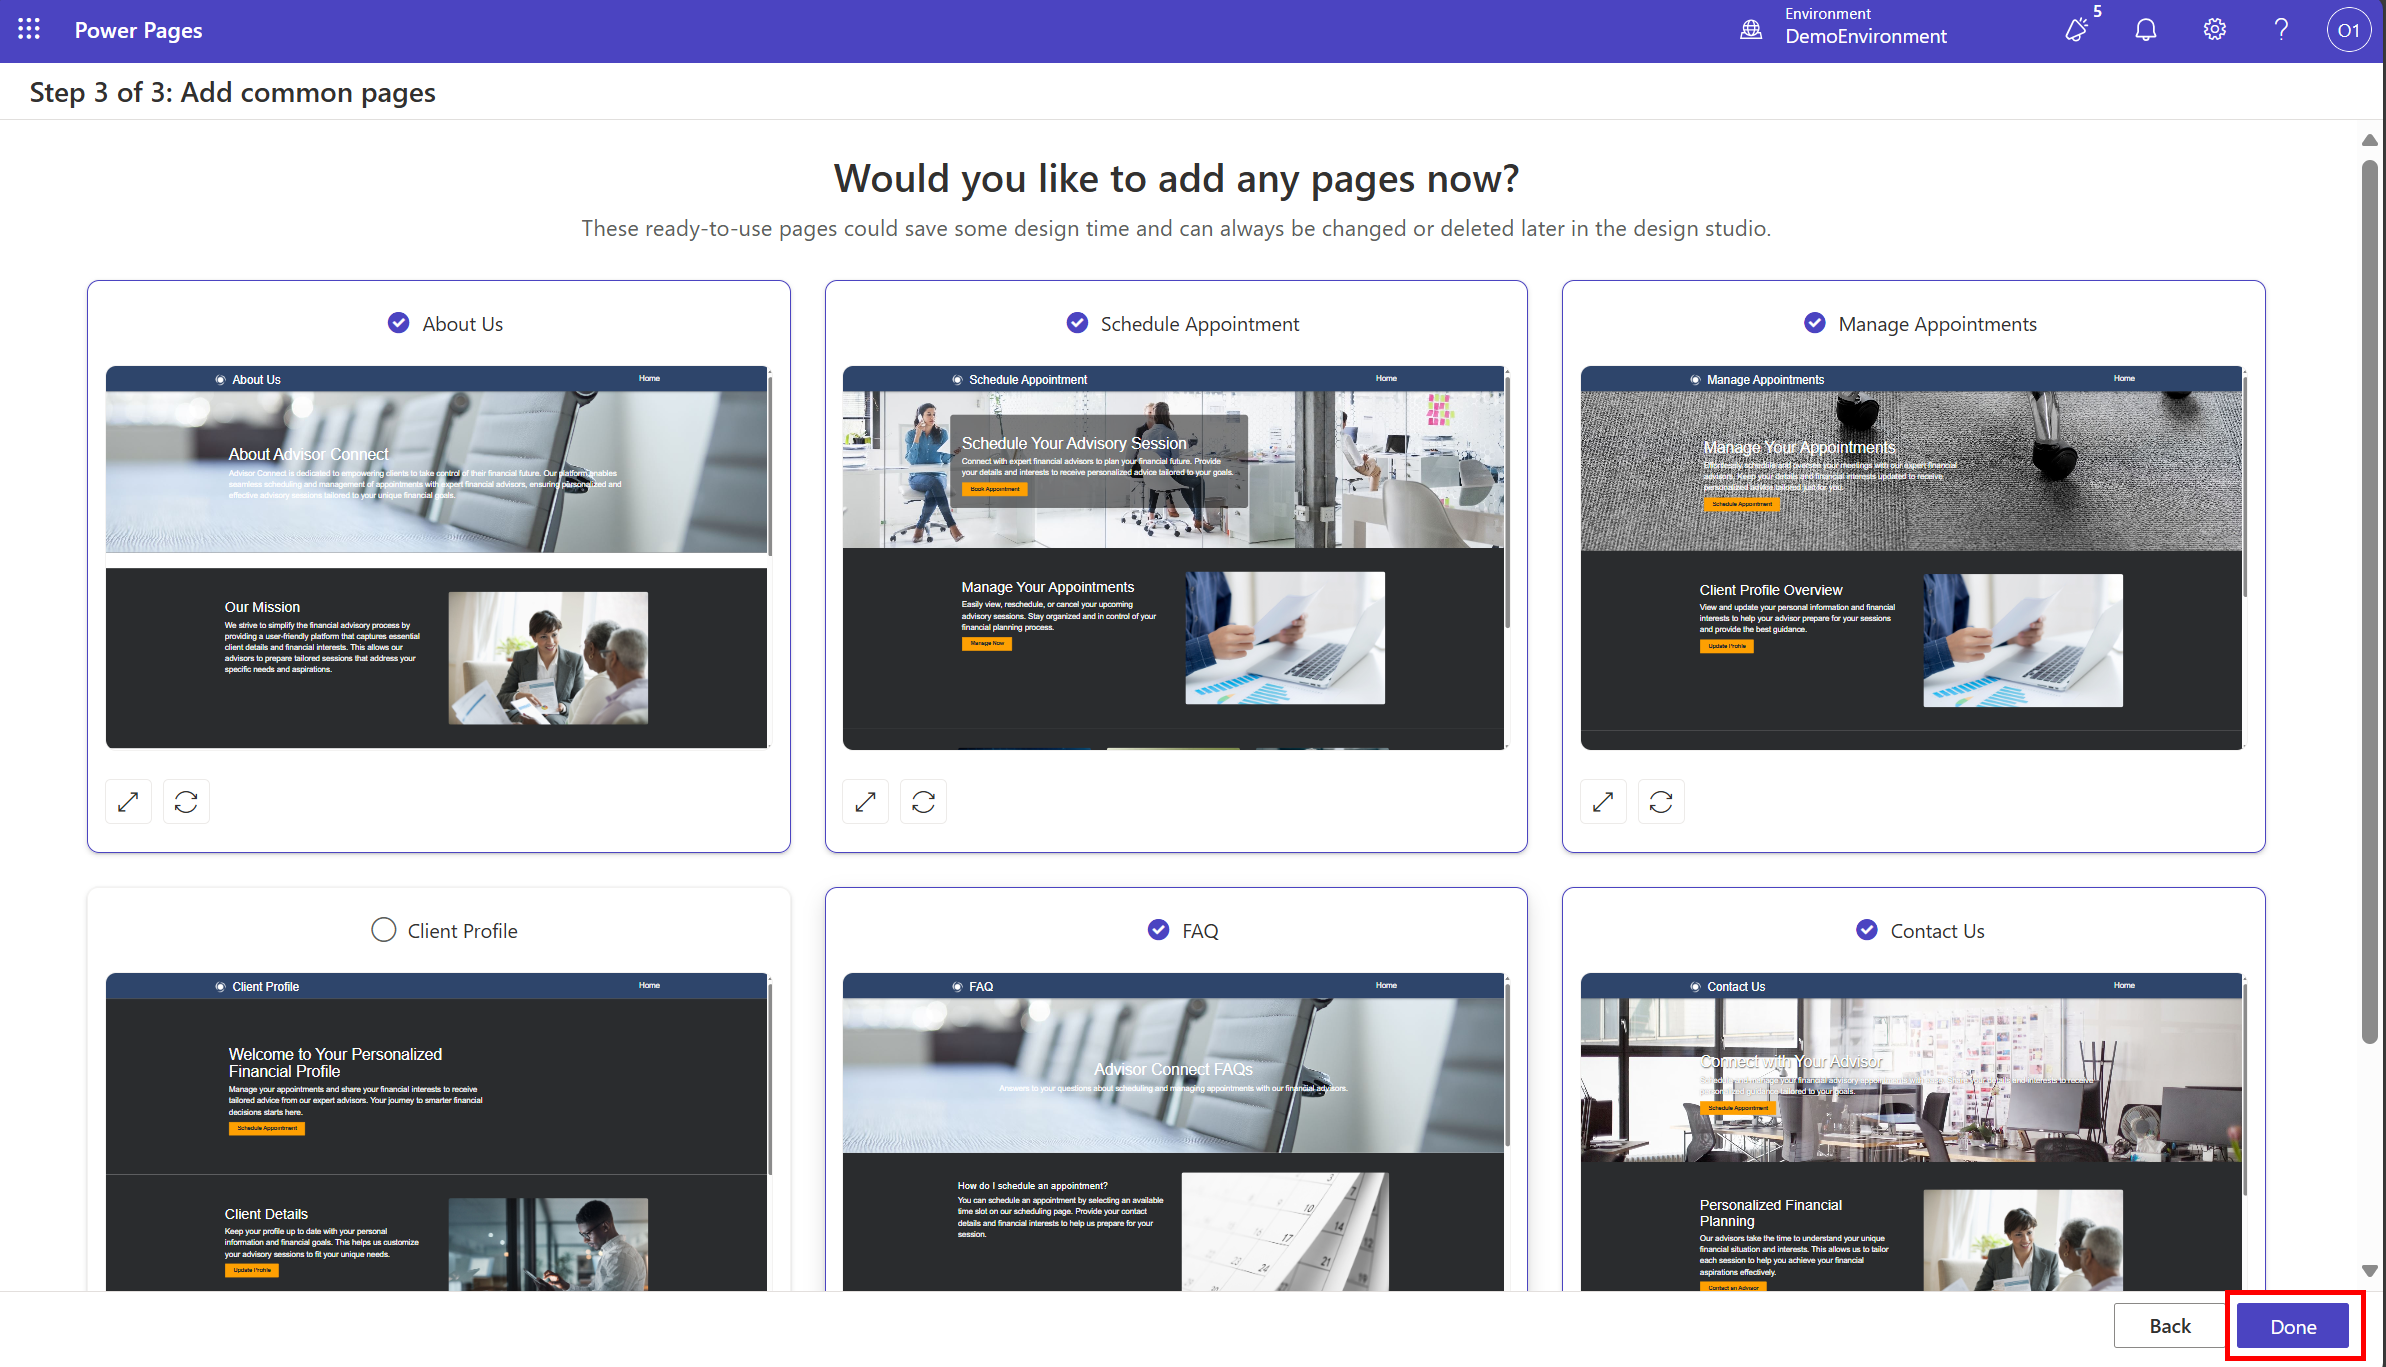
-
Wait for the site to be created.
📦 Add site to solution
-
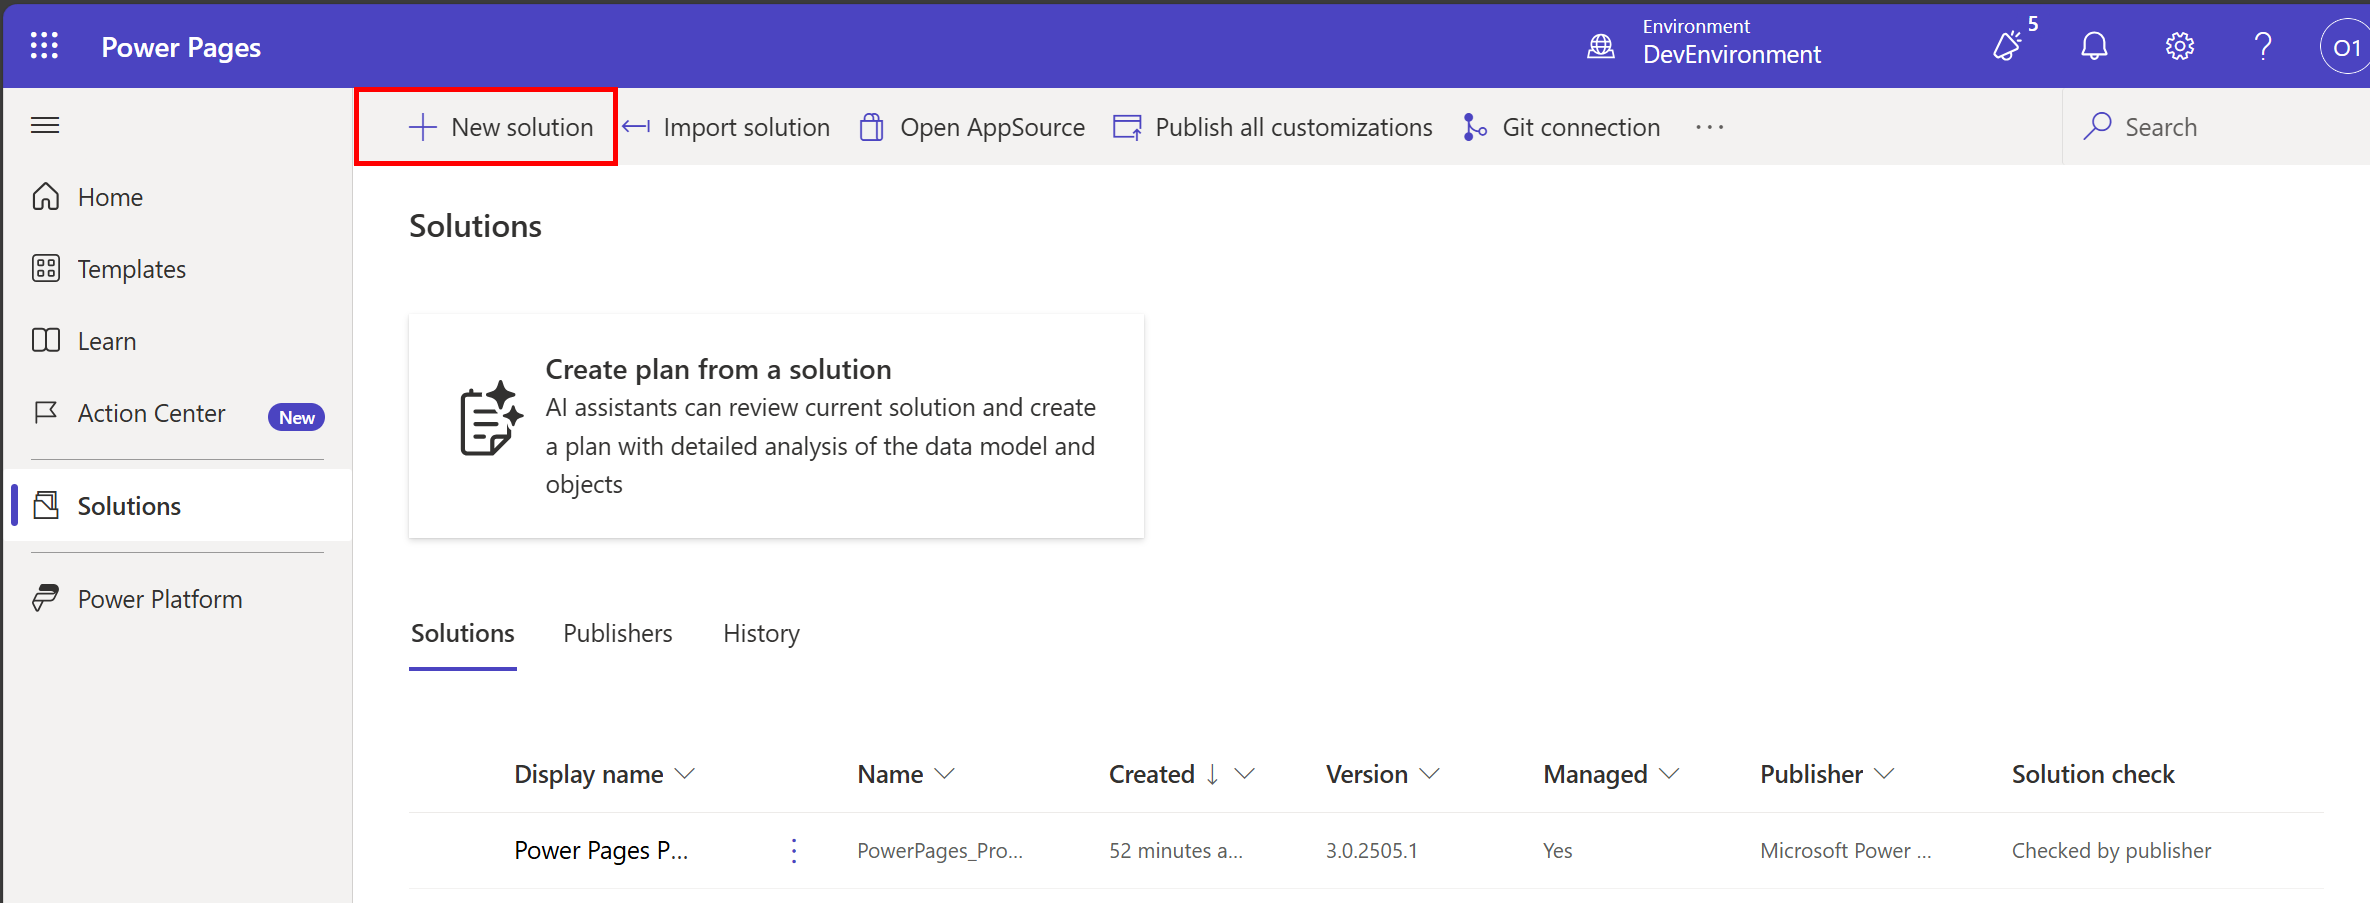
Once the PPCC ALM Dev site is ready, navigate to Solutions Explorer and click on New Solution to create a new solution.
-
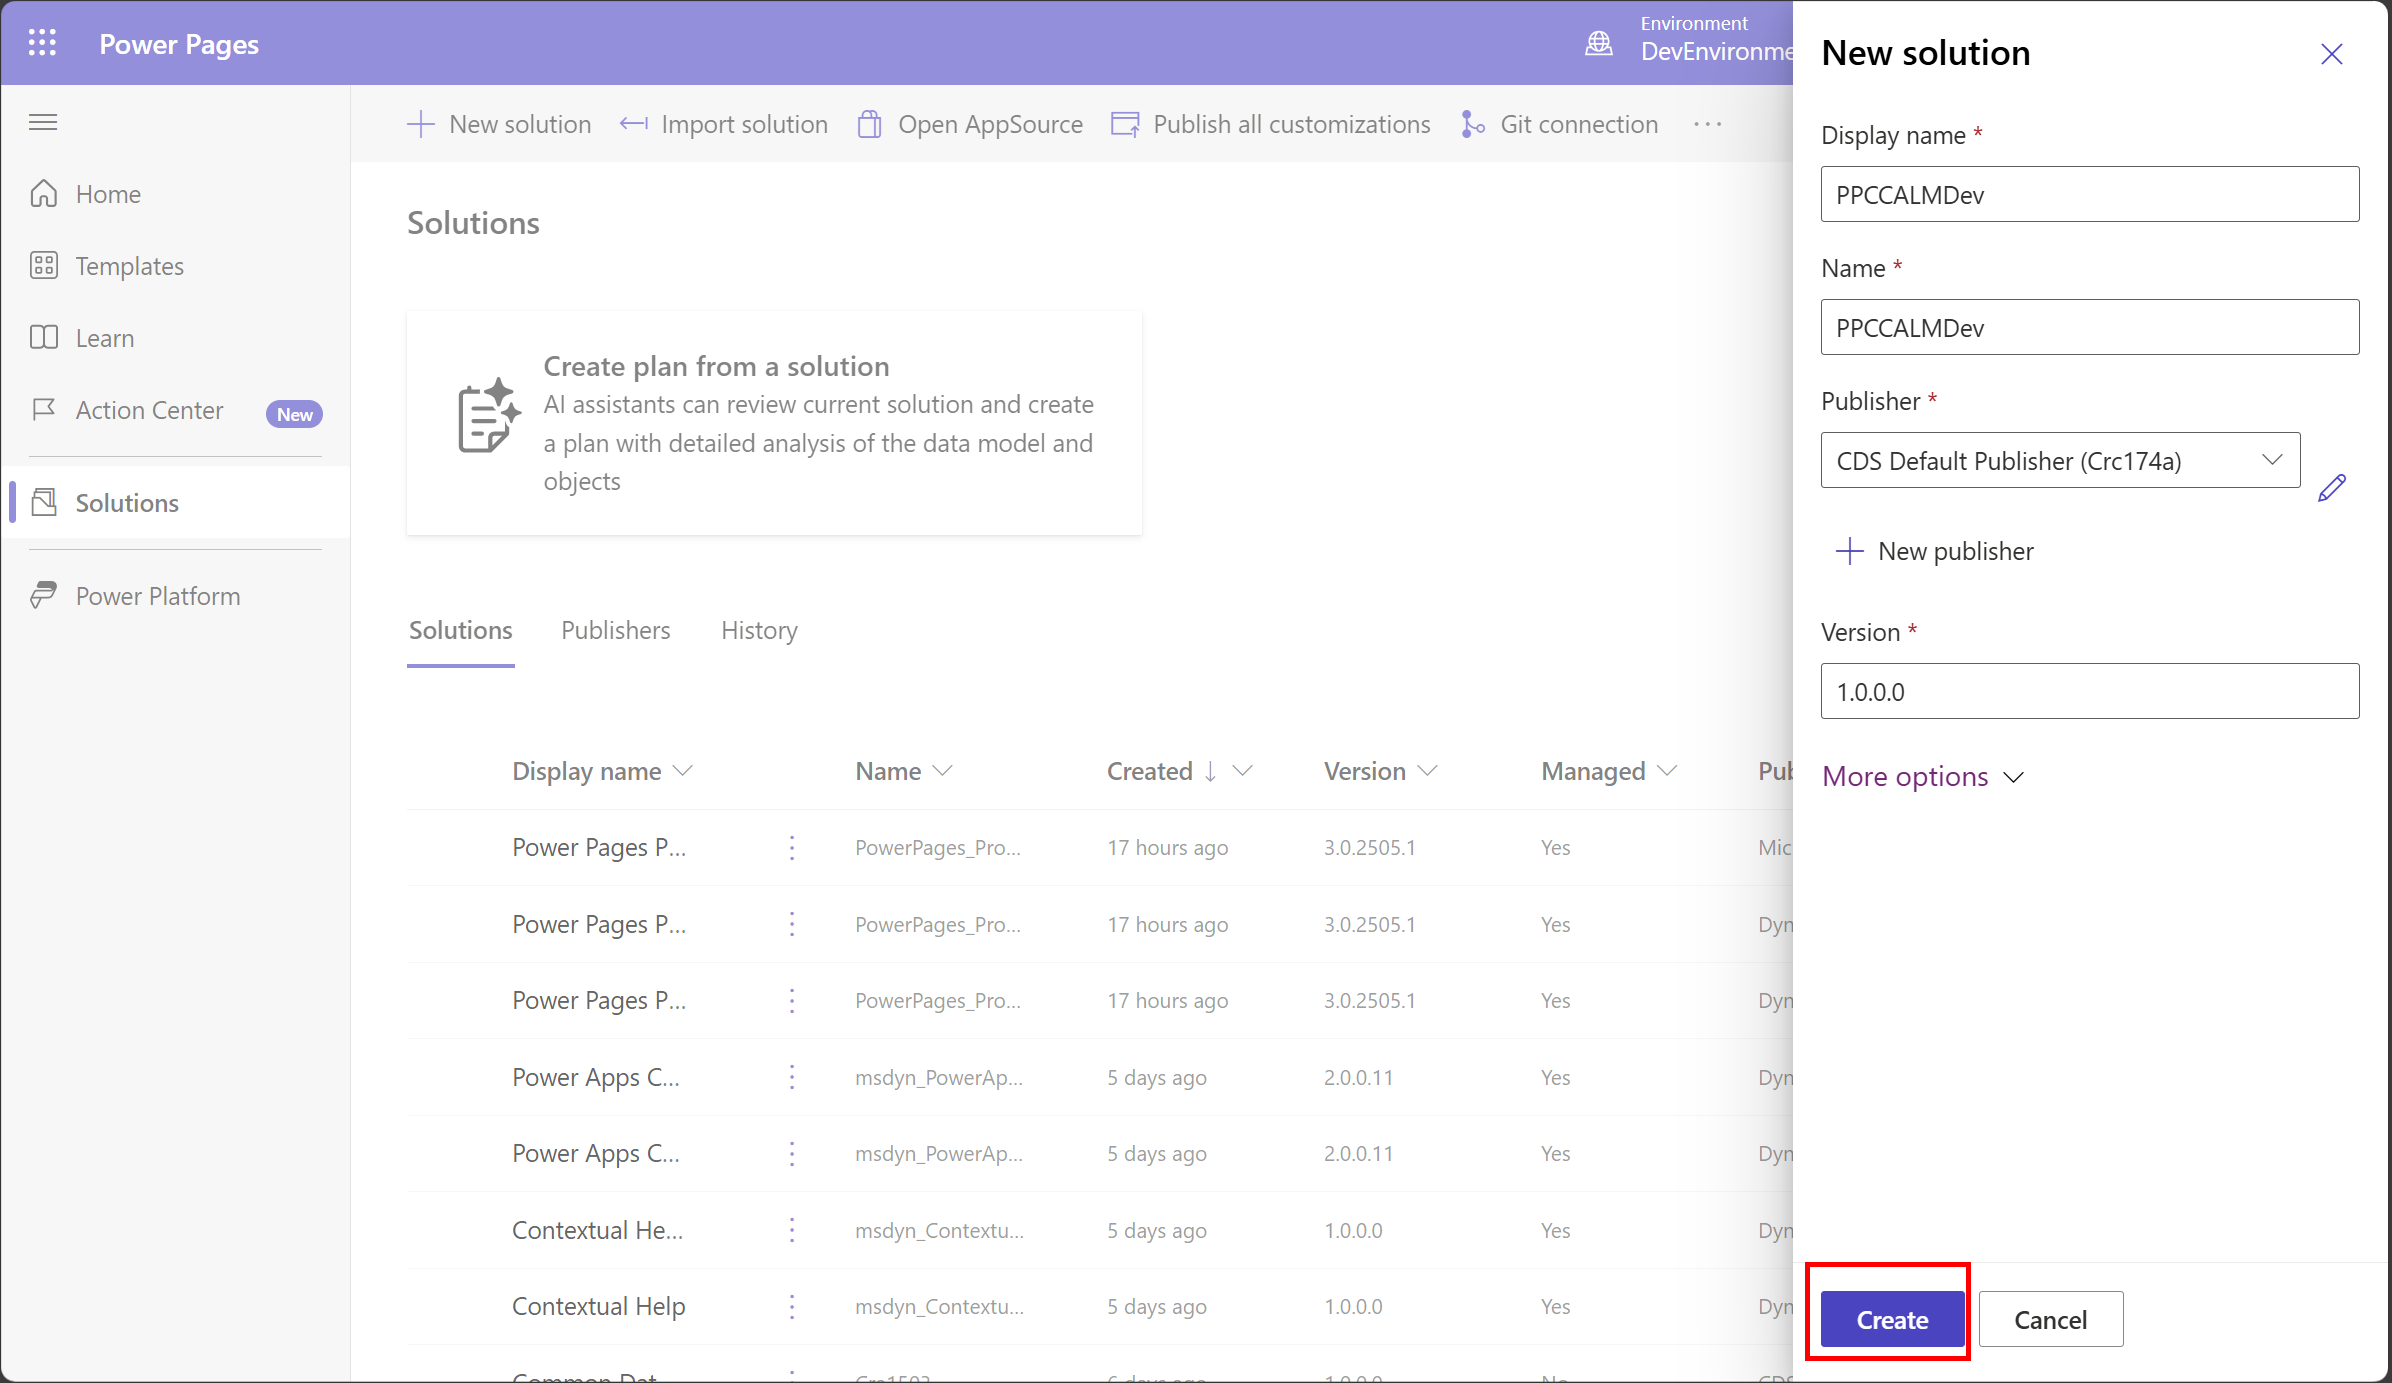
Name the solution PPCCALMDev, select CDS Default Publisher from Publisher dropdown and click Create.
-
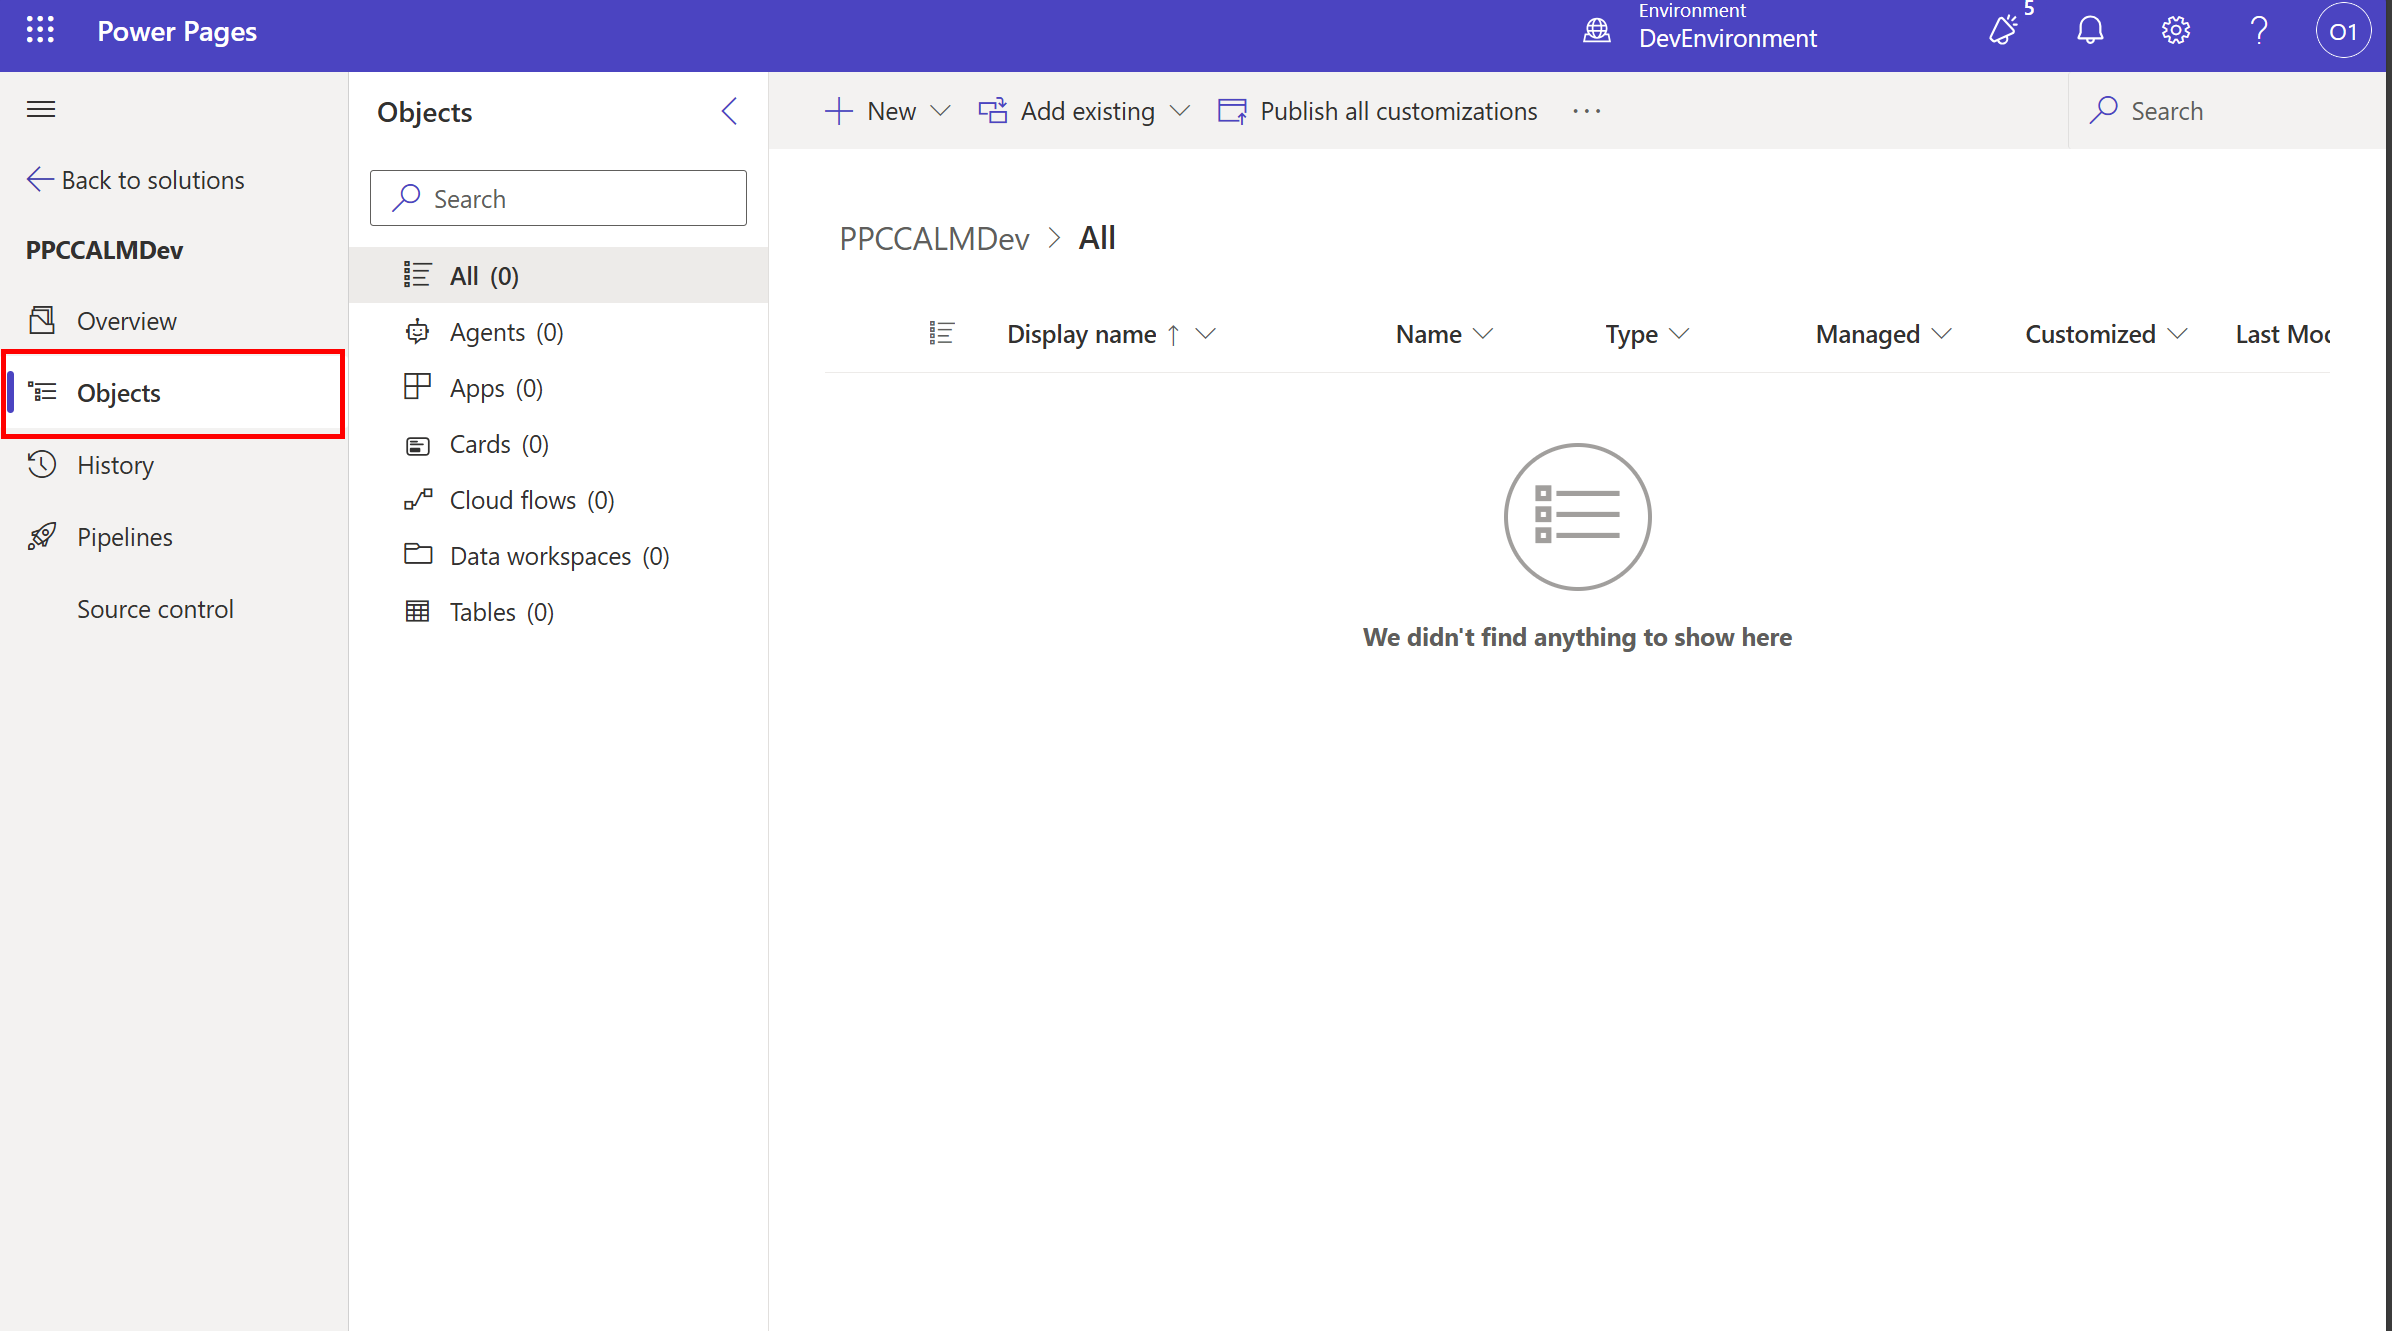
Click on Objects from the left menu.
-
Click on Add Existing button and select Site from the dropdown.
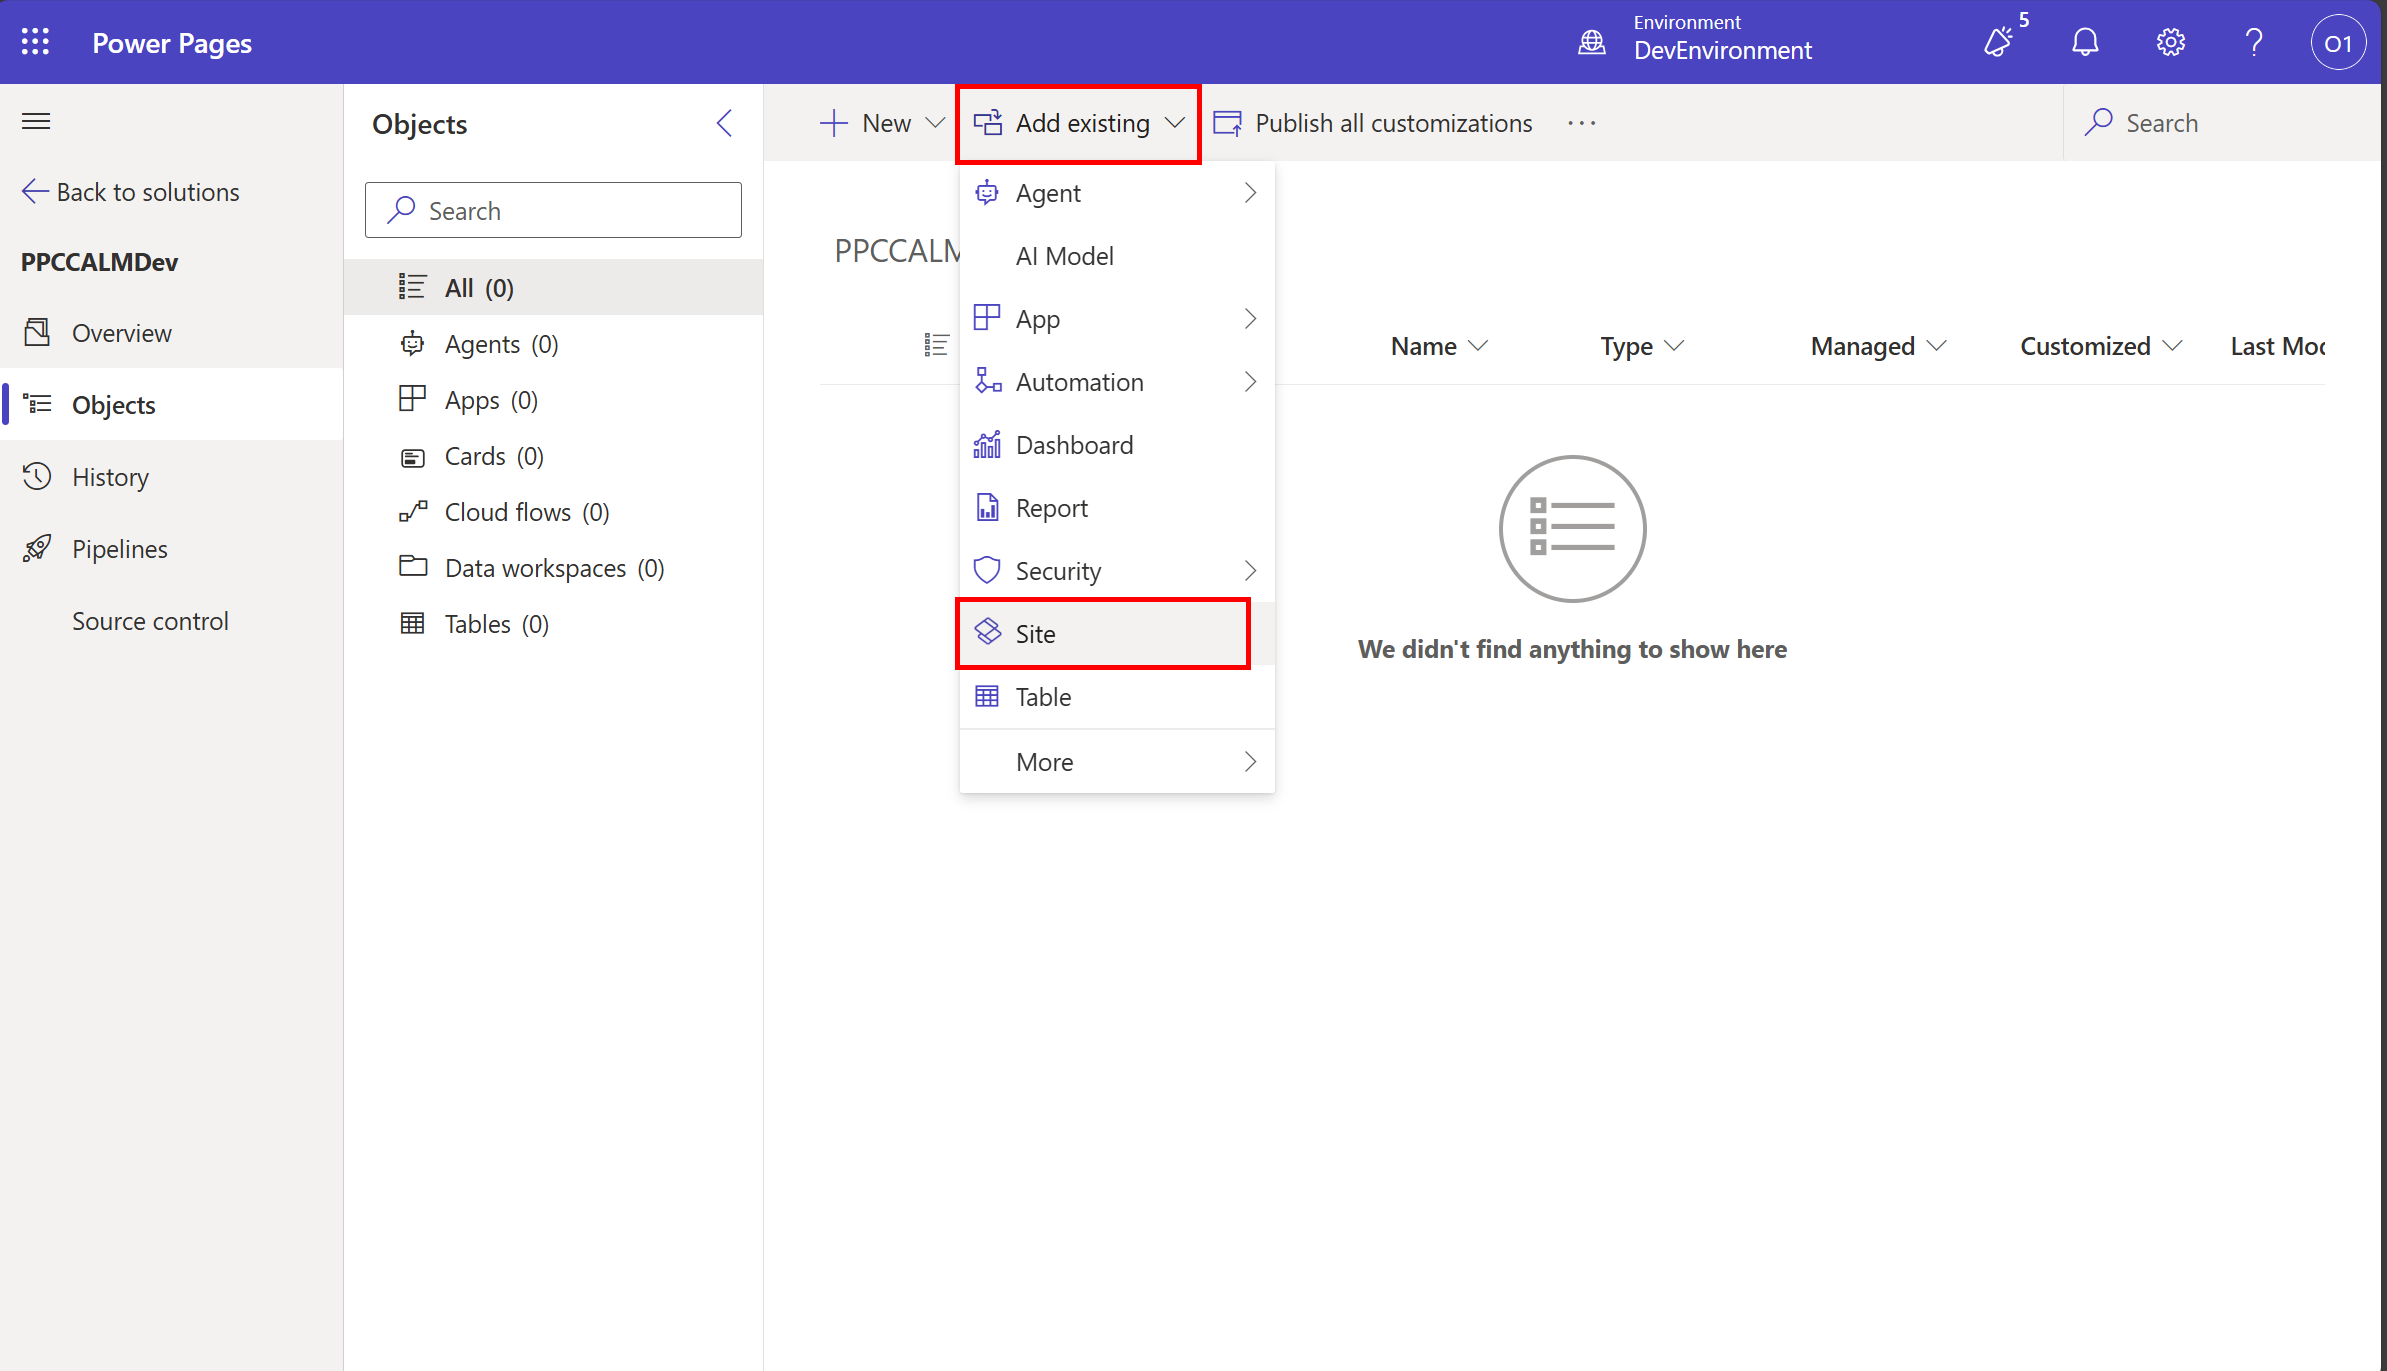
-
Select the site and click on Next.
-
Select Include All Objects and click on Add.
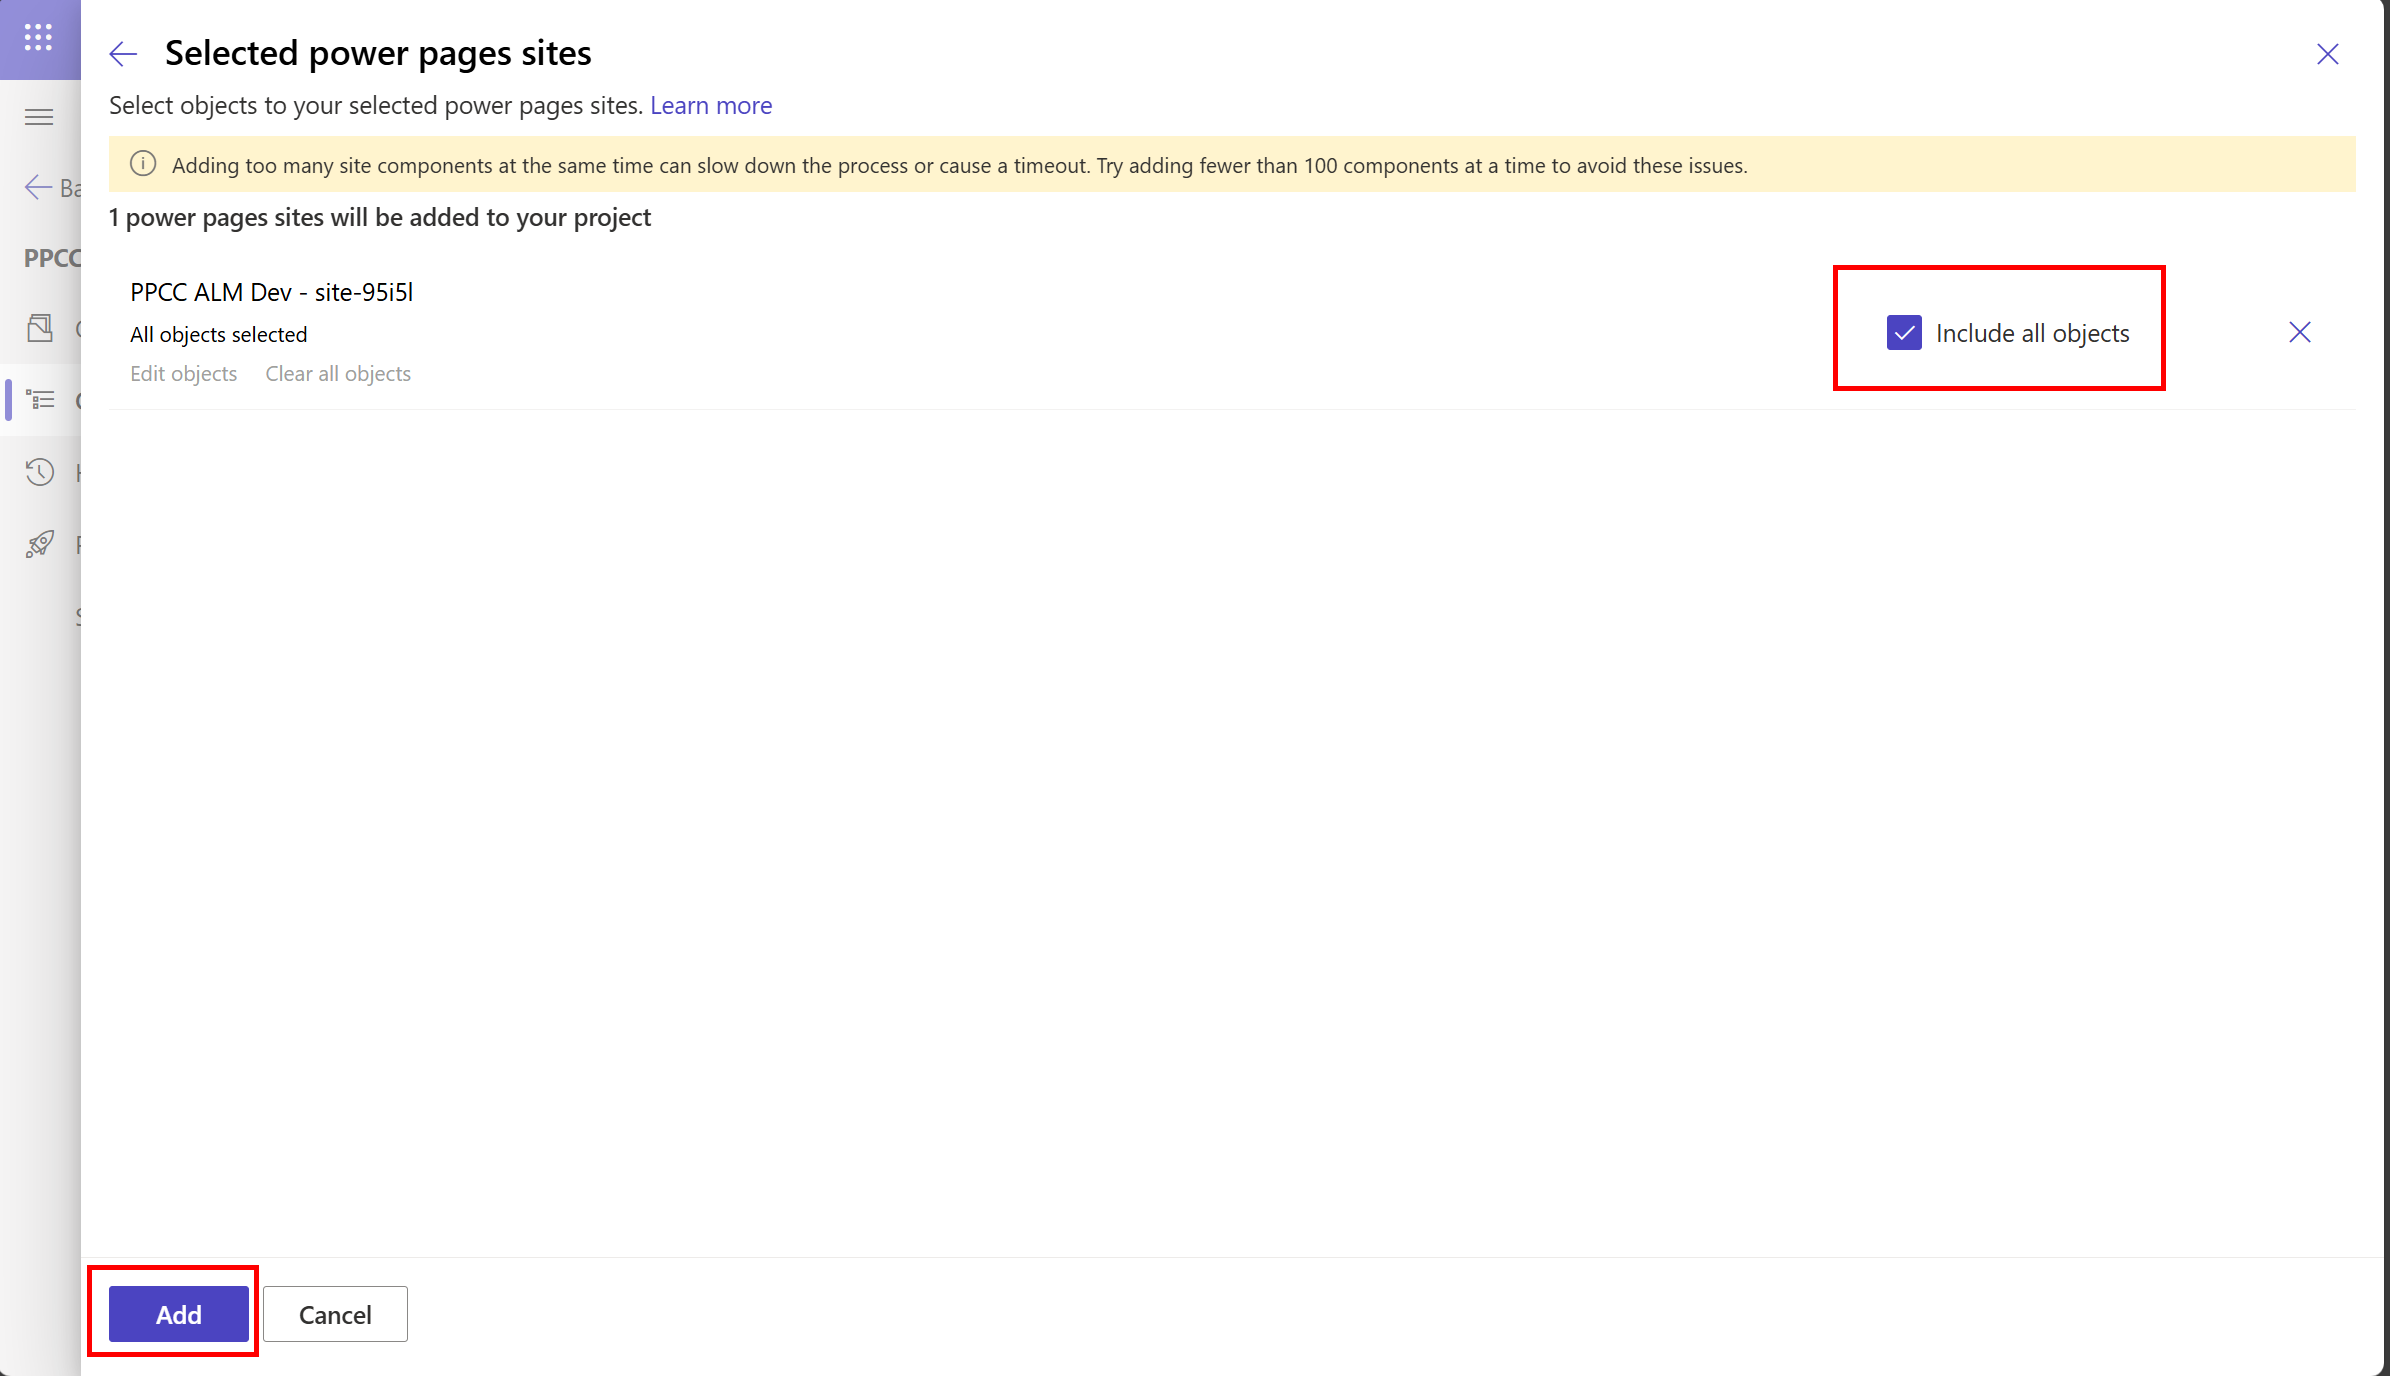
Note: You can also include specific objects by clicking Edit Objects and selecting them individually.
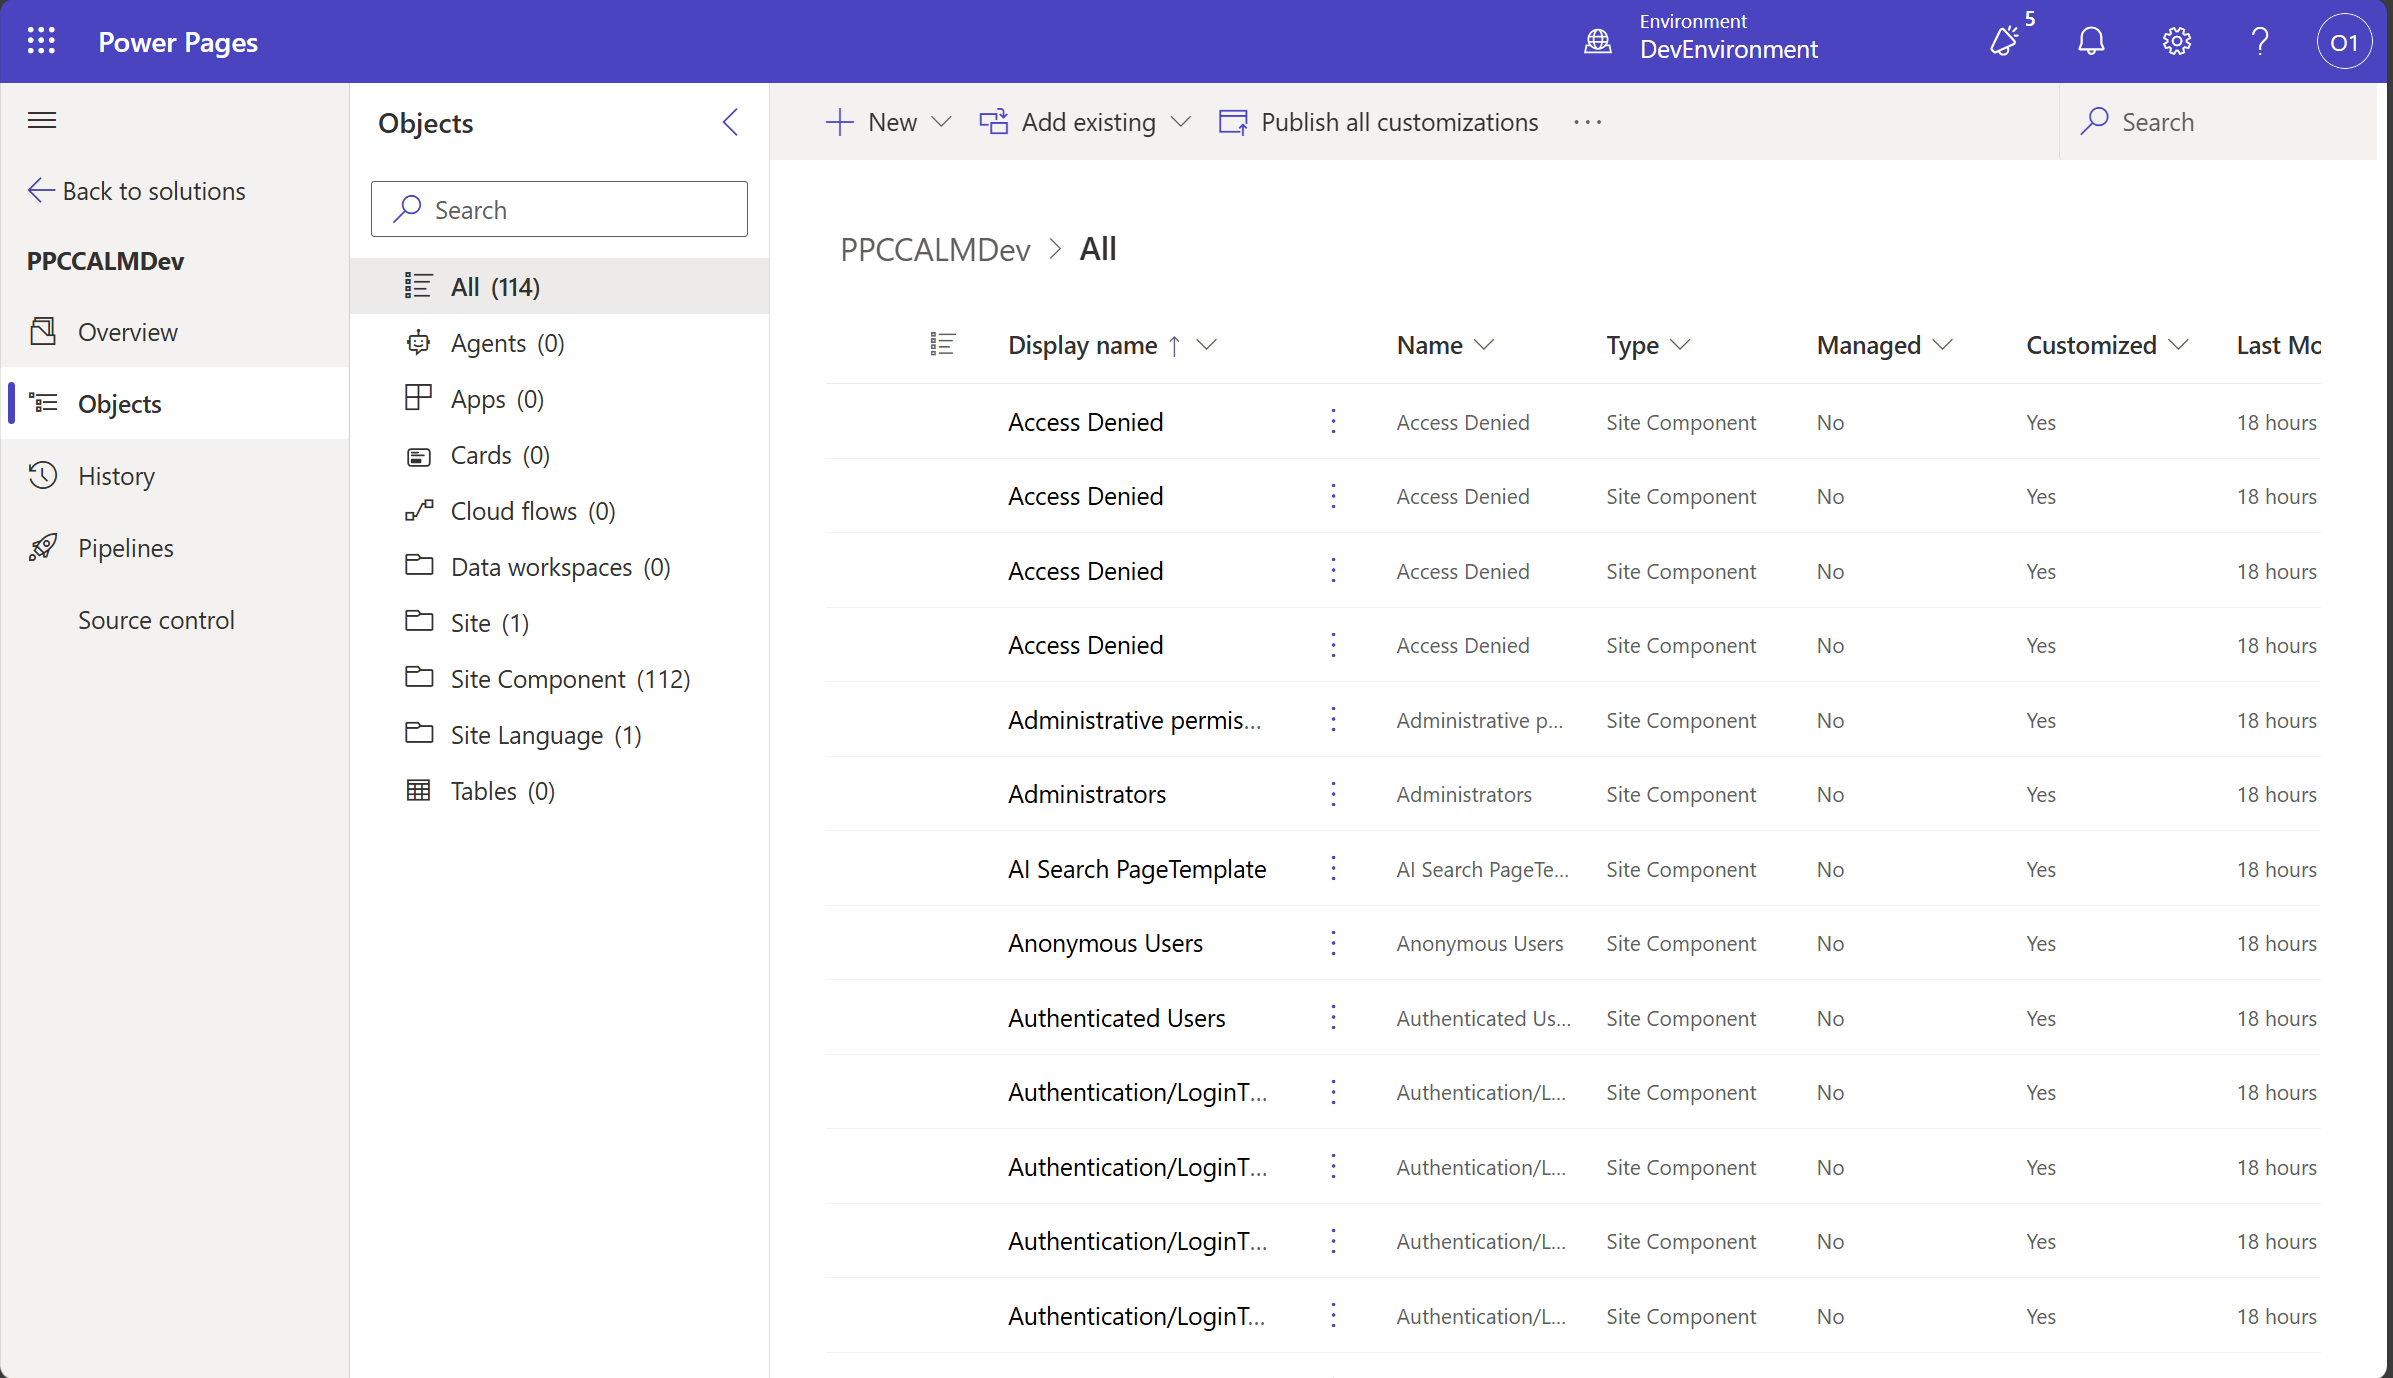
-
Once the site and its related objects are added to the solution, you will see something like below:
🚀 Configure Power Pipelines
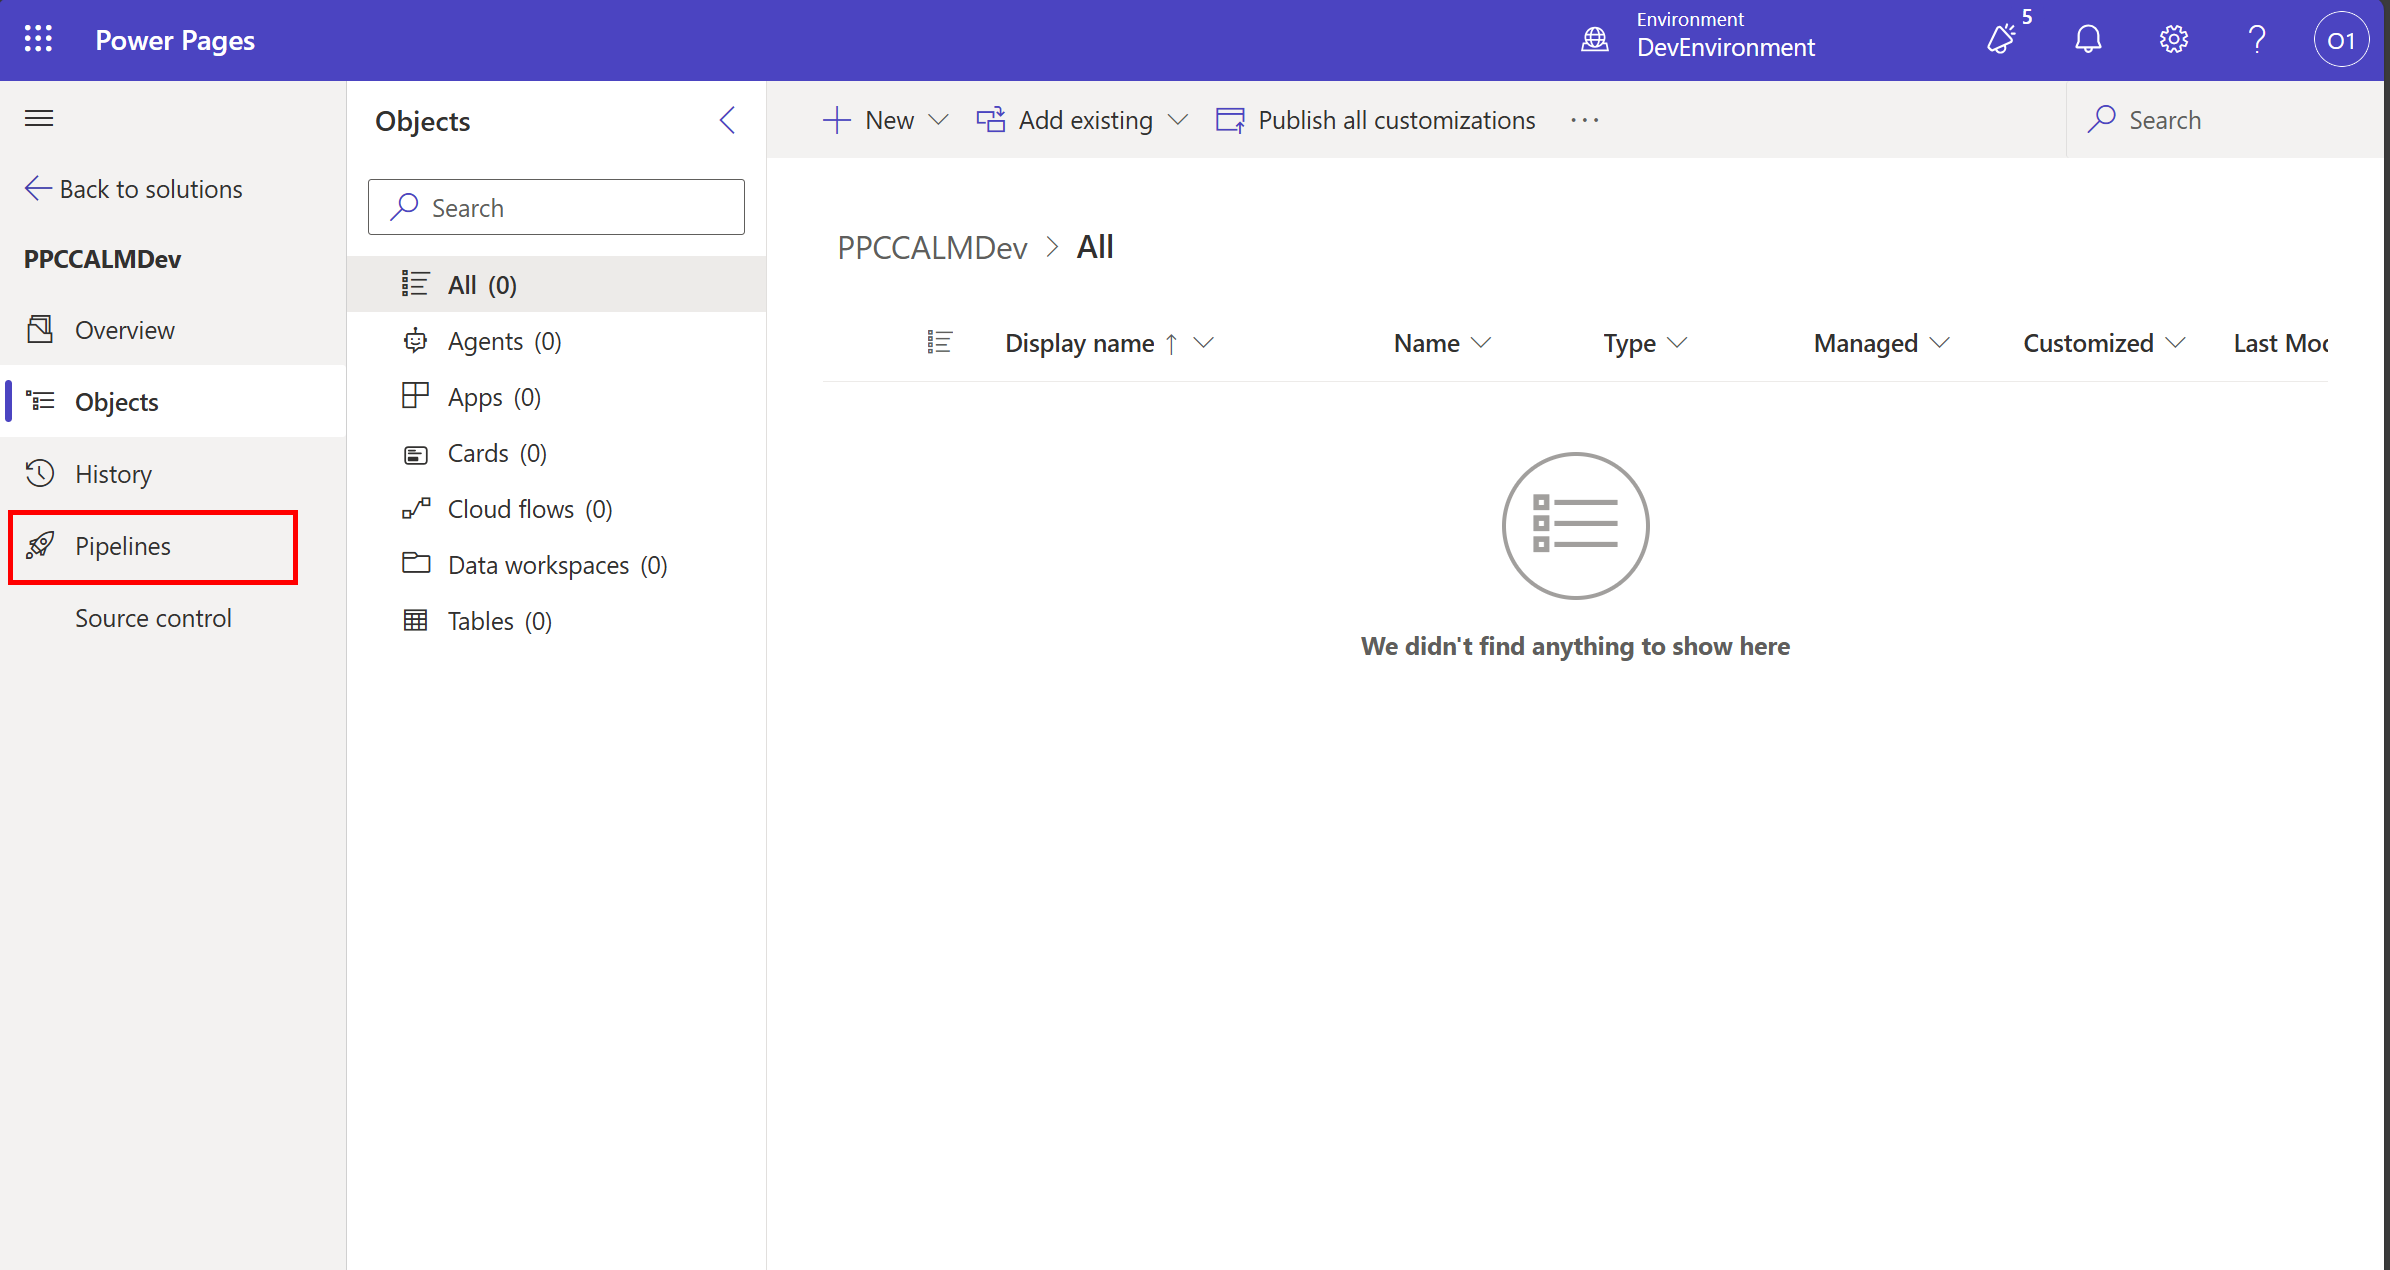
-
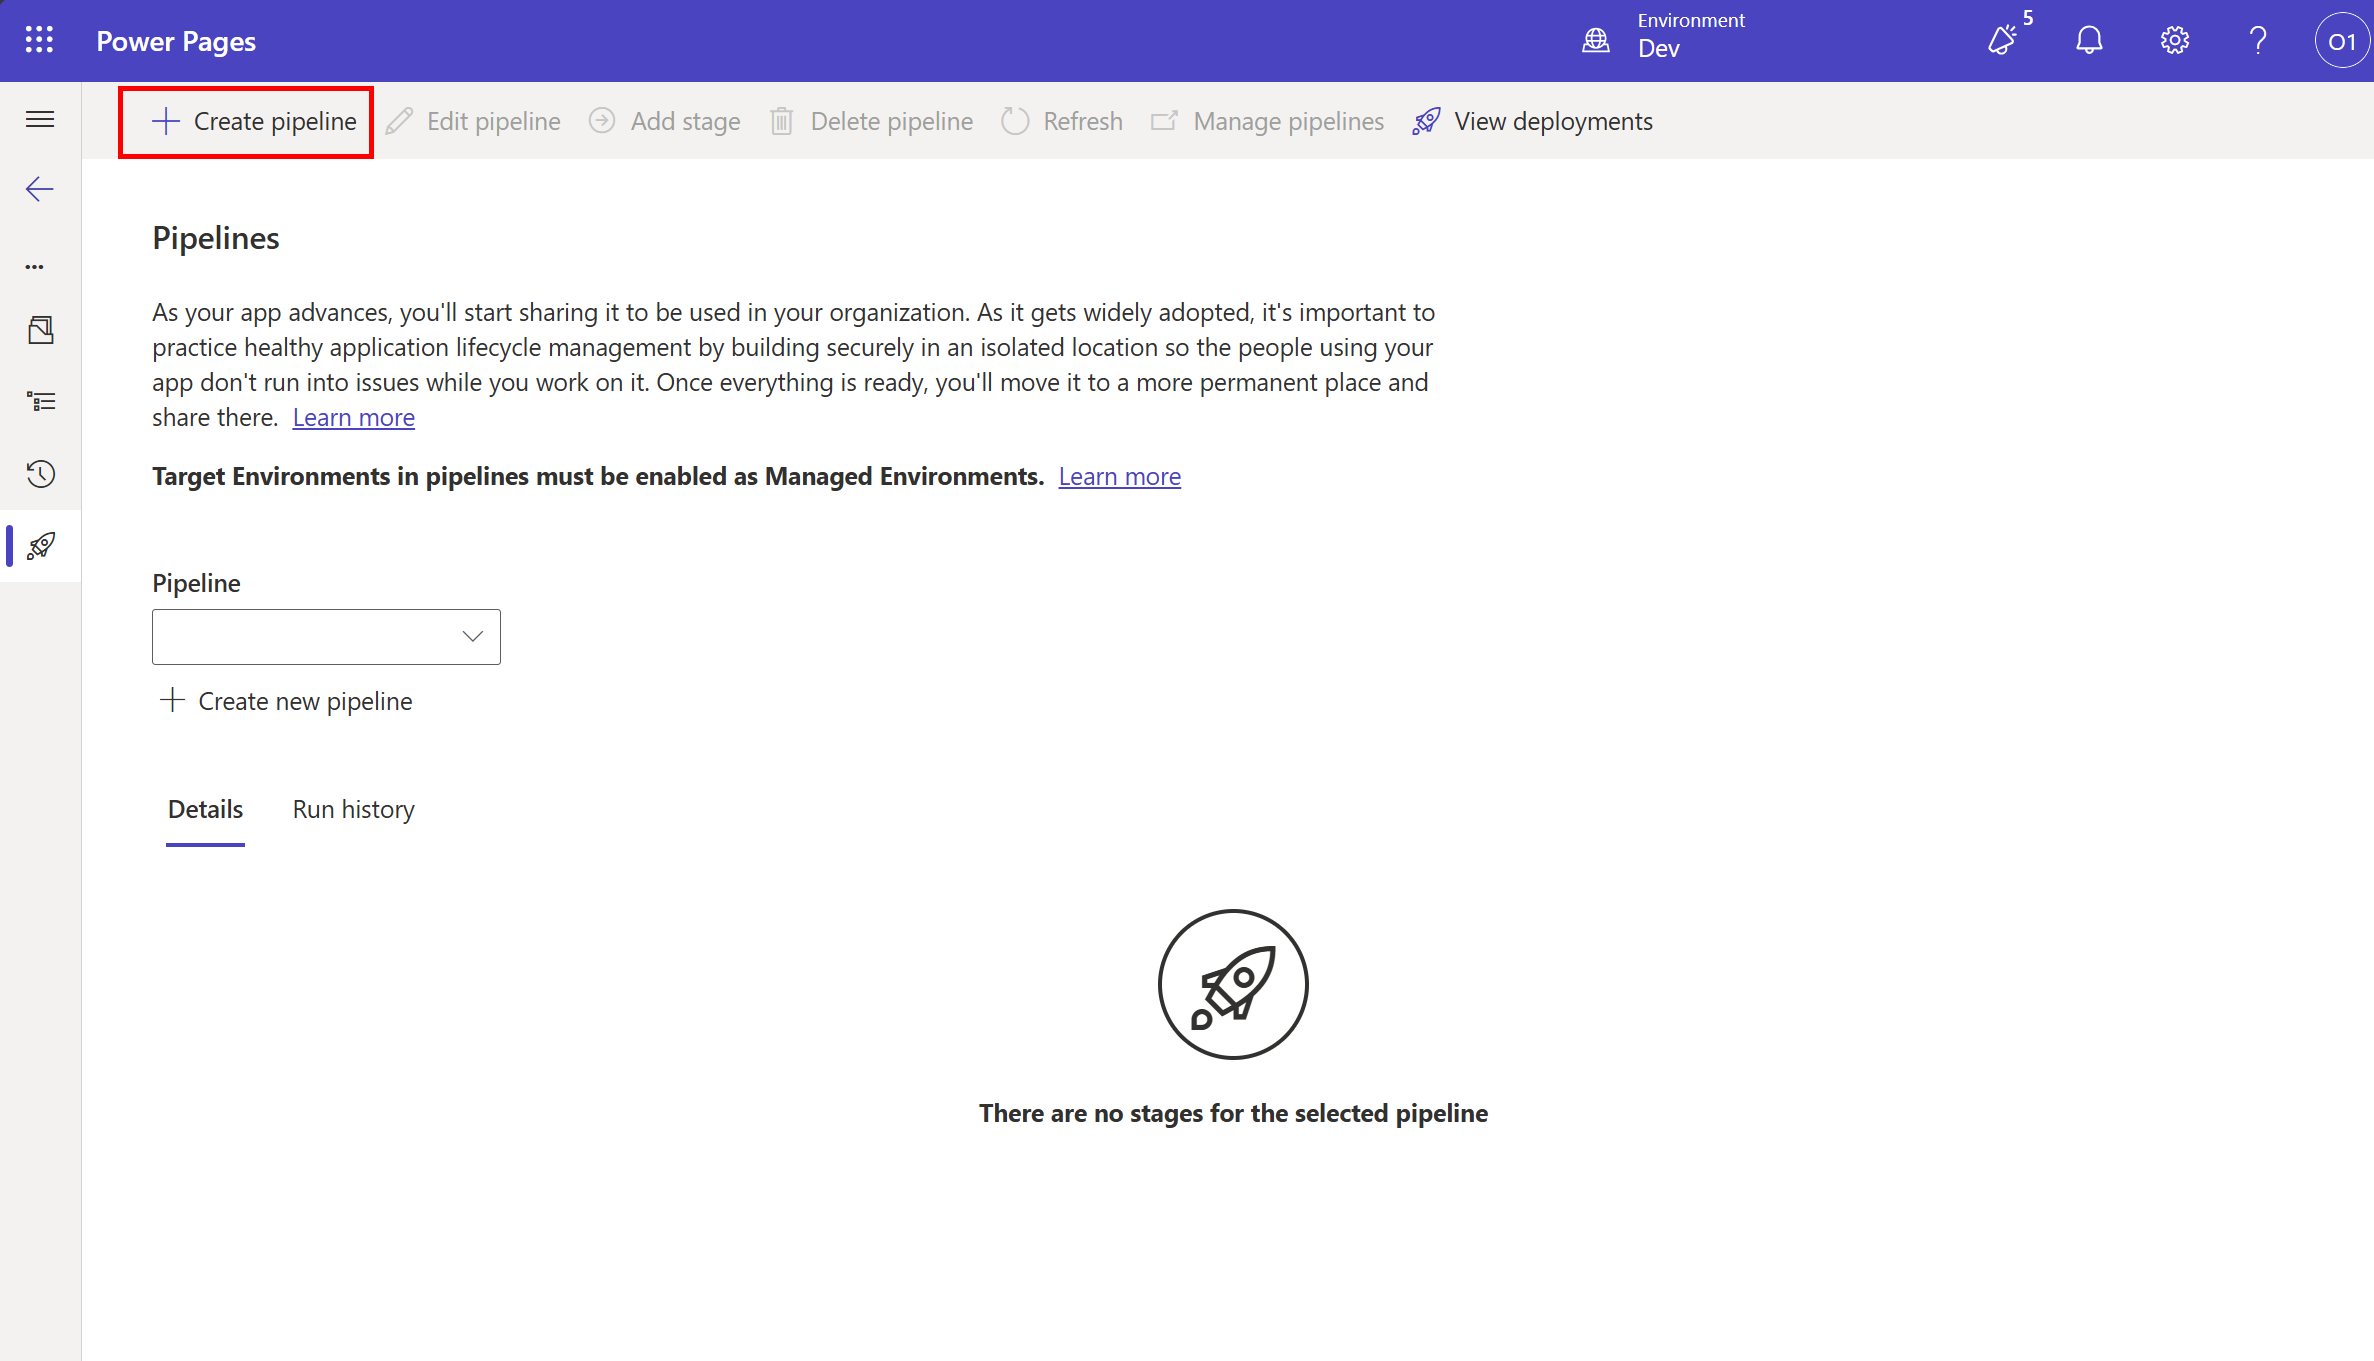
Select the newly created solution and click on Pipelines from the left menu.
-
Click on Create Pipeline button to create a new pipeline.
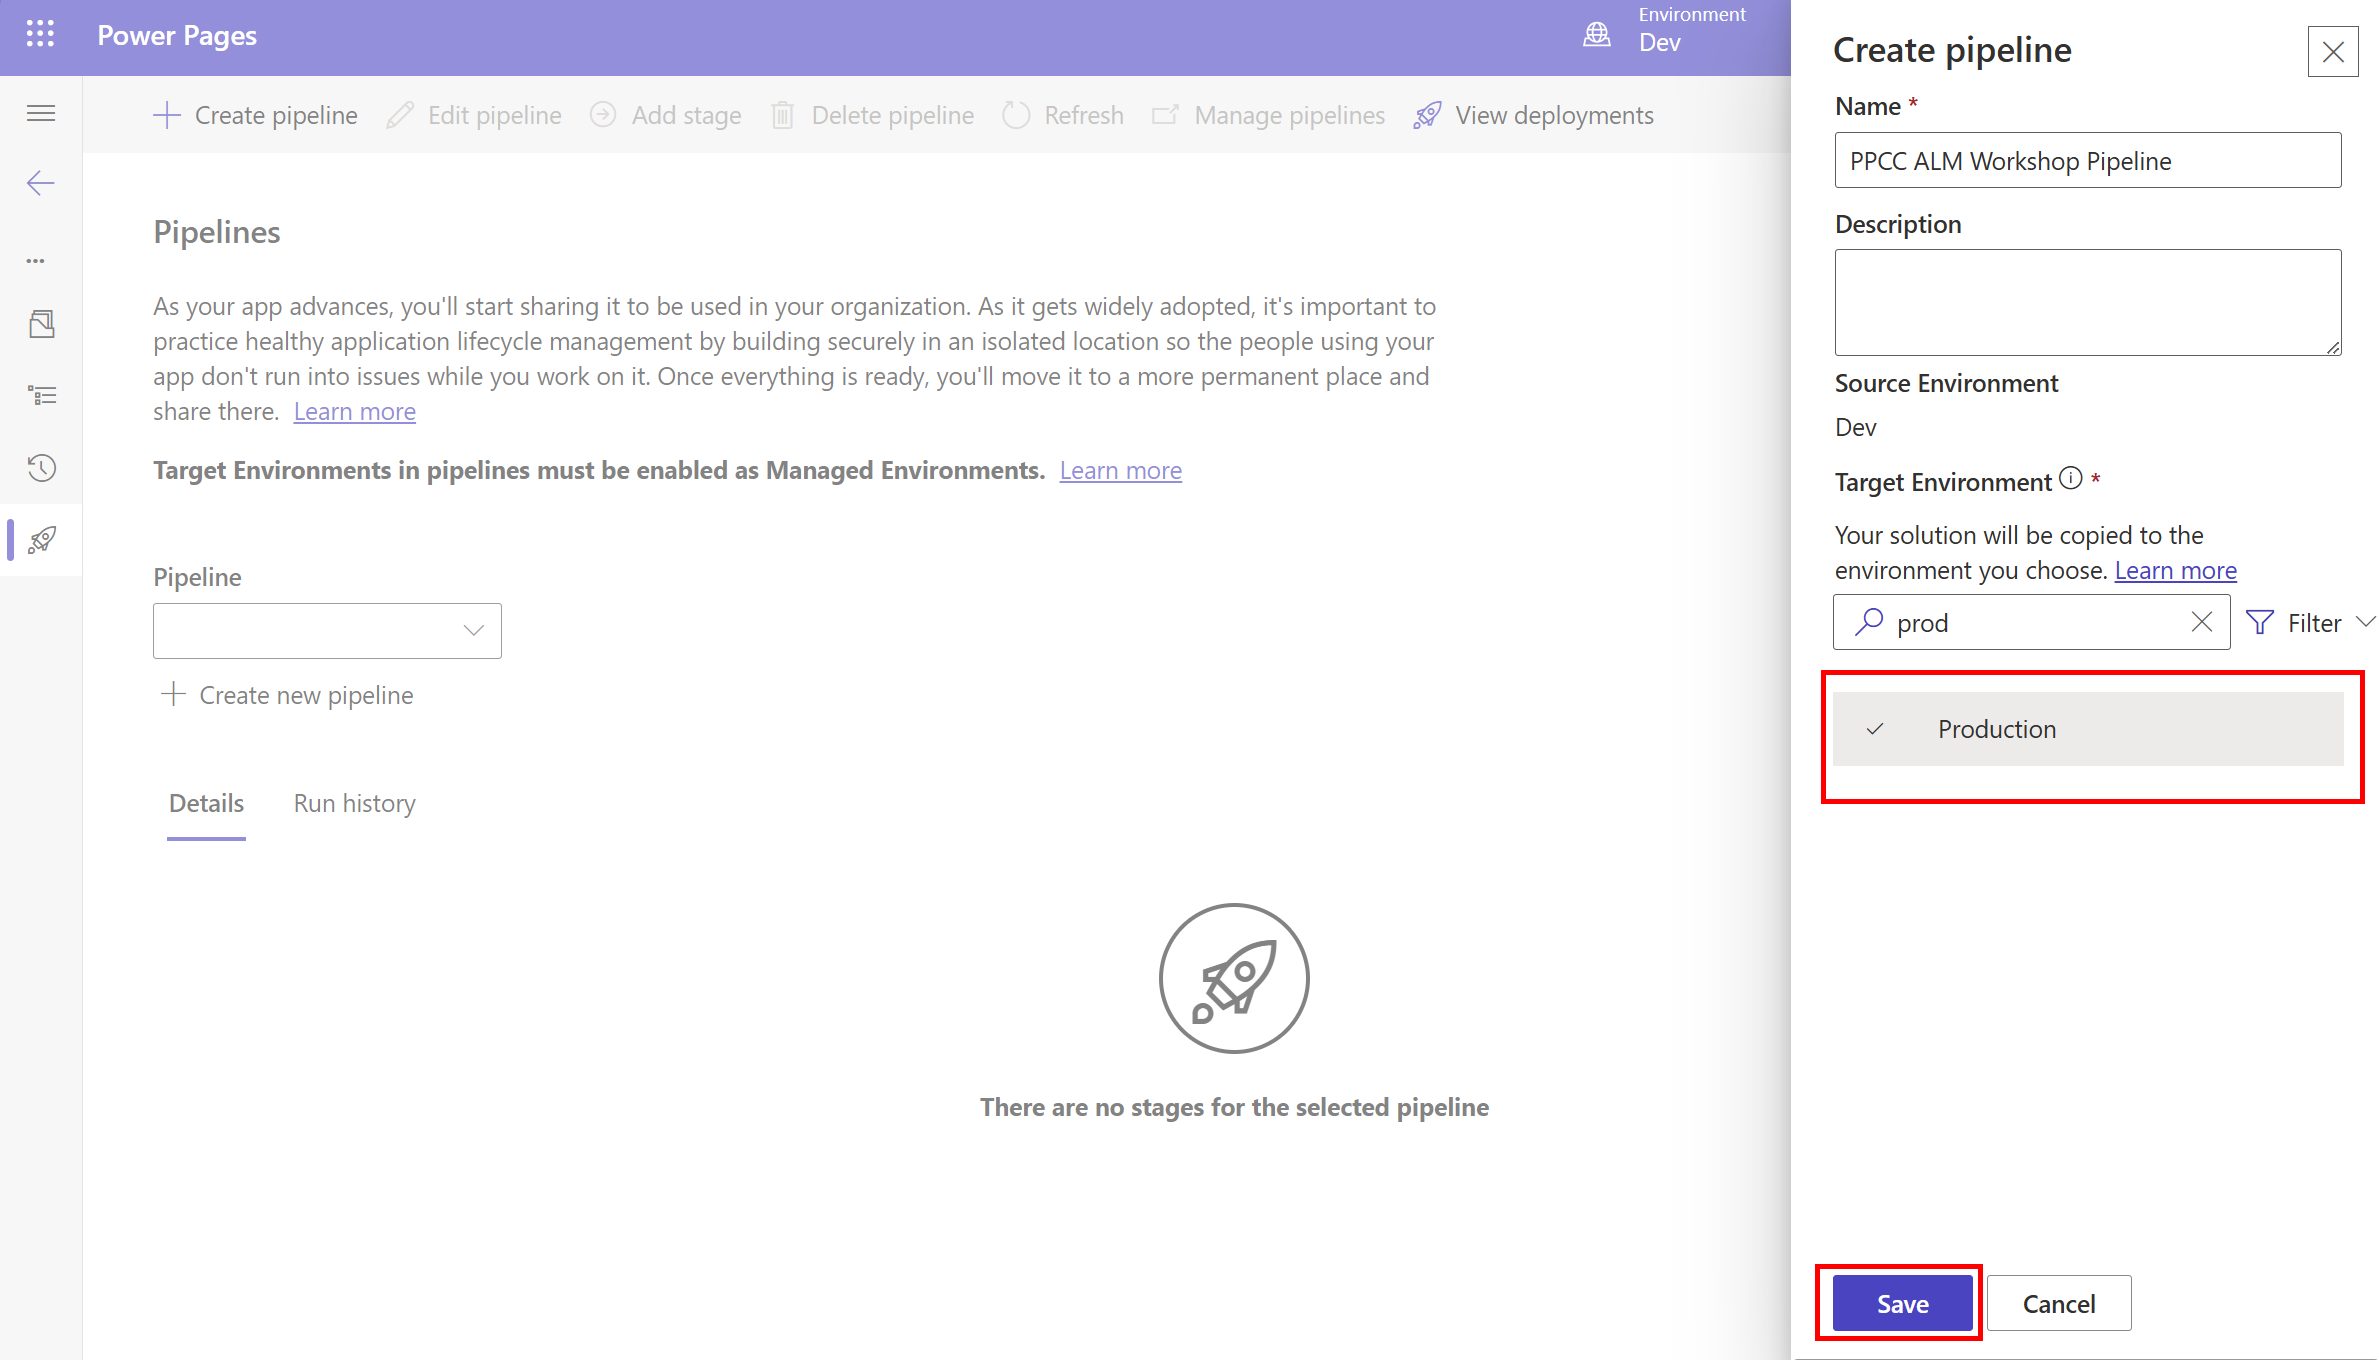
-
Name the pipeline PPCC ALM Workshop pipeline and select Prod environment as the target environment and click on Save.
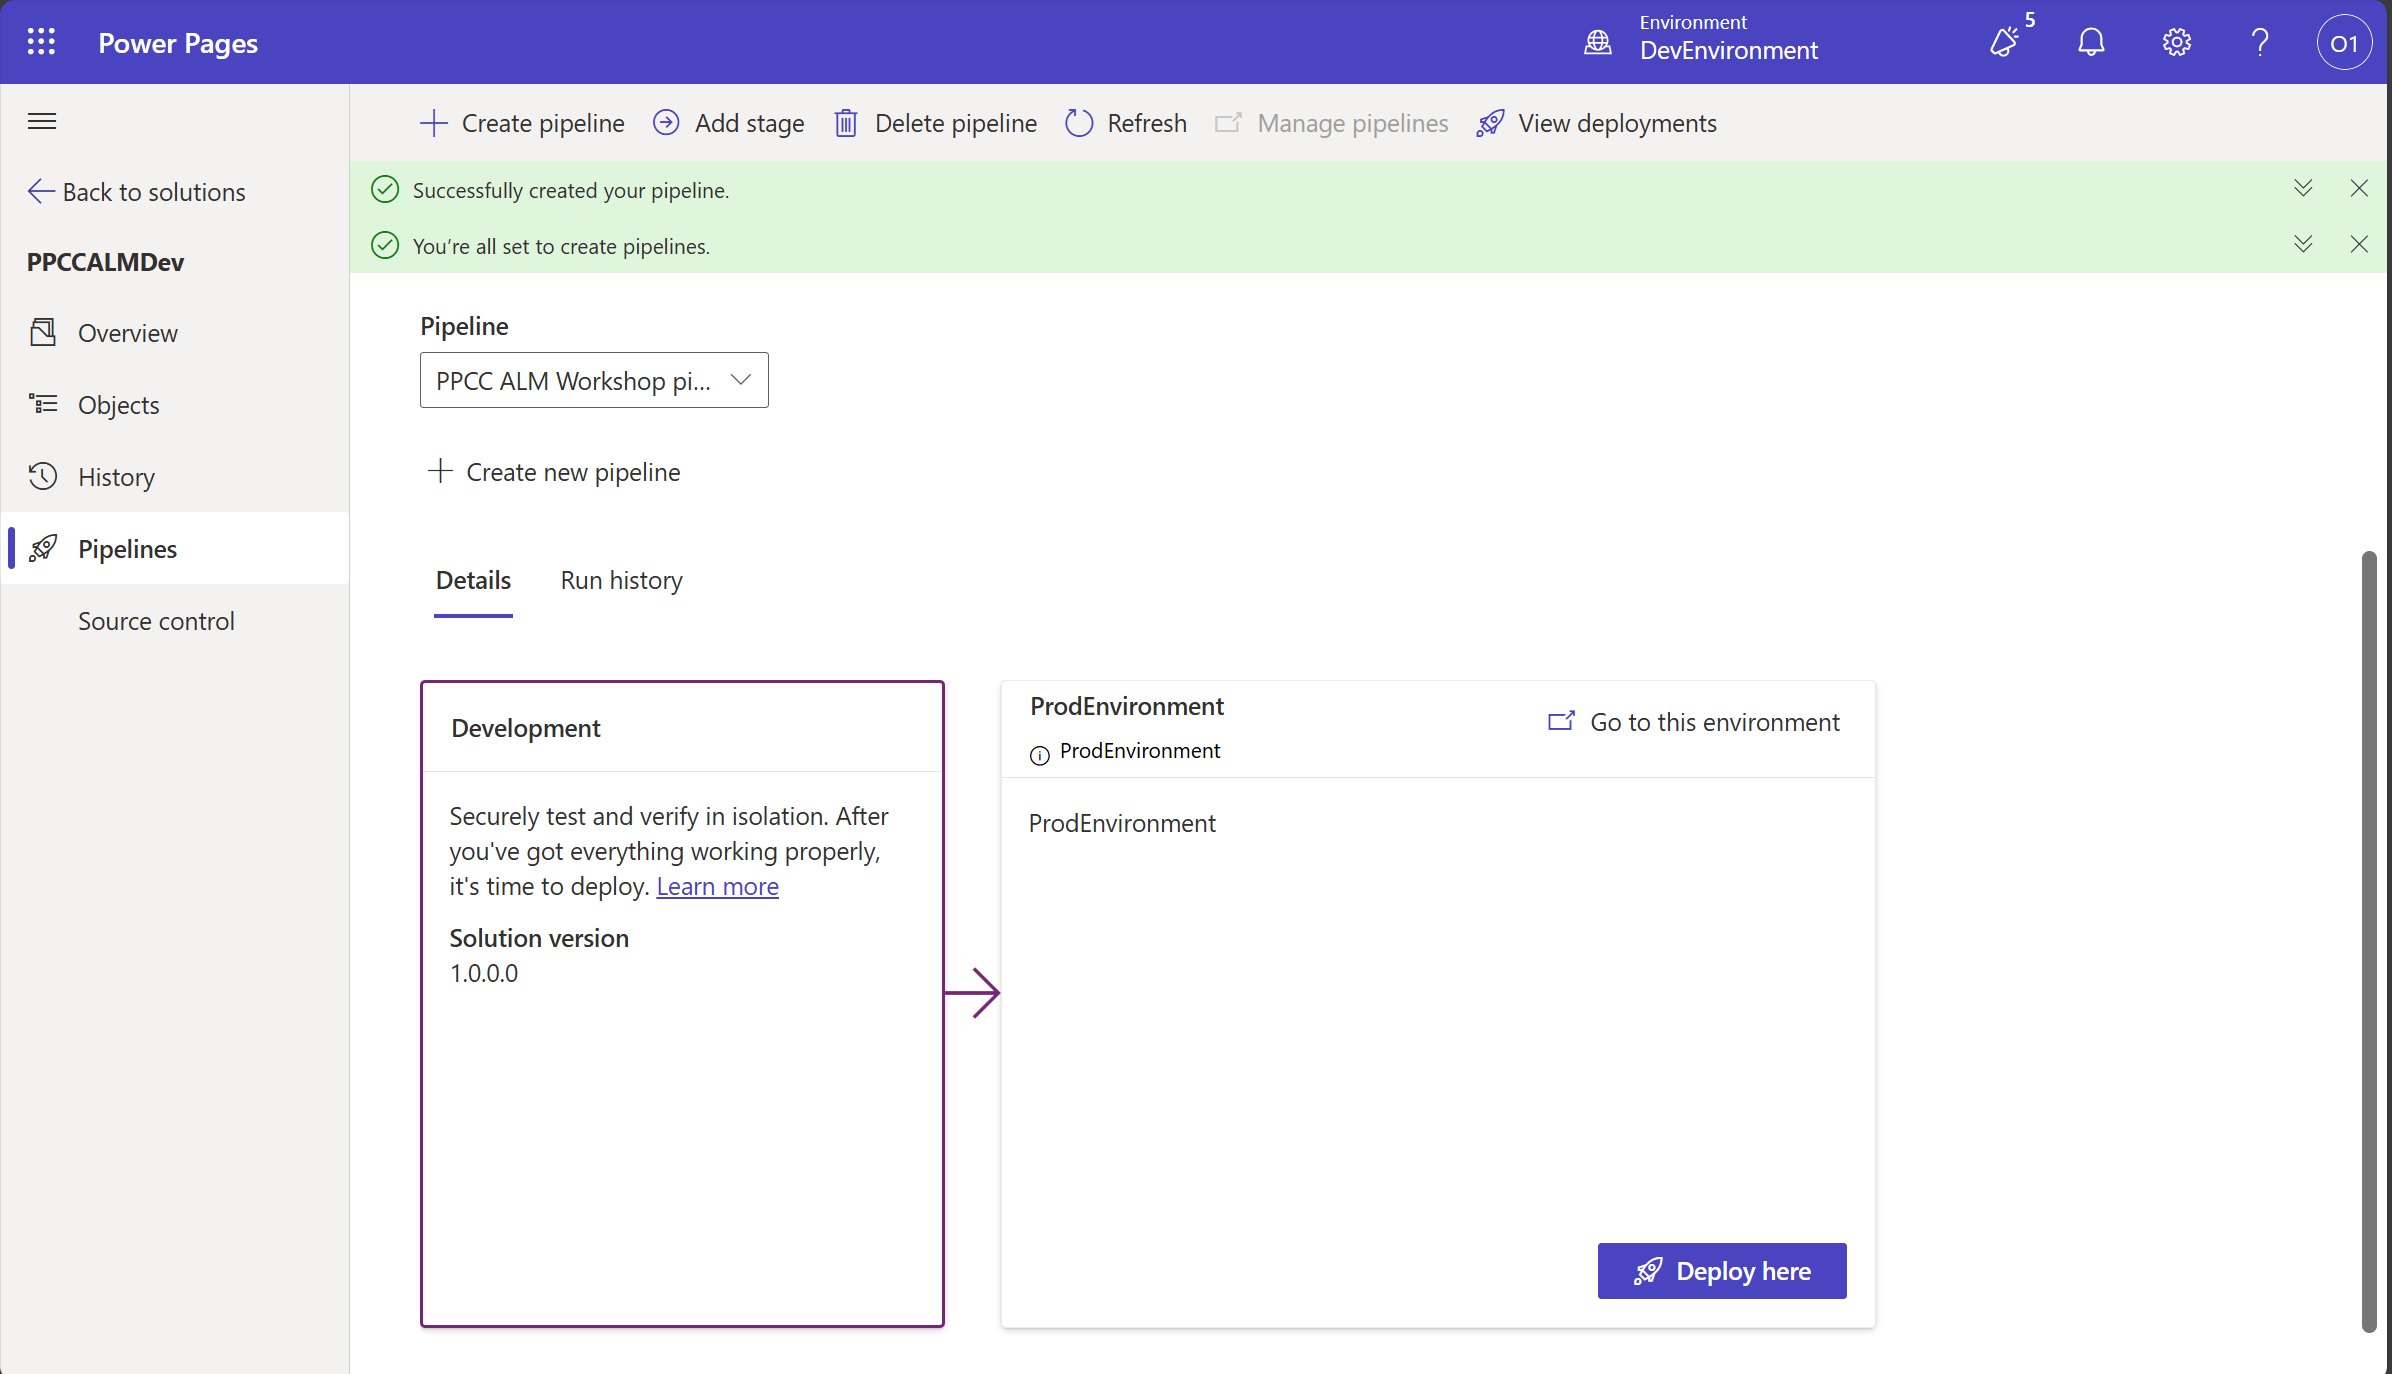
-
Once the pipeline is created, you will see something like below:
🚀 Deploy to Prod Environment
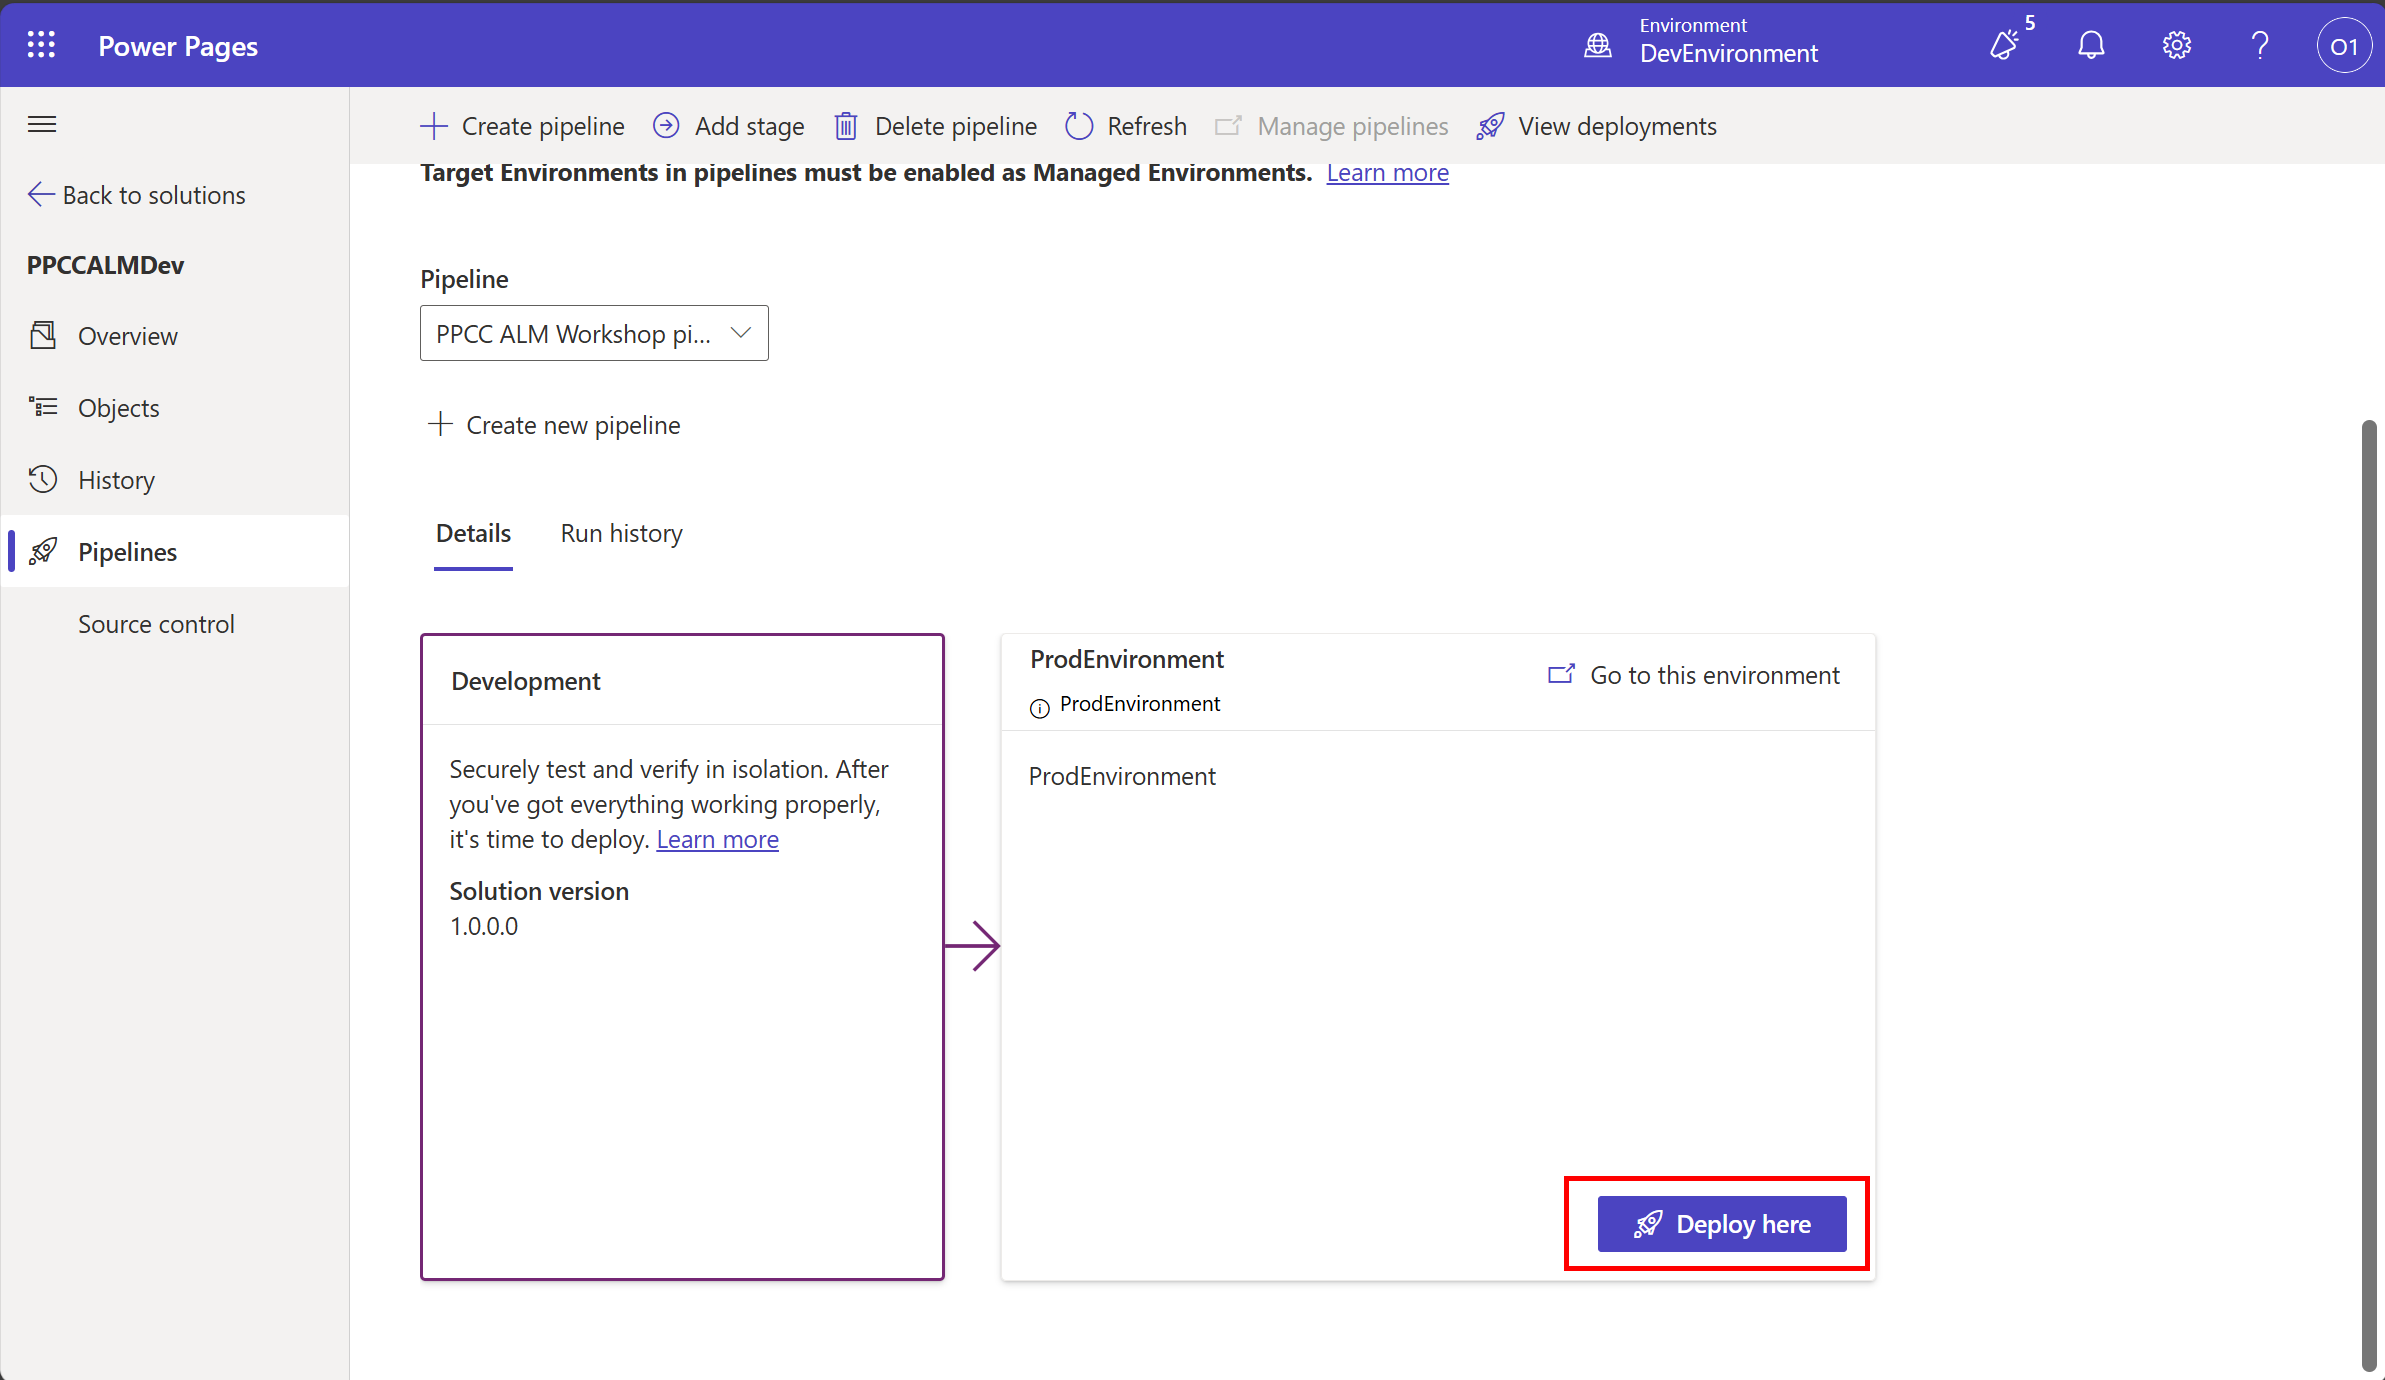
-
Click on Deploy Here button to deploy the solution to Prod Environment.
-
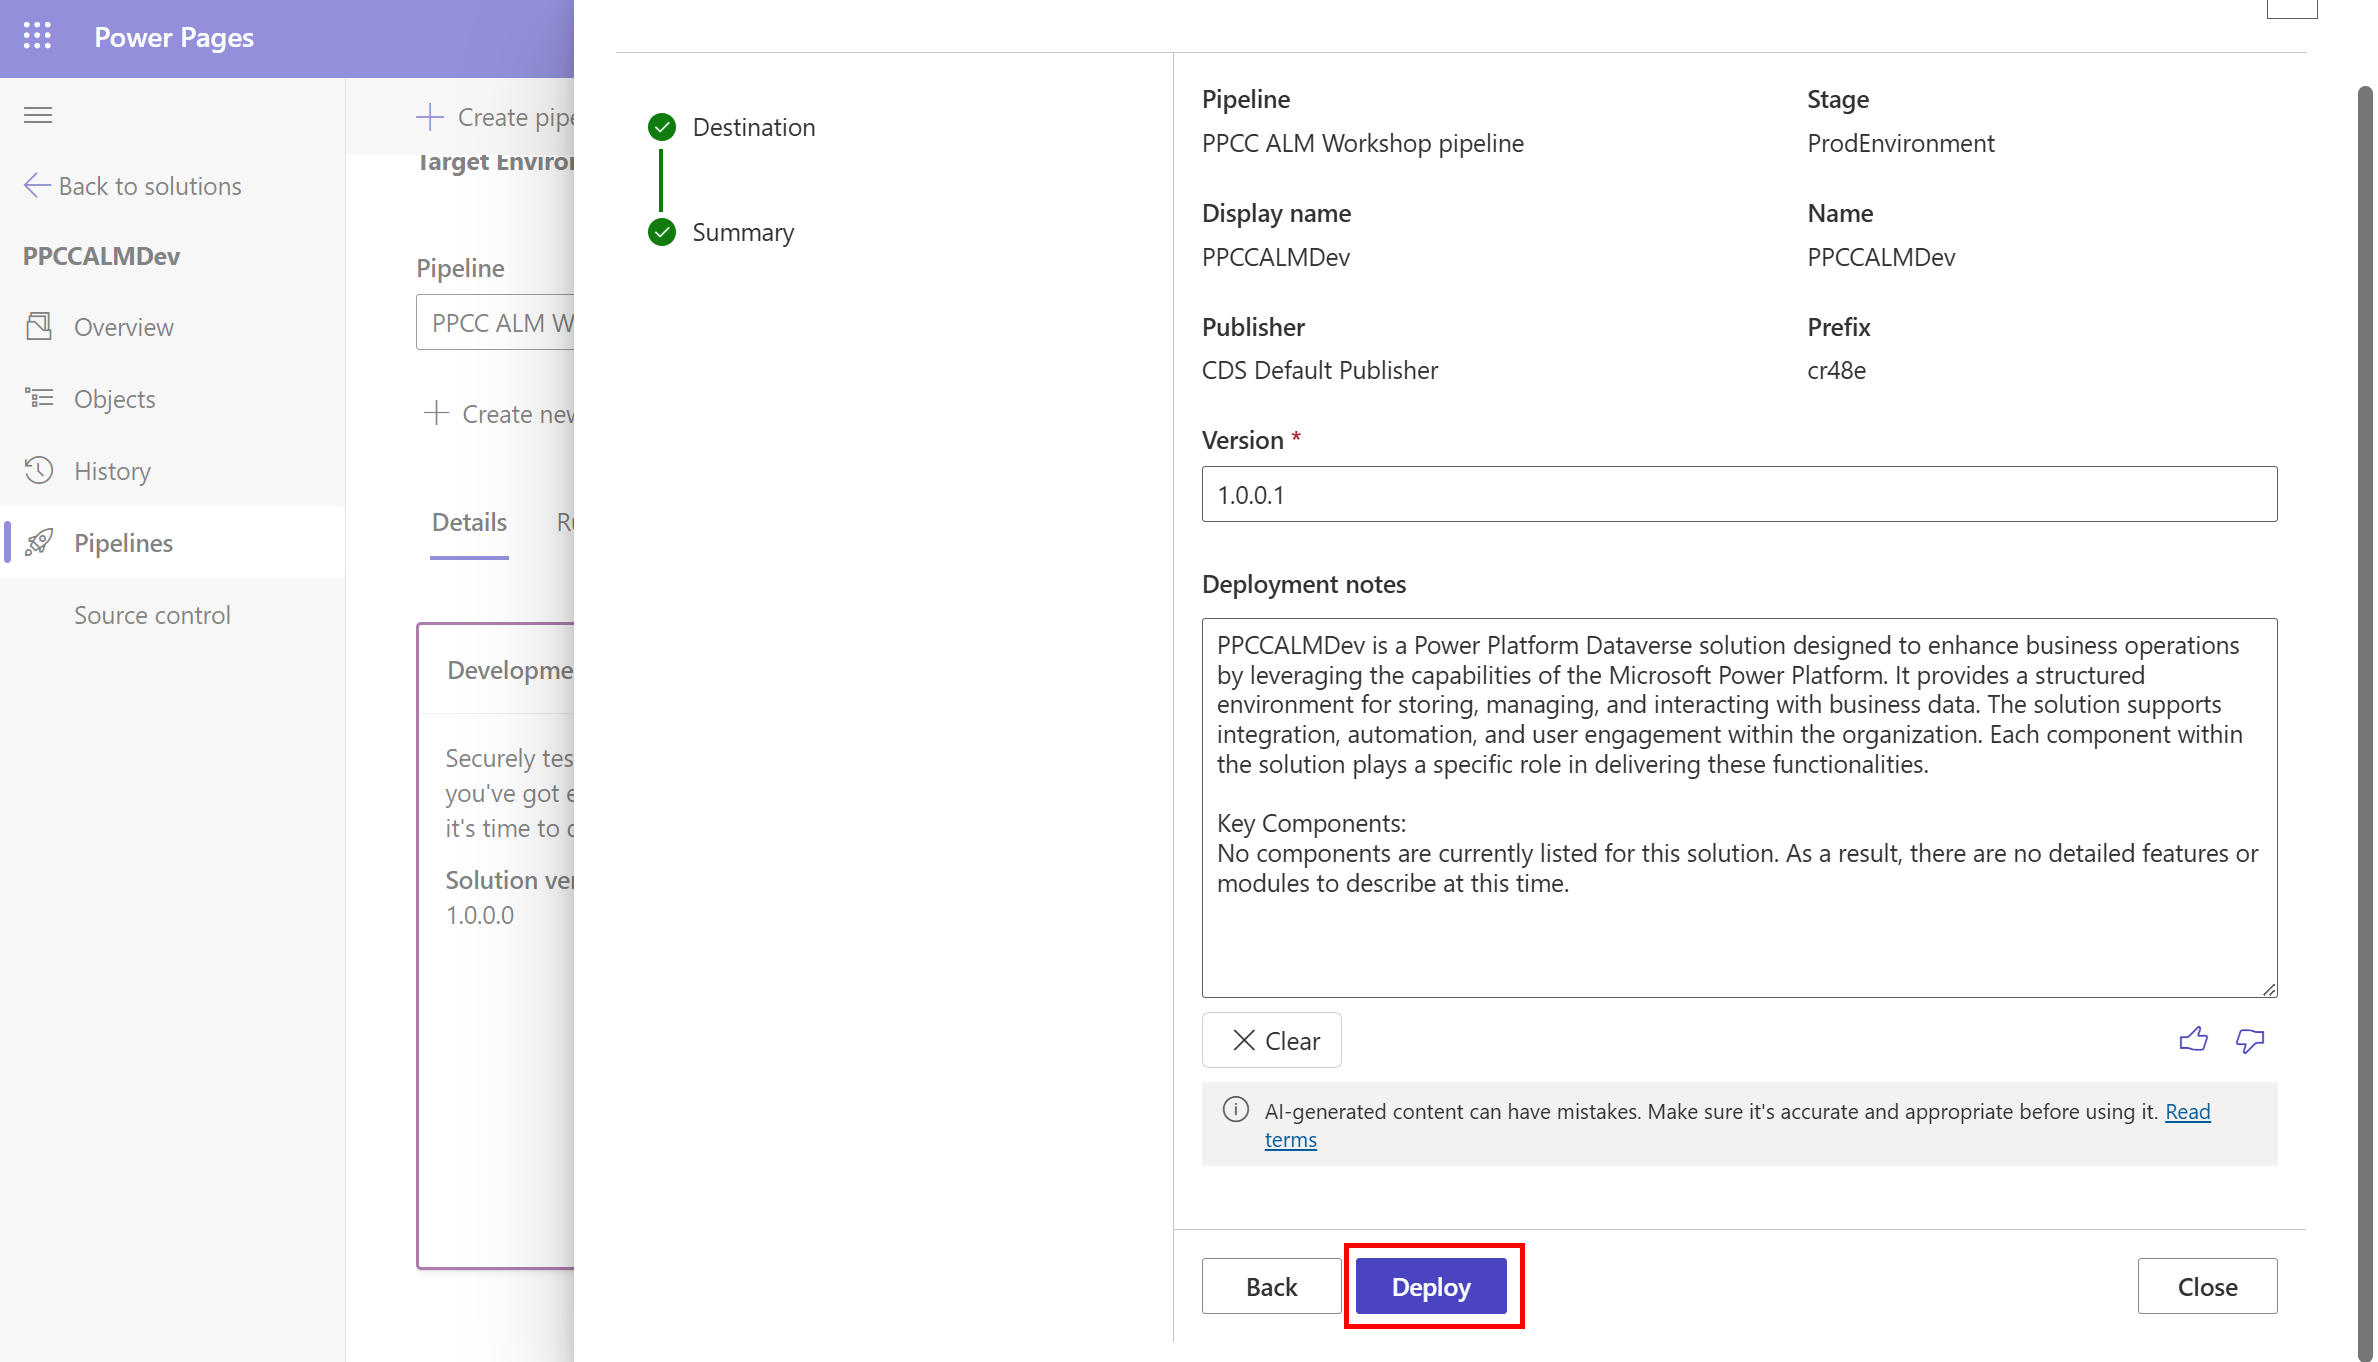
On the fly out panel, click on Deploy button to start the deployment.
-
After the initial verification of deployment is complete, you will get an option to click “Deploy on the Summary Panel for Power Pipelines Deploying Solution panel.
-
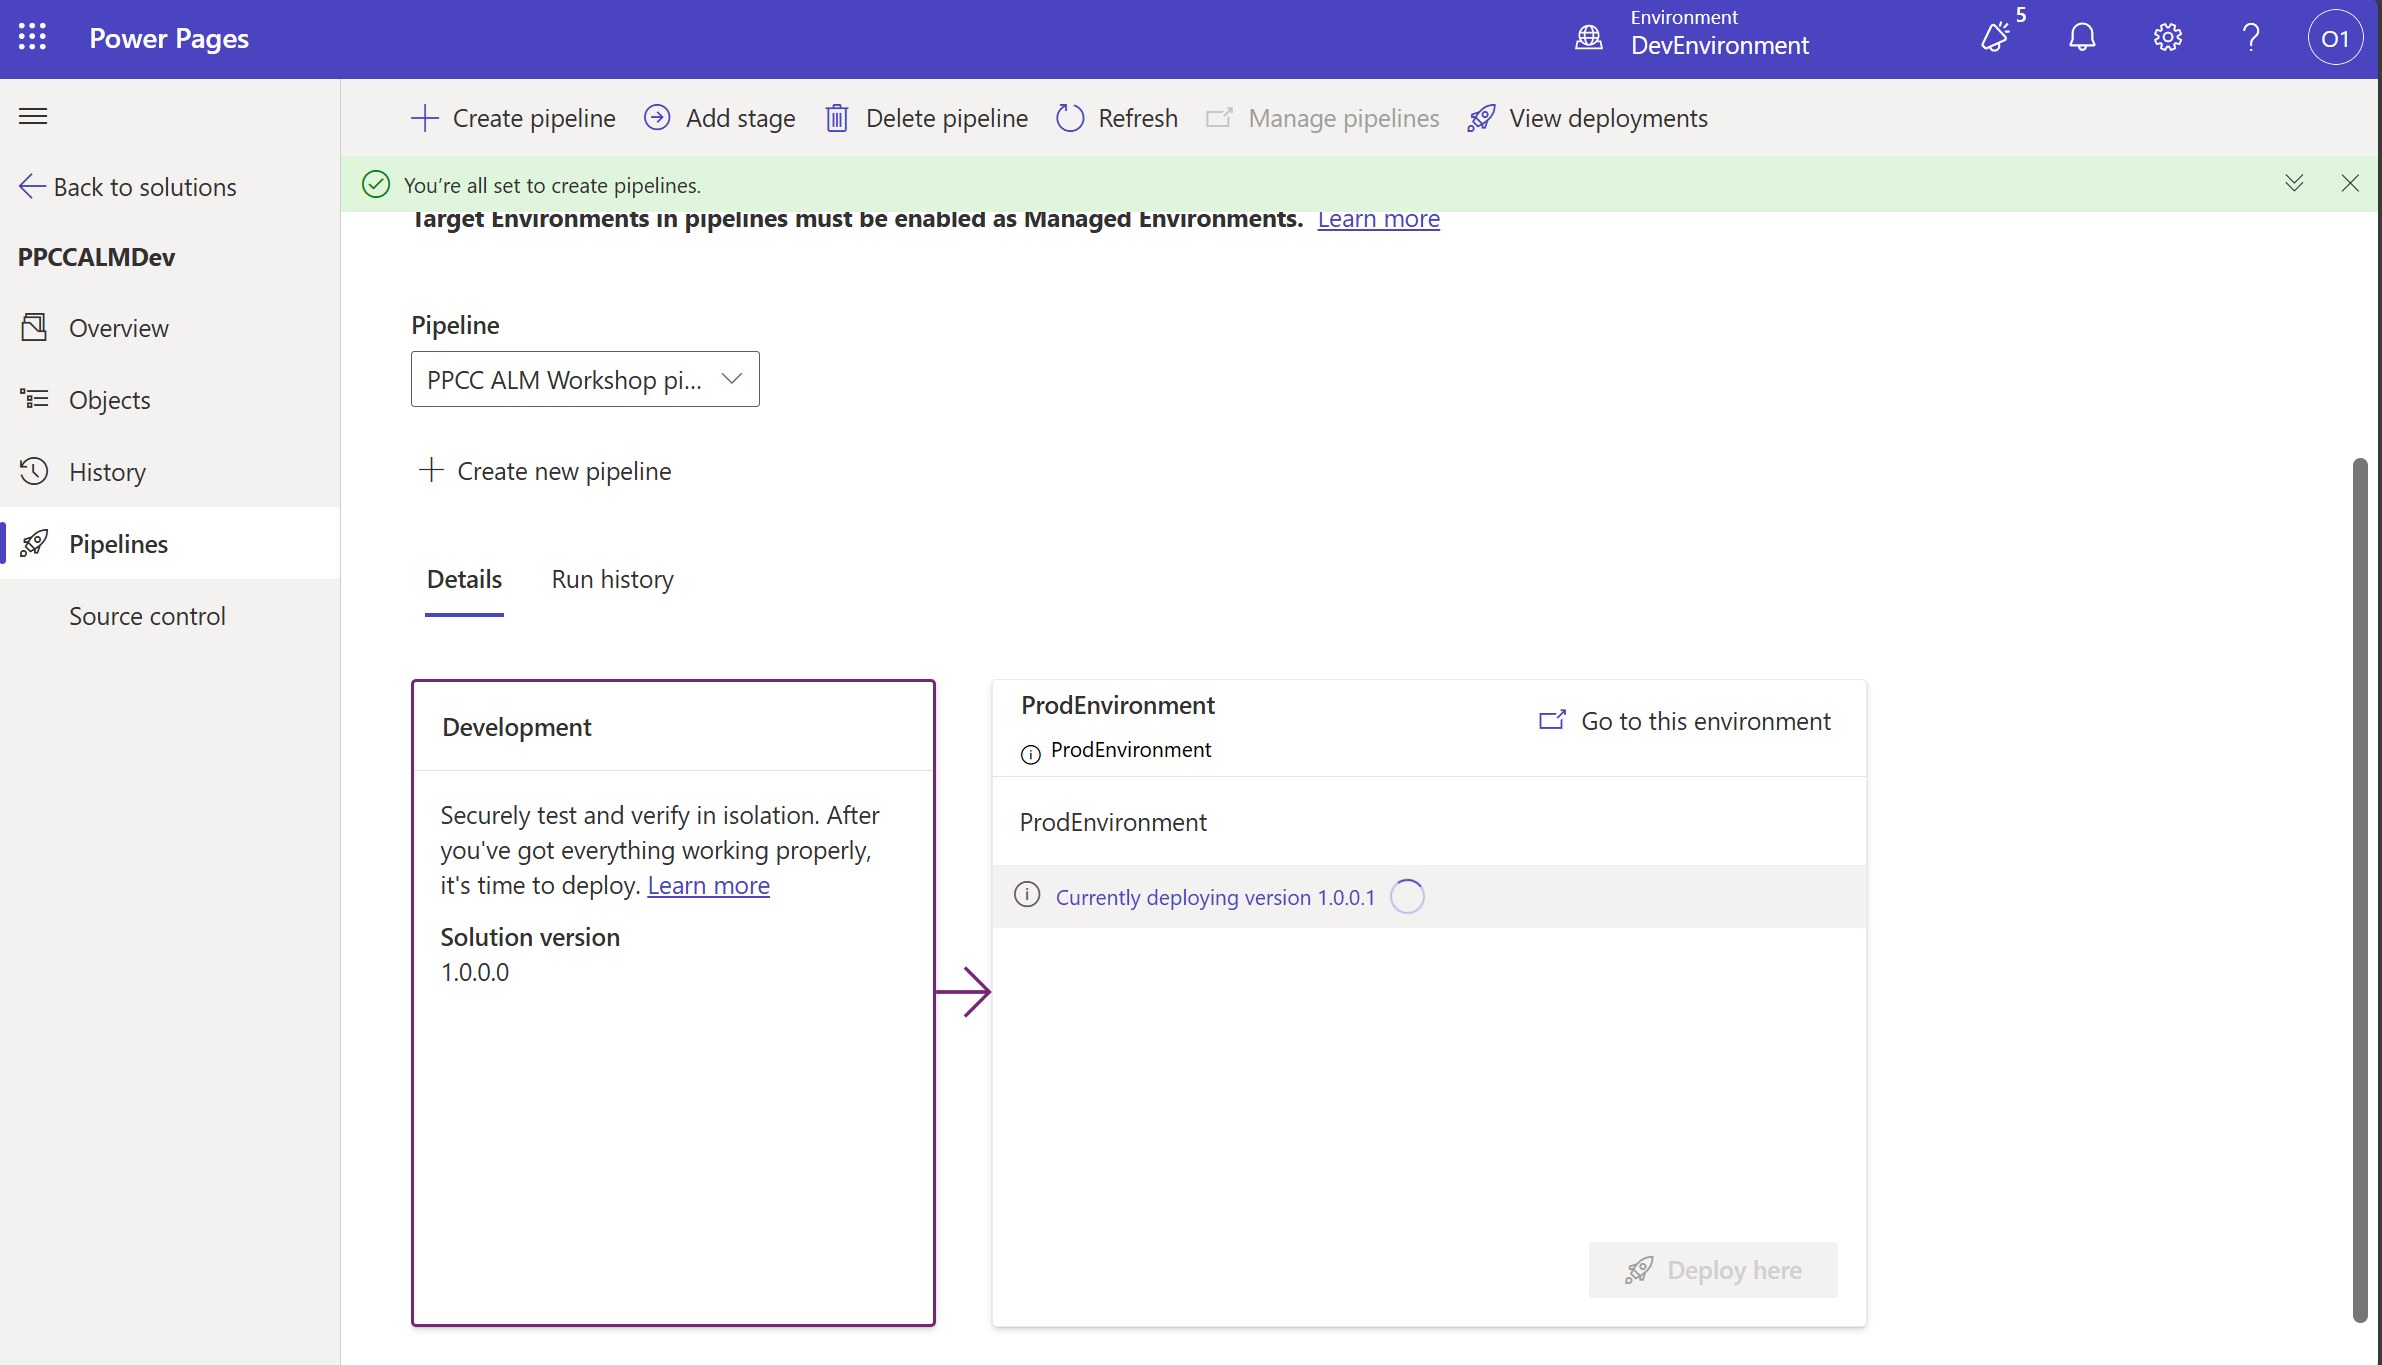
The deployment will start. Wait for the deployment to complete.
-
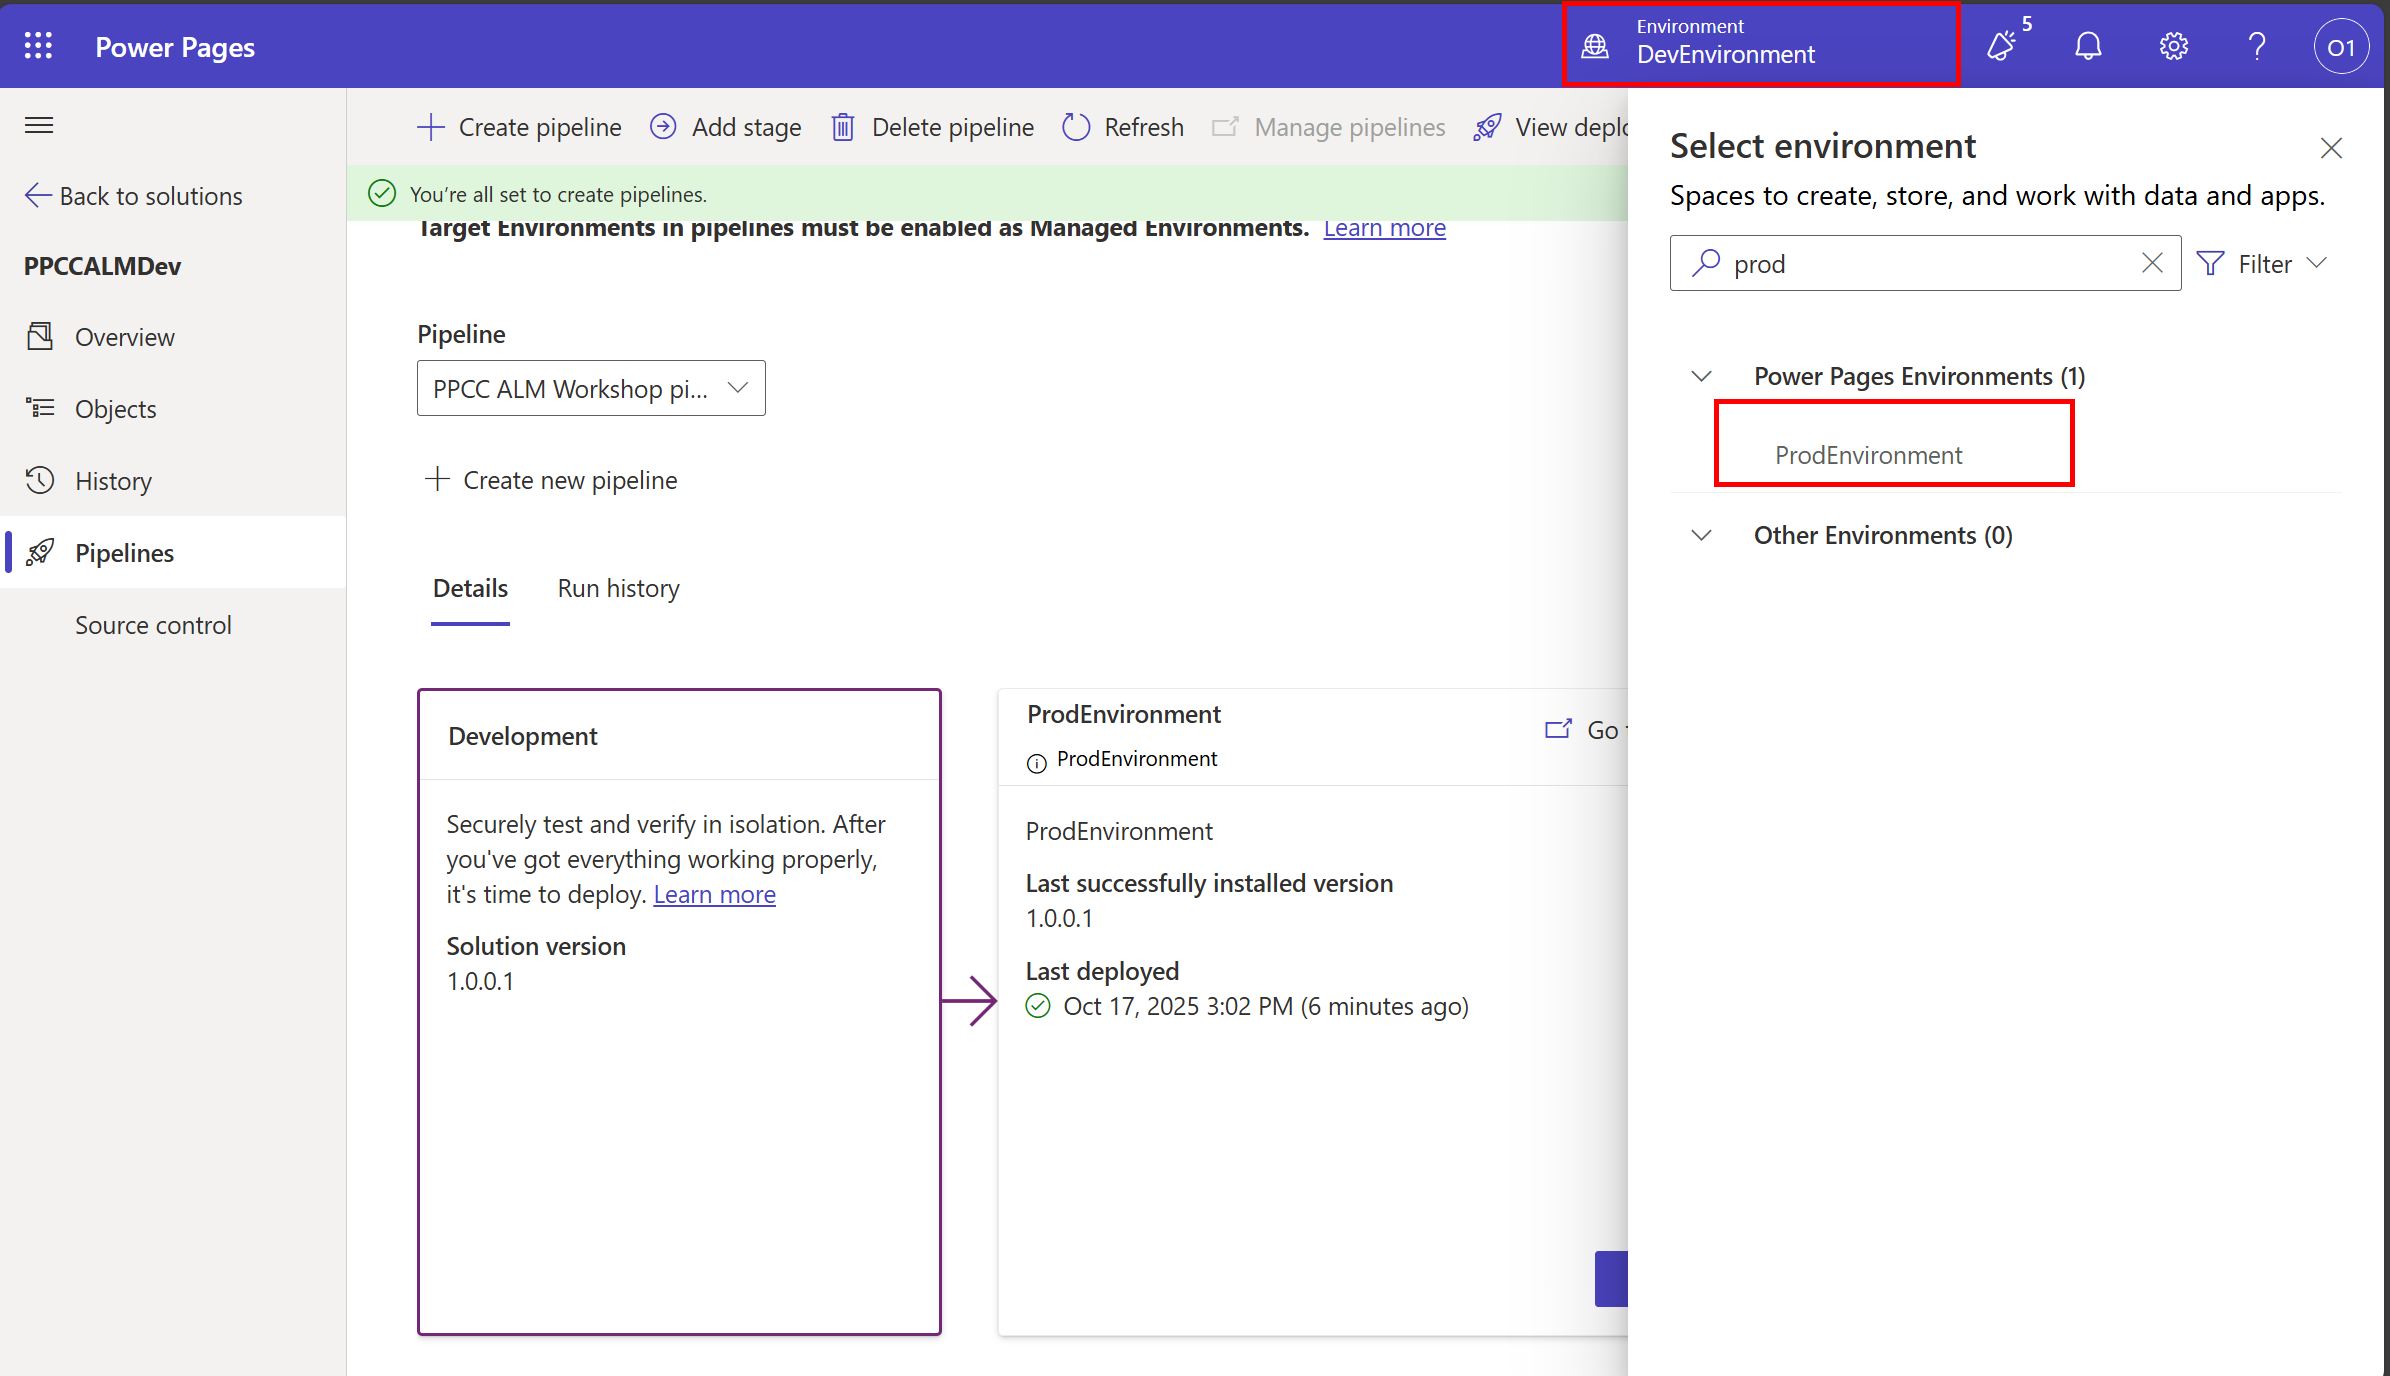
Once the deployment is complete, switch to Prod environment from top right corner in Power Pages Maker Studio.
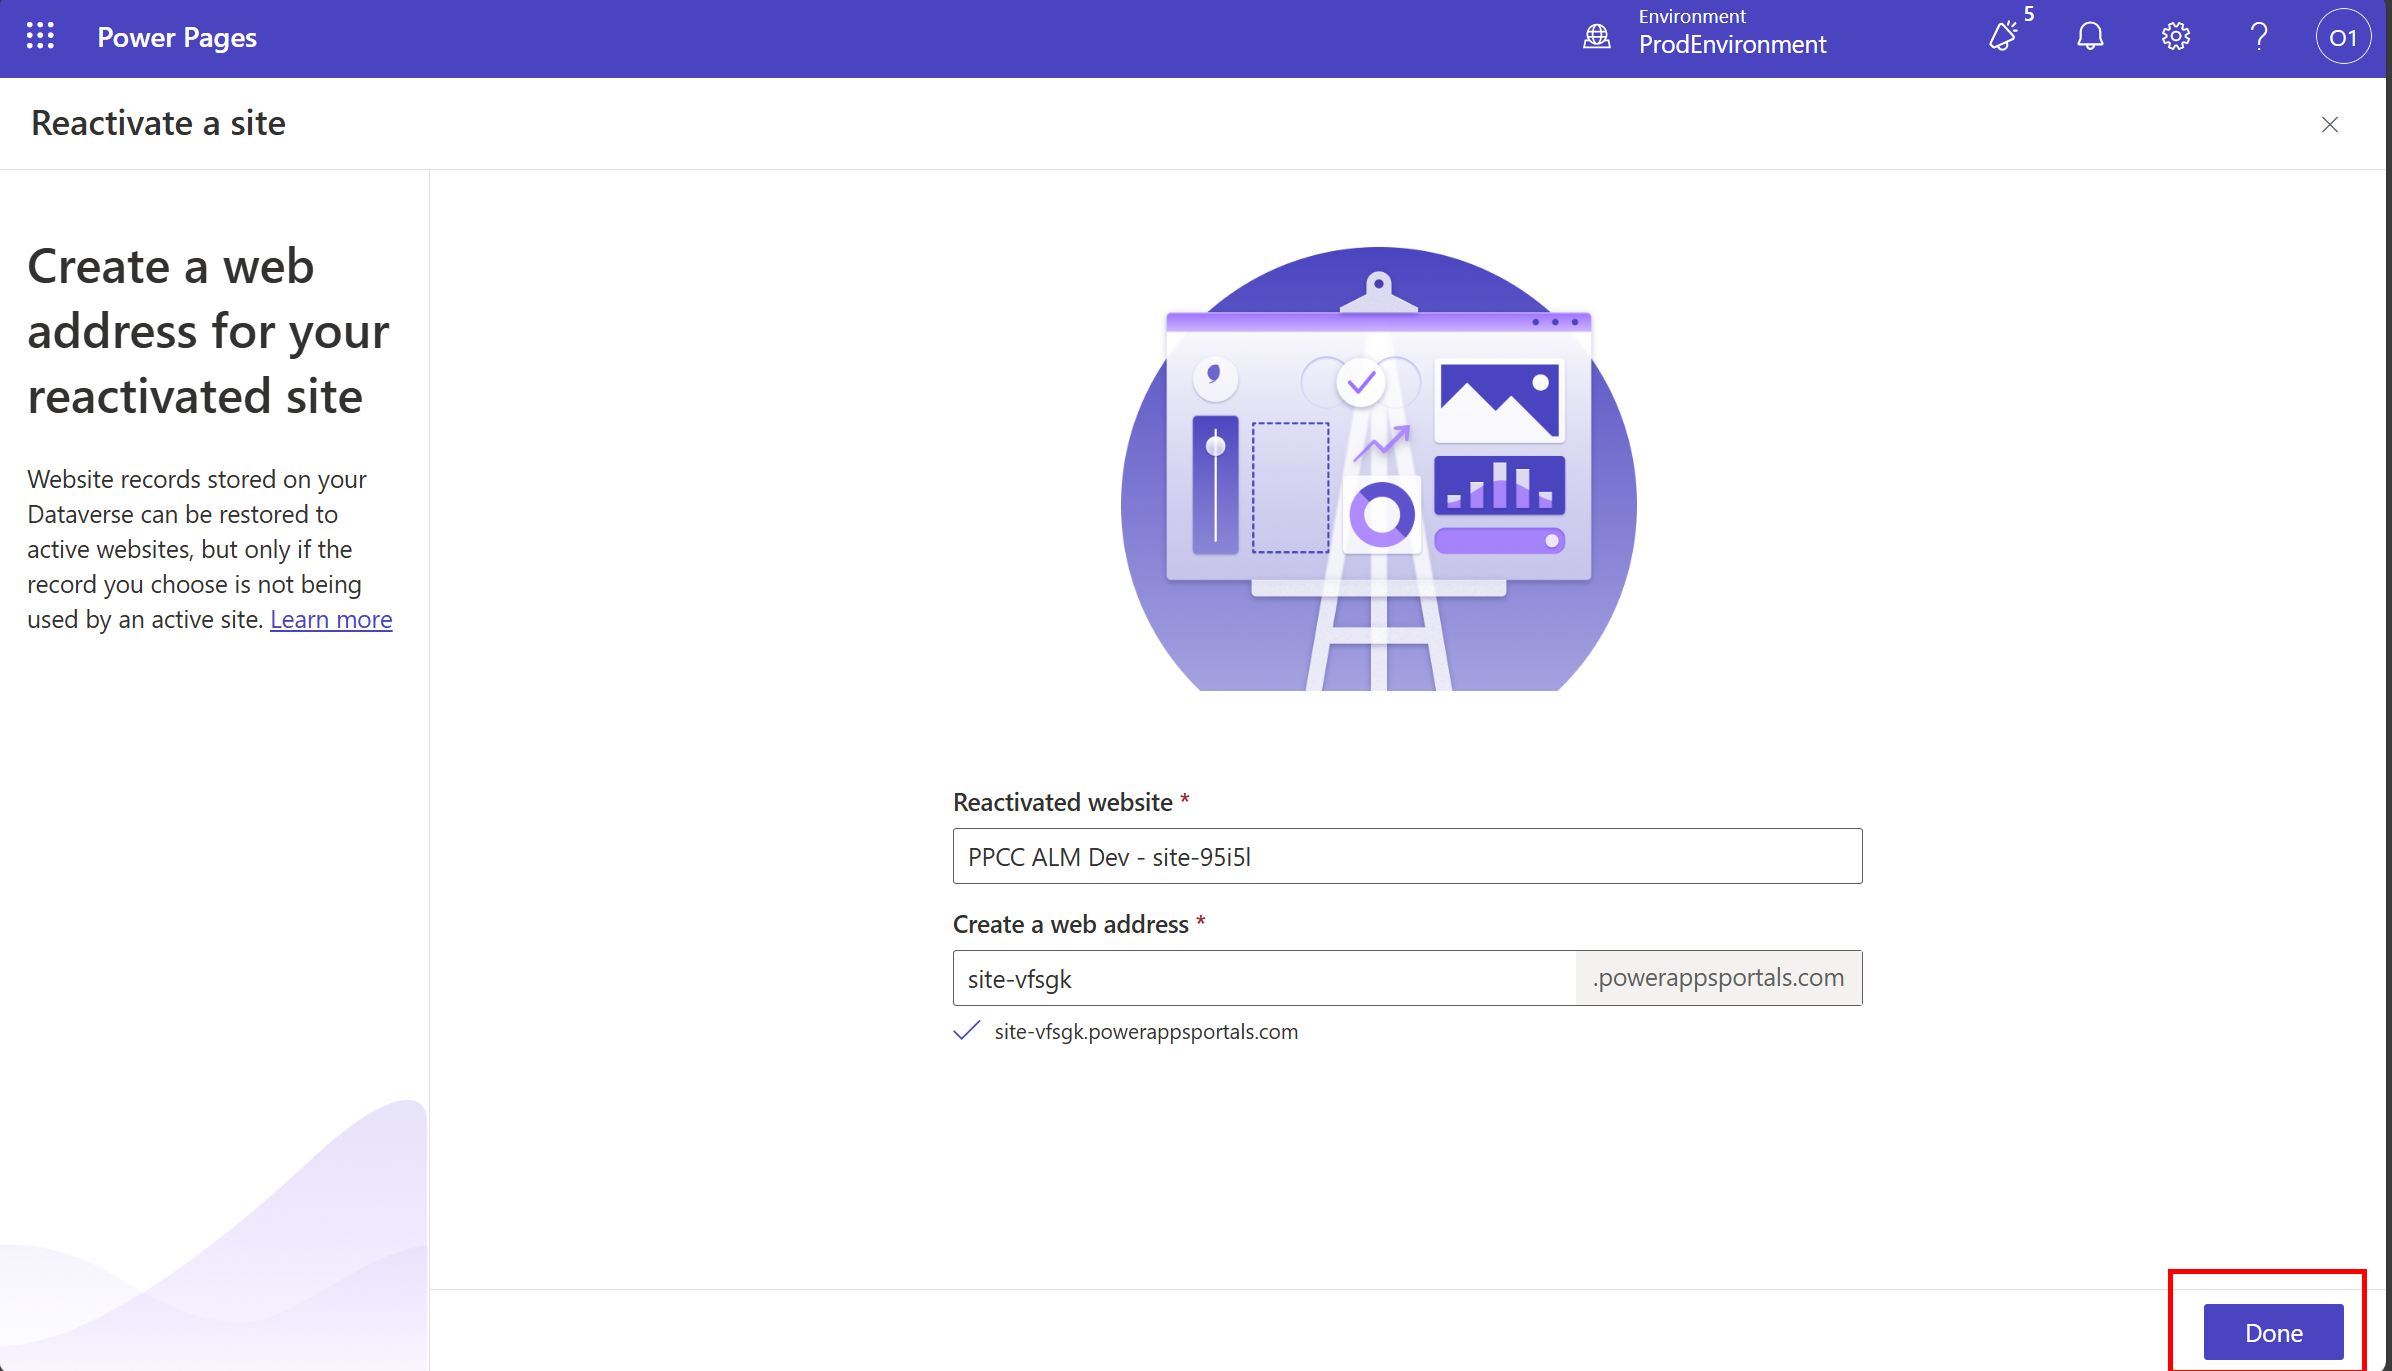
🏗️ Activate Site in Prod Environment
-
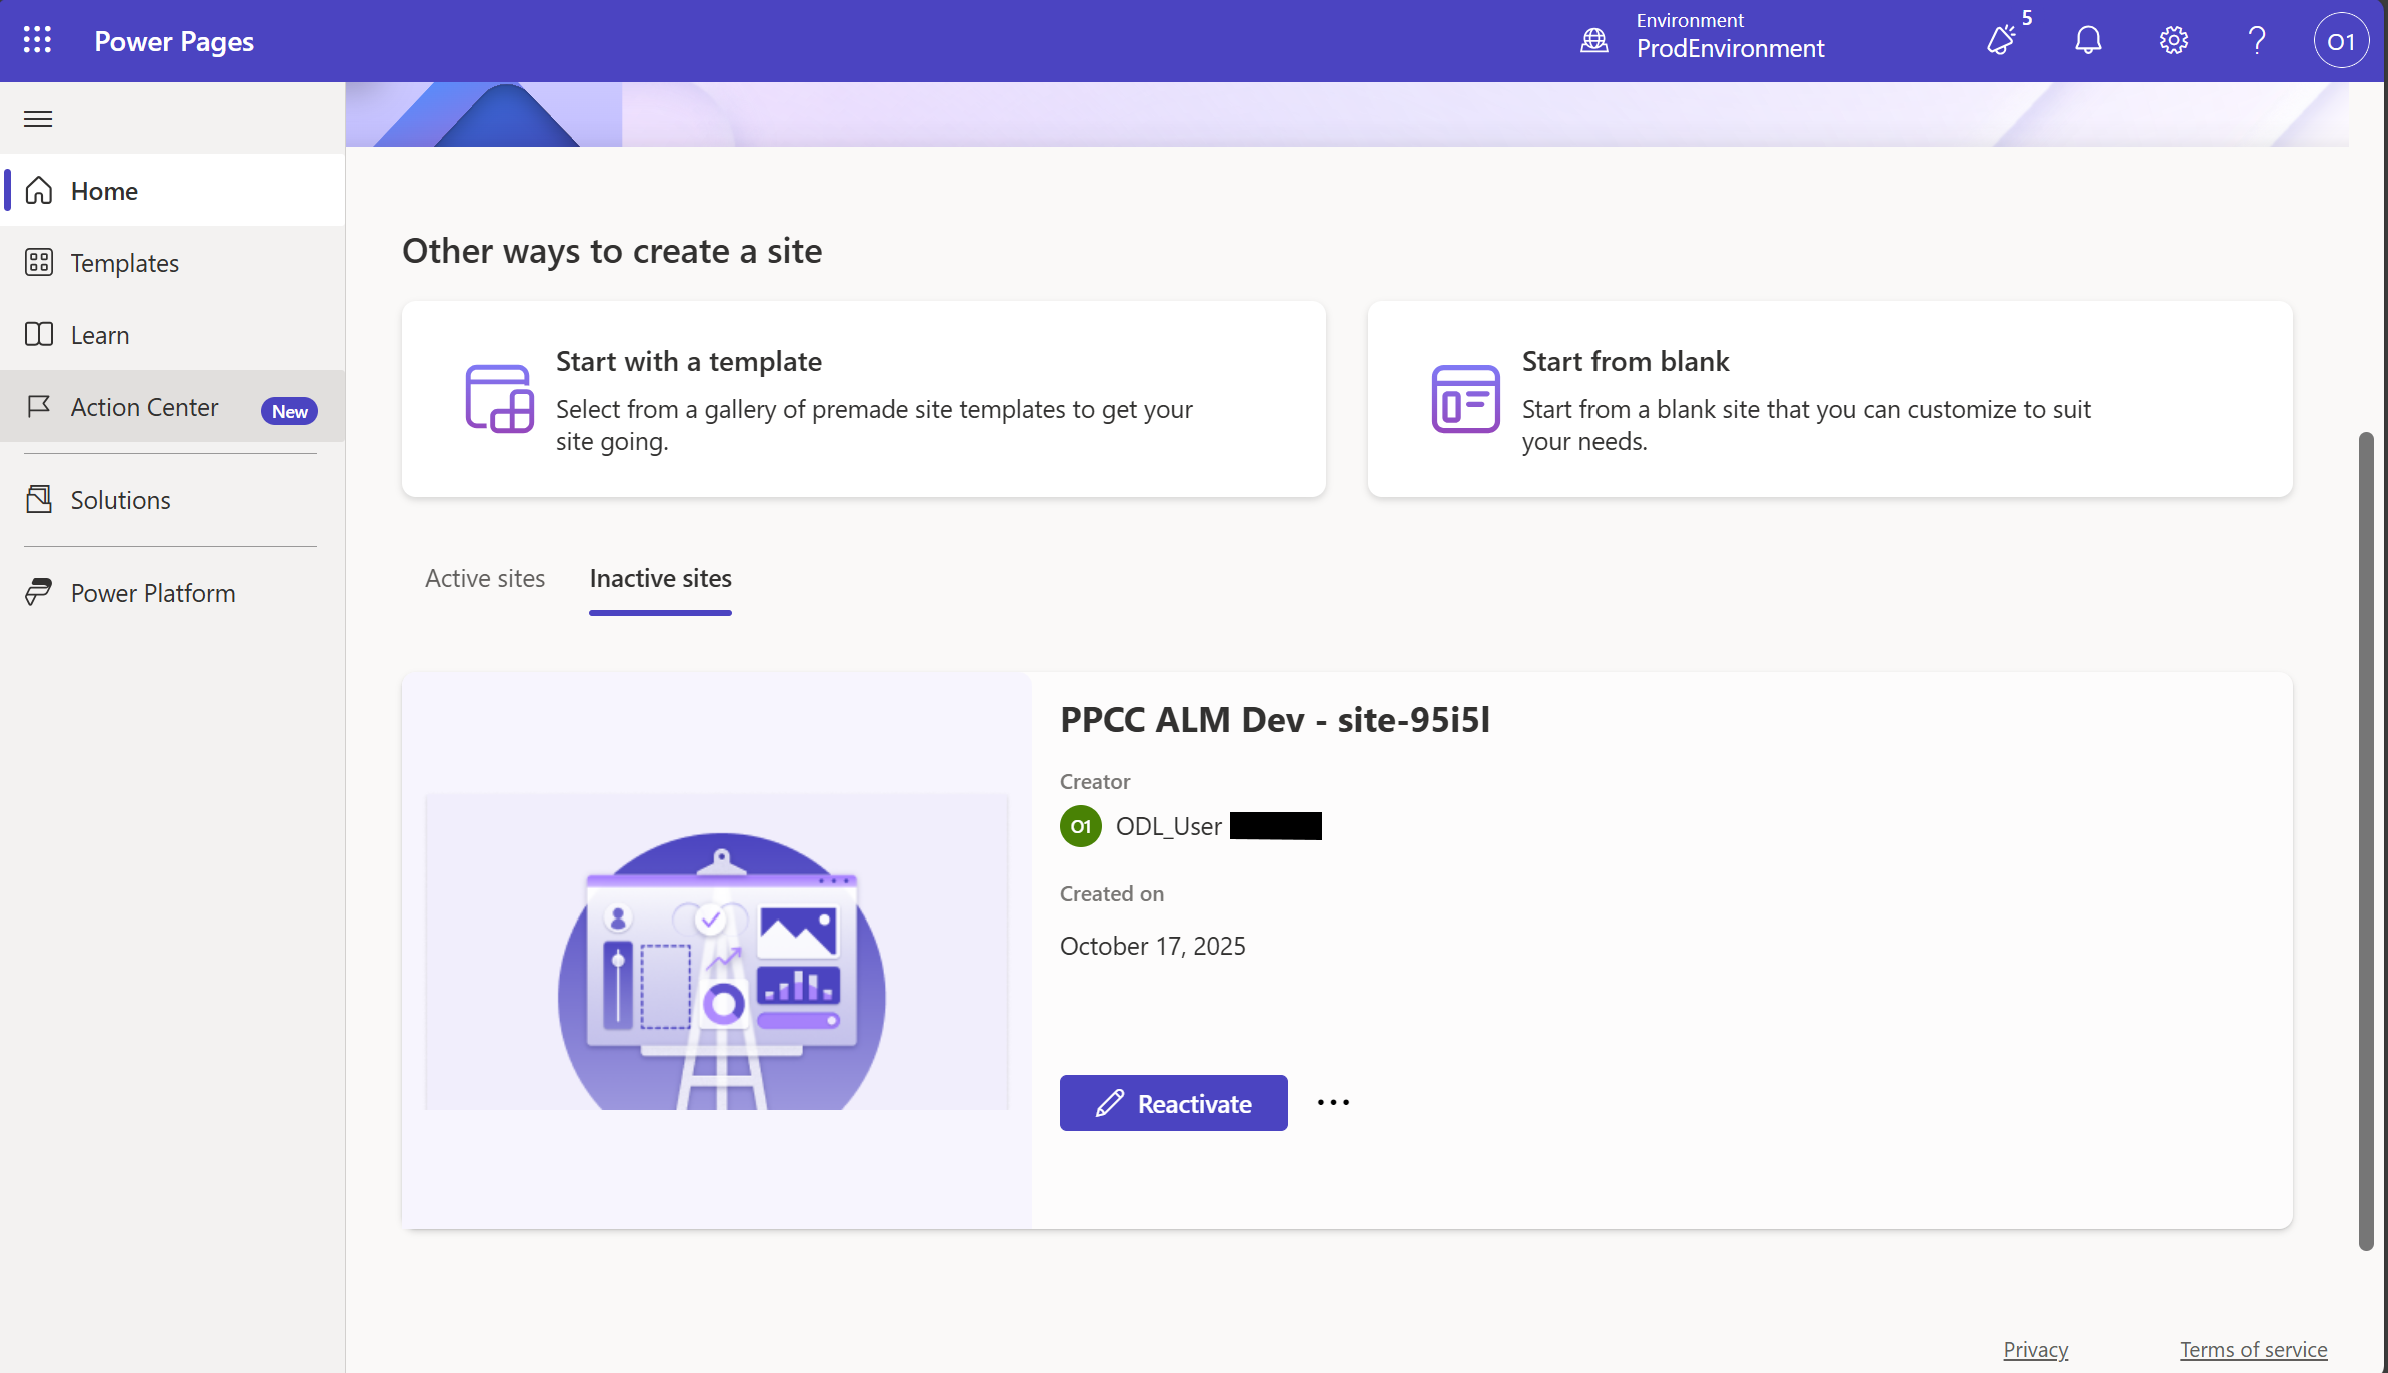
Click on Inactive Sites tab to view the list of inactive sites.
-
Click on Reactivate button to activate the site and then click on Done.
-
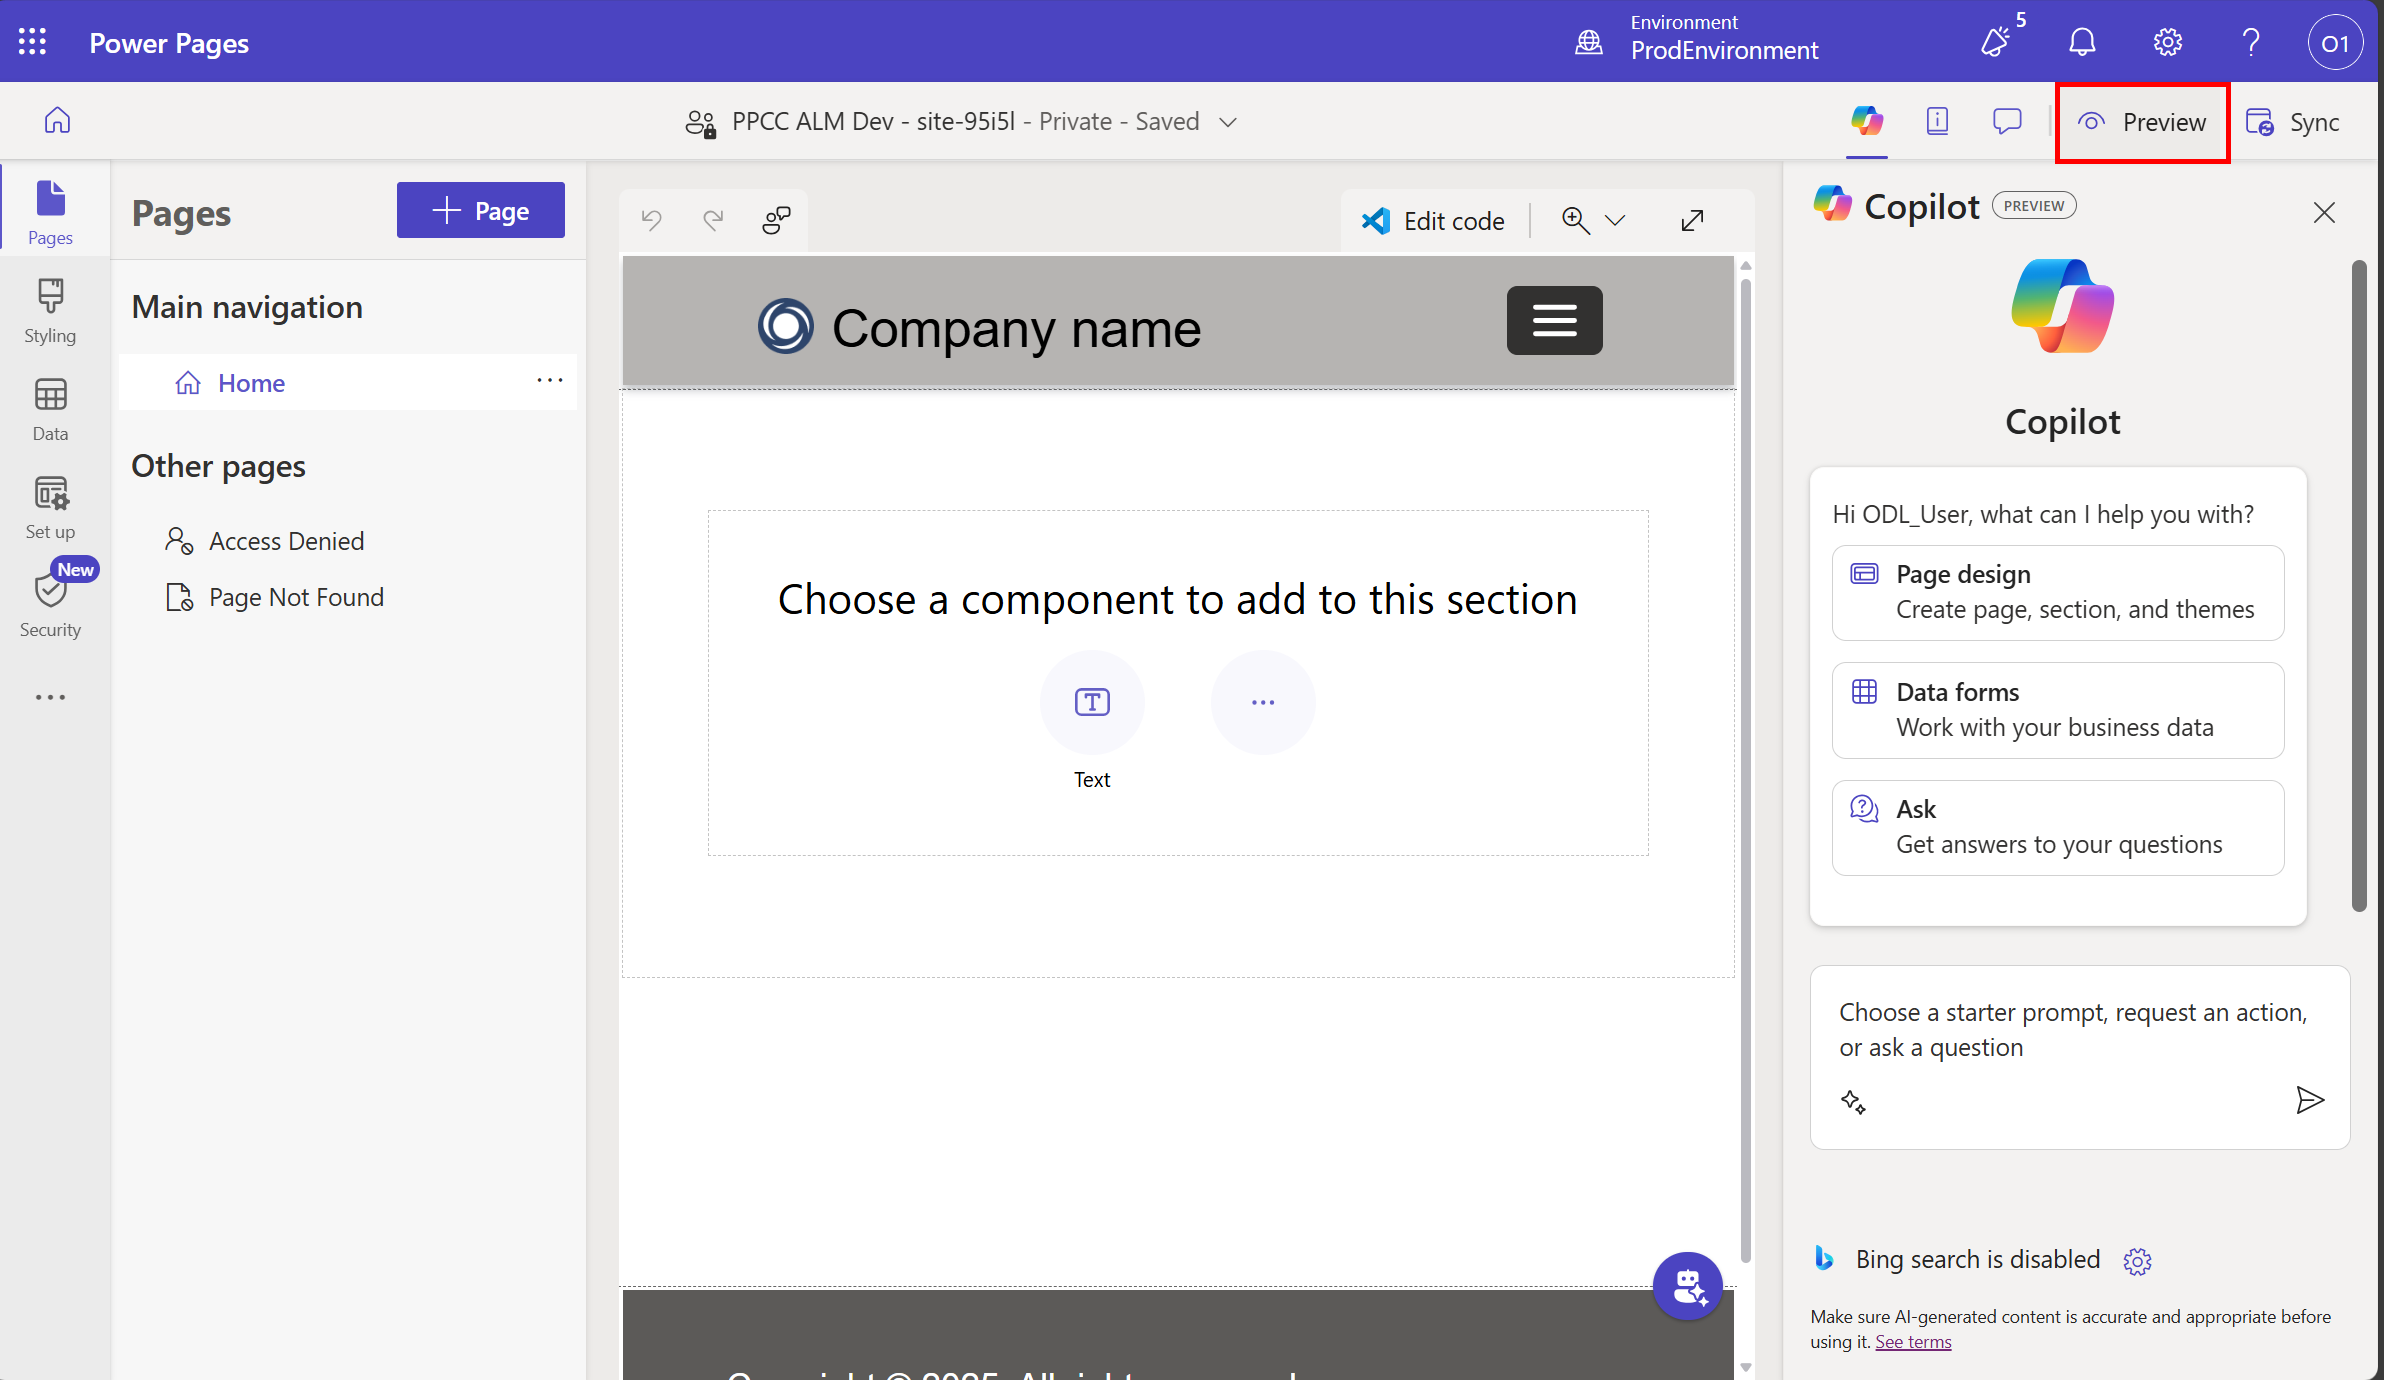
Optional: Preview the site by clicking on Preview button.
🛠️ Committing changes to Source Control
-
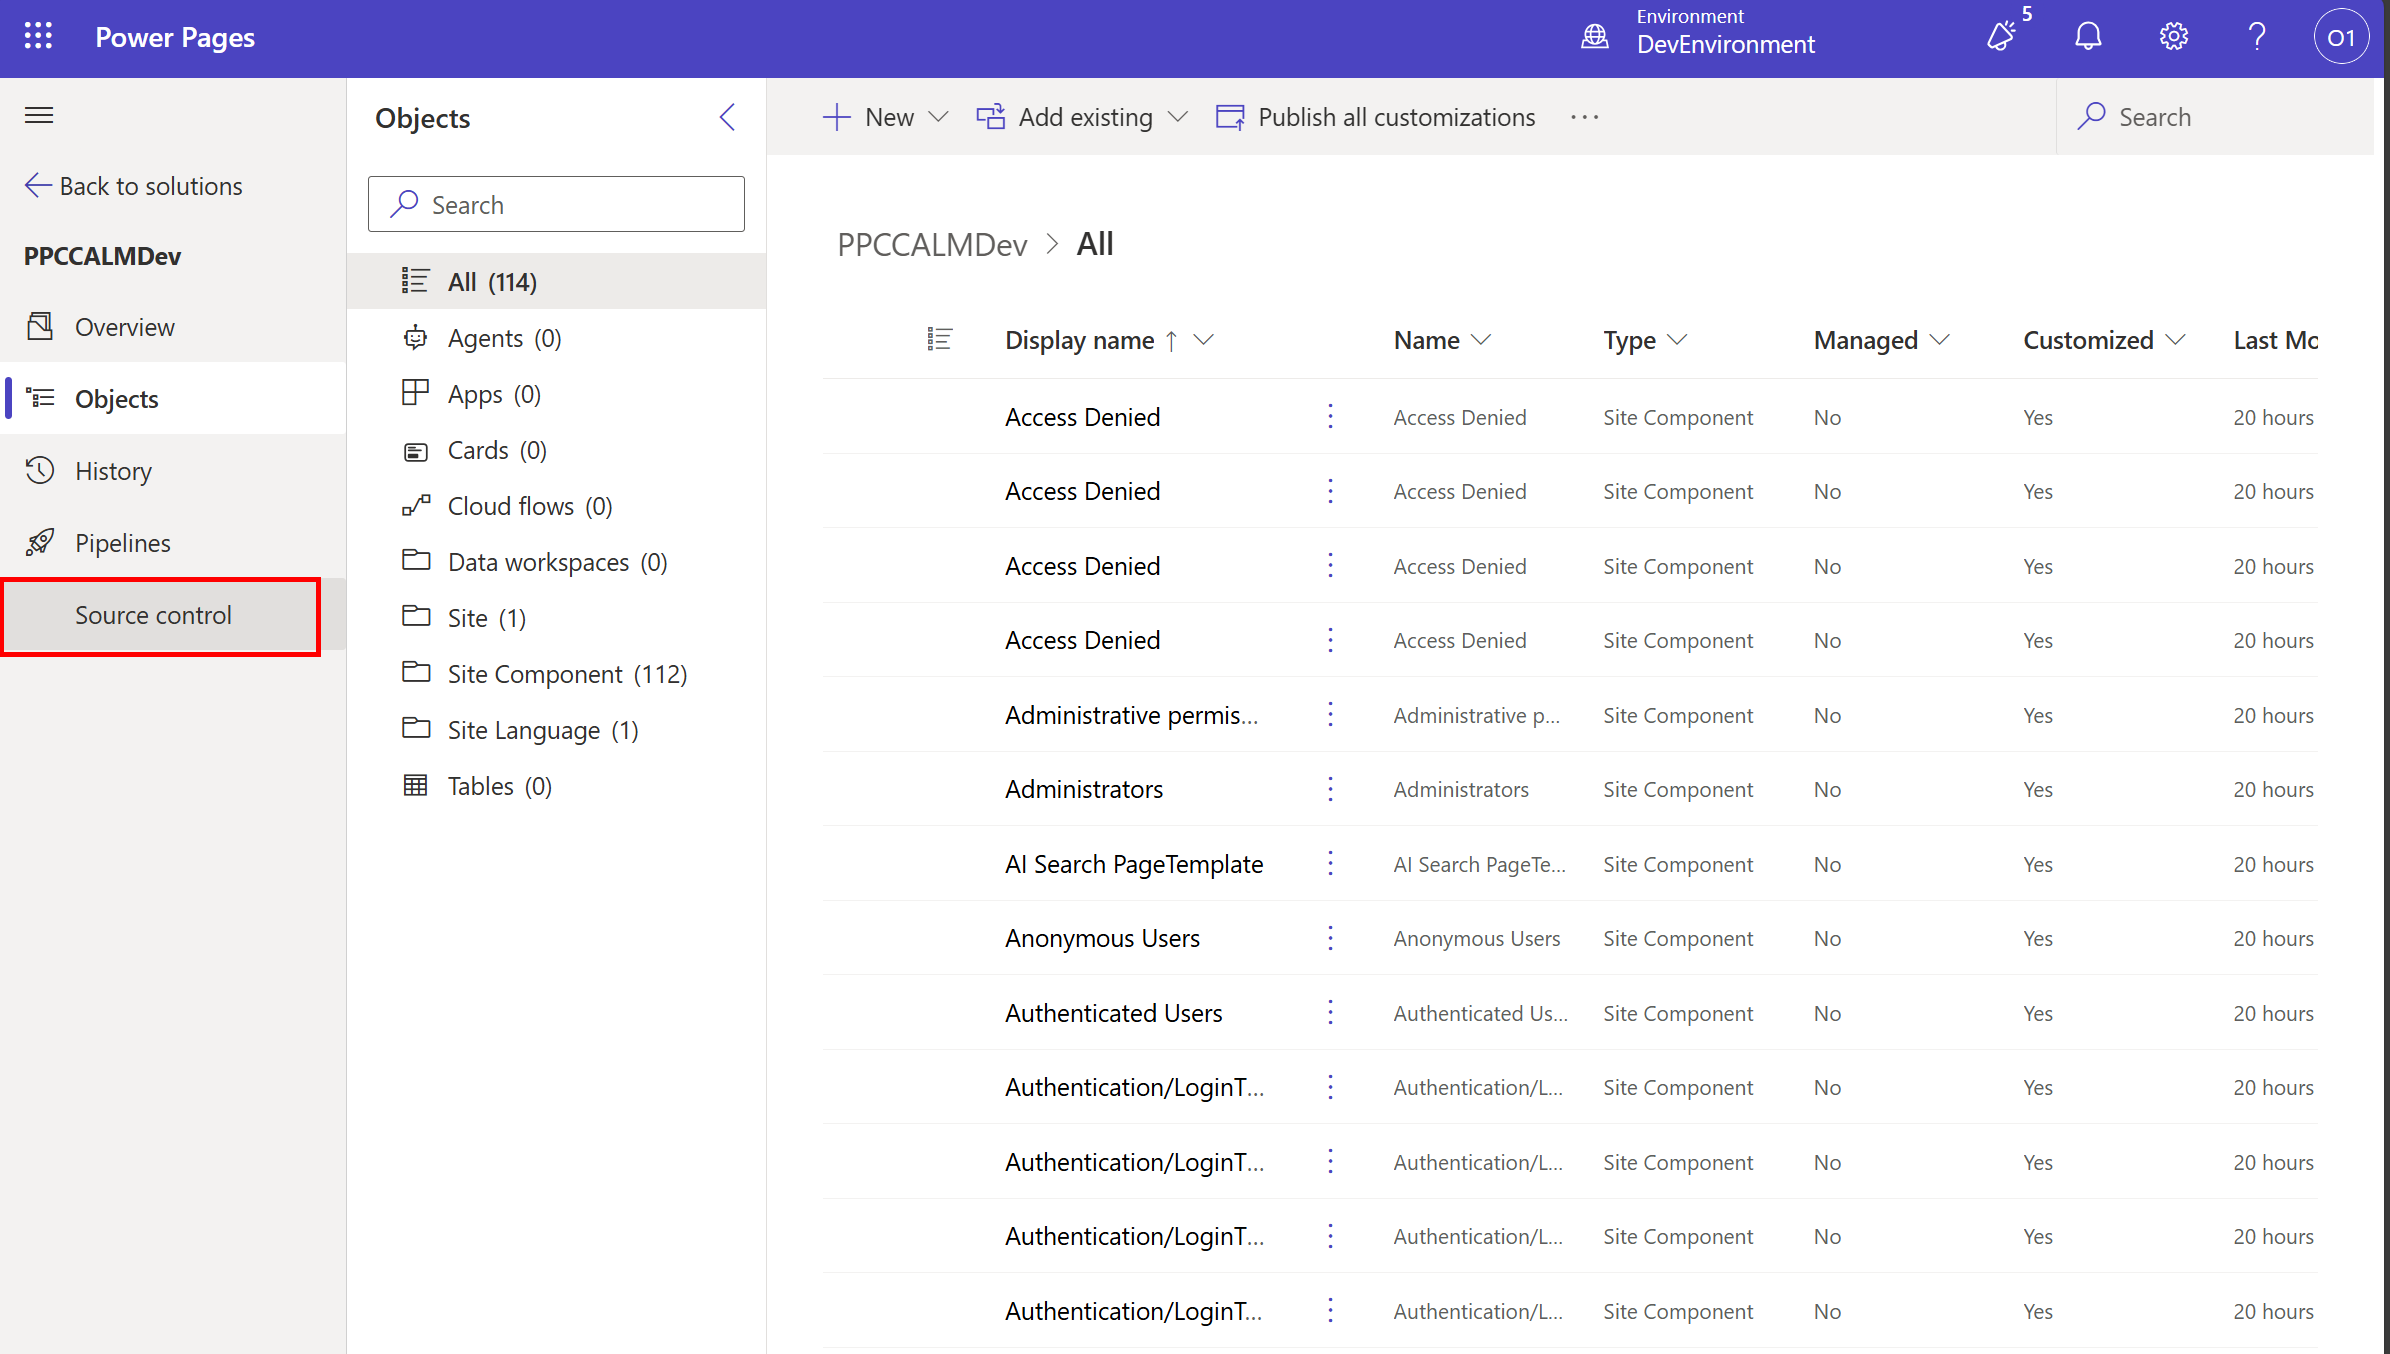
Go back to Dev environment and navigate to Solutions Explorer and select the PPCCALMDev solution.
-
Select Source Control from the left menu.
-
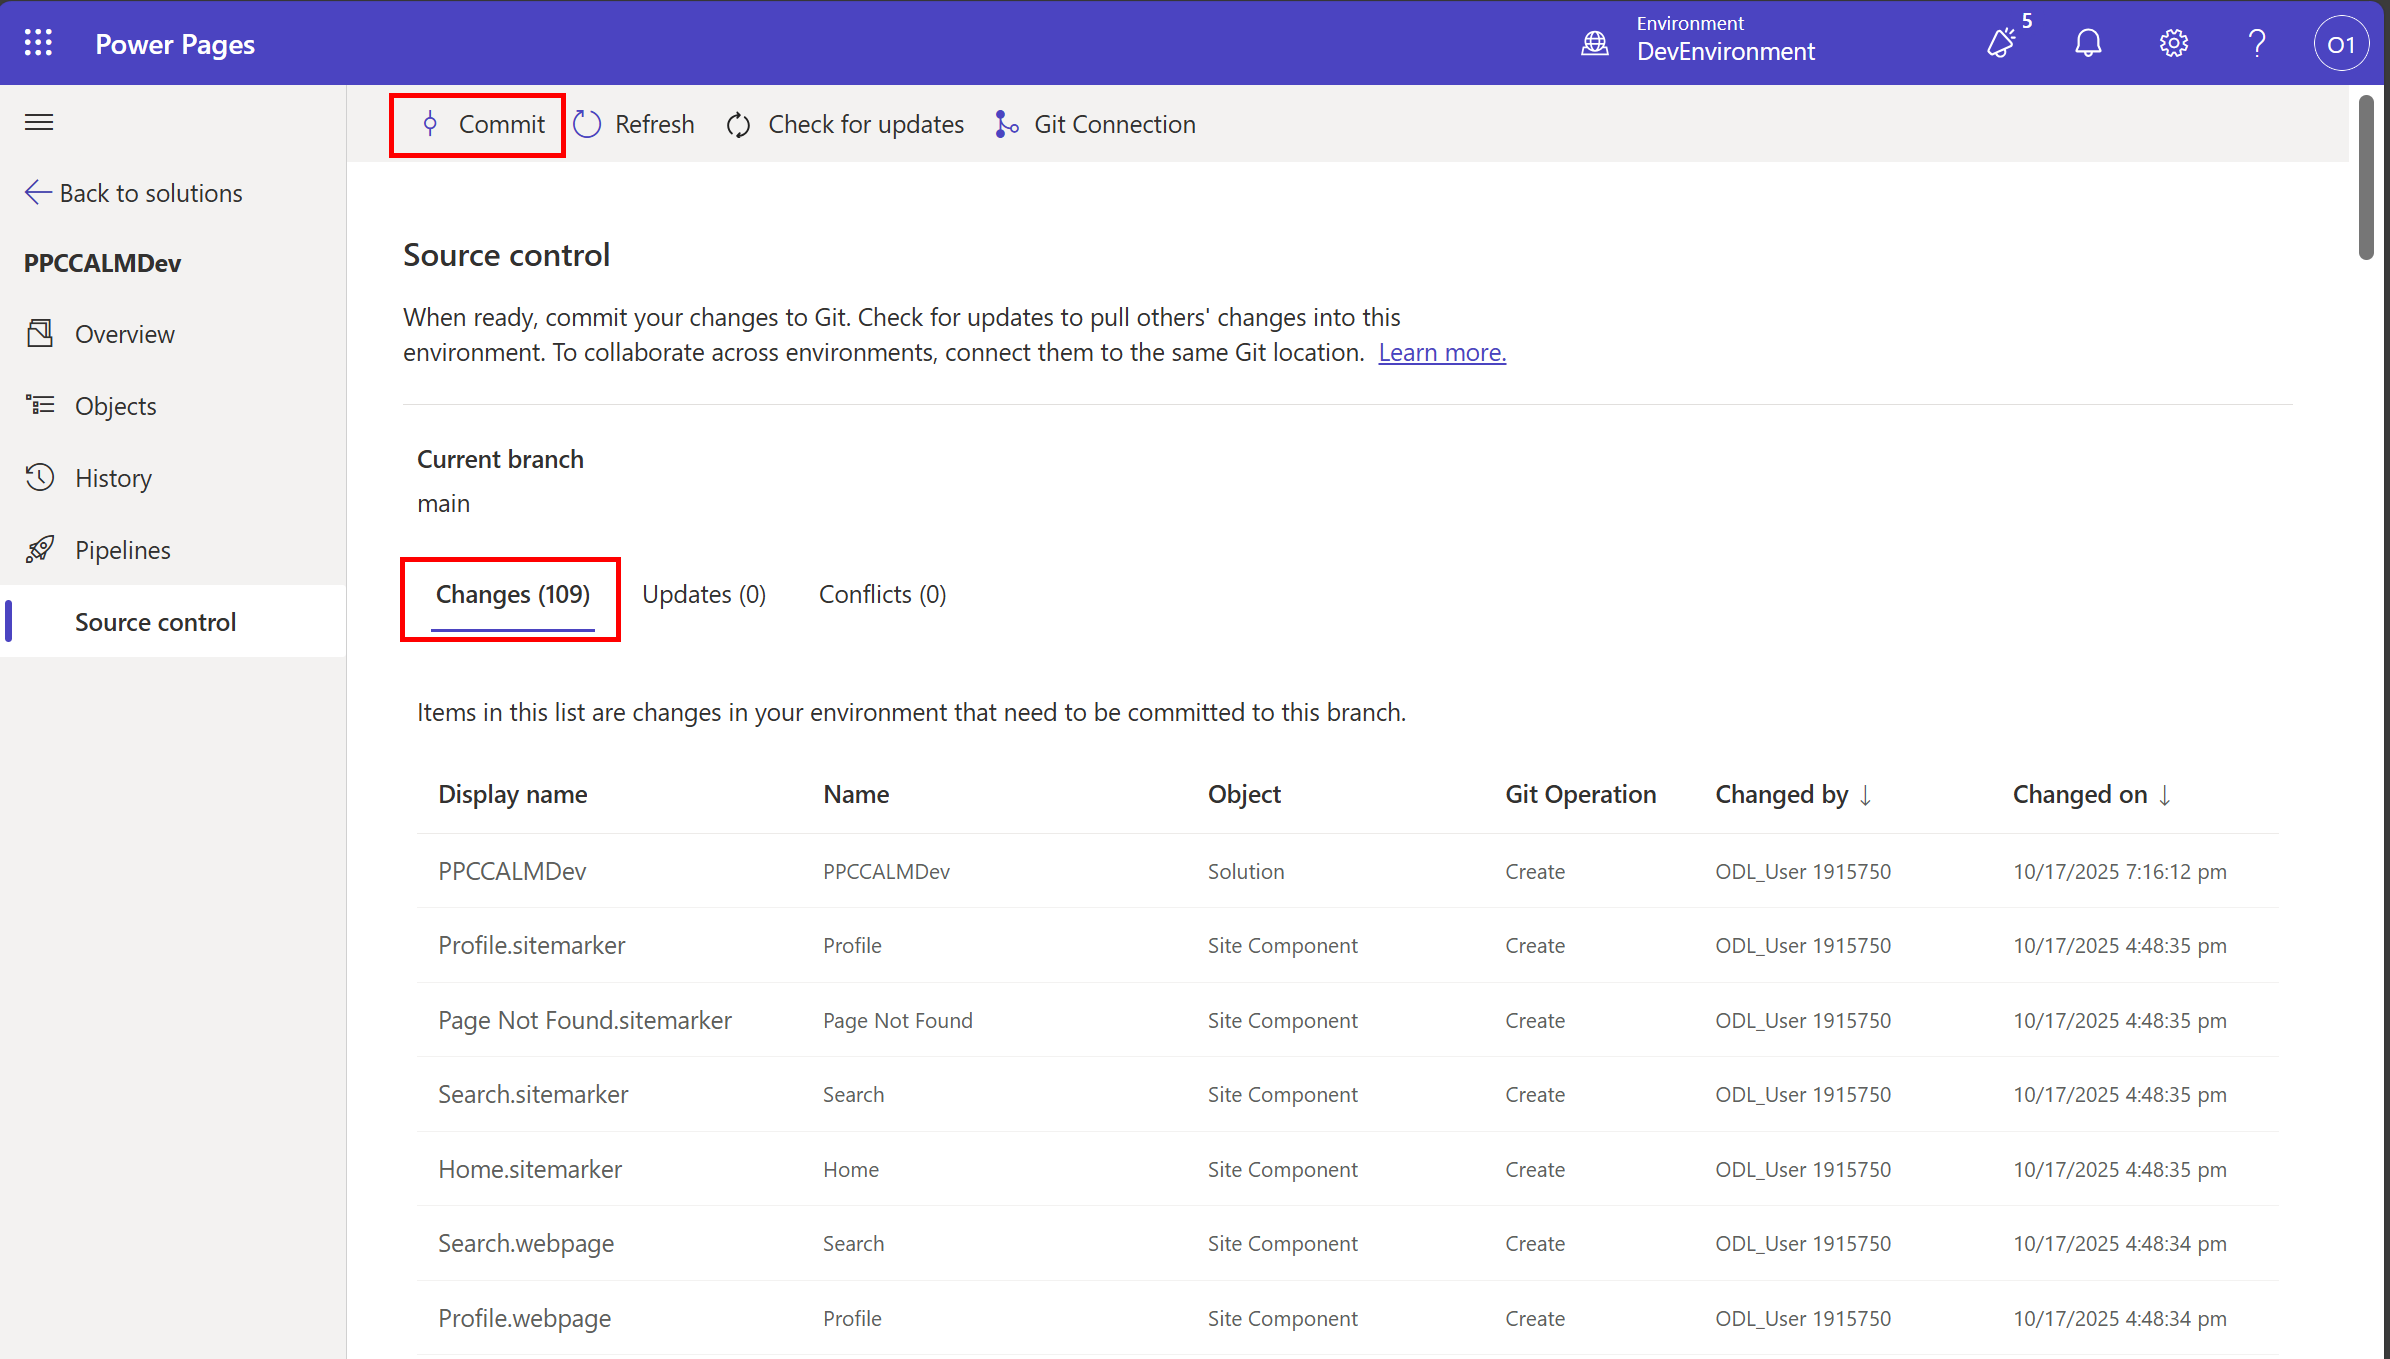
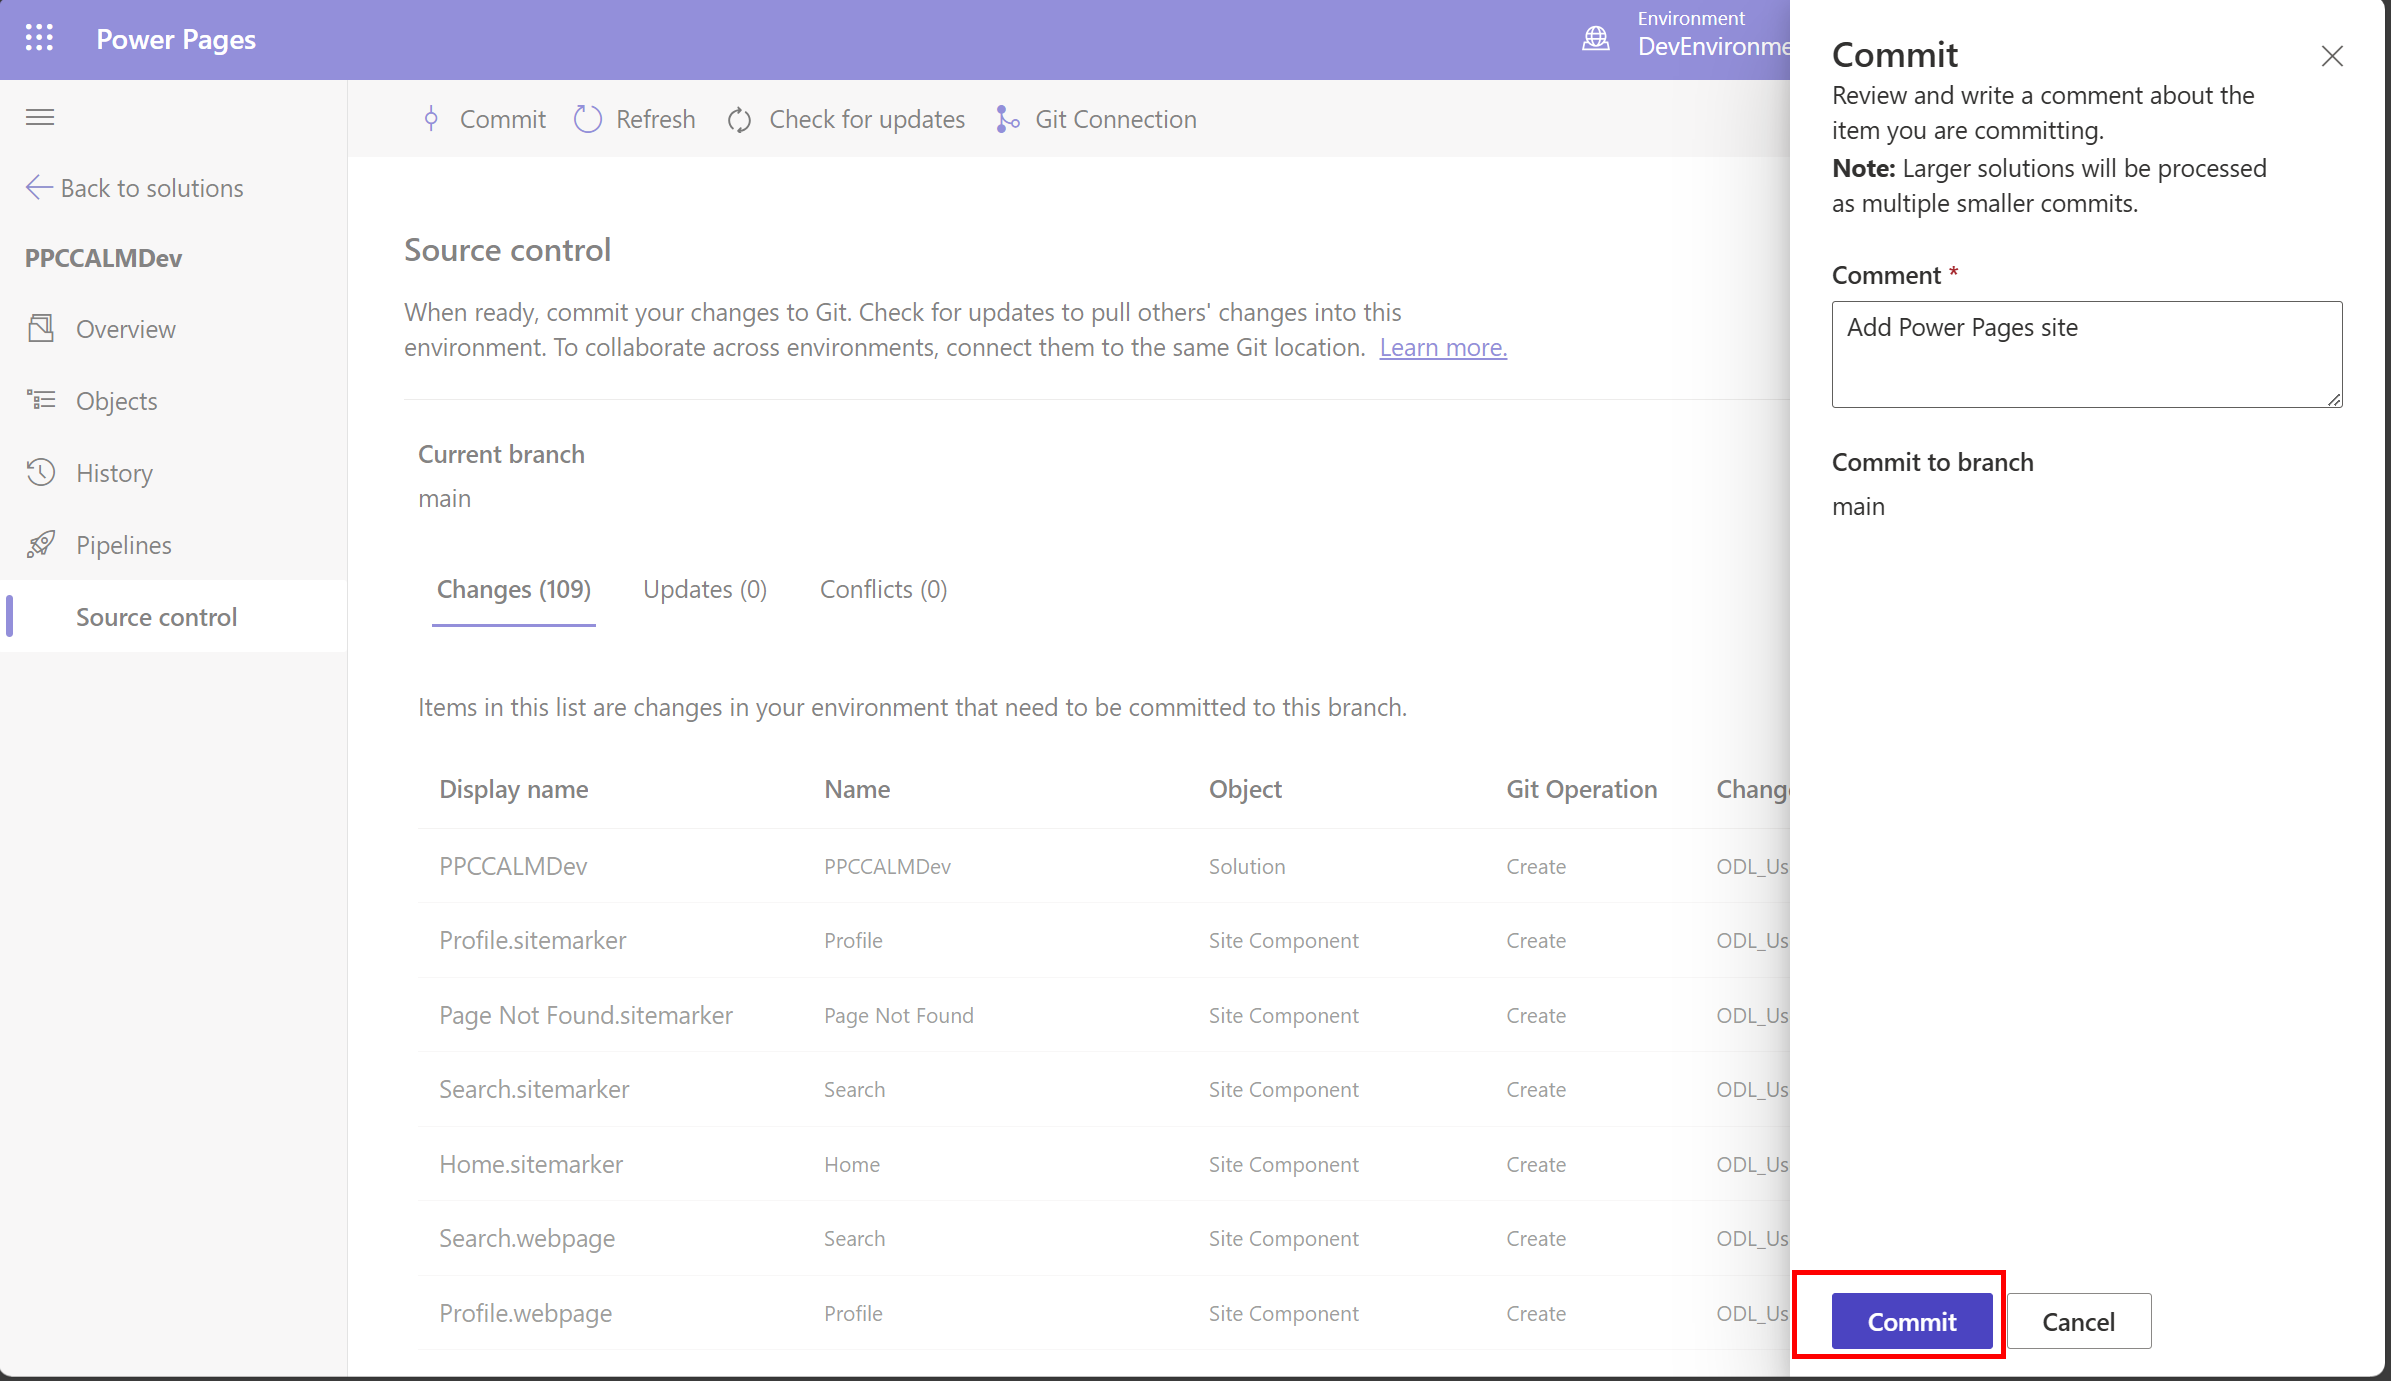
Verify that the Changes tab has the some changes listed and click on Commit button.
-
Enter a commit message and click on Commit button.
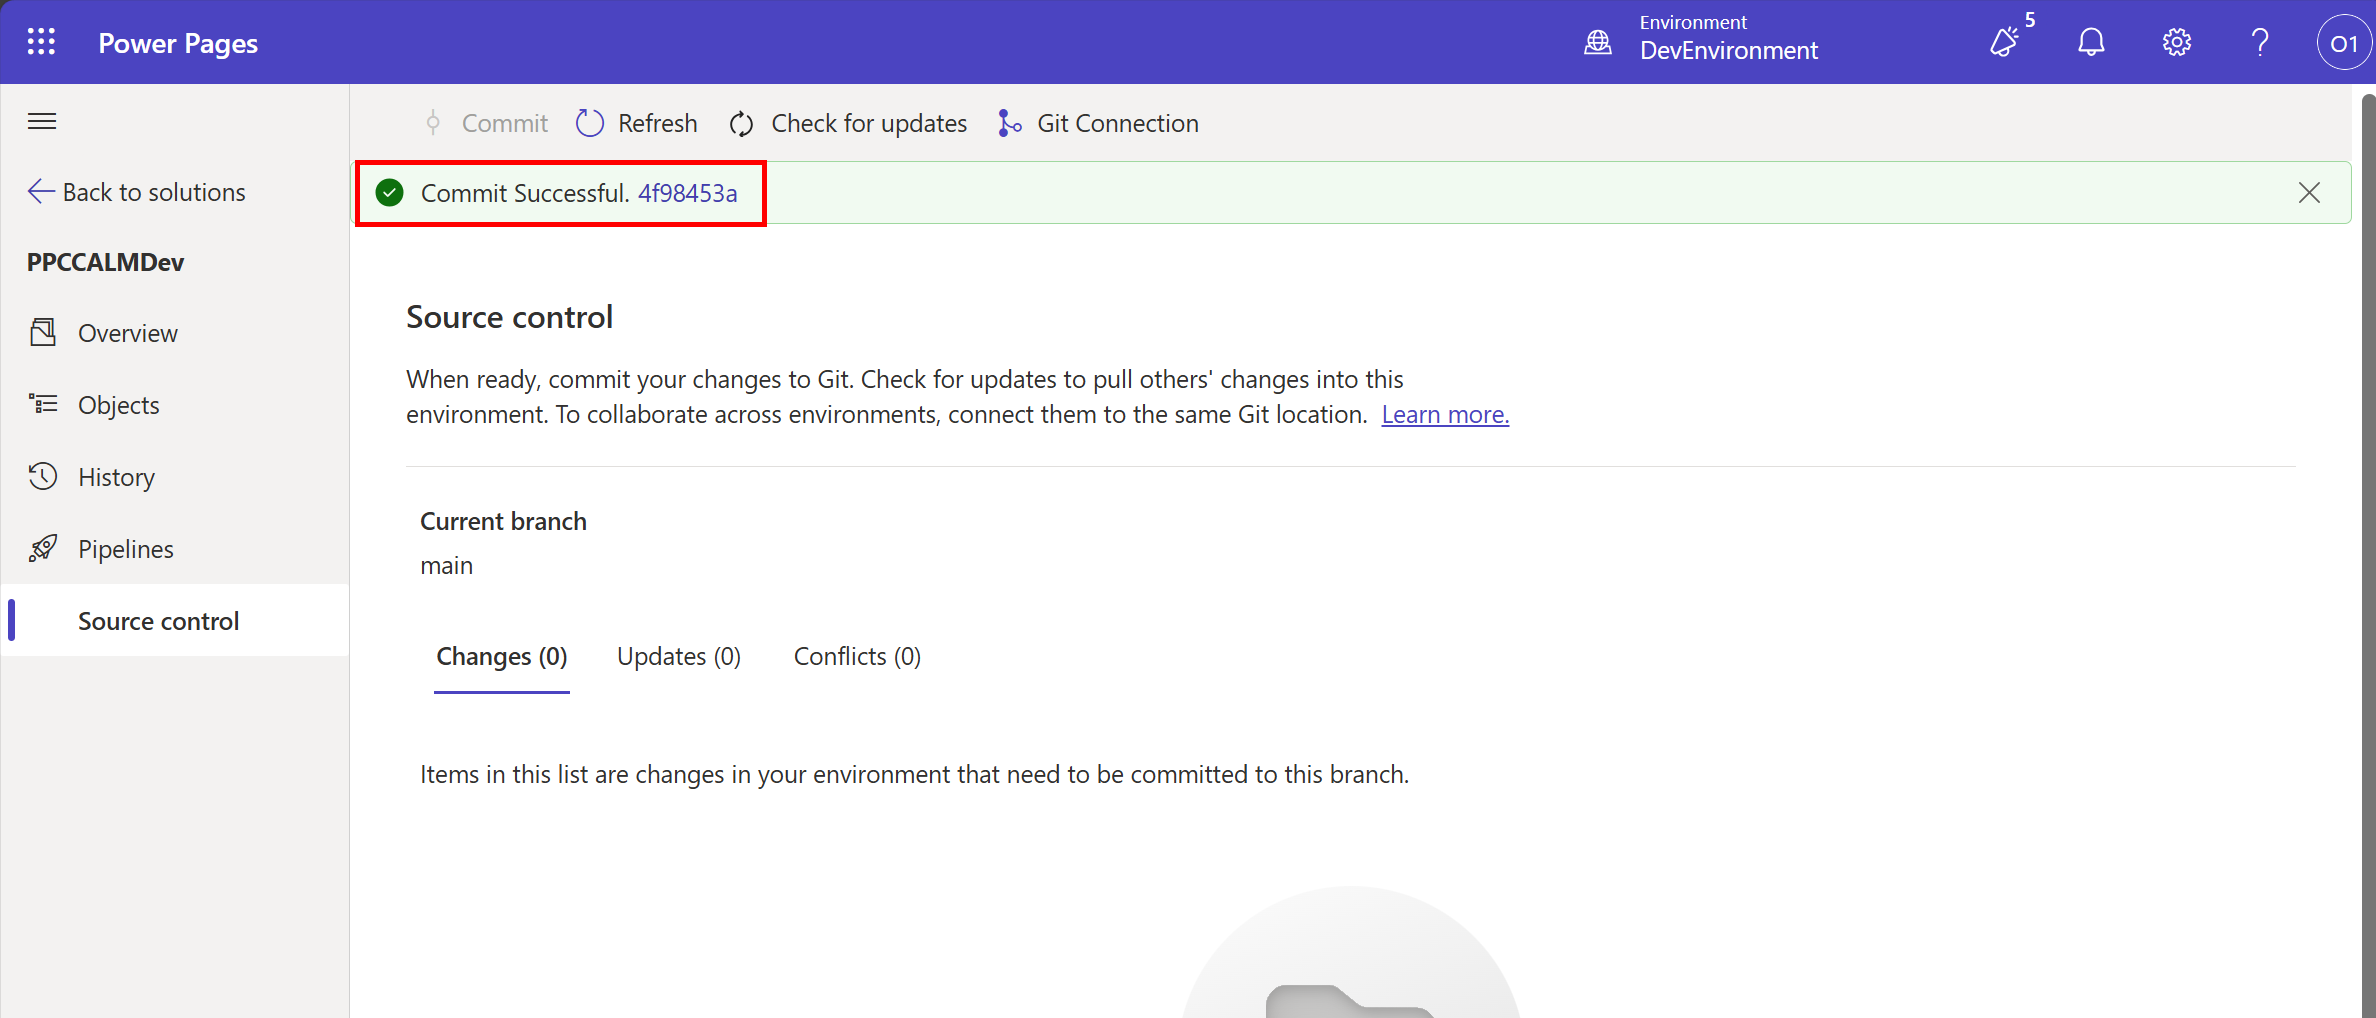
-
After the commit is successful, click on the commit id to navigate to Azure DevOps and see the changes reflected in the repository.
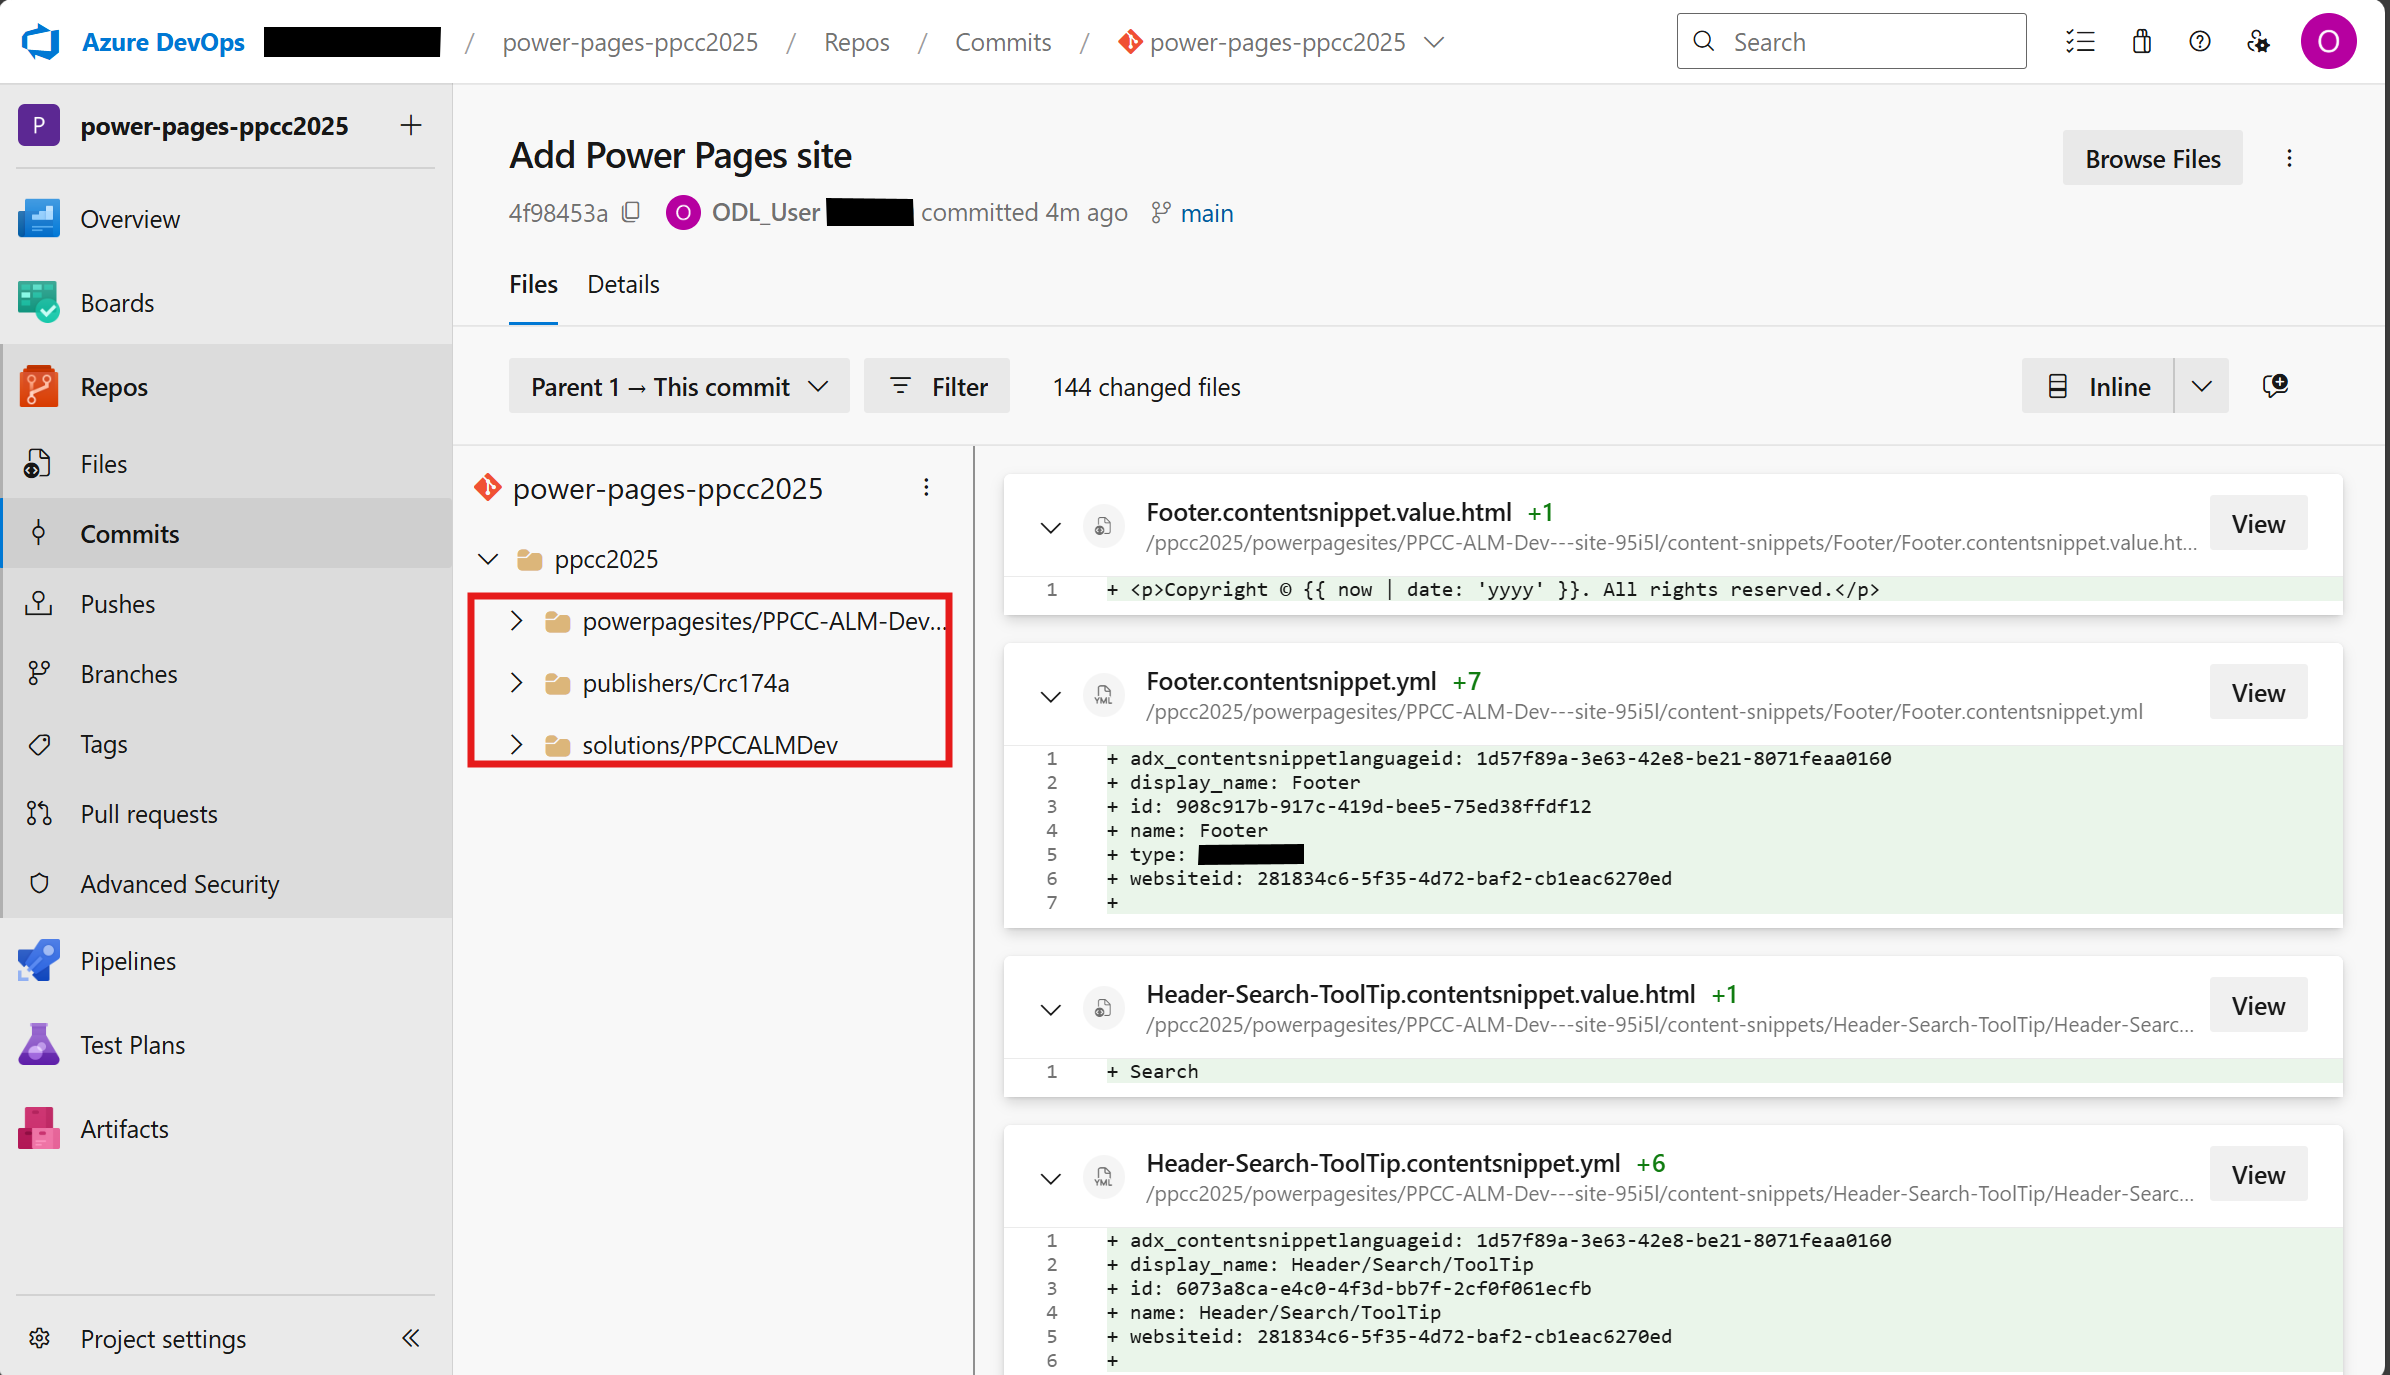
-
Notice that there are 3 folders created in the repository:
- powerpagesites - Contains the Power Pages site related files
- solutions - Contains the solution related files
- publishers - Contains the publisher information
💻 Cloning the repository locally
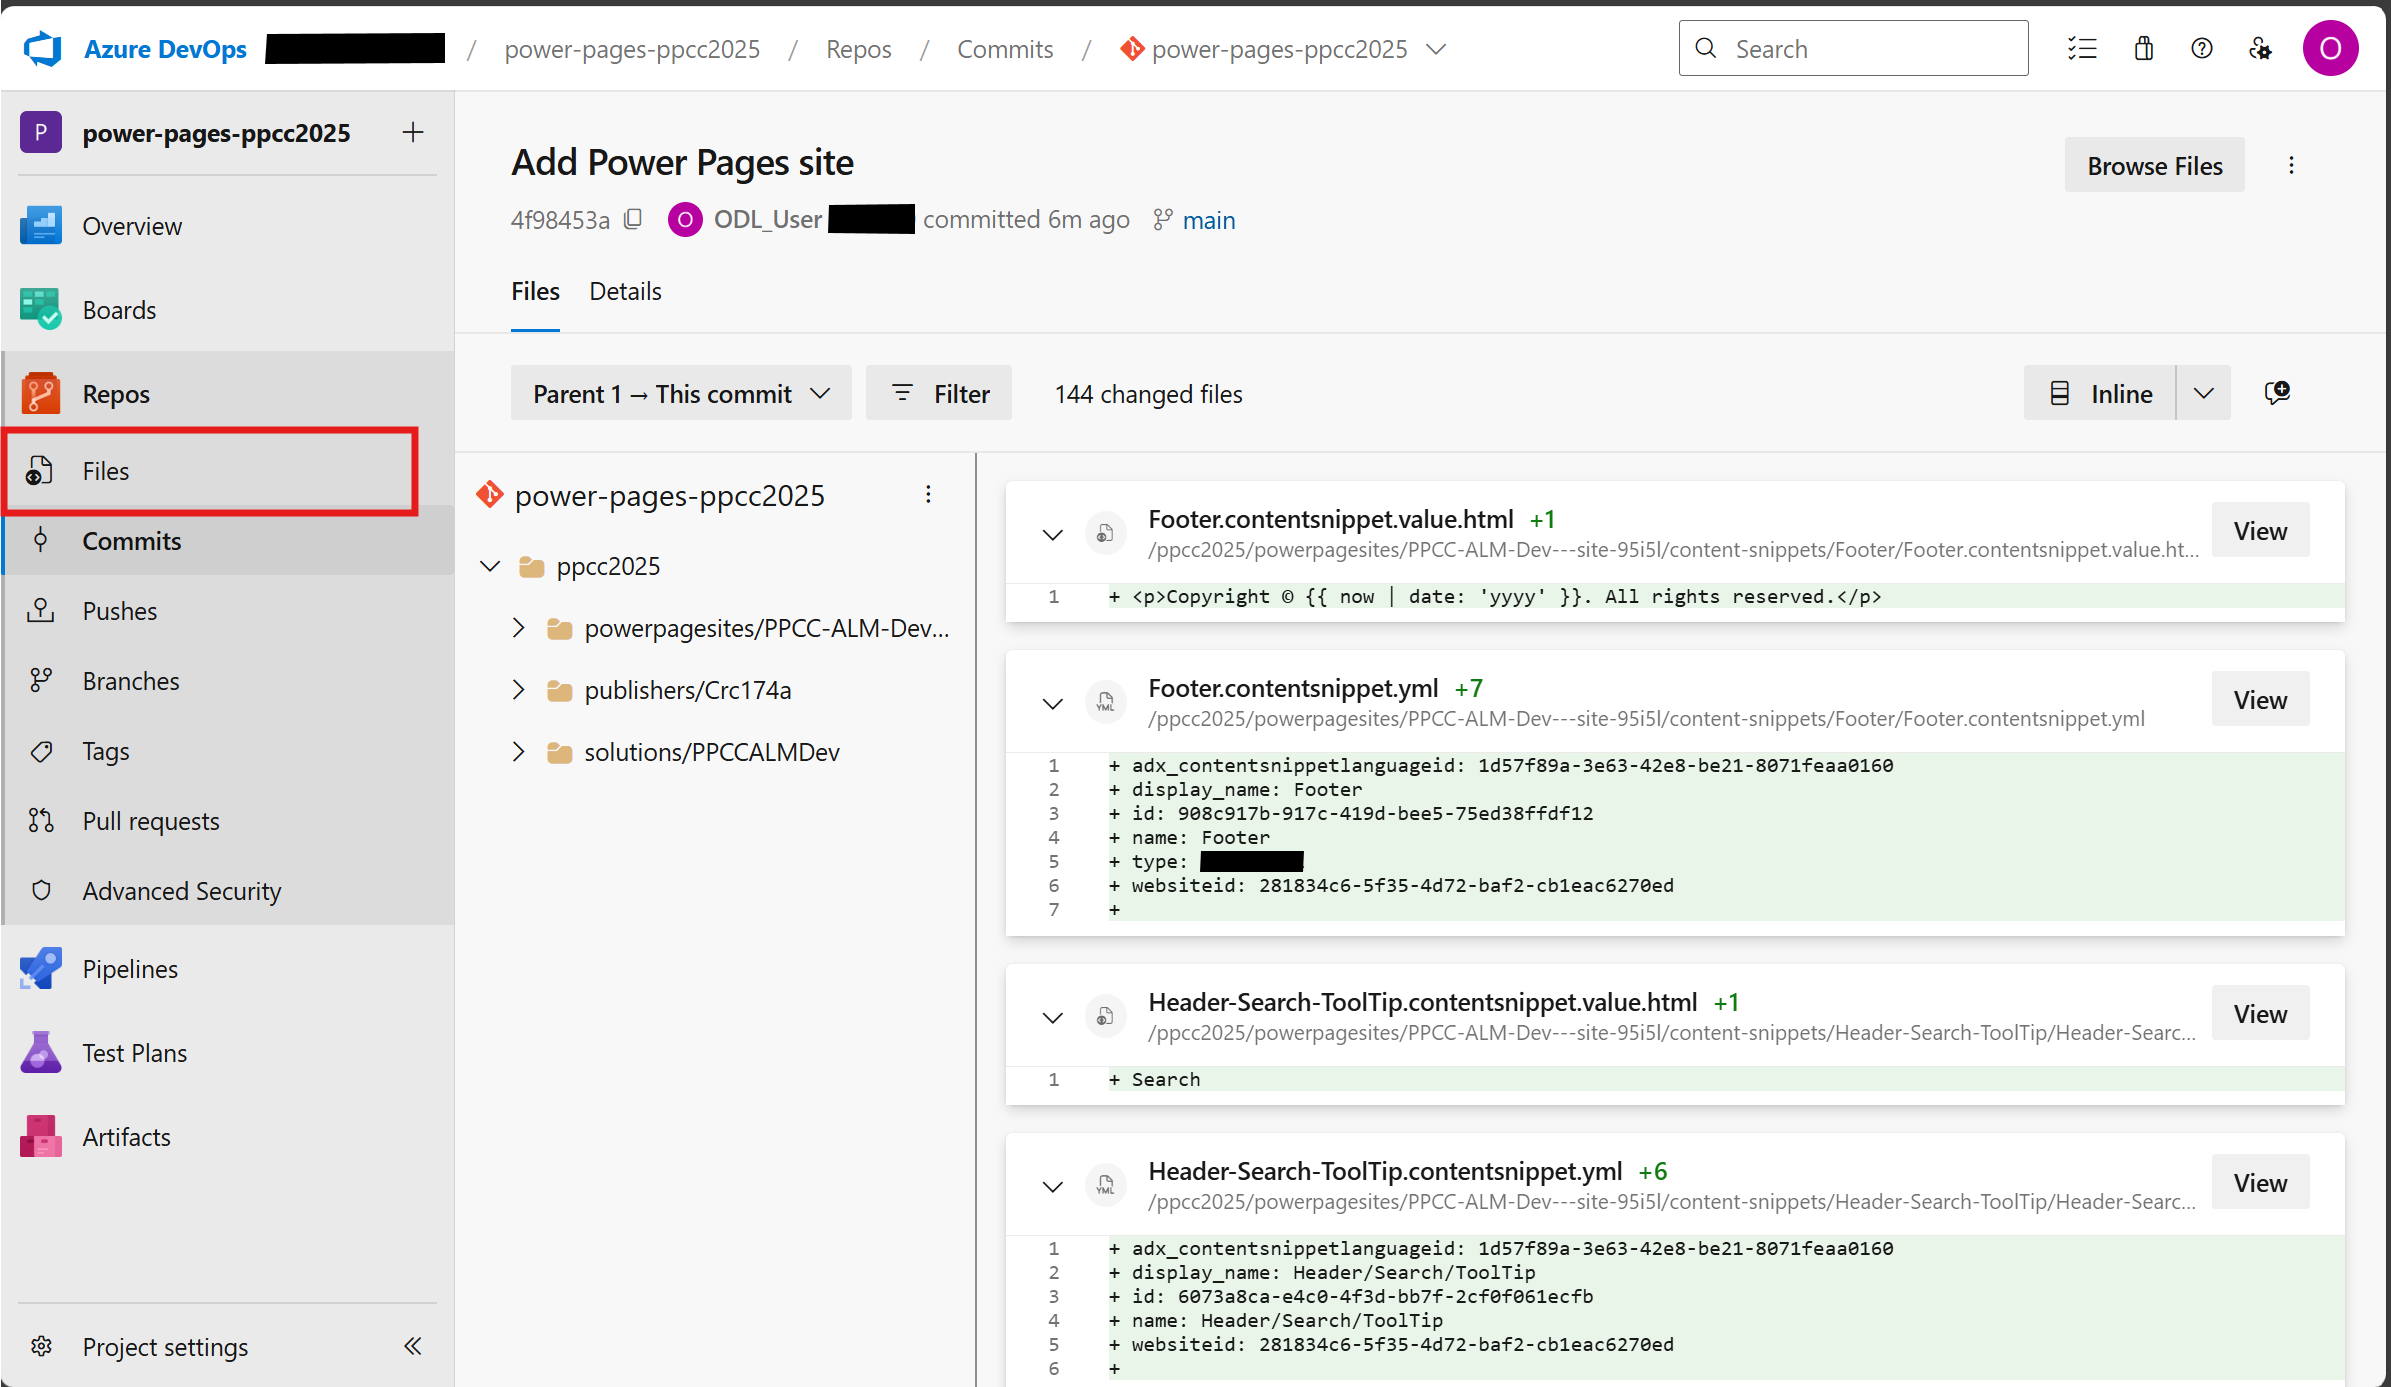
-
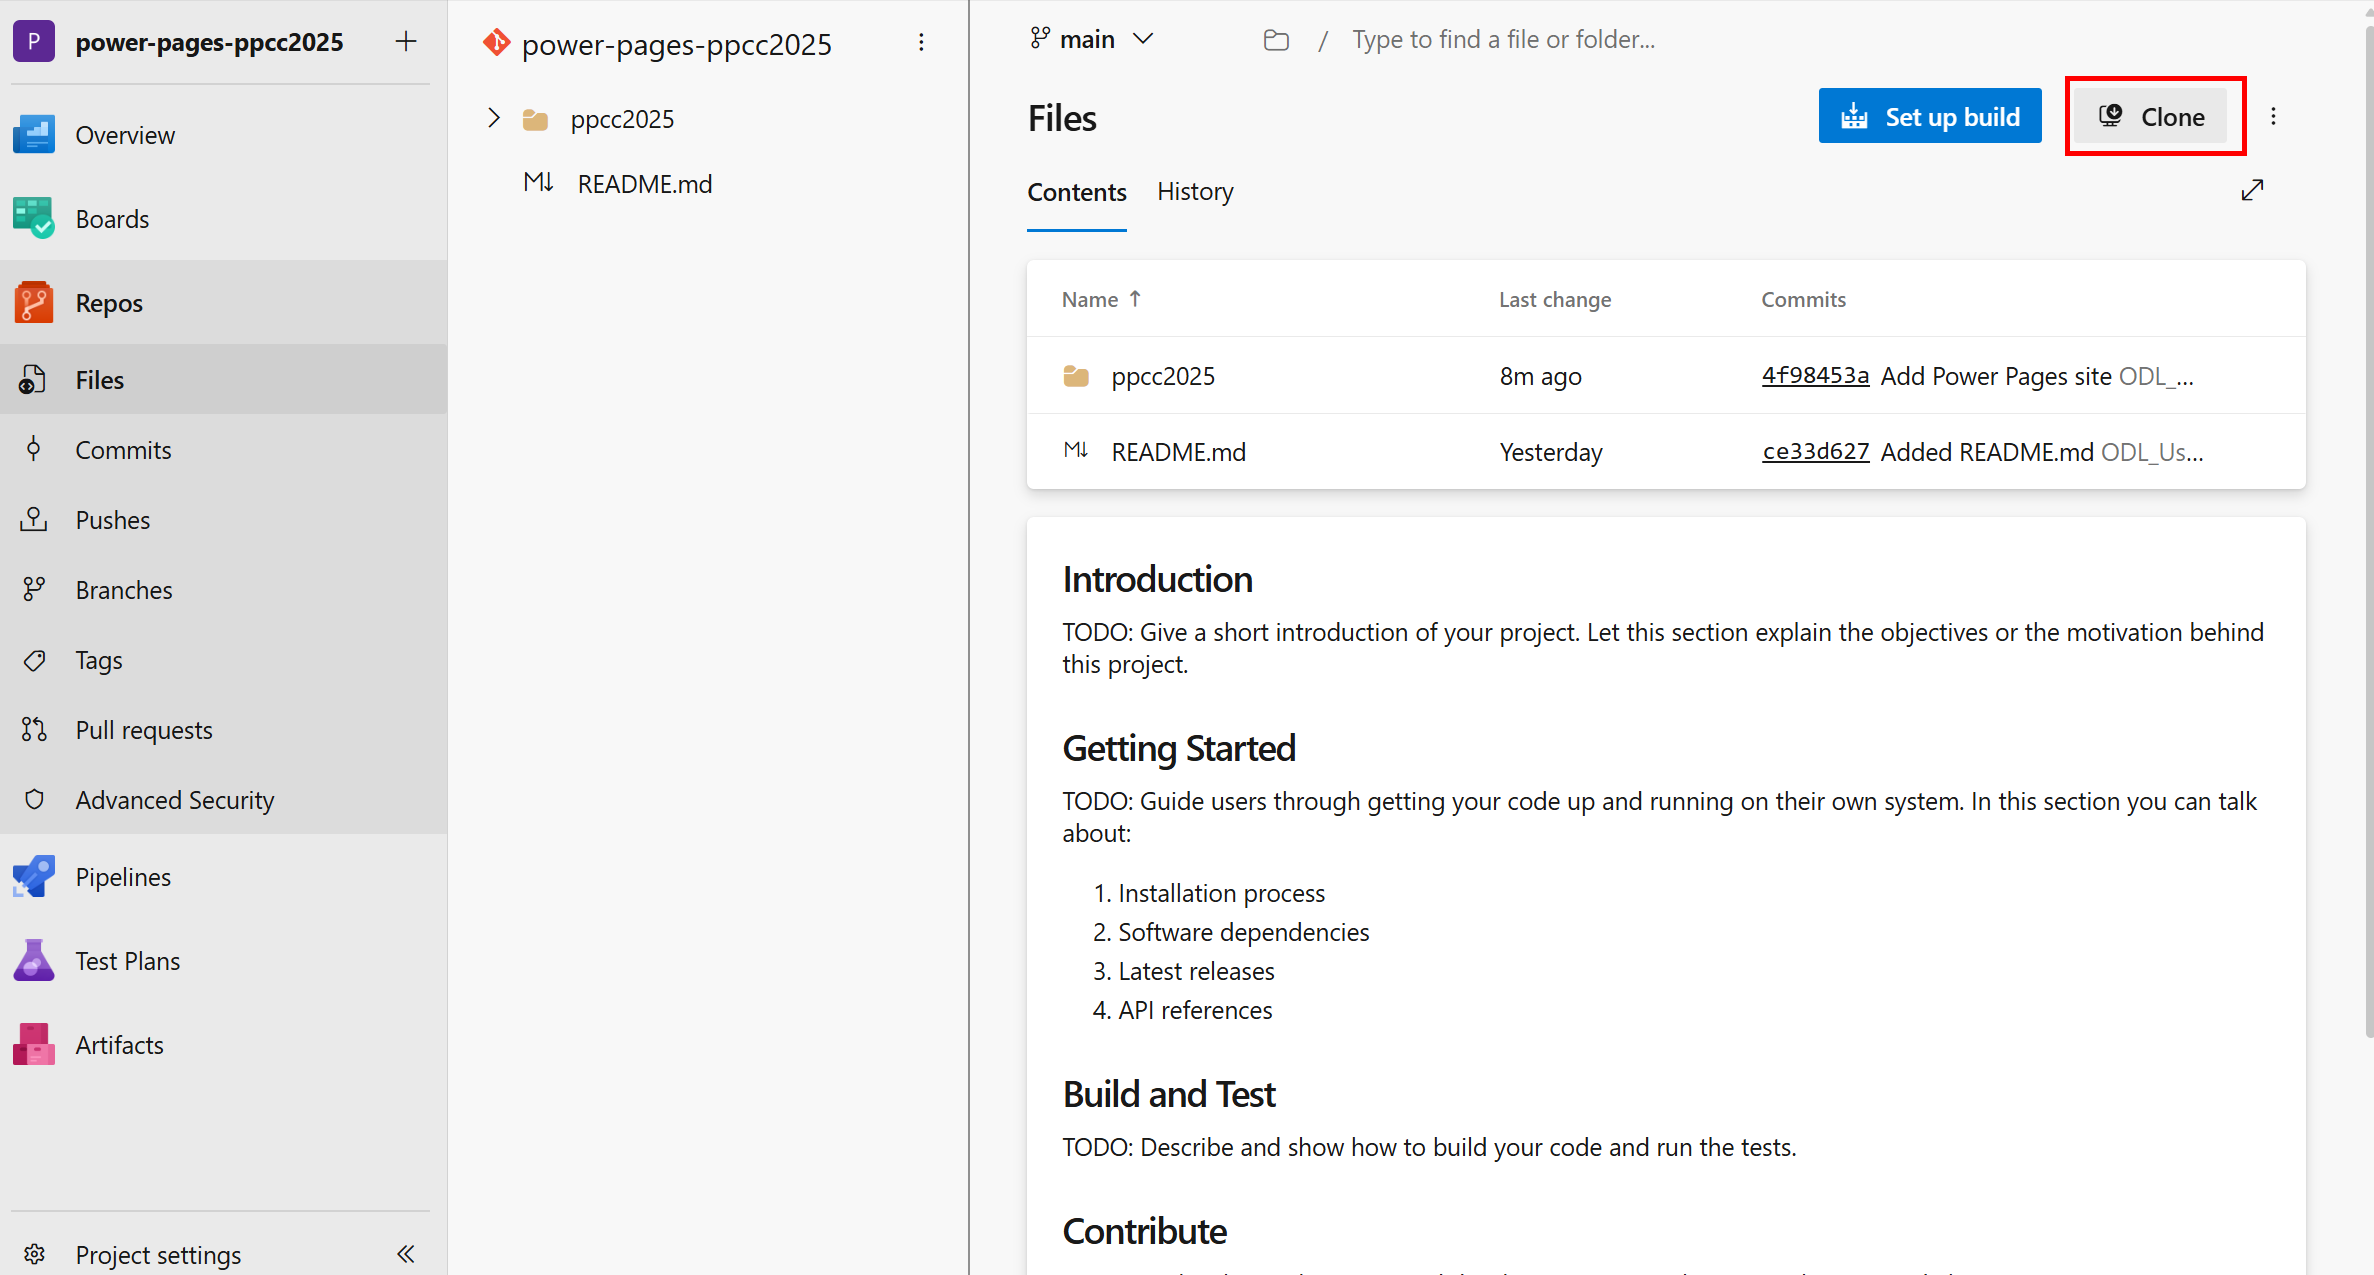
Click on Files from the left menu in Azure DevOps to go to the repository view.
-
Click on Clone button and then click on Clone in VSCode.
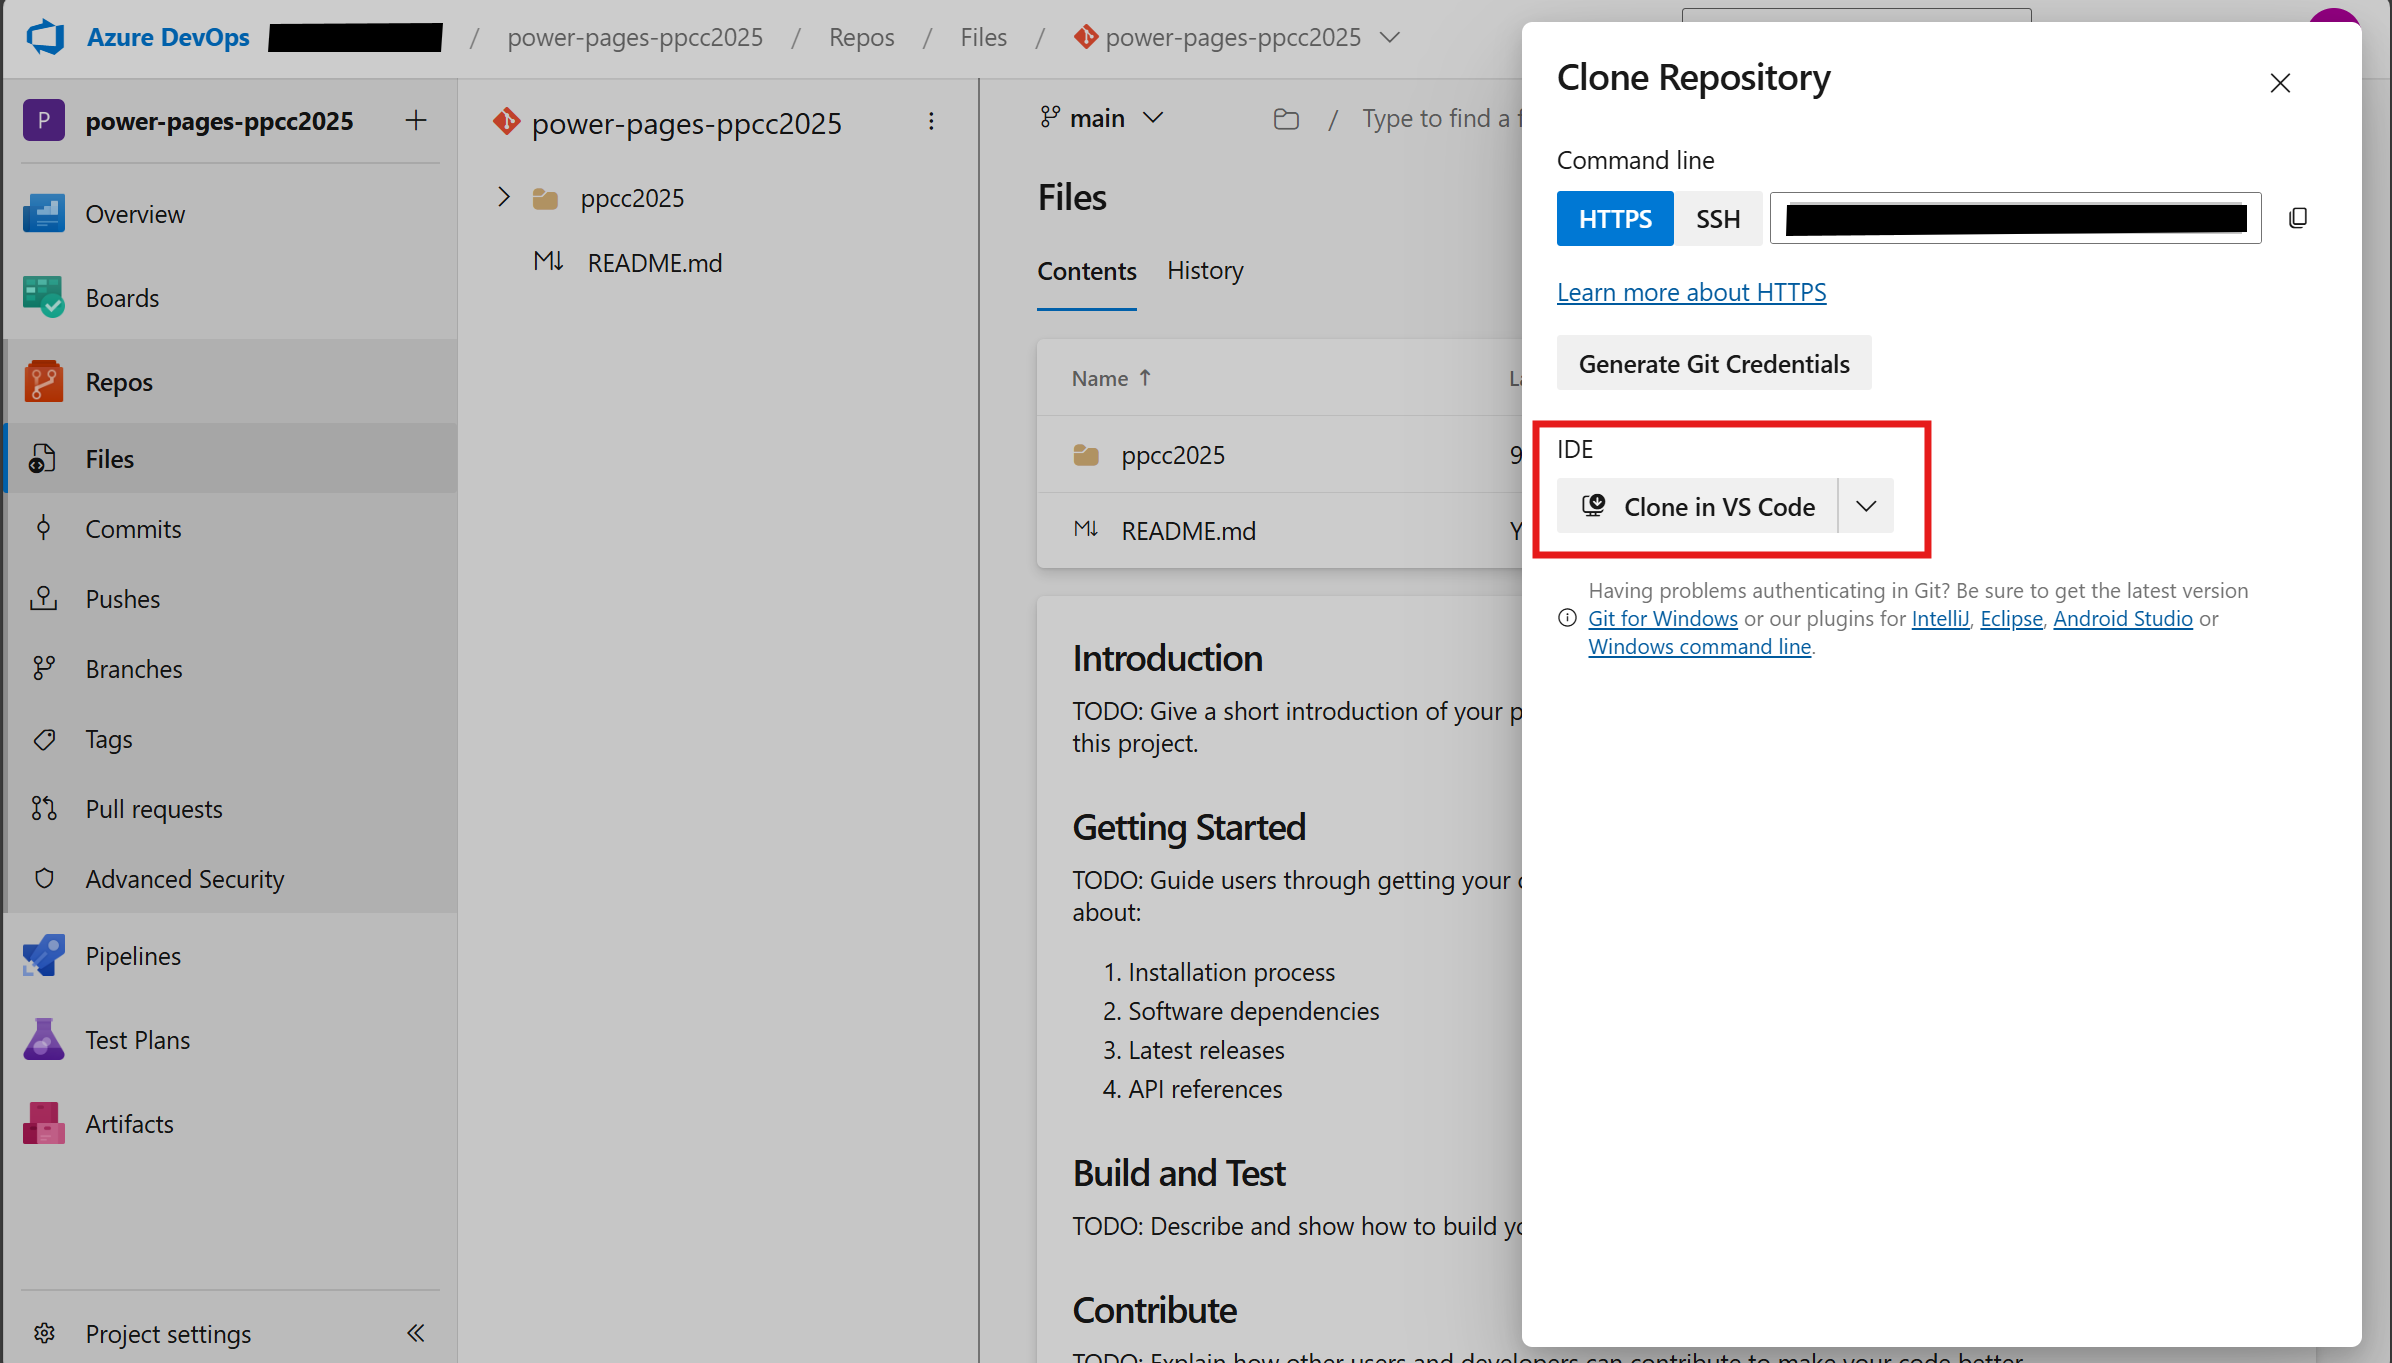
-
This will open VS Code Desktop and prompt for the local path to clone the repository.
-
It will ask for authentication, provide your Azure DevOps credentials.
-
If asked to automatically sign-in, select No, this app only.

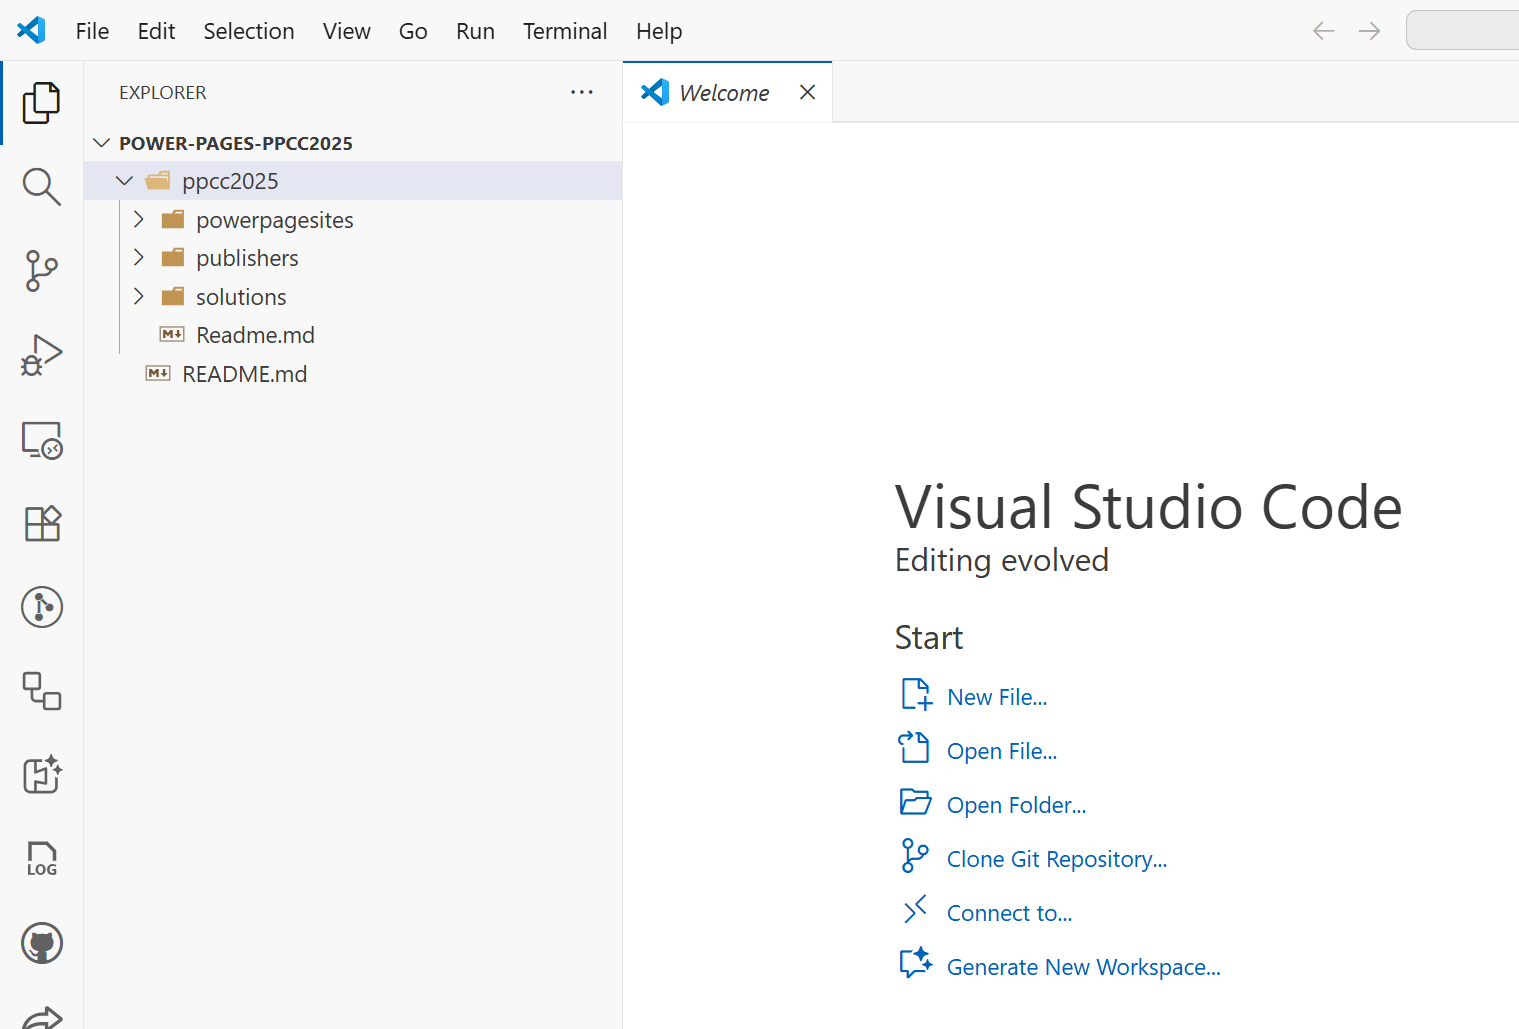
-
Click on Open to open the cloned repository in VS Code.
💻 Editing the site in VS Code
-
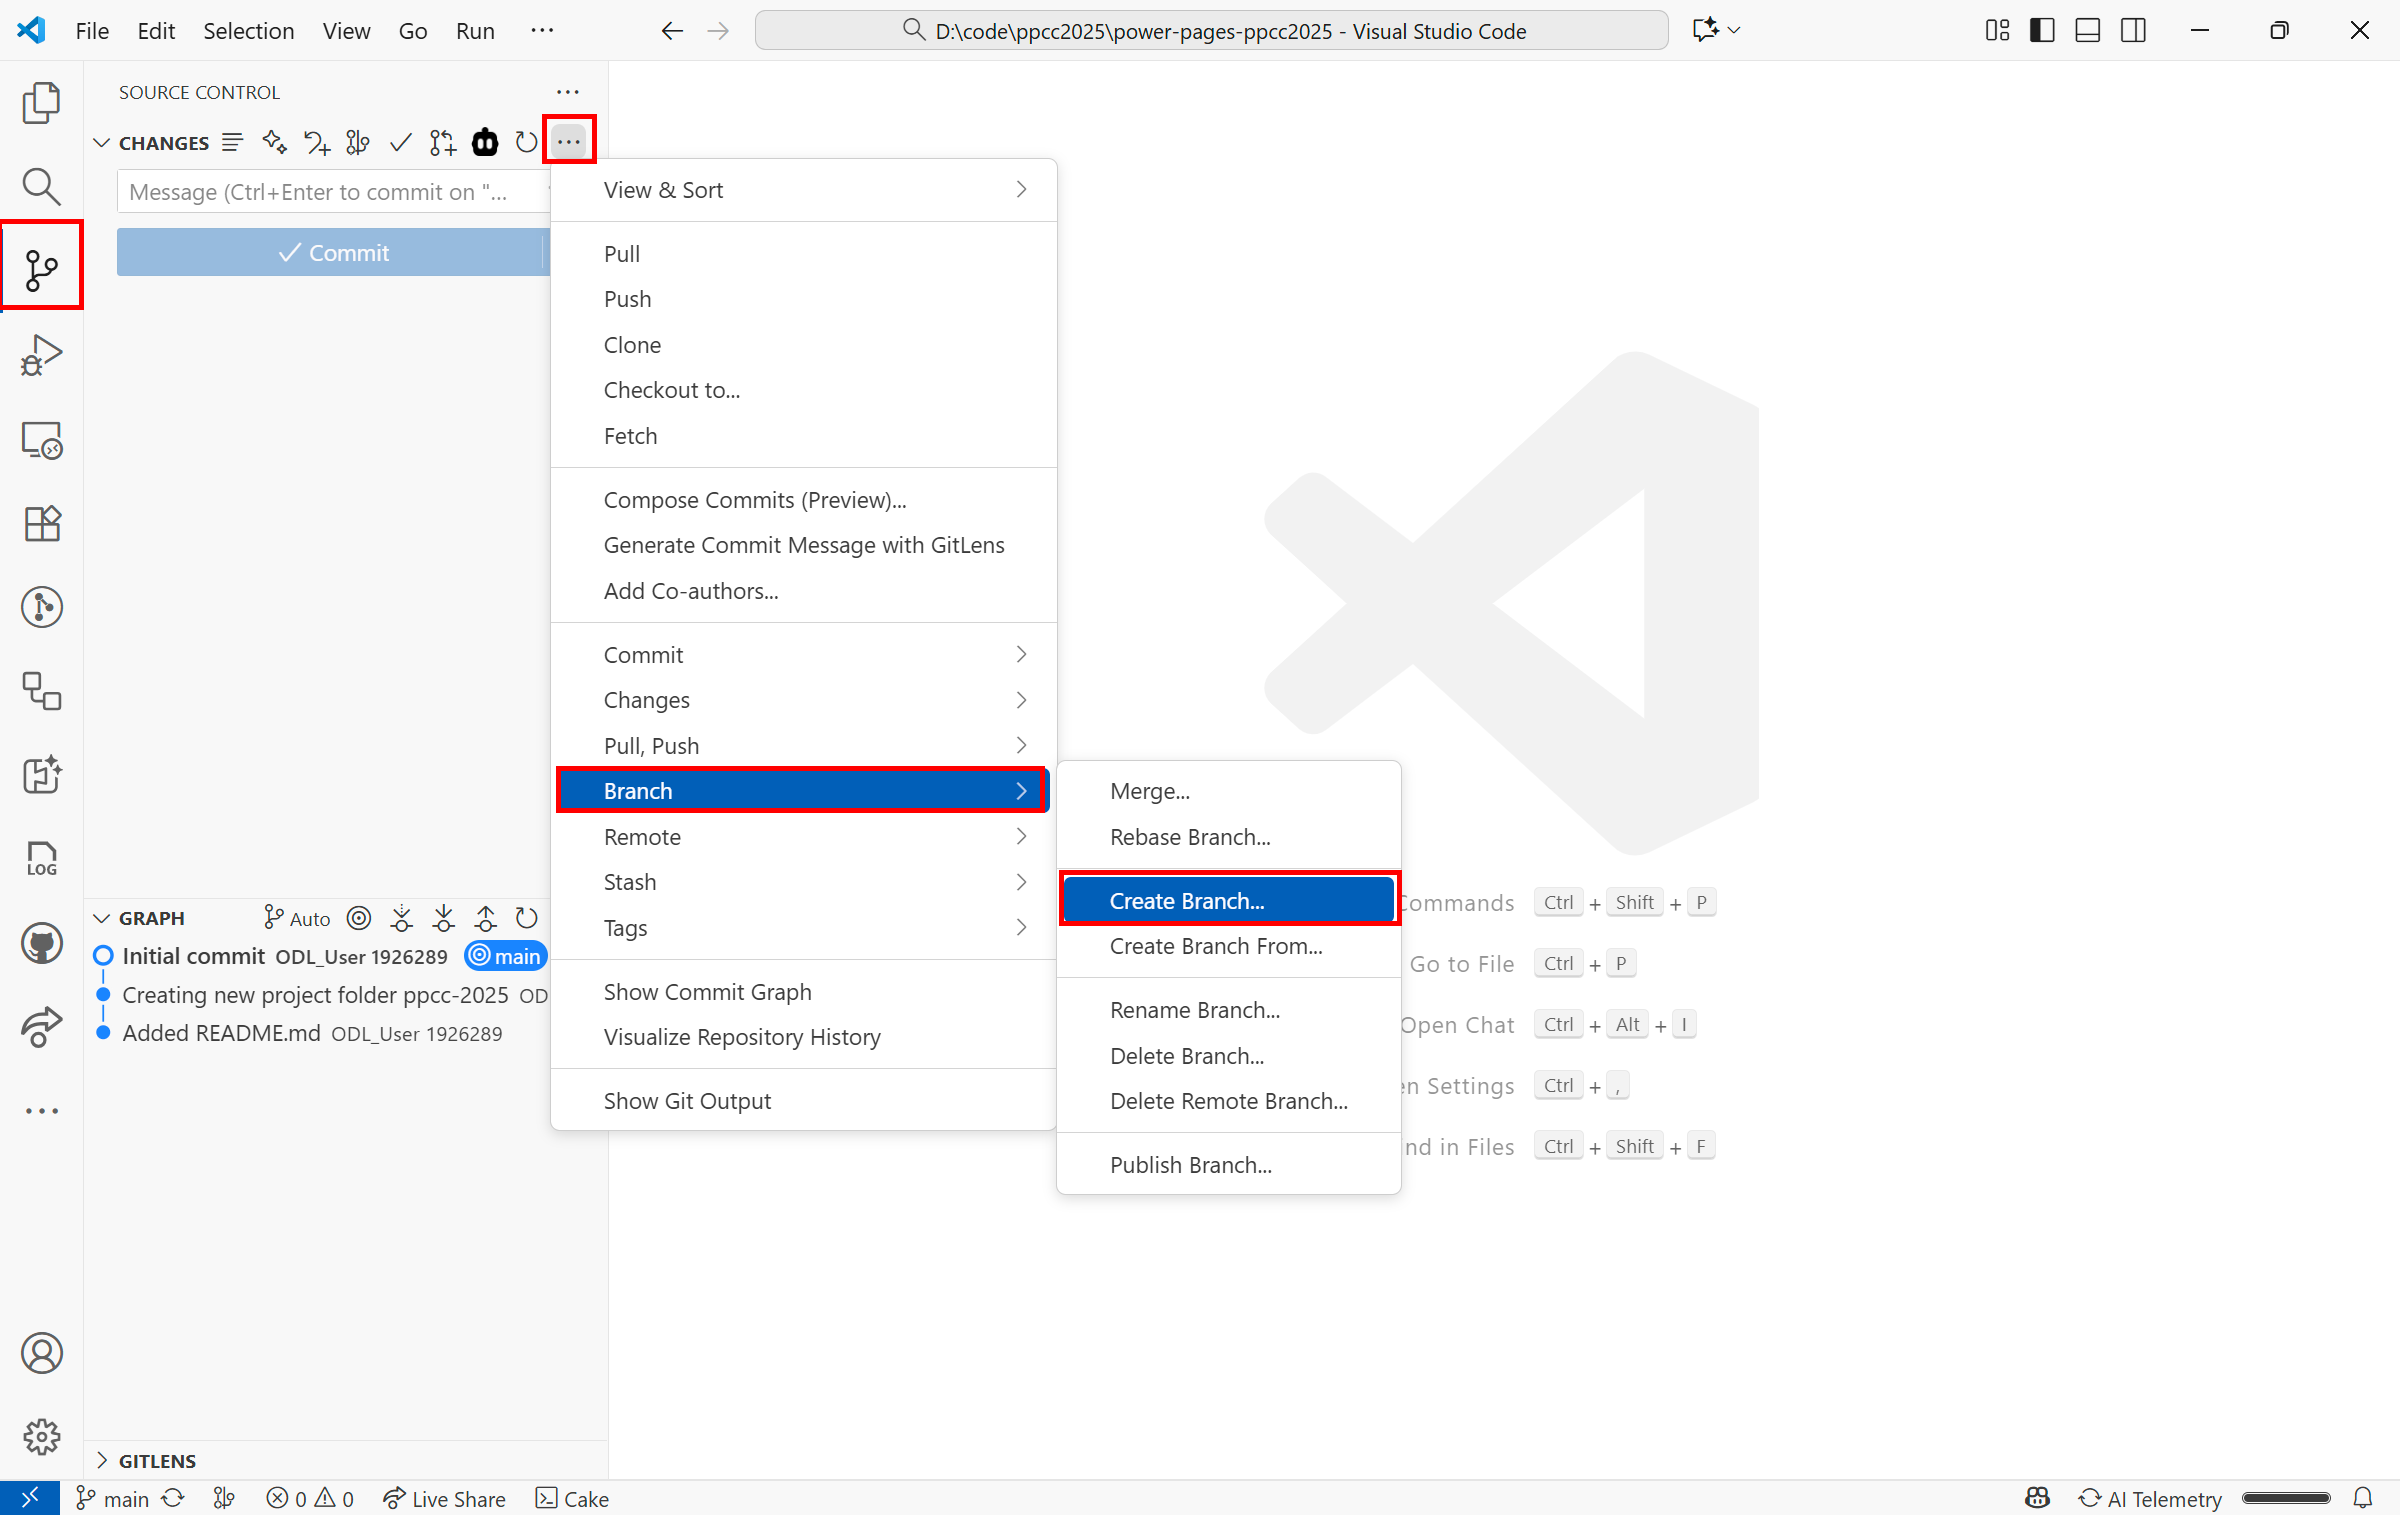
Create a new branch by clicking on Source Control icon from the left menu and then More -> Branch -> Create New Branch. Give the branch name as feature/add-welcome-message
-
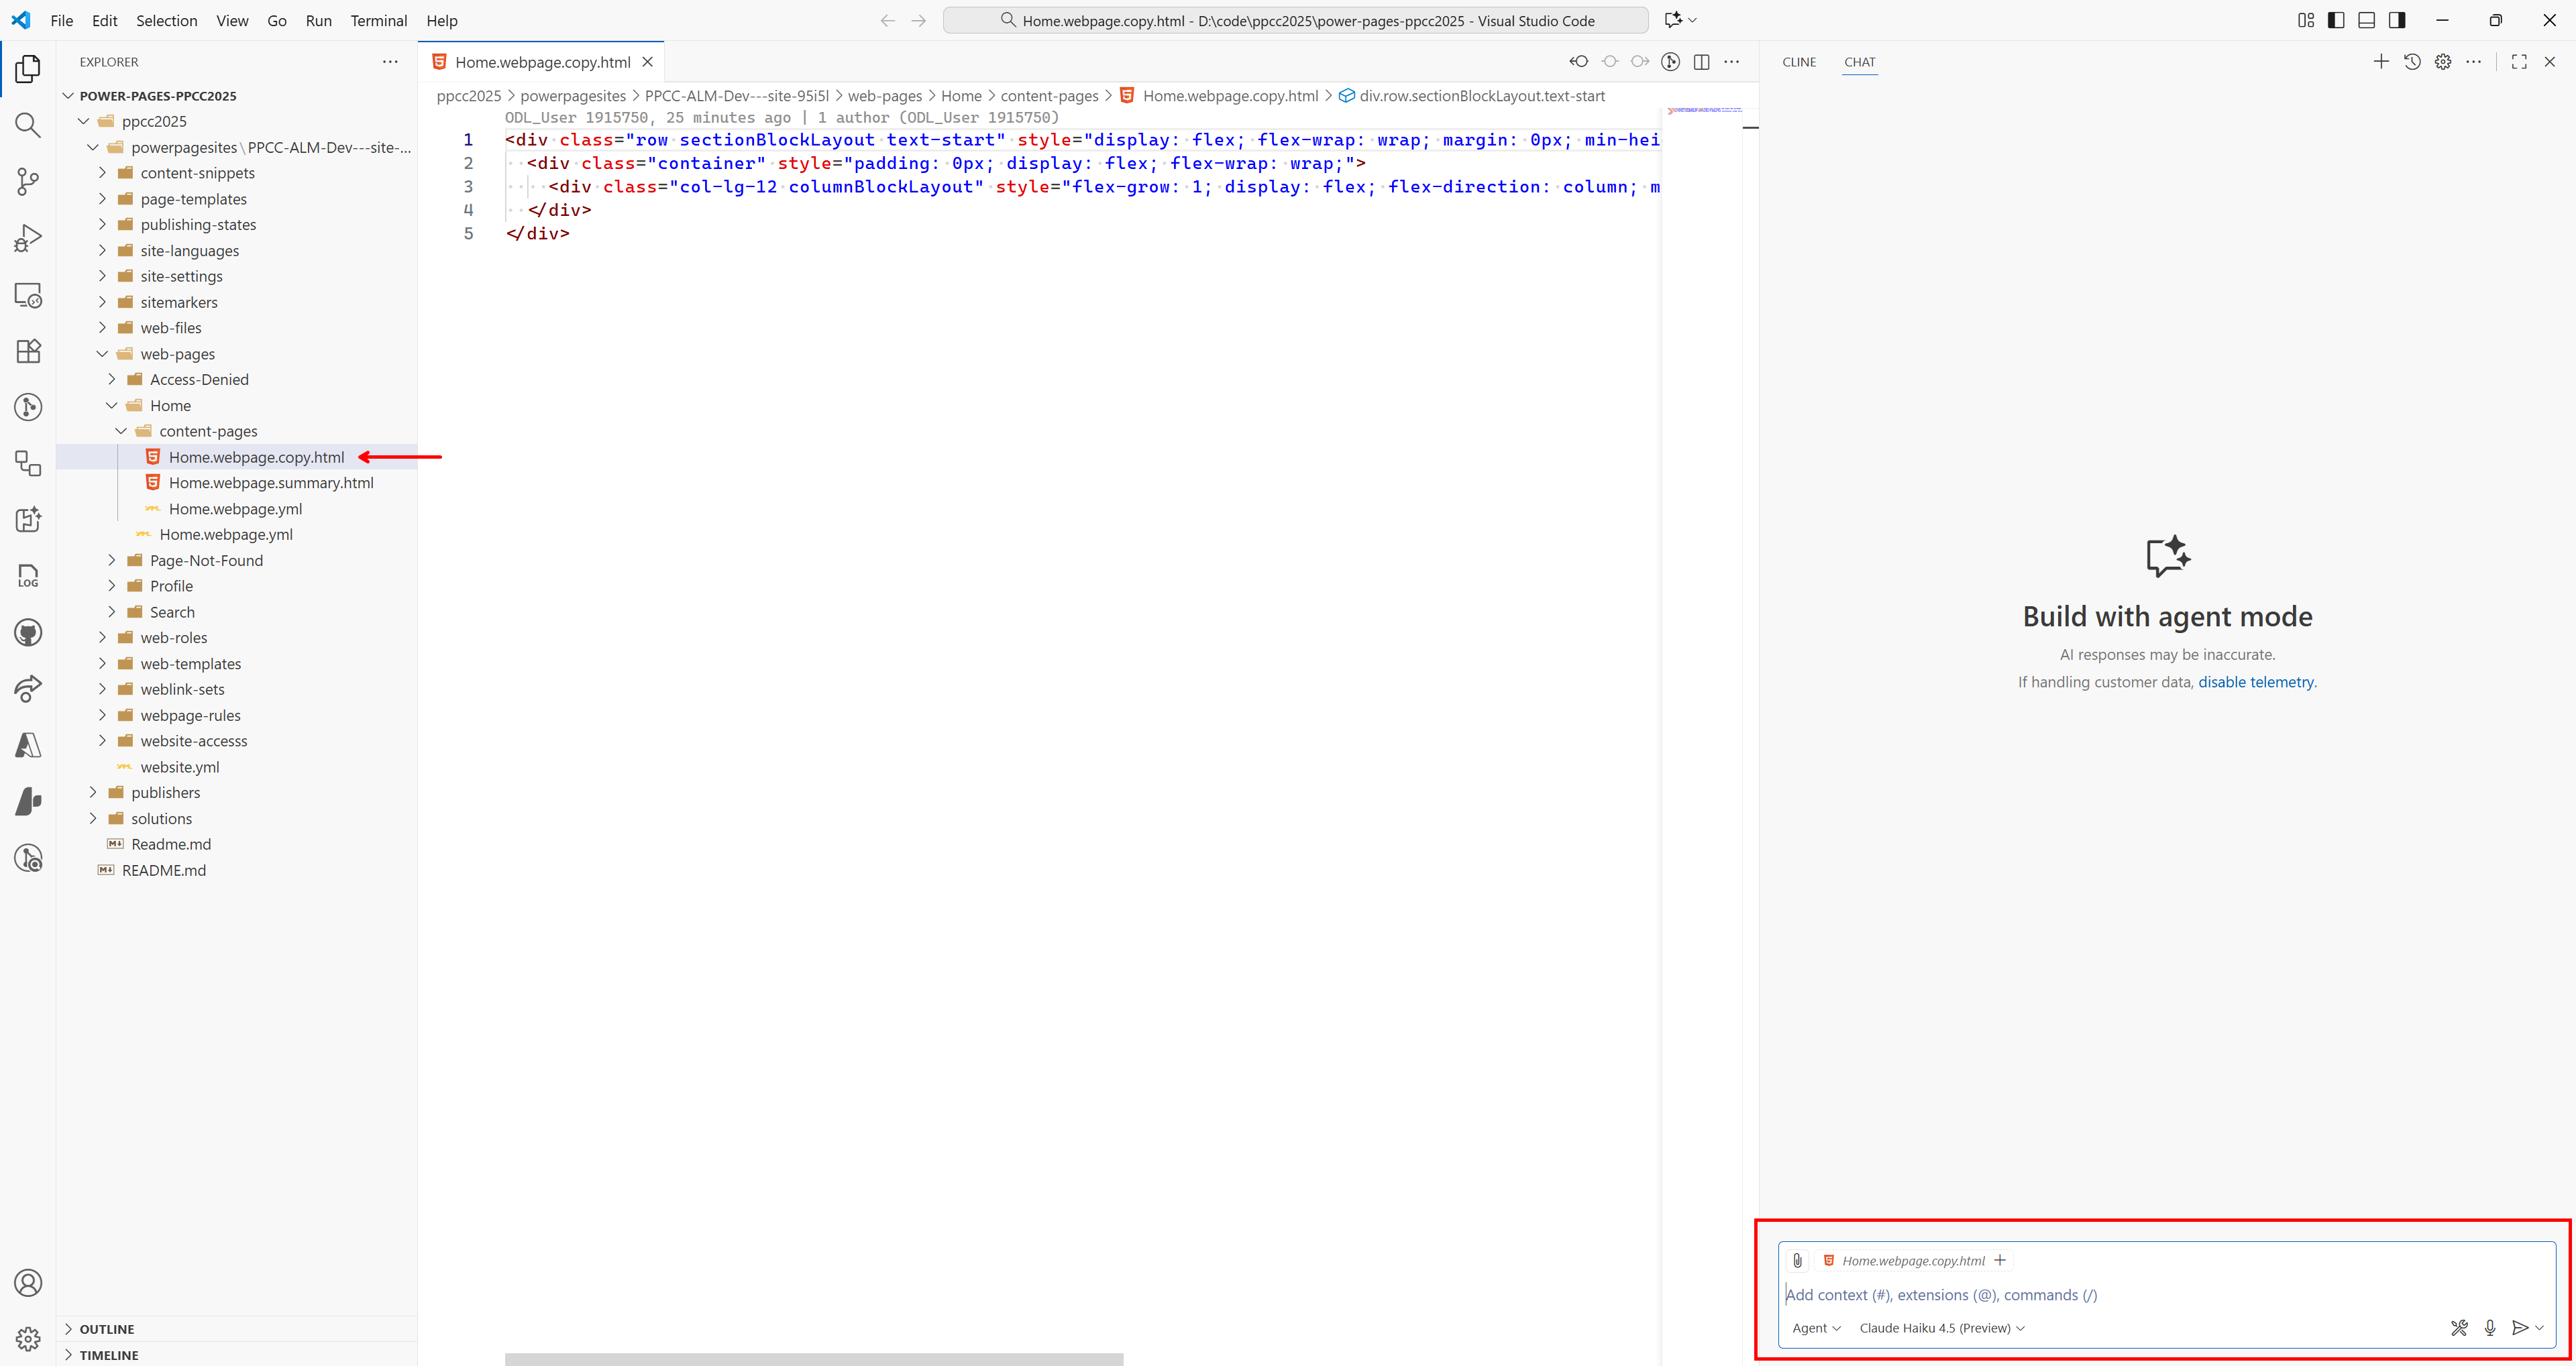
Open Home.webpage.copy.html file and use GitHub Copilot to add a welcome message to the home page. Click on Keep once the Copilot is completed making the changes.
-
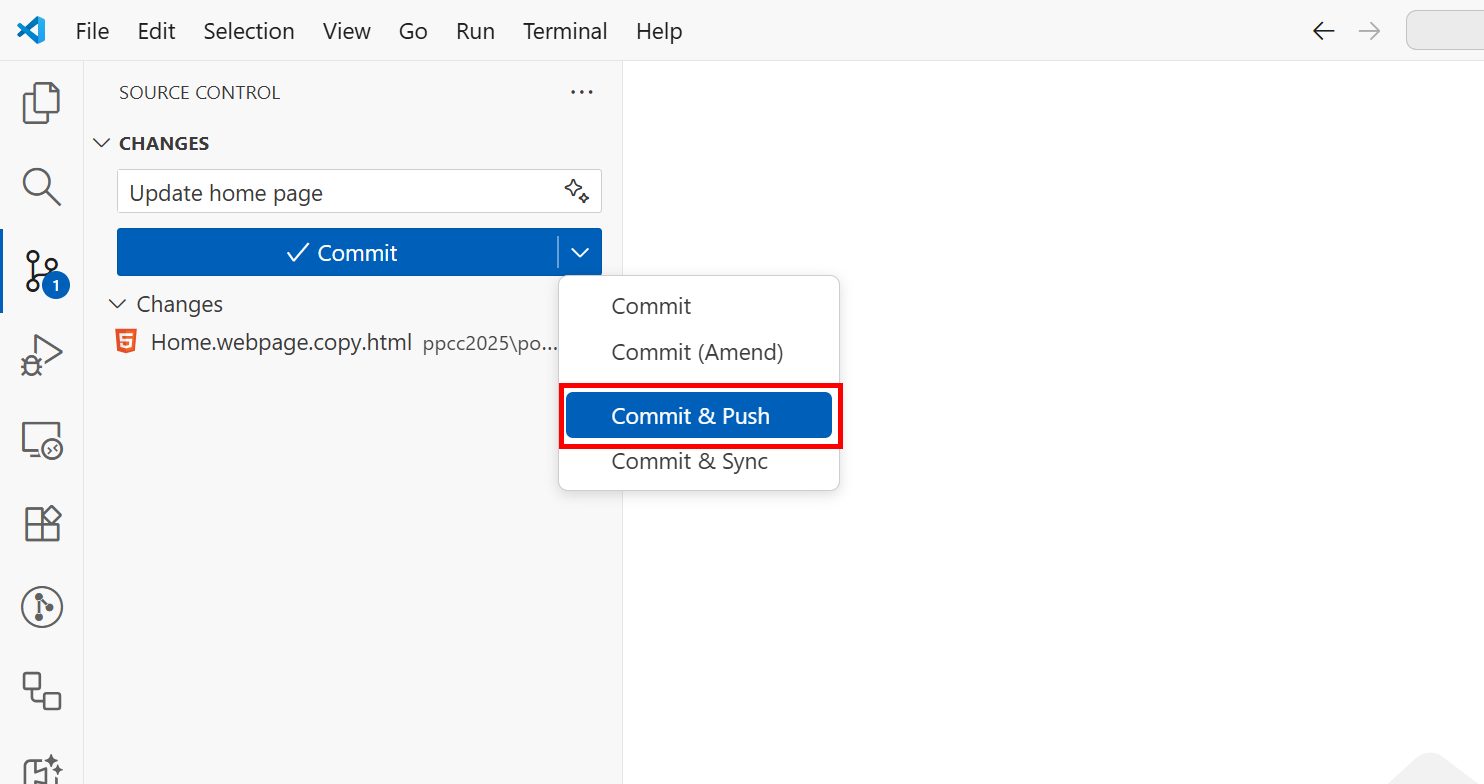
Once the edits are done, save the file and commit and push the changes.
-
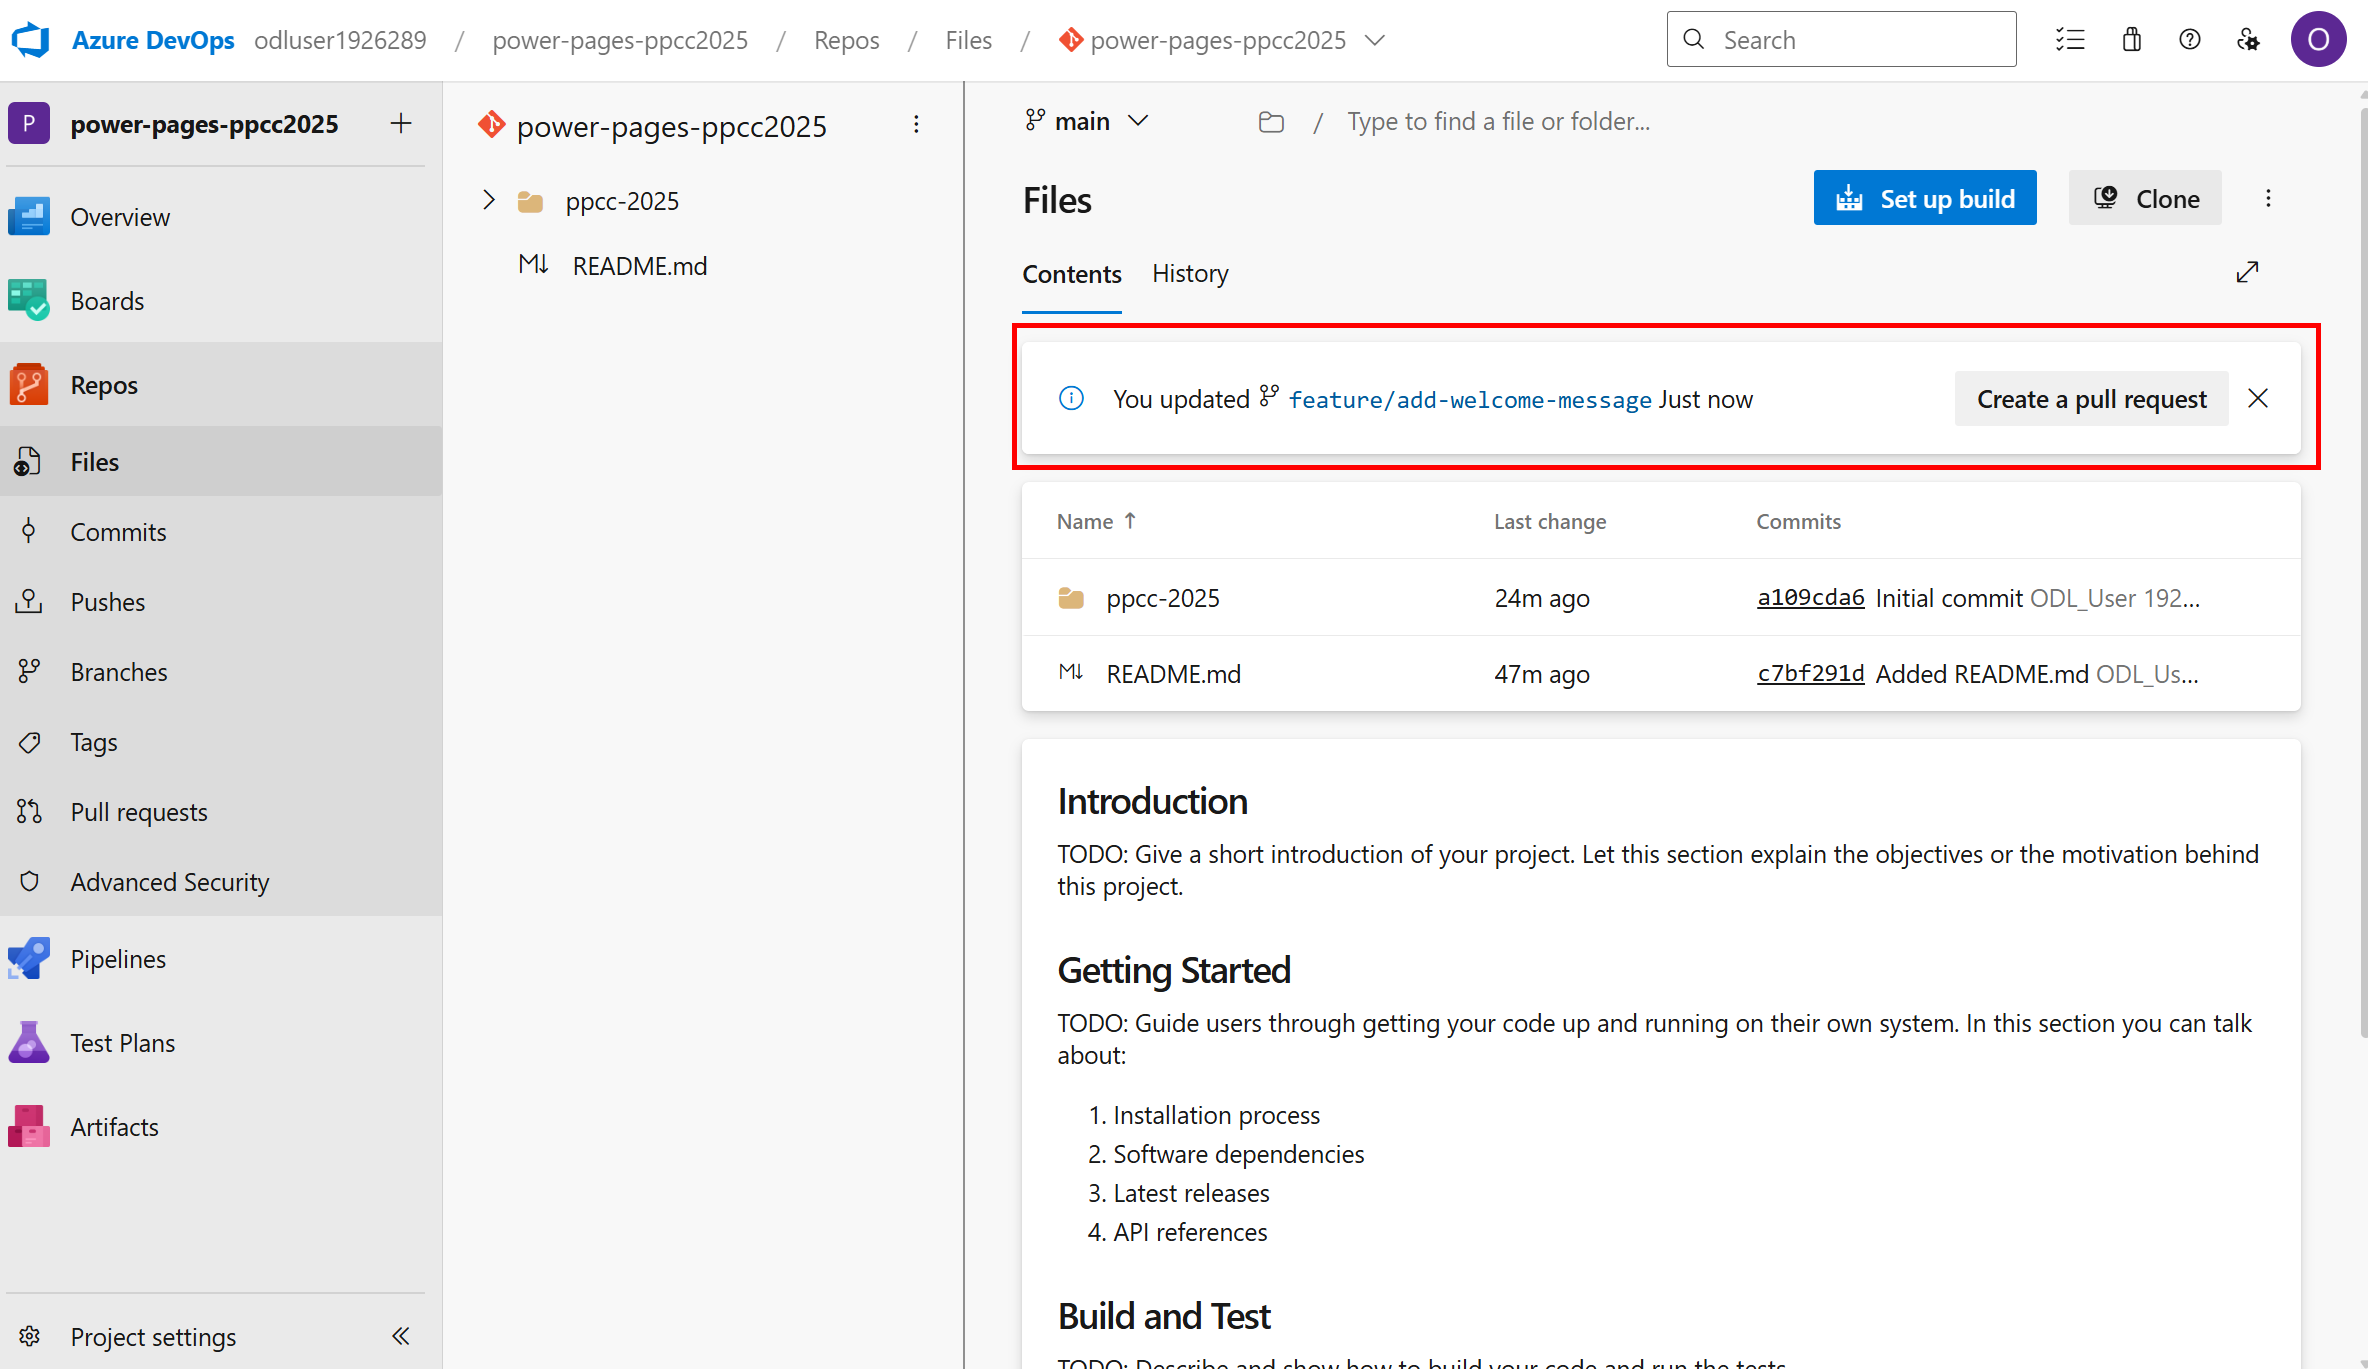
Now, go back to Azure DevOps repo and refresh the page. You will see a new branch created named feature/add-welcome-message. Click on Create a pull request button.
-
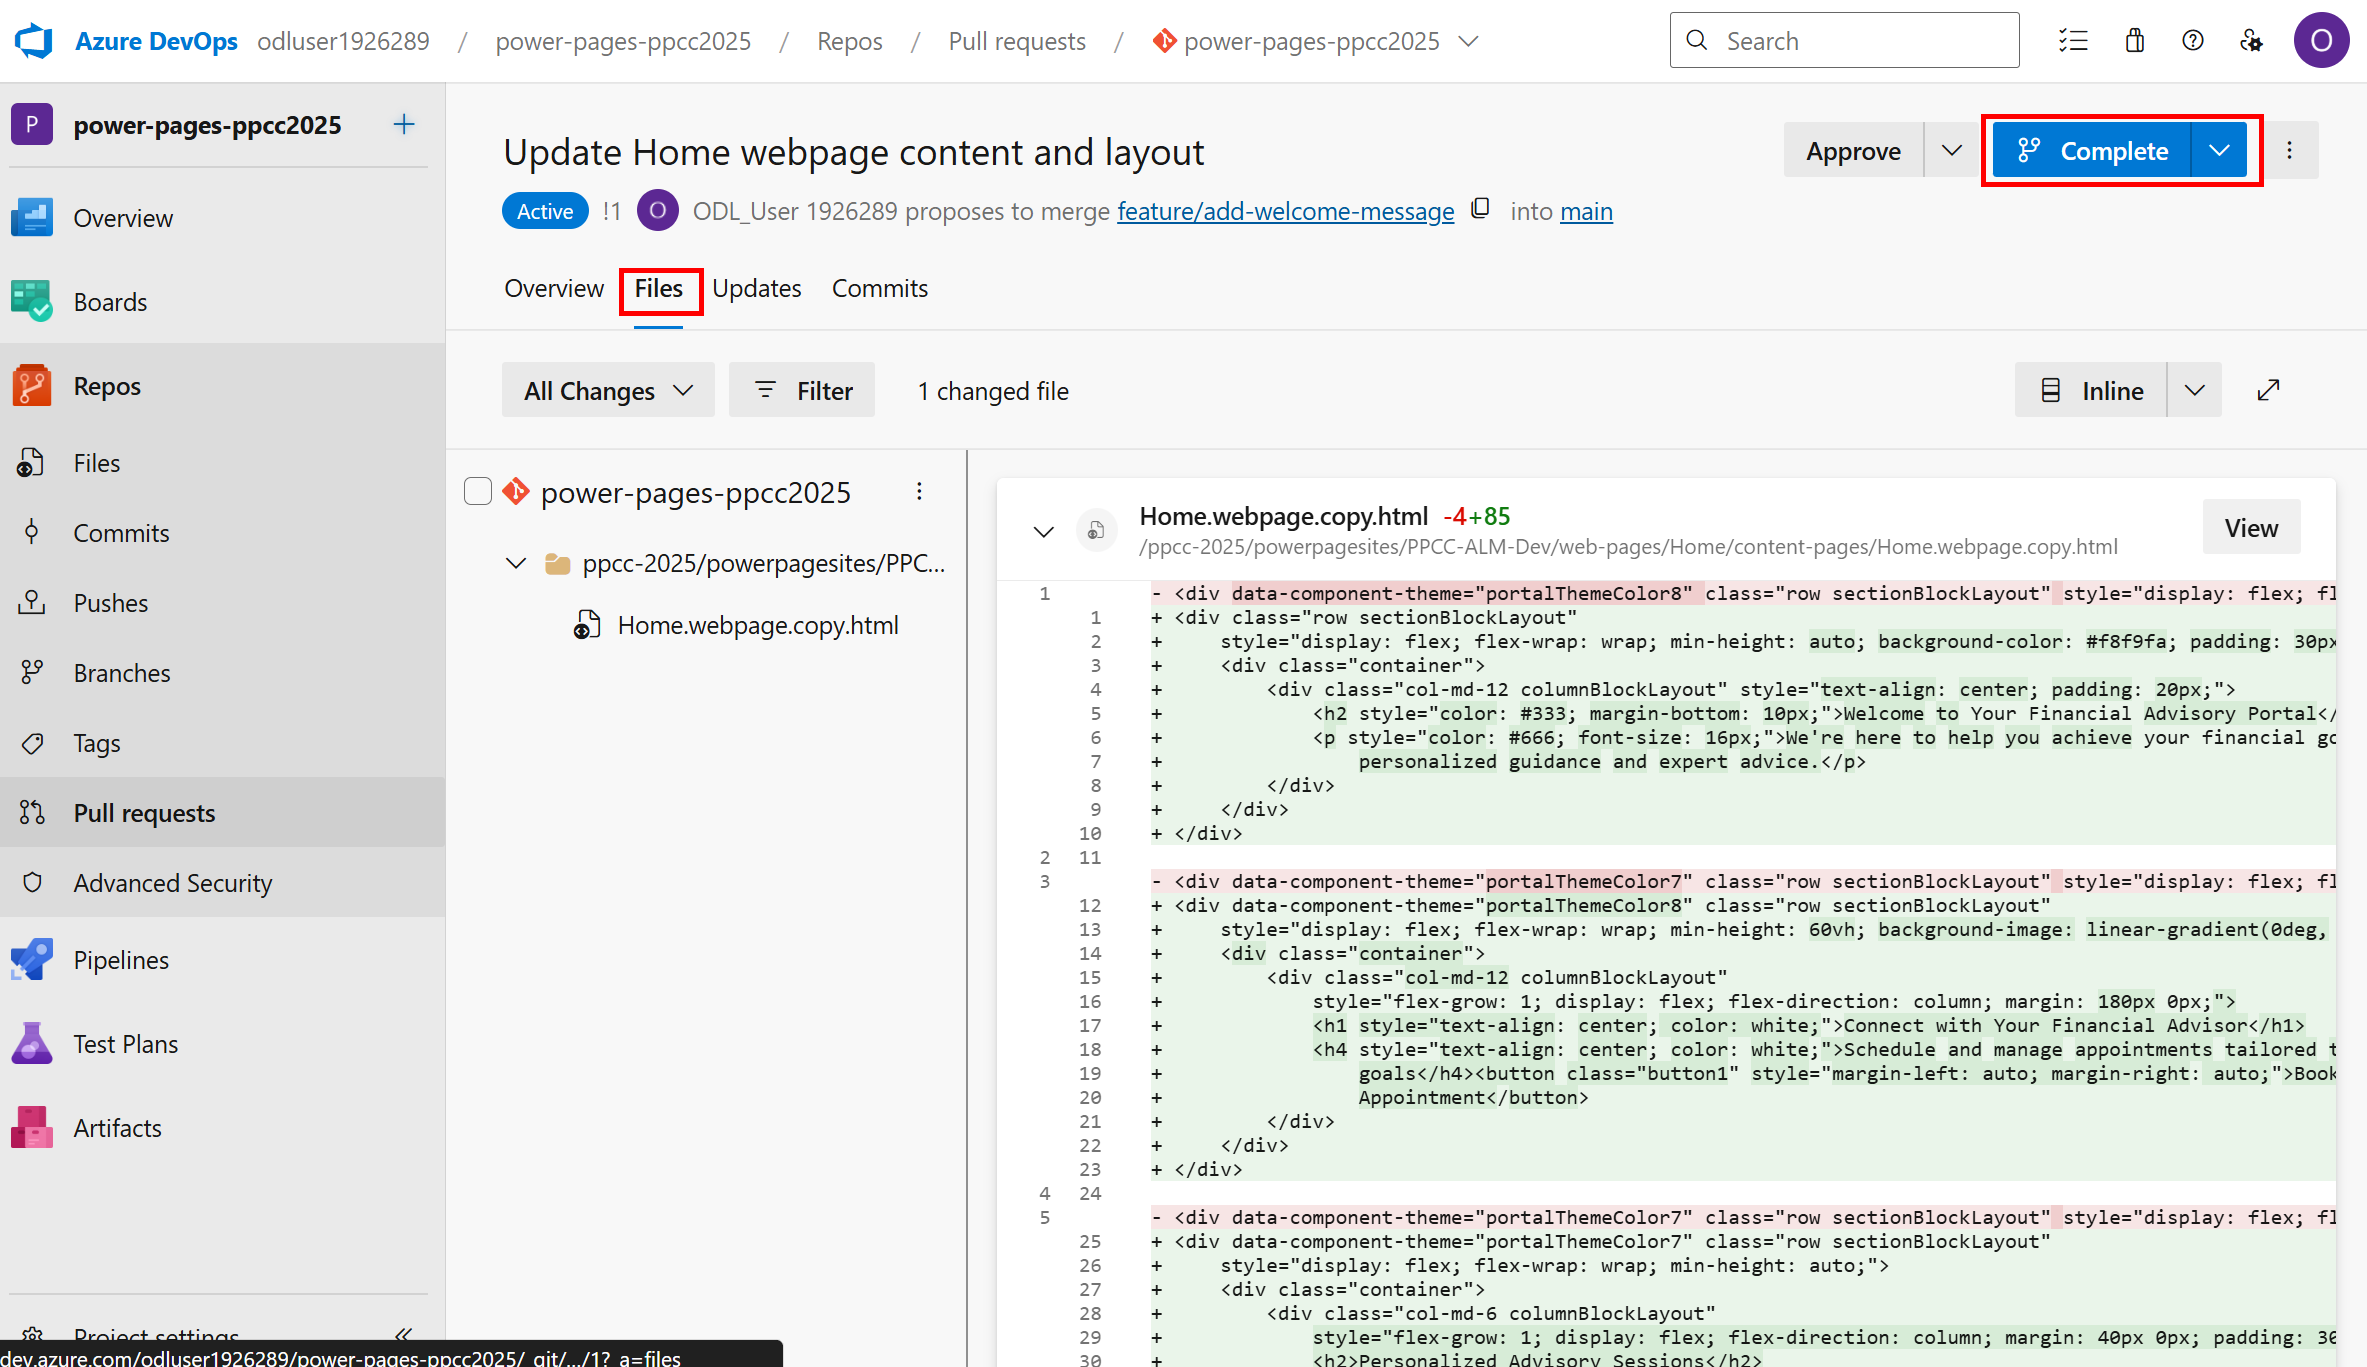
You will see the changes made in the pull request. Click on Create button to create the pull request.
-
Click on Files tab to review the changes and then click on Complete button to complete the pull request.
Tip: In real-world scenarios, you would typically have another team member review the pull request before completing it.
🛠️ Pulling changes in Solution Explorer
-
Go back to Power Pages Maker Studio in Dev environment and navigate to Solutions Explorer.
-
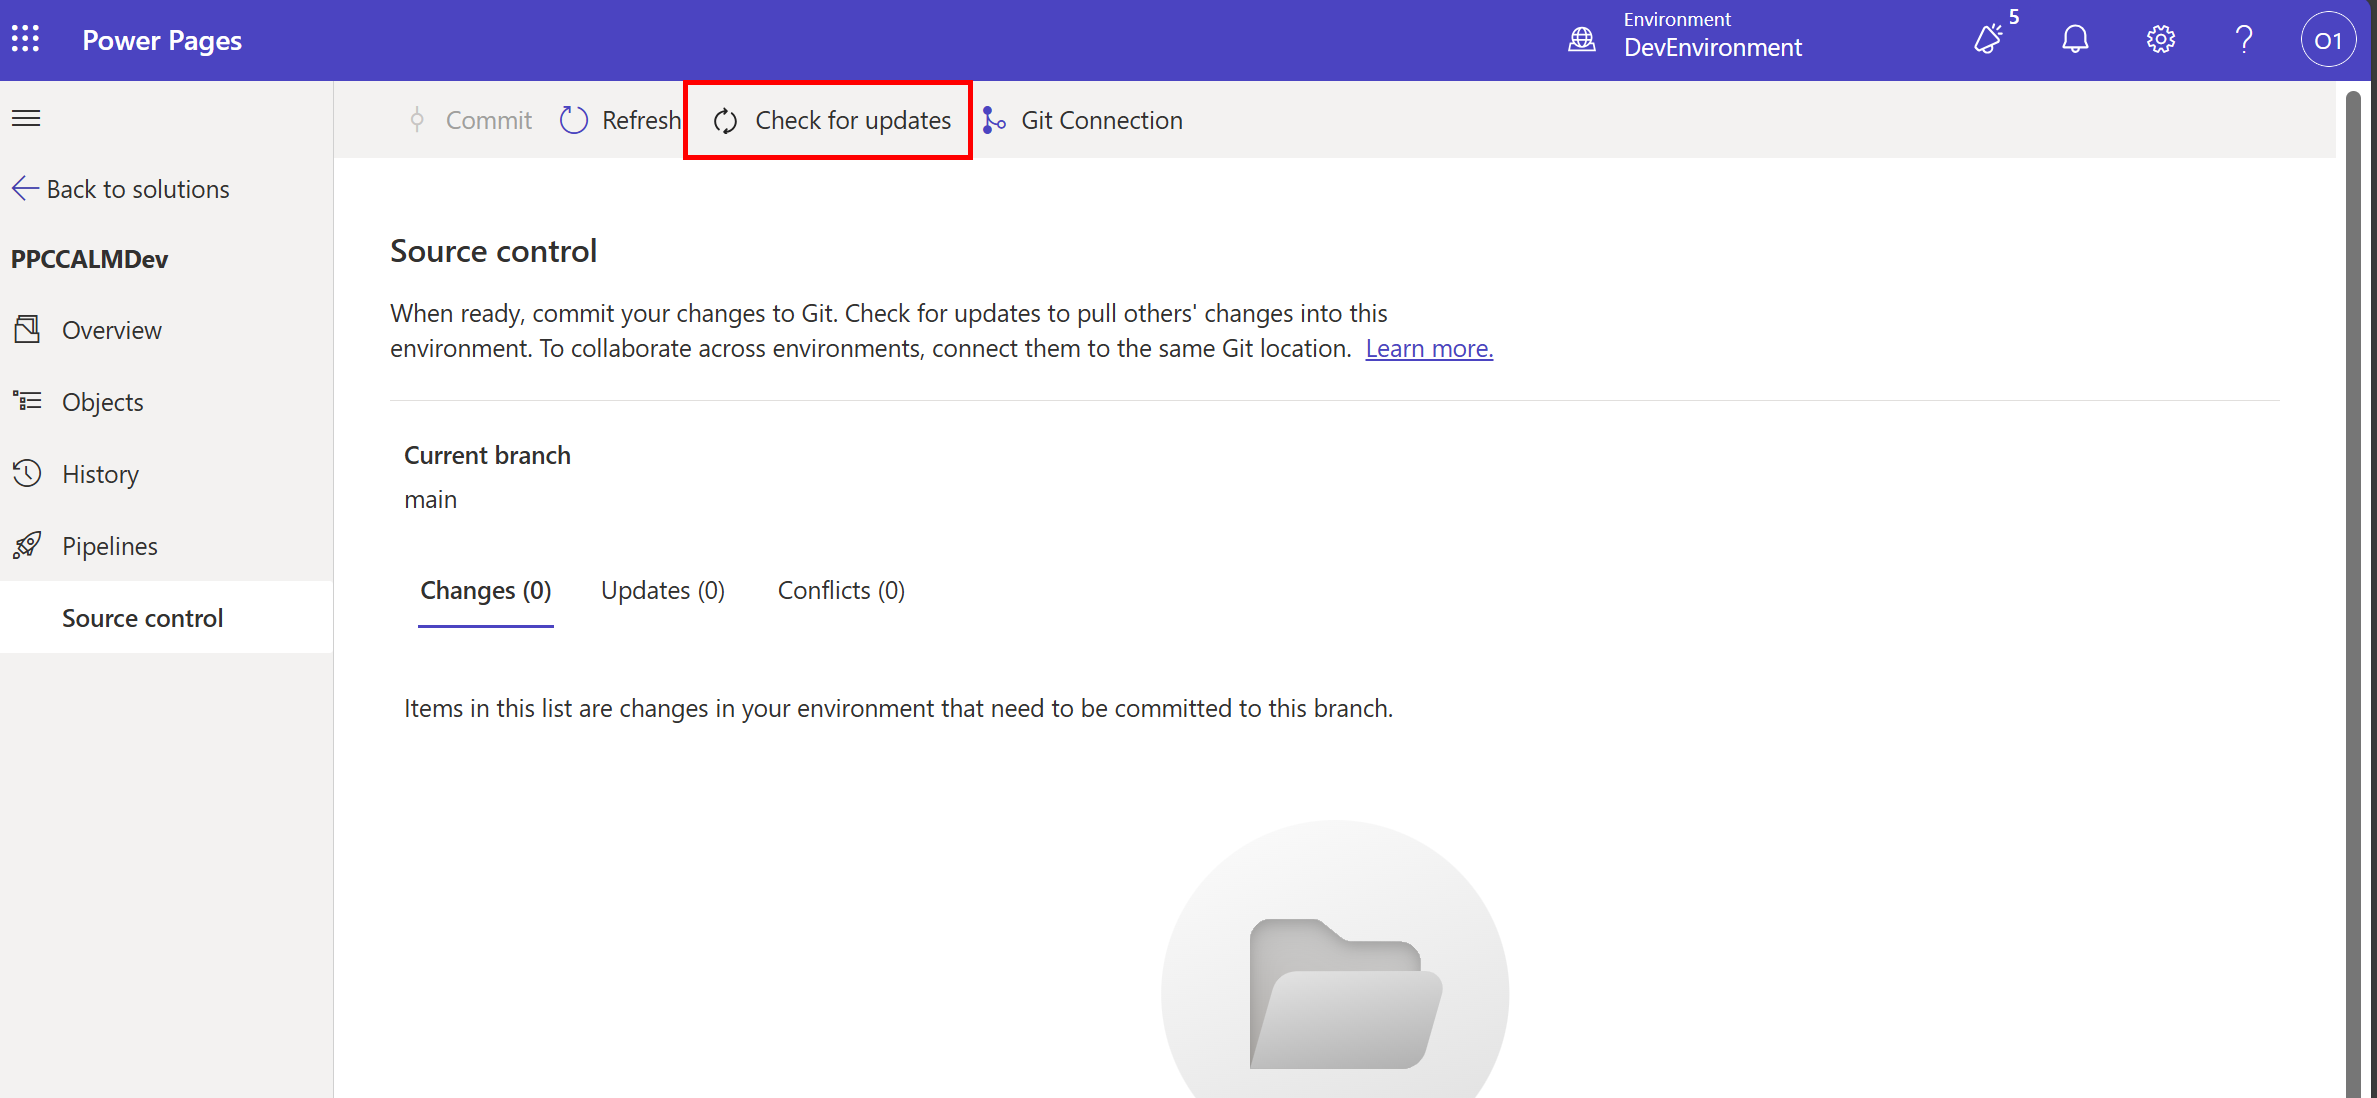
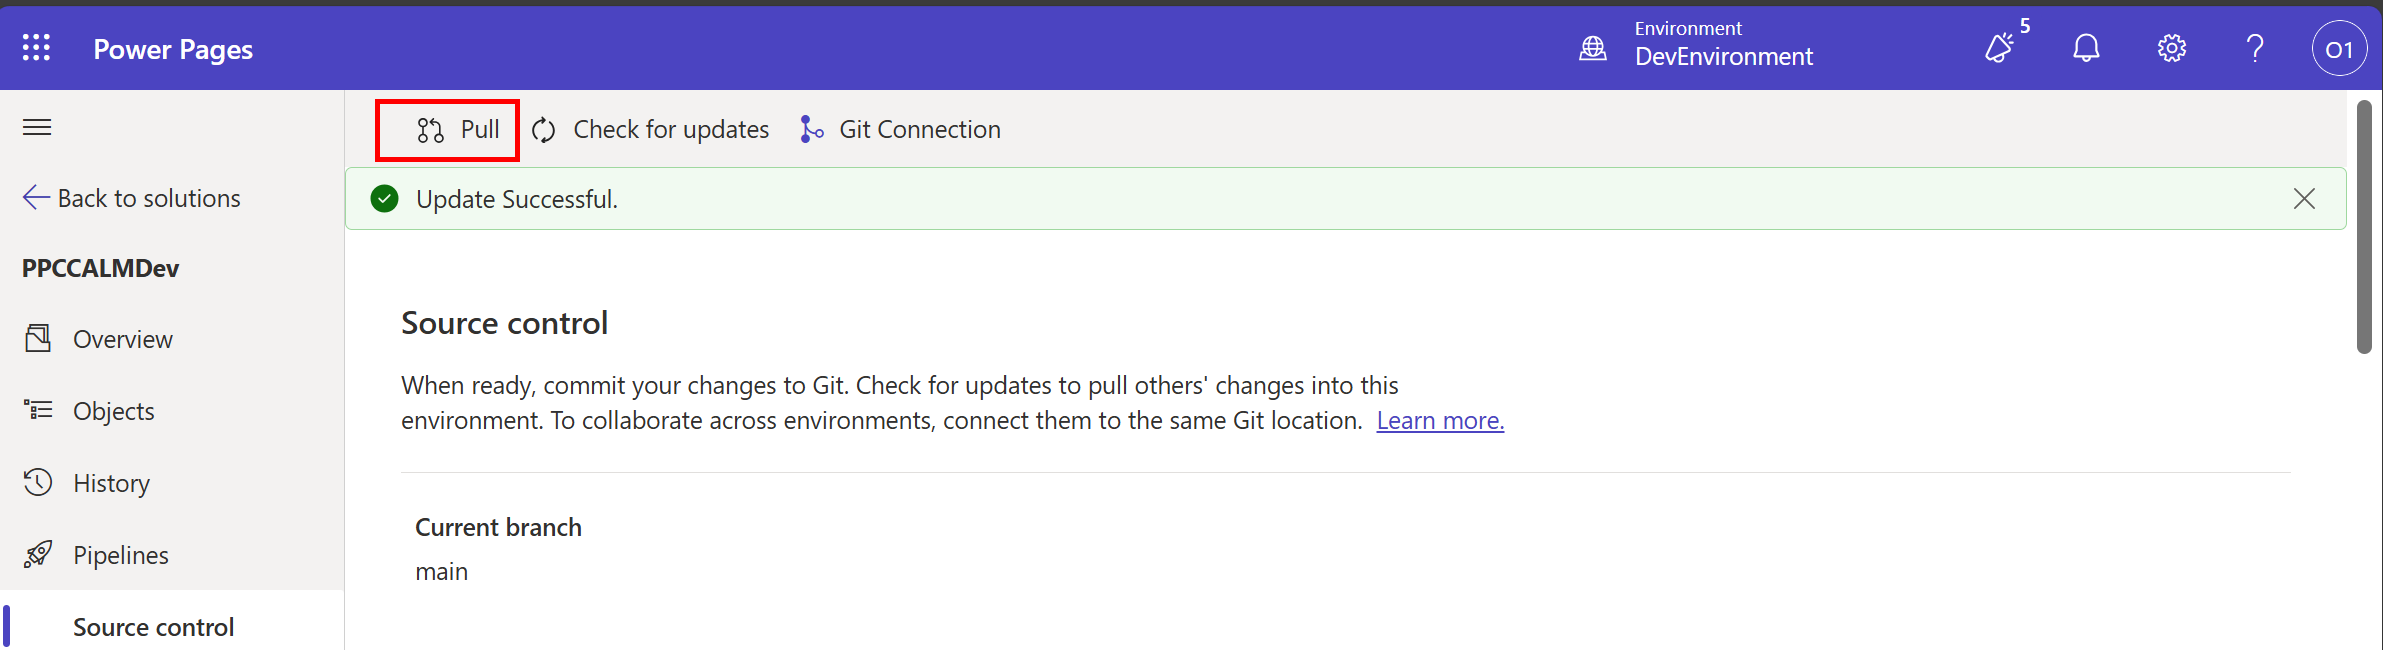
Select Source Control from the left menu and click on Check for updates button. This might take a while.
-
Click on Pull button to pull the latest changes in the solution. This might take a while.
🛠️ Updating Environment Variables
-
From the Active Sites tab, click on Power Pages Management for your site.

-
Click on Site Settings.

-
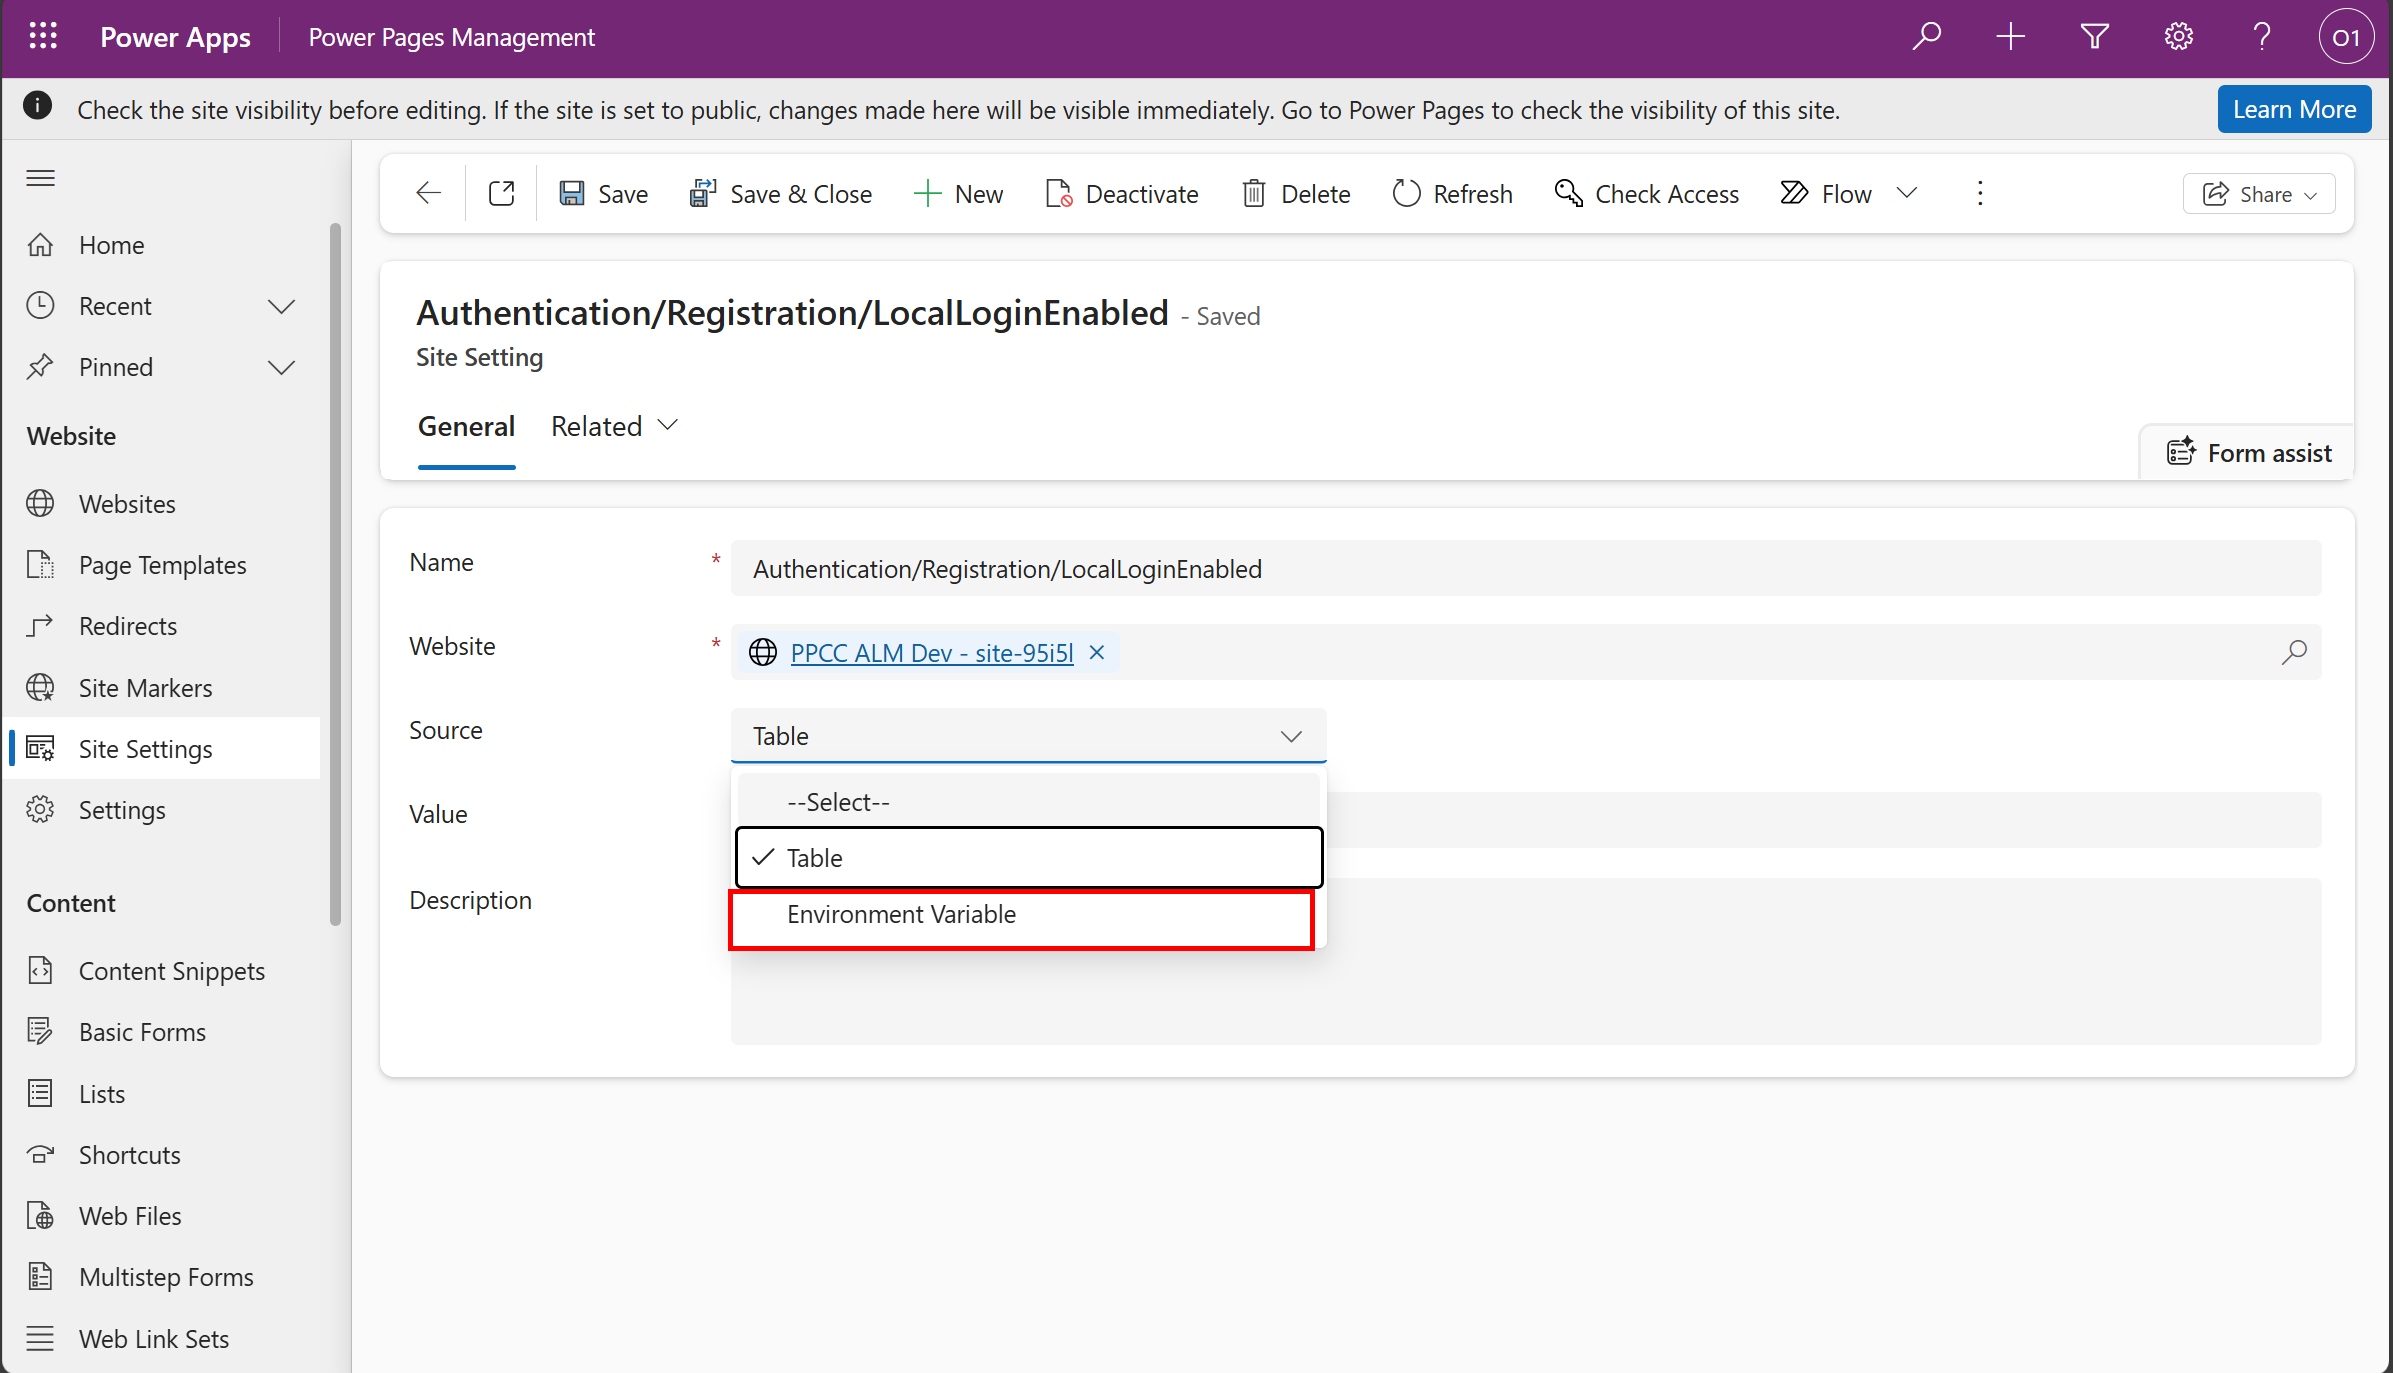
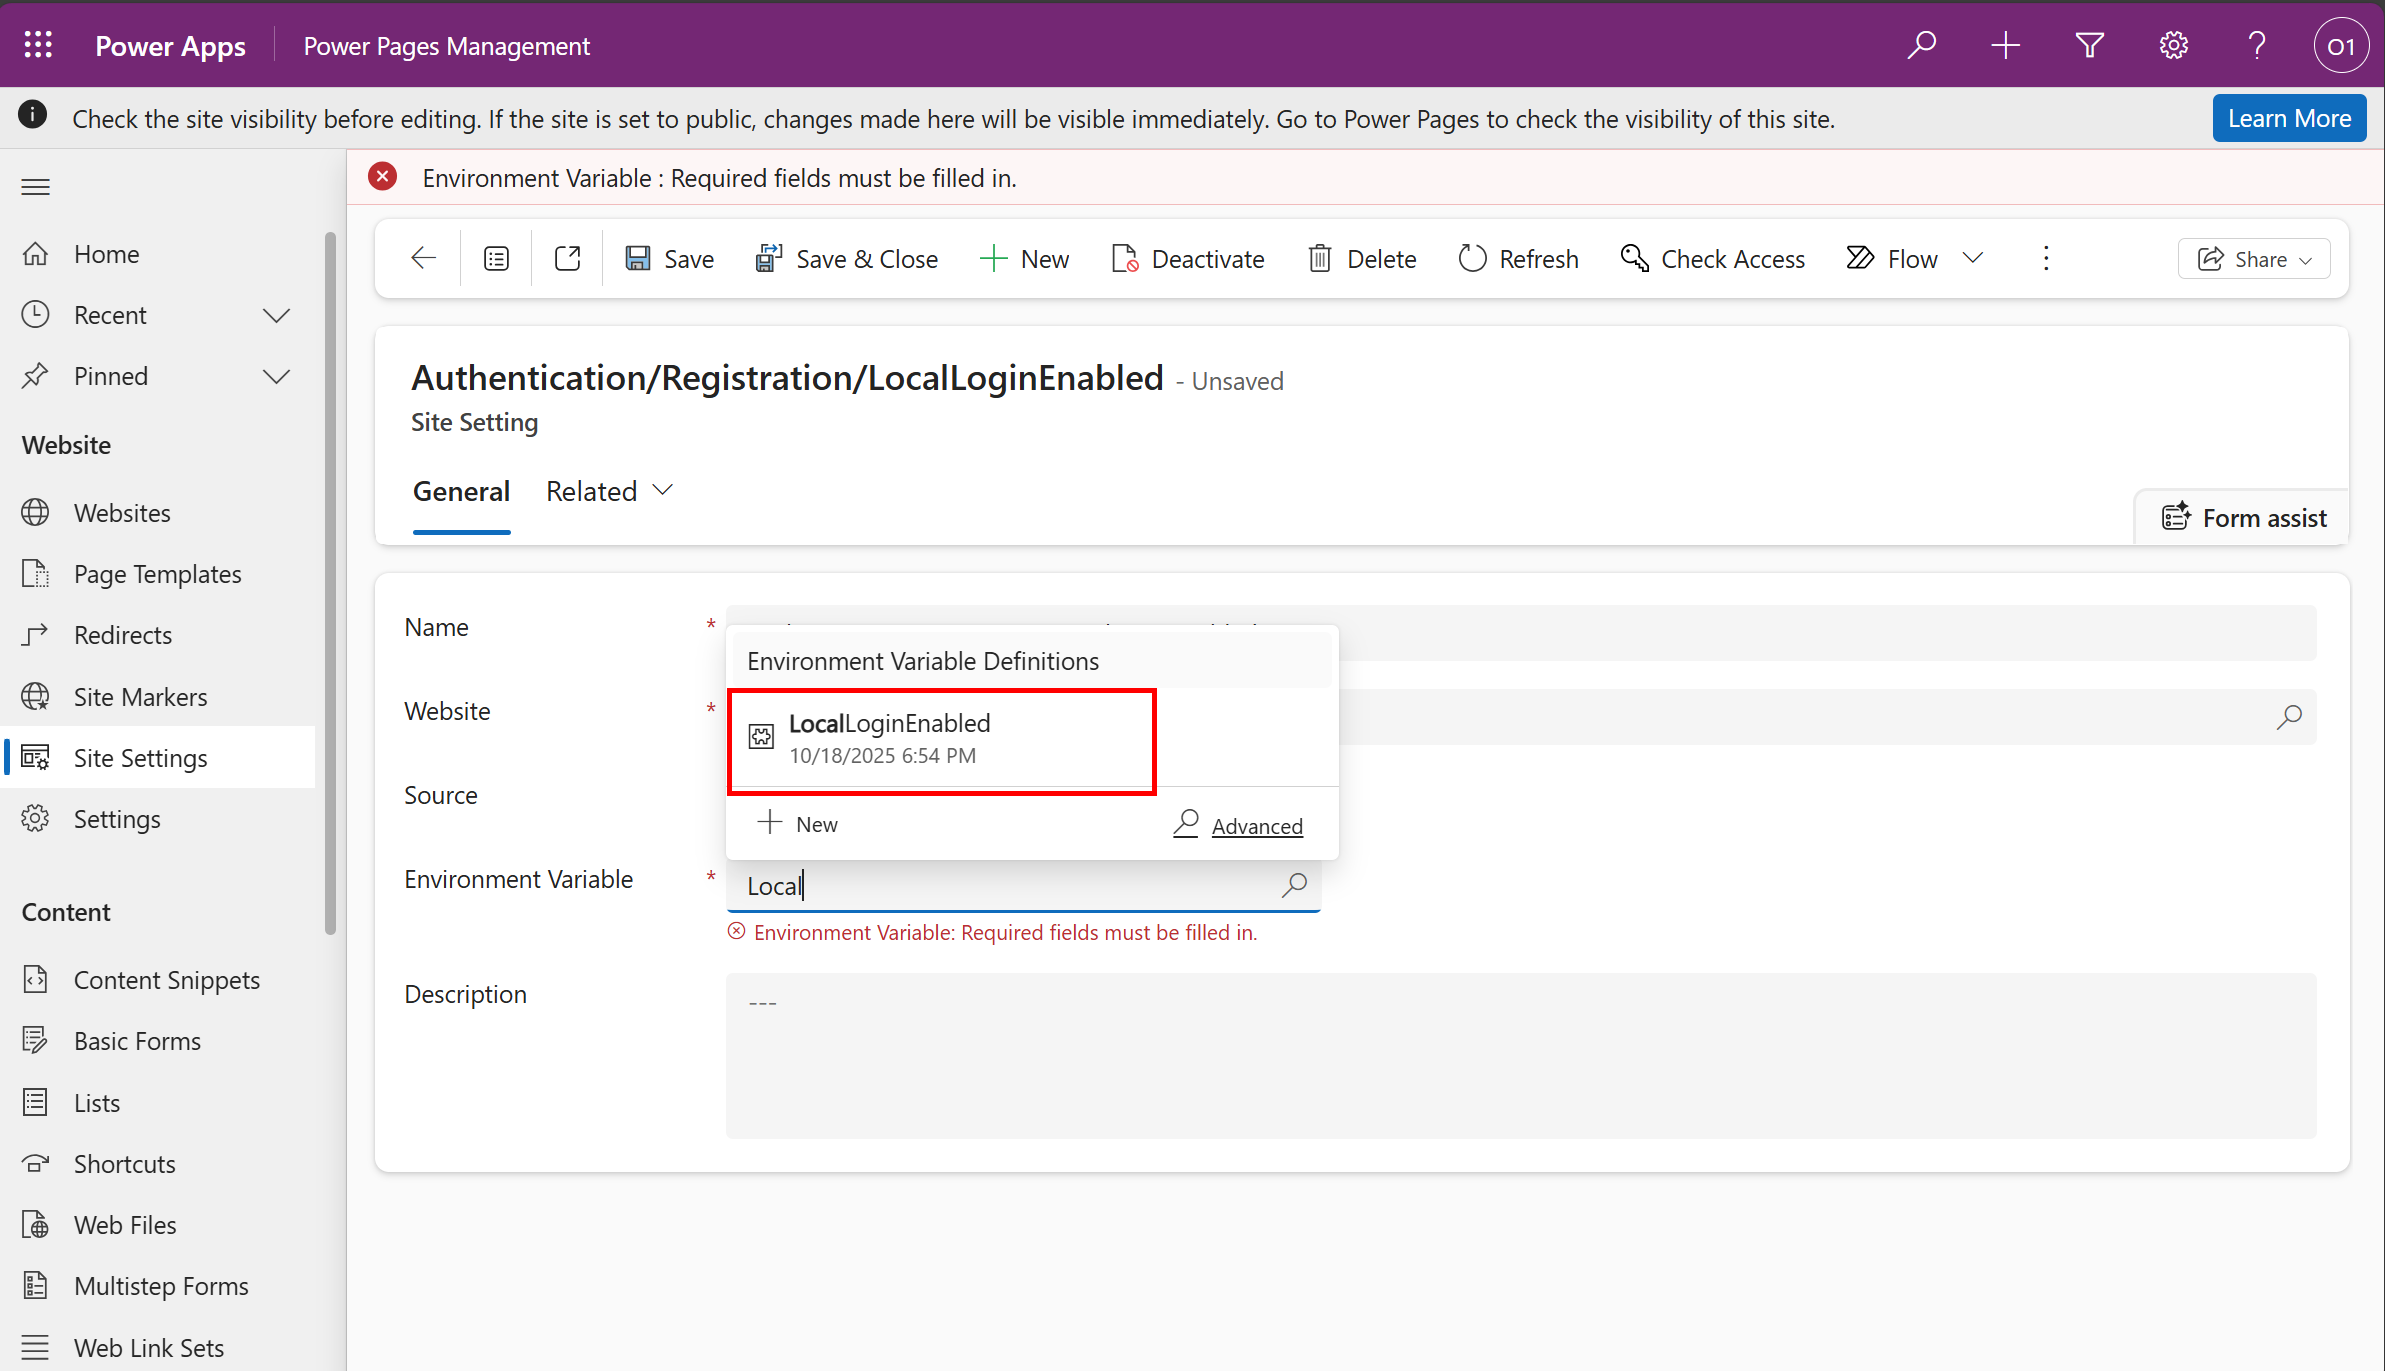
Search for the setting Authentication/Registration/LocalLoginEnabled and click on it to open.
-
Change the value of Source to Environment Variable.
-
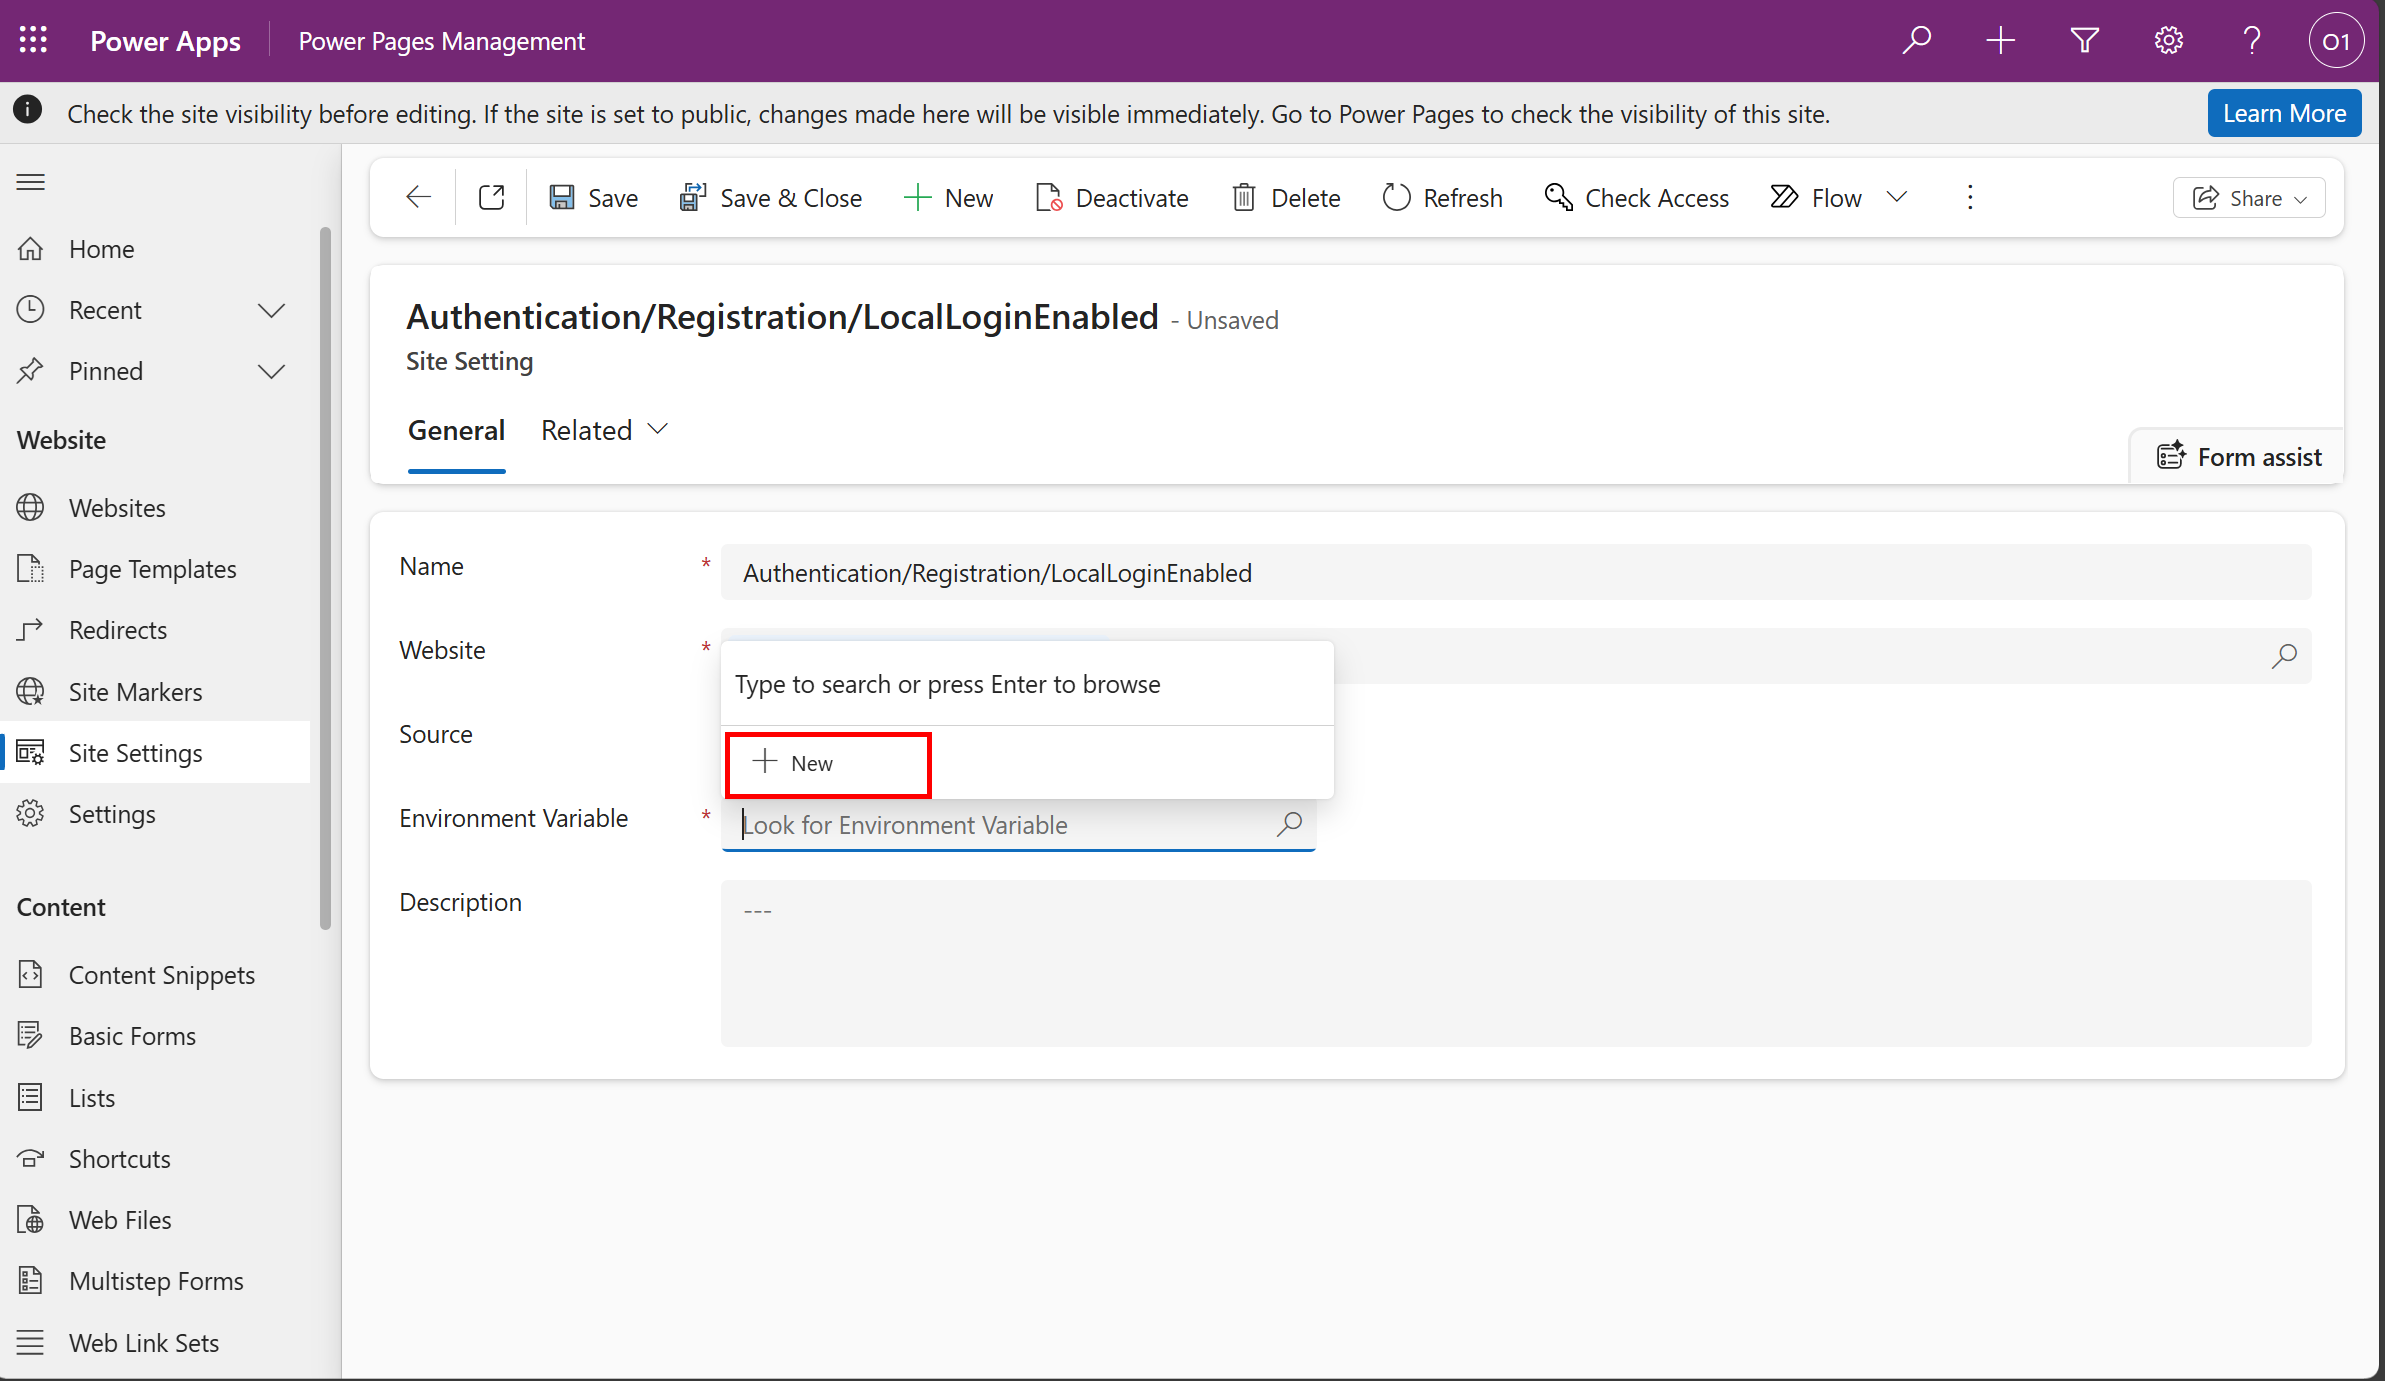
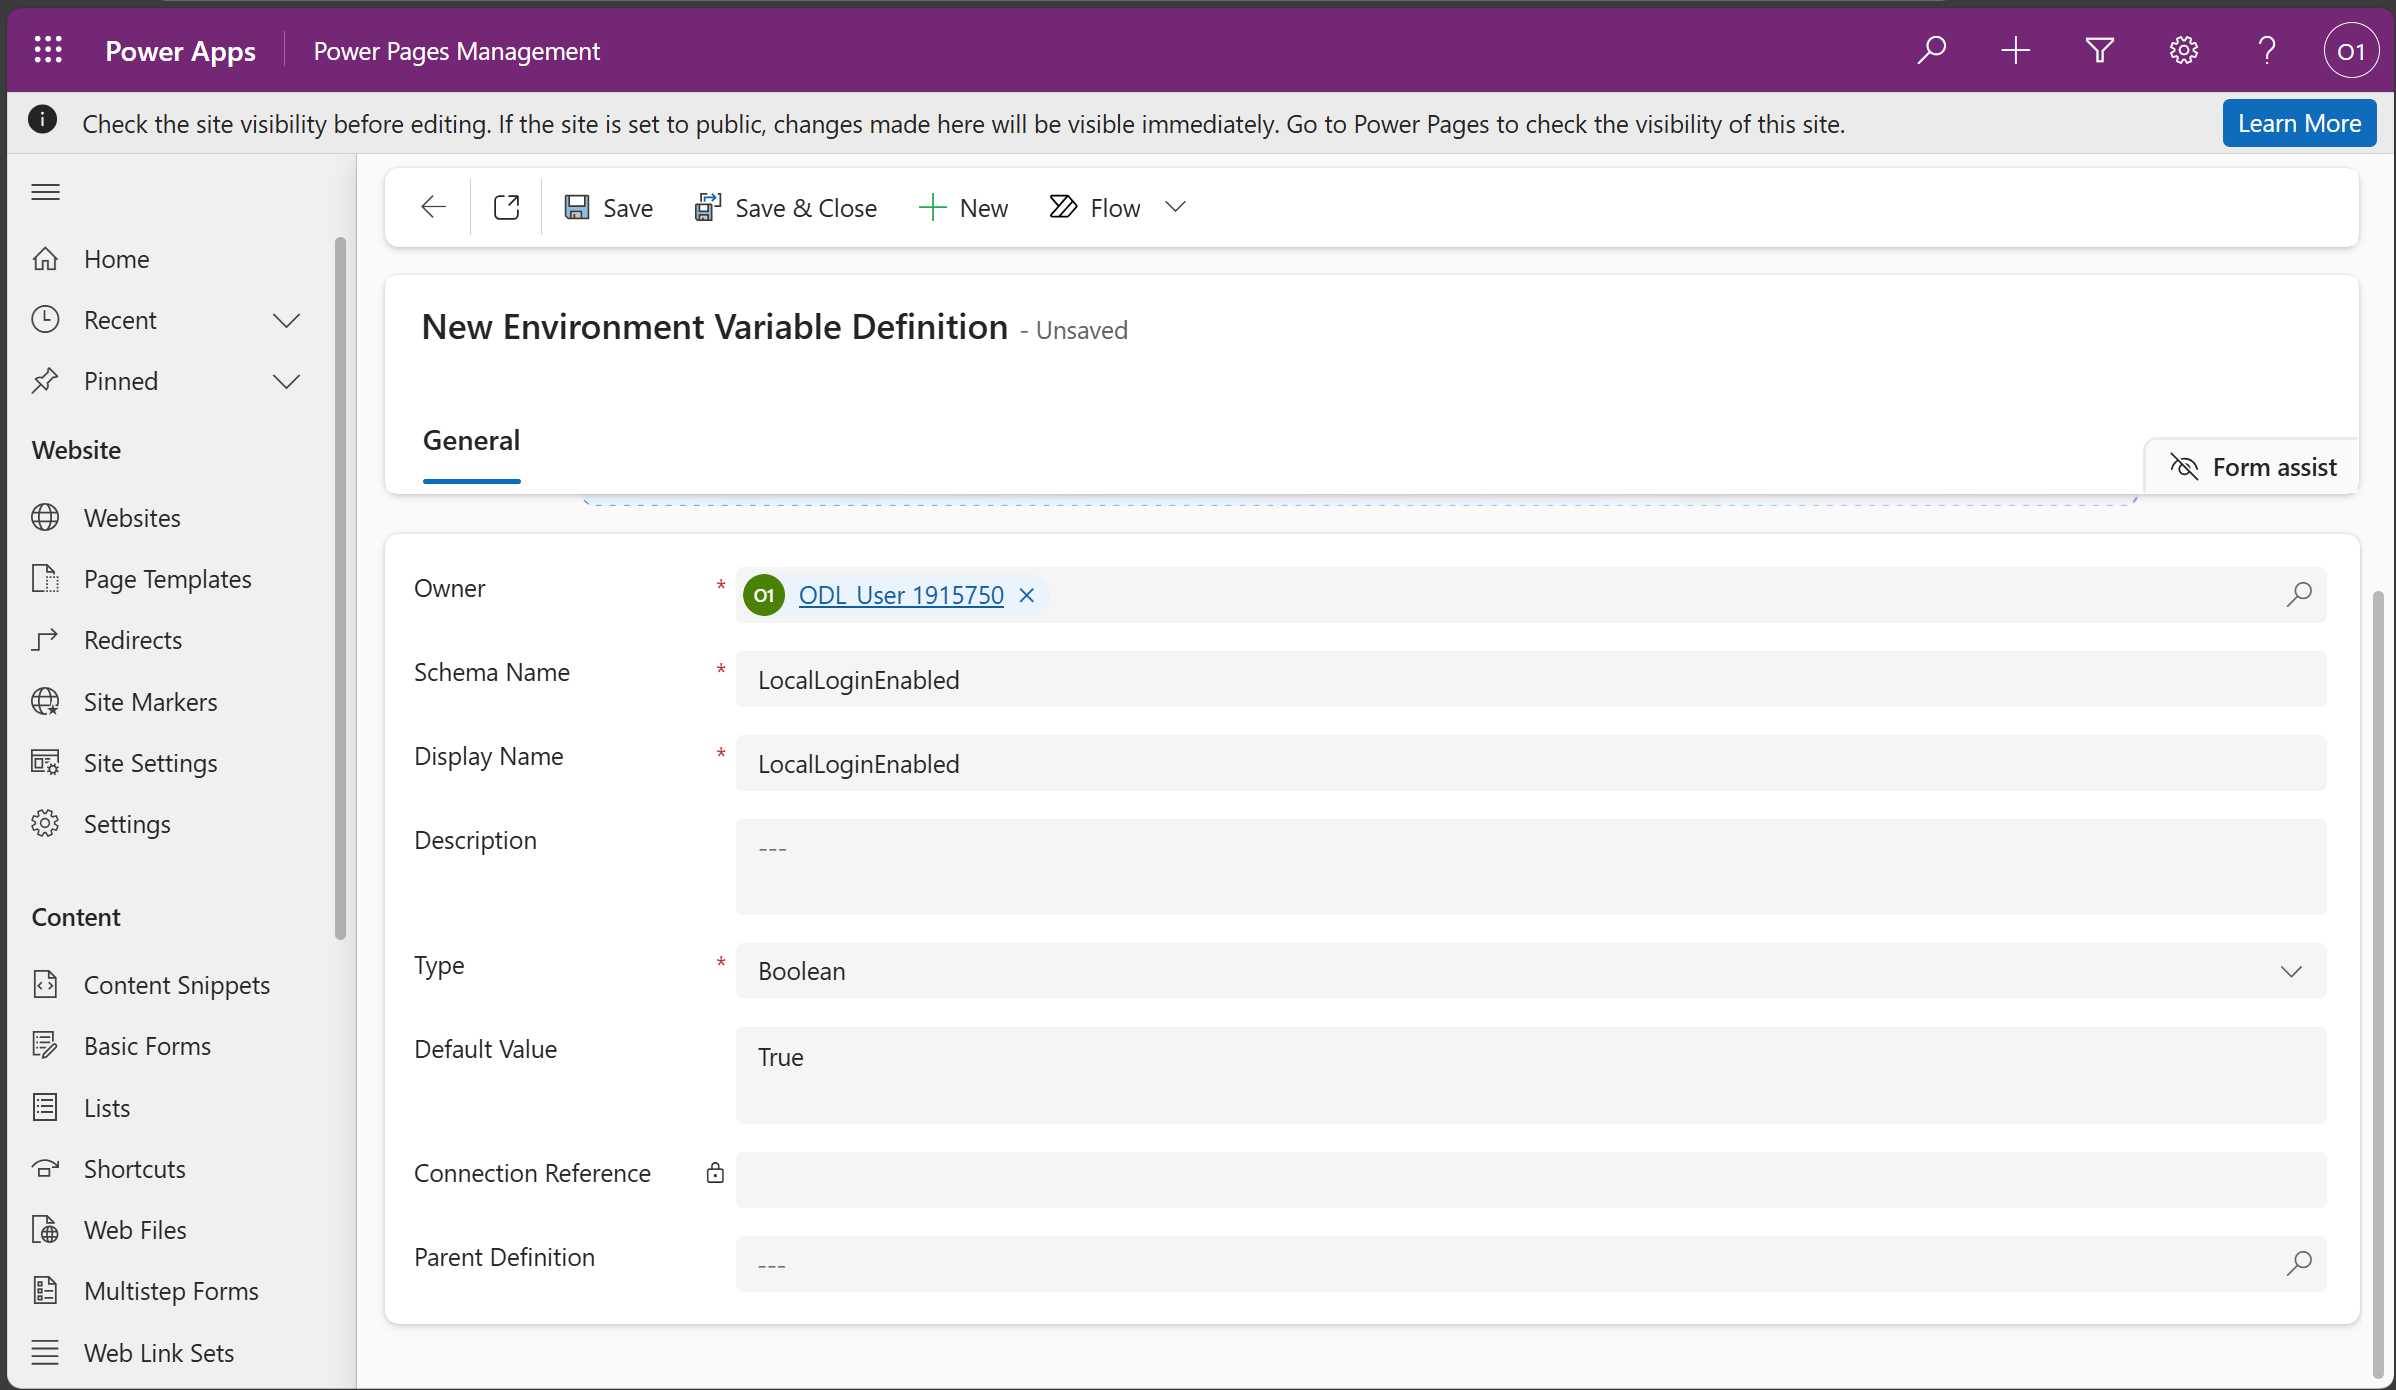
Create a new environment variable by selecting the text box and clicking on New.
-
Click on Discard Changes to open the environment variable creation panel.
-
Create new environment variable with Schema Name and Display Name as LocalLoginEnabled and set the default value to True. Click on Save & Close.
-
Now, again change the value of Source to Environment Variable and search for Local and select the newly created environment variable from the dropdown. Click on Save & Close.
-
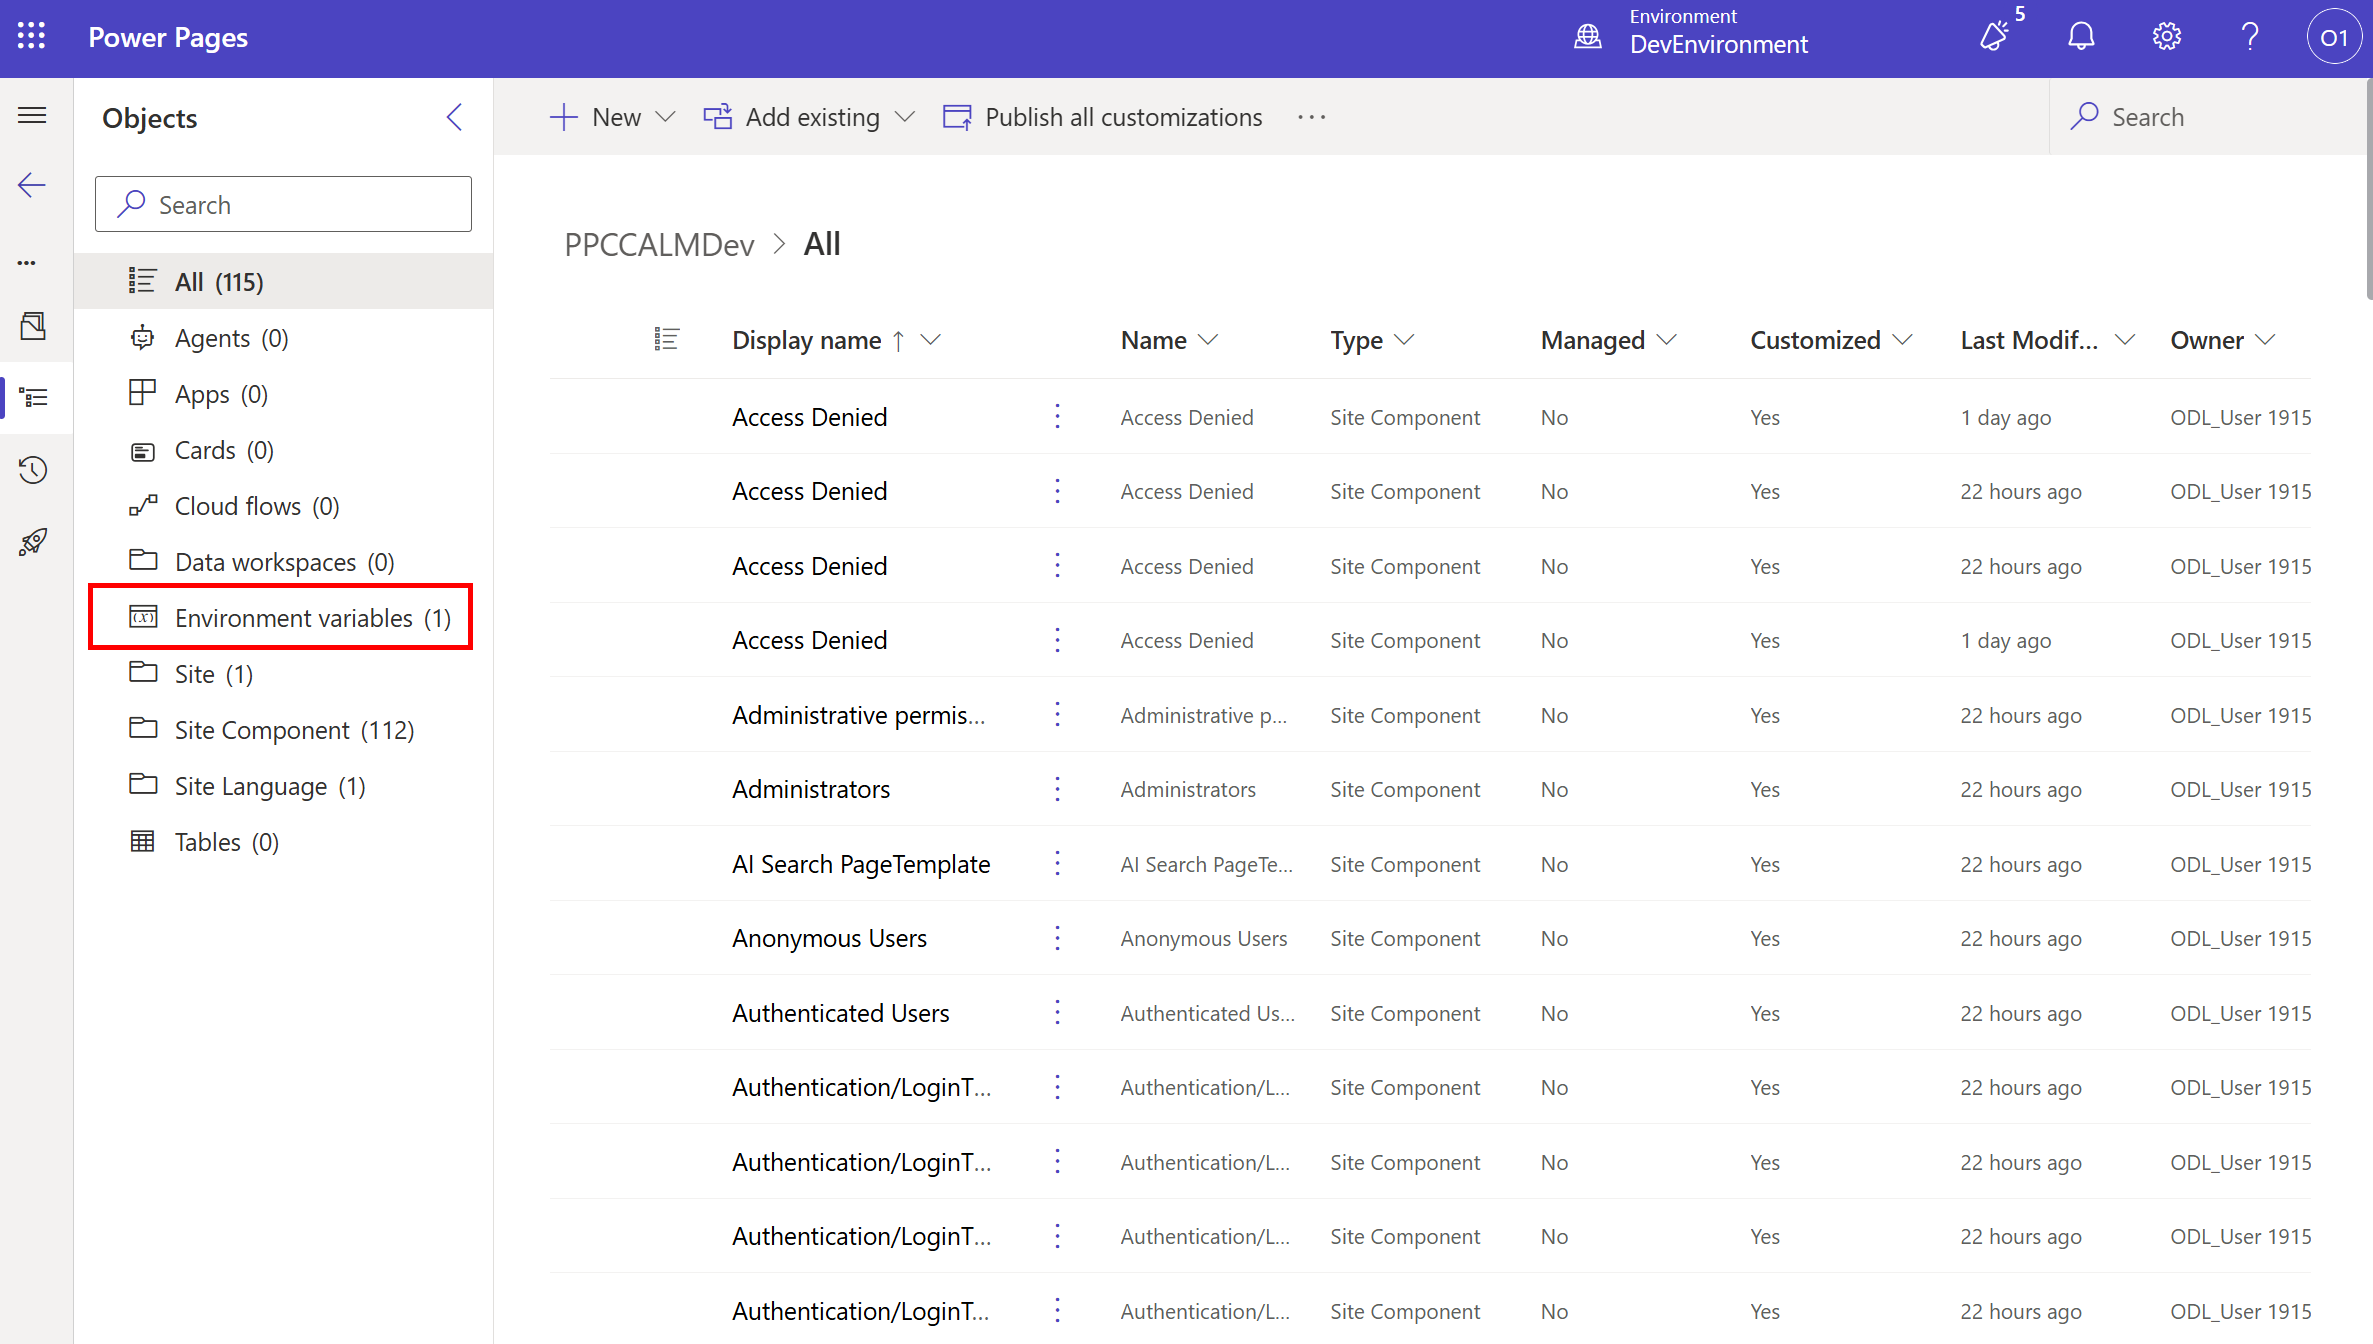
Navigate back to Power Pages Maker Studio and open Solutions Explorer and select the PPCCALMDev solution.
-
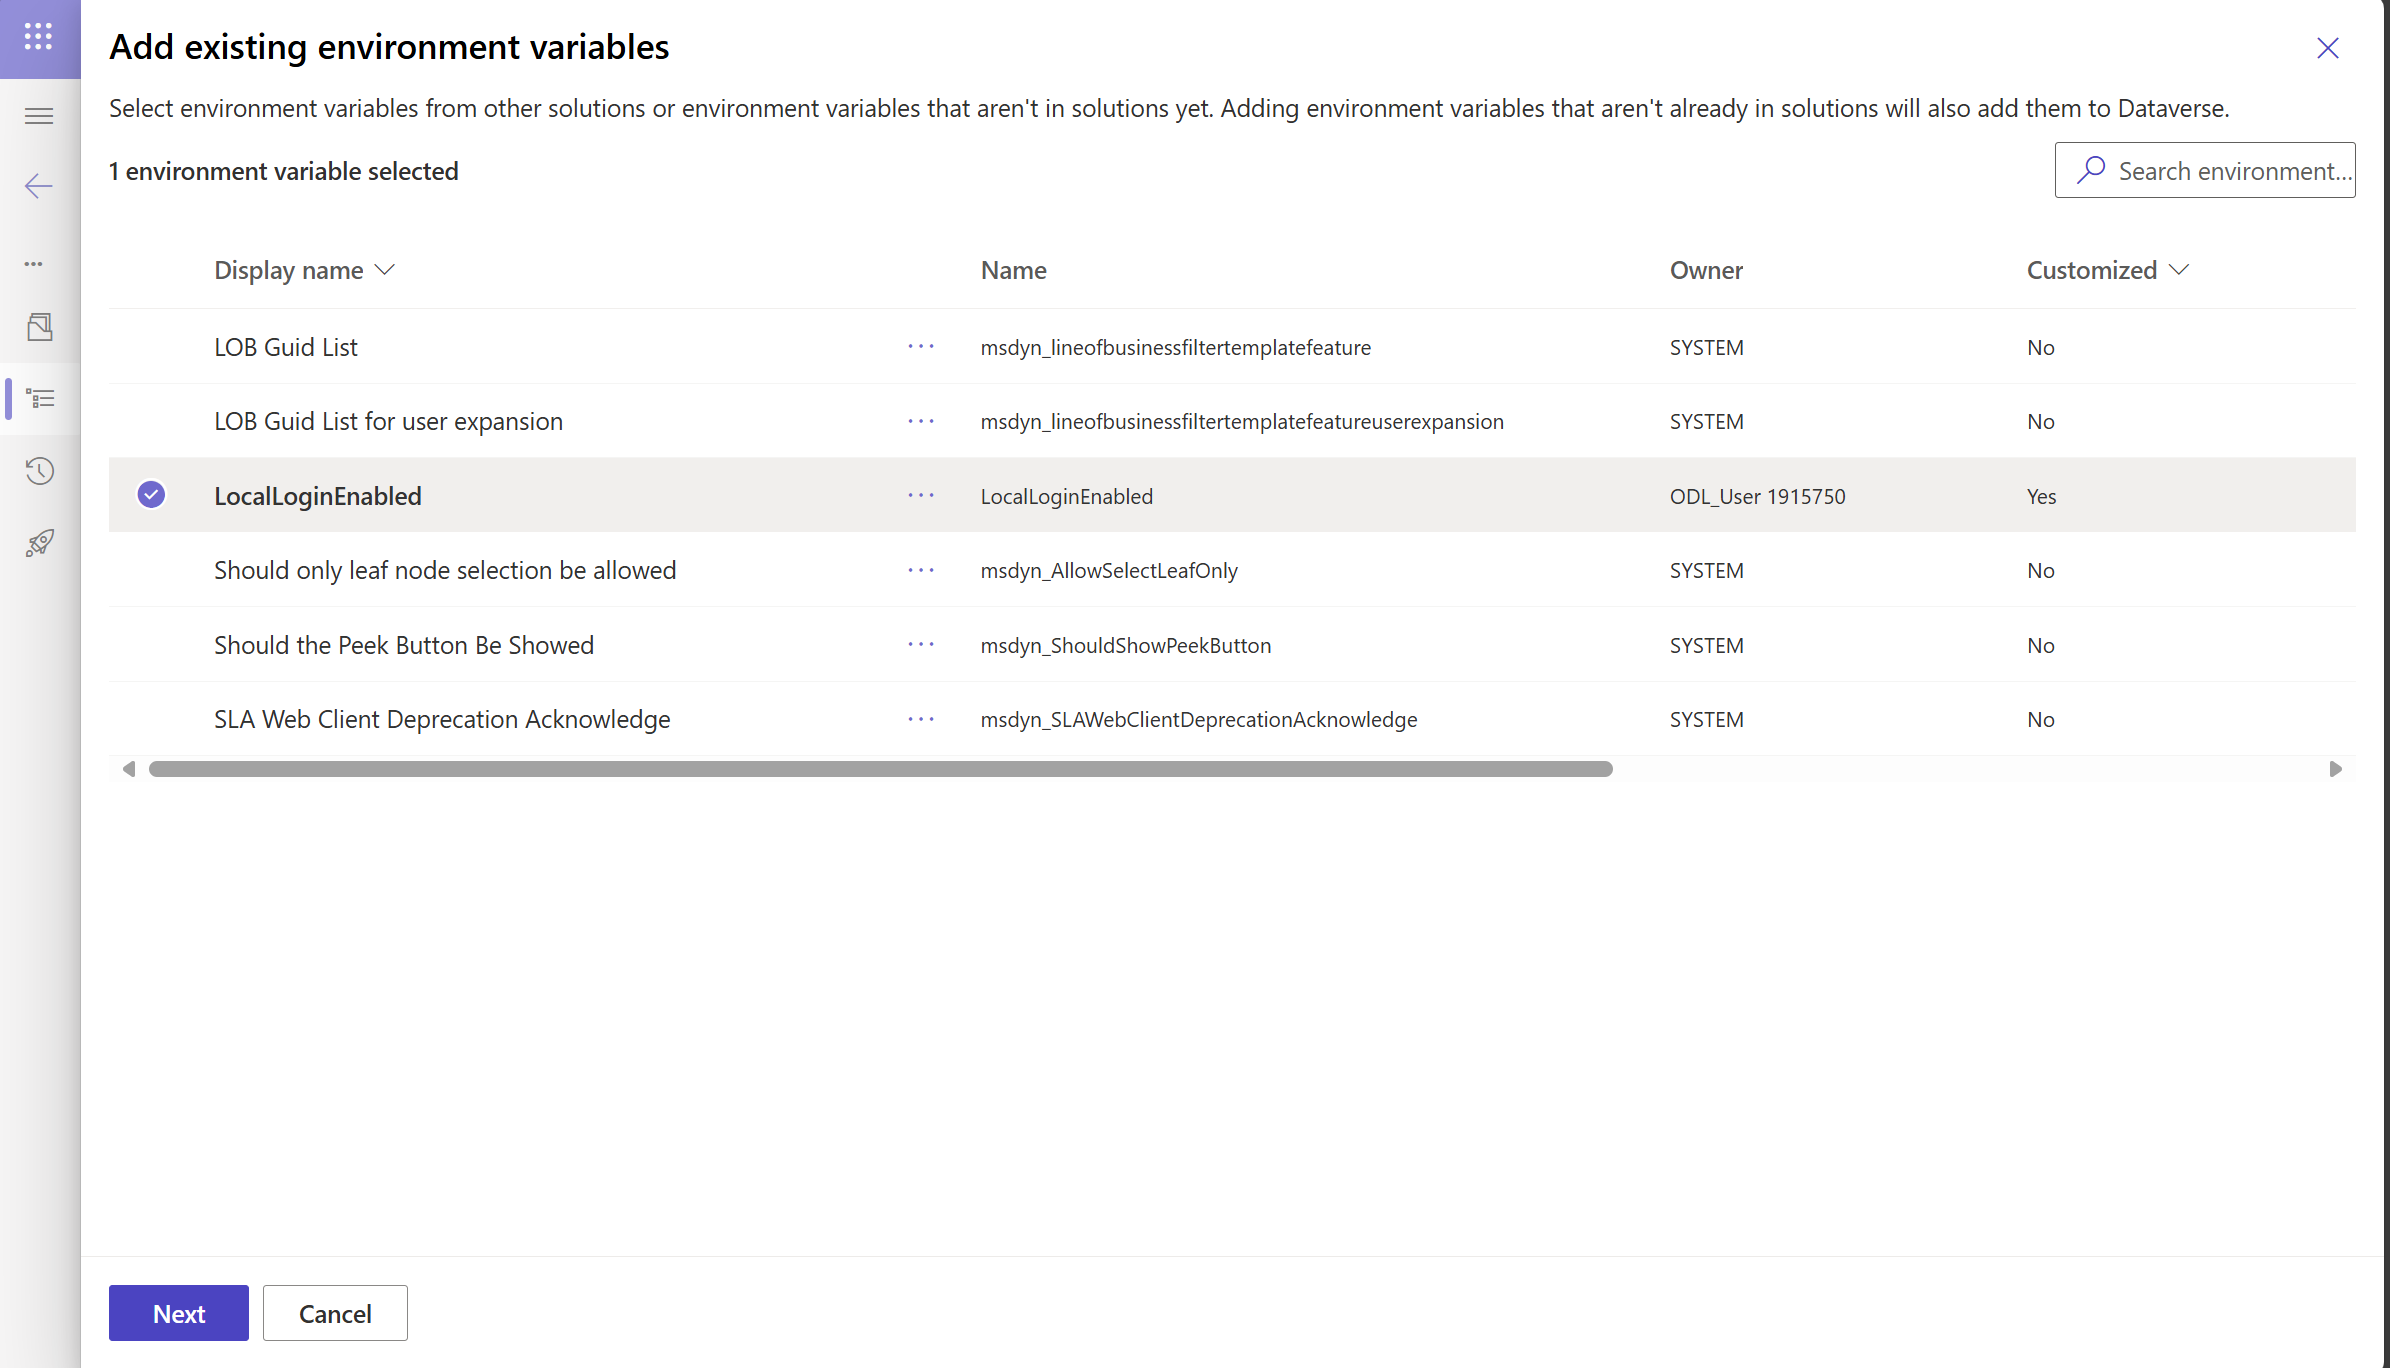
Add the newly created environment variable to the solution by clicking on Add Existing > Environment Variable.

-
Select LocalLoginEnabled from the list and click on Next and then click on Add.
-
The environment variable will be added to the solution.
🛠️ Deploy the updated solution to Prod Environment
-
Go to Pipelines tab and click on Deploy Here button to deploy the updated solution to Prod environment.
-
Click on Next and you’ll be asked to select a value for the environment variable. Select No and click on Next.

-
Click on Deploy to start the deployment process and wait for the deployment to complete.
🔍 Verify changes
-
Open the website preview in Dev environment by clicking on Preview -> Desktop.
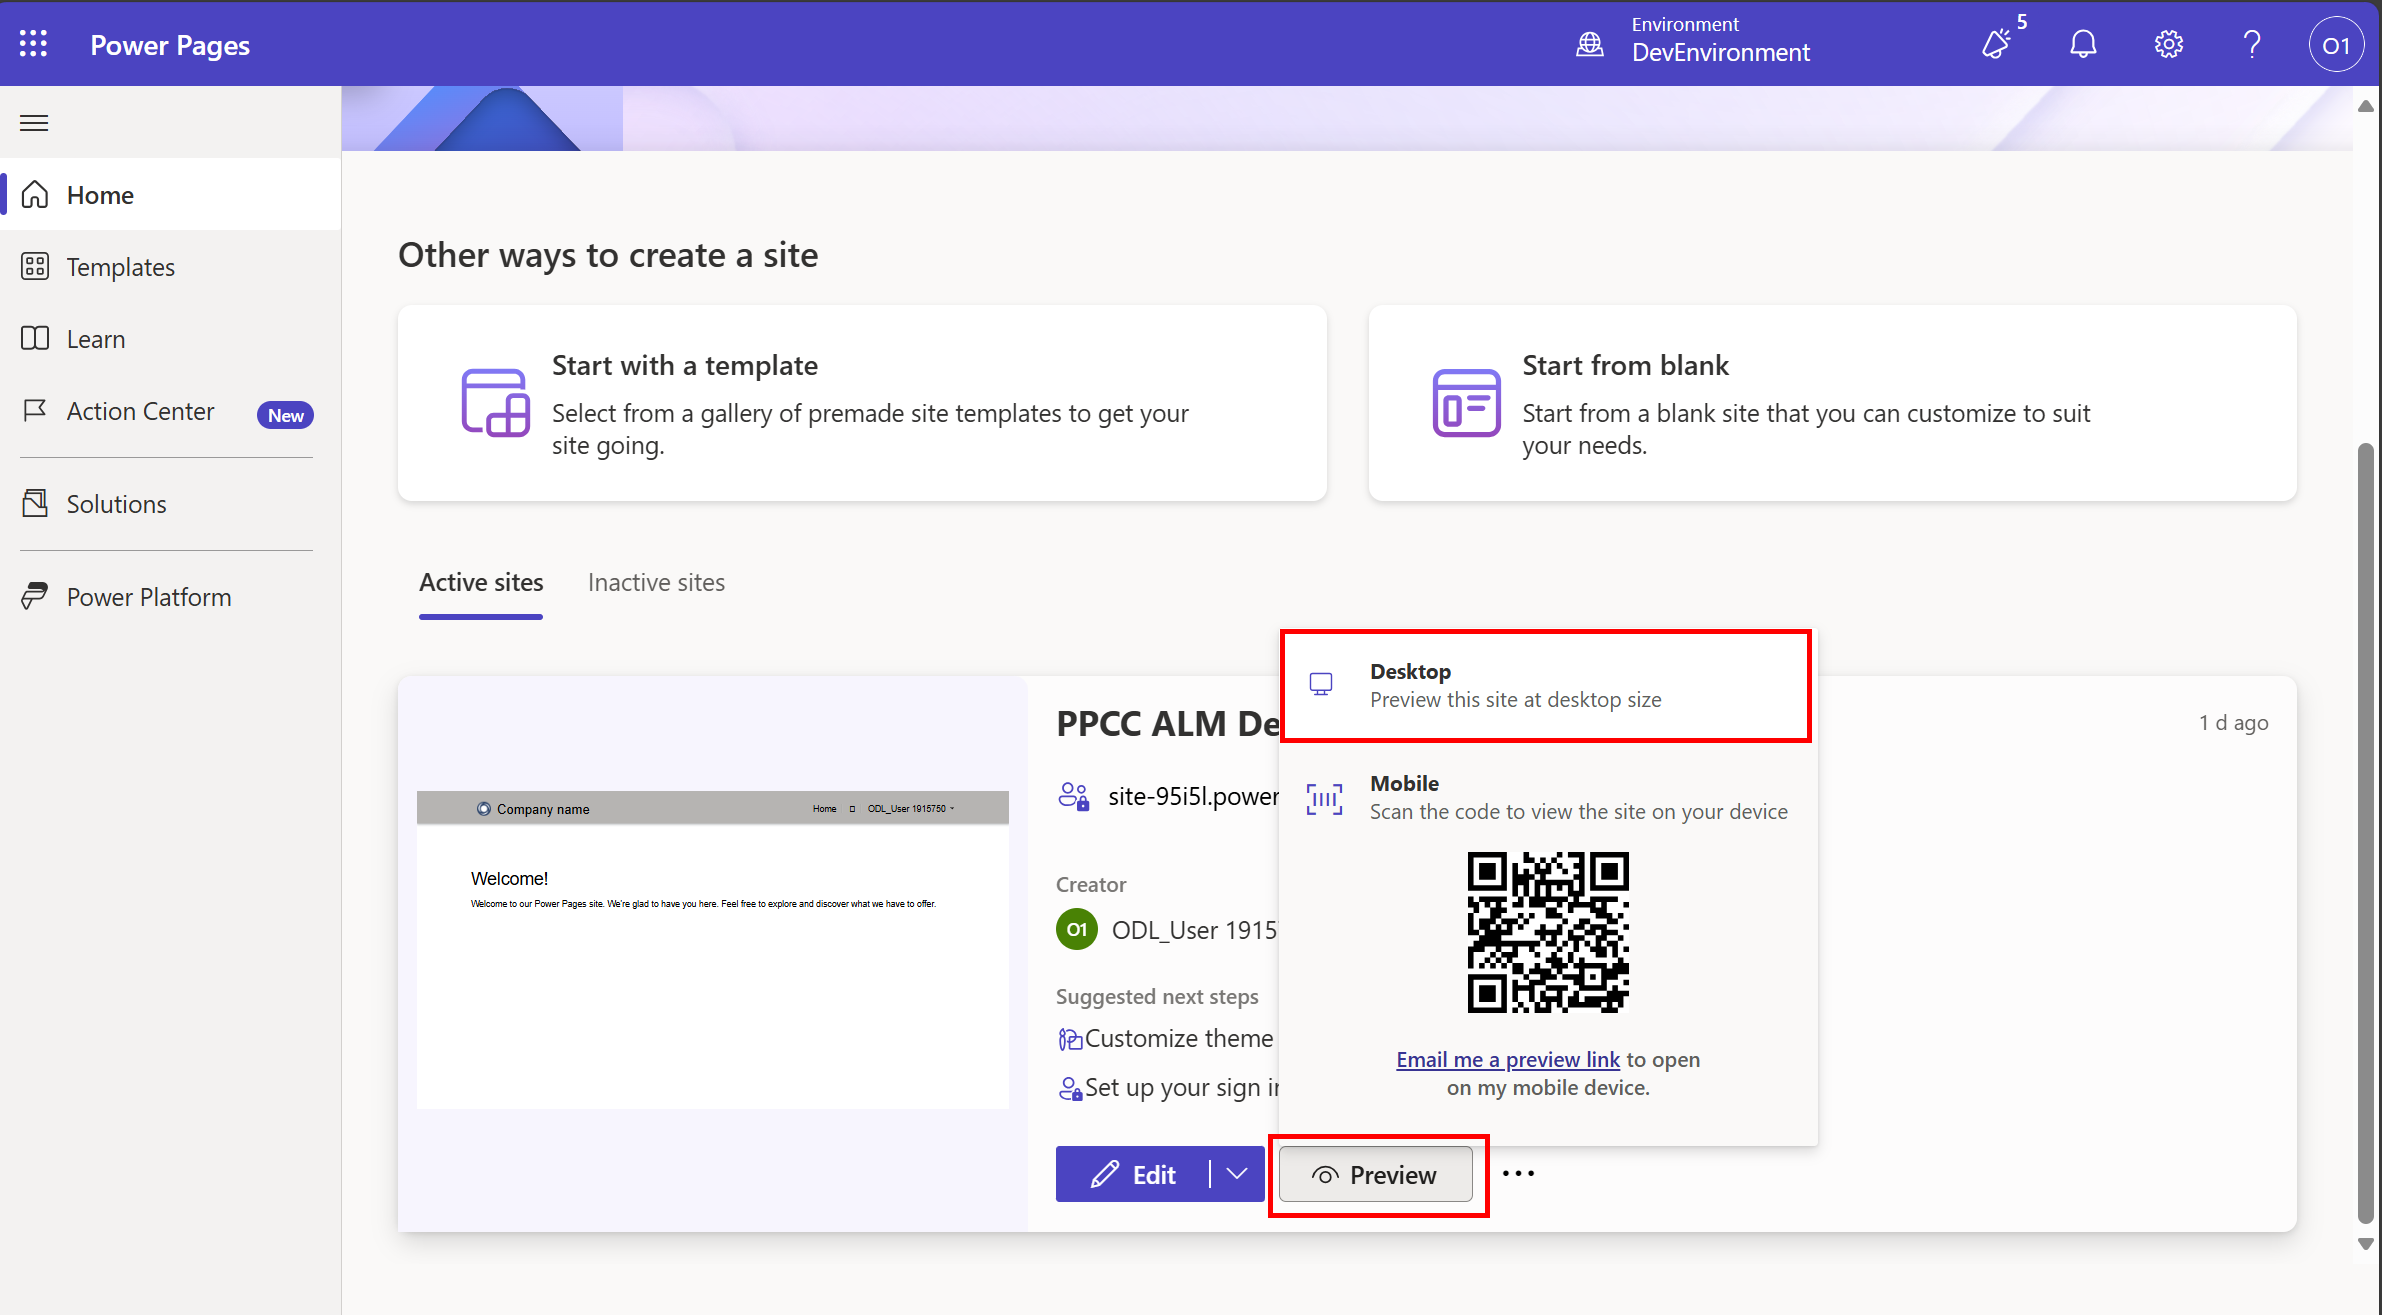
-
Click on Sign In button to verify that the local login is enabled.
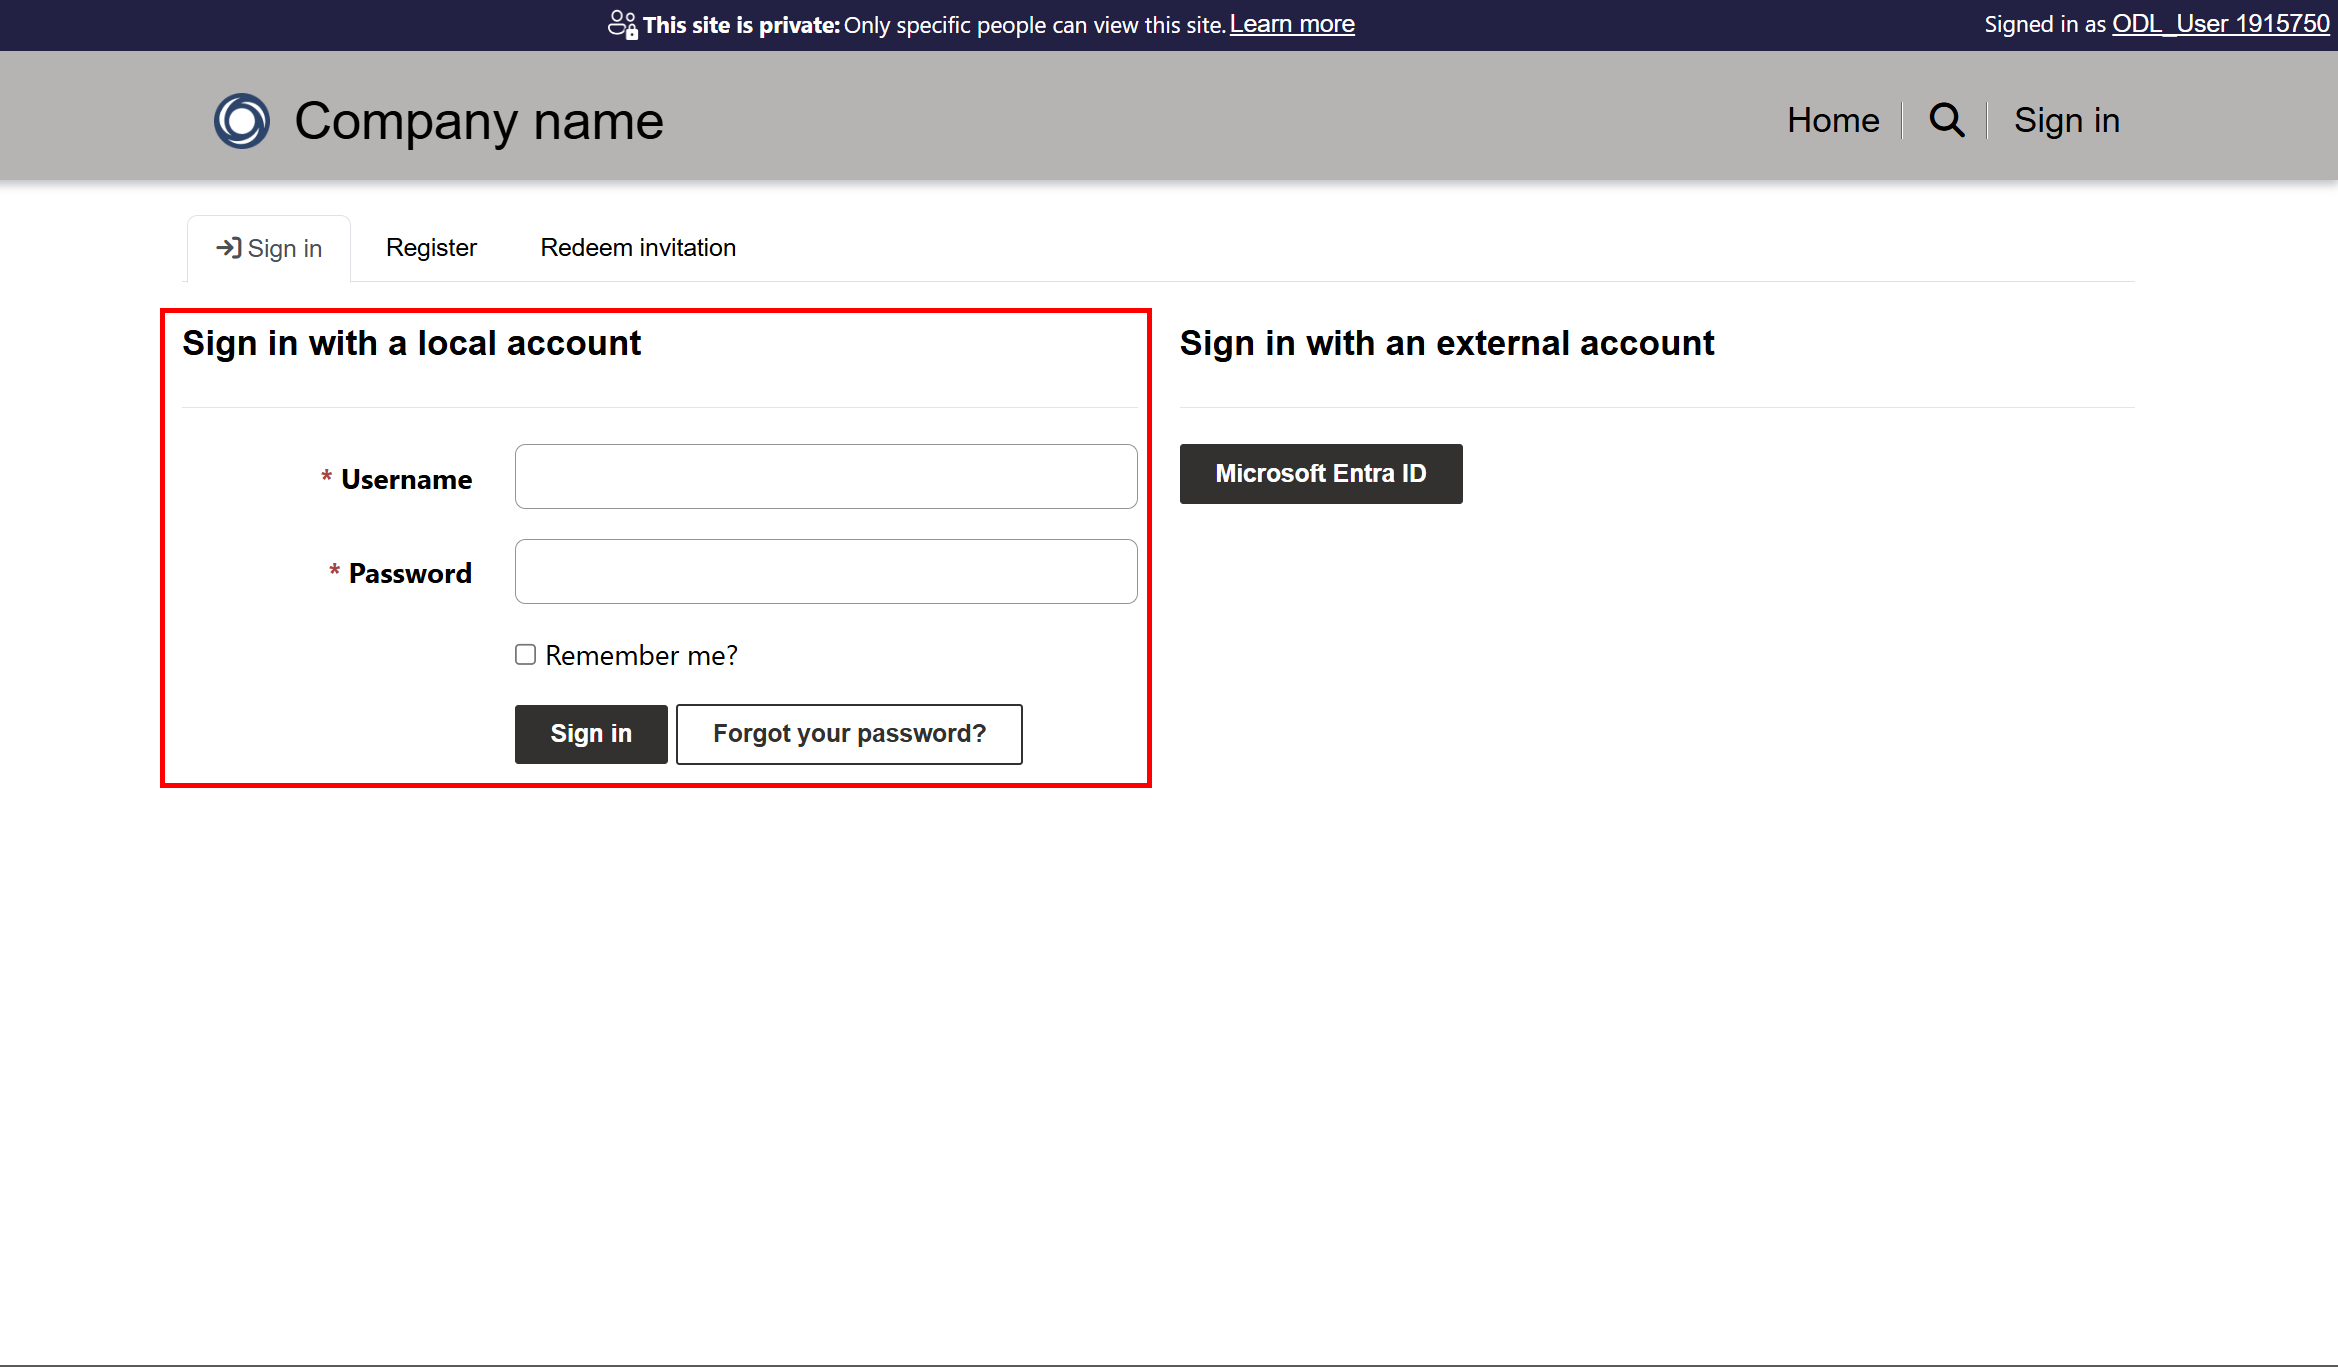
-
Now, go back to Power Pages Maker Studio and switch to Prod environment from top right corner and preview the site.
-
Click on Sign In button to verify that the local login is disabled.

❗ Optional: Manage and deploy Single Page Application using Power Pages
Enable JS extensions for your environments
-
Go to Power Platform Admin Center and select your Dev environment.
-
Click on Settings and search for Blocked Attachments.
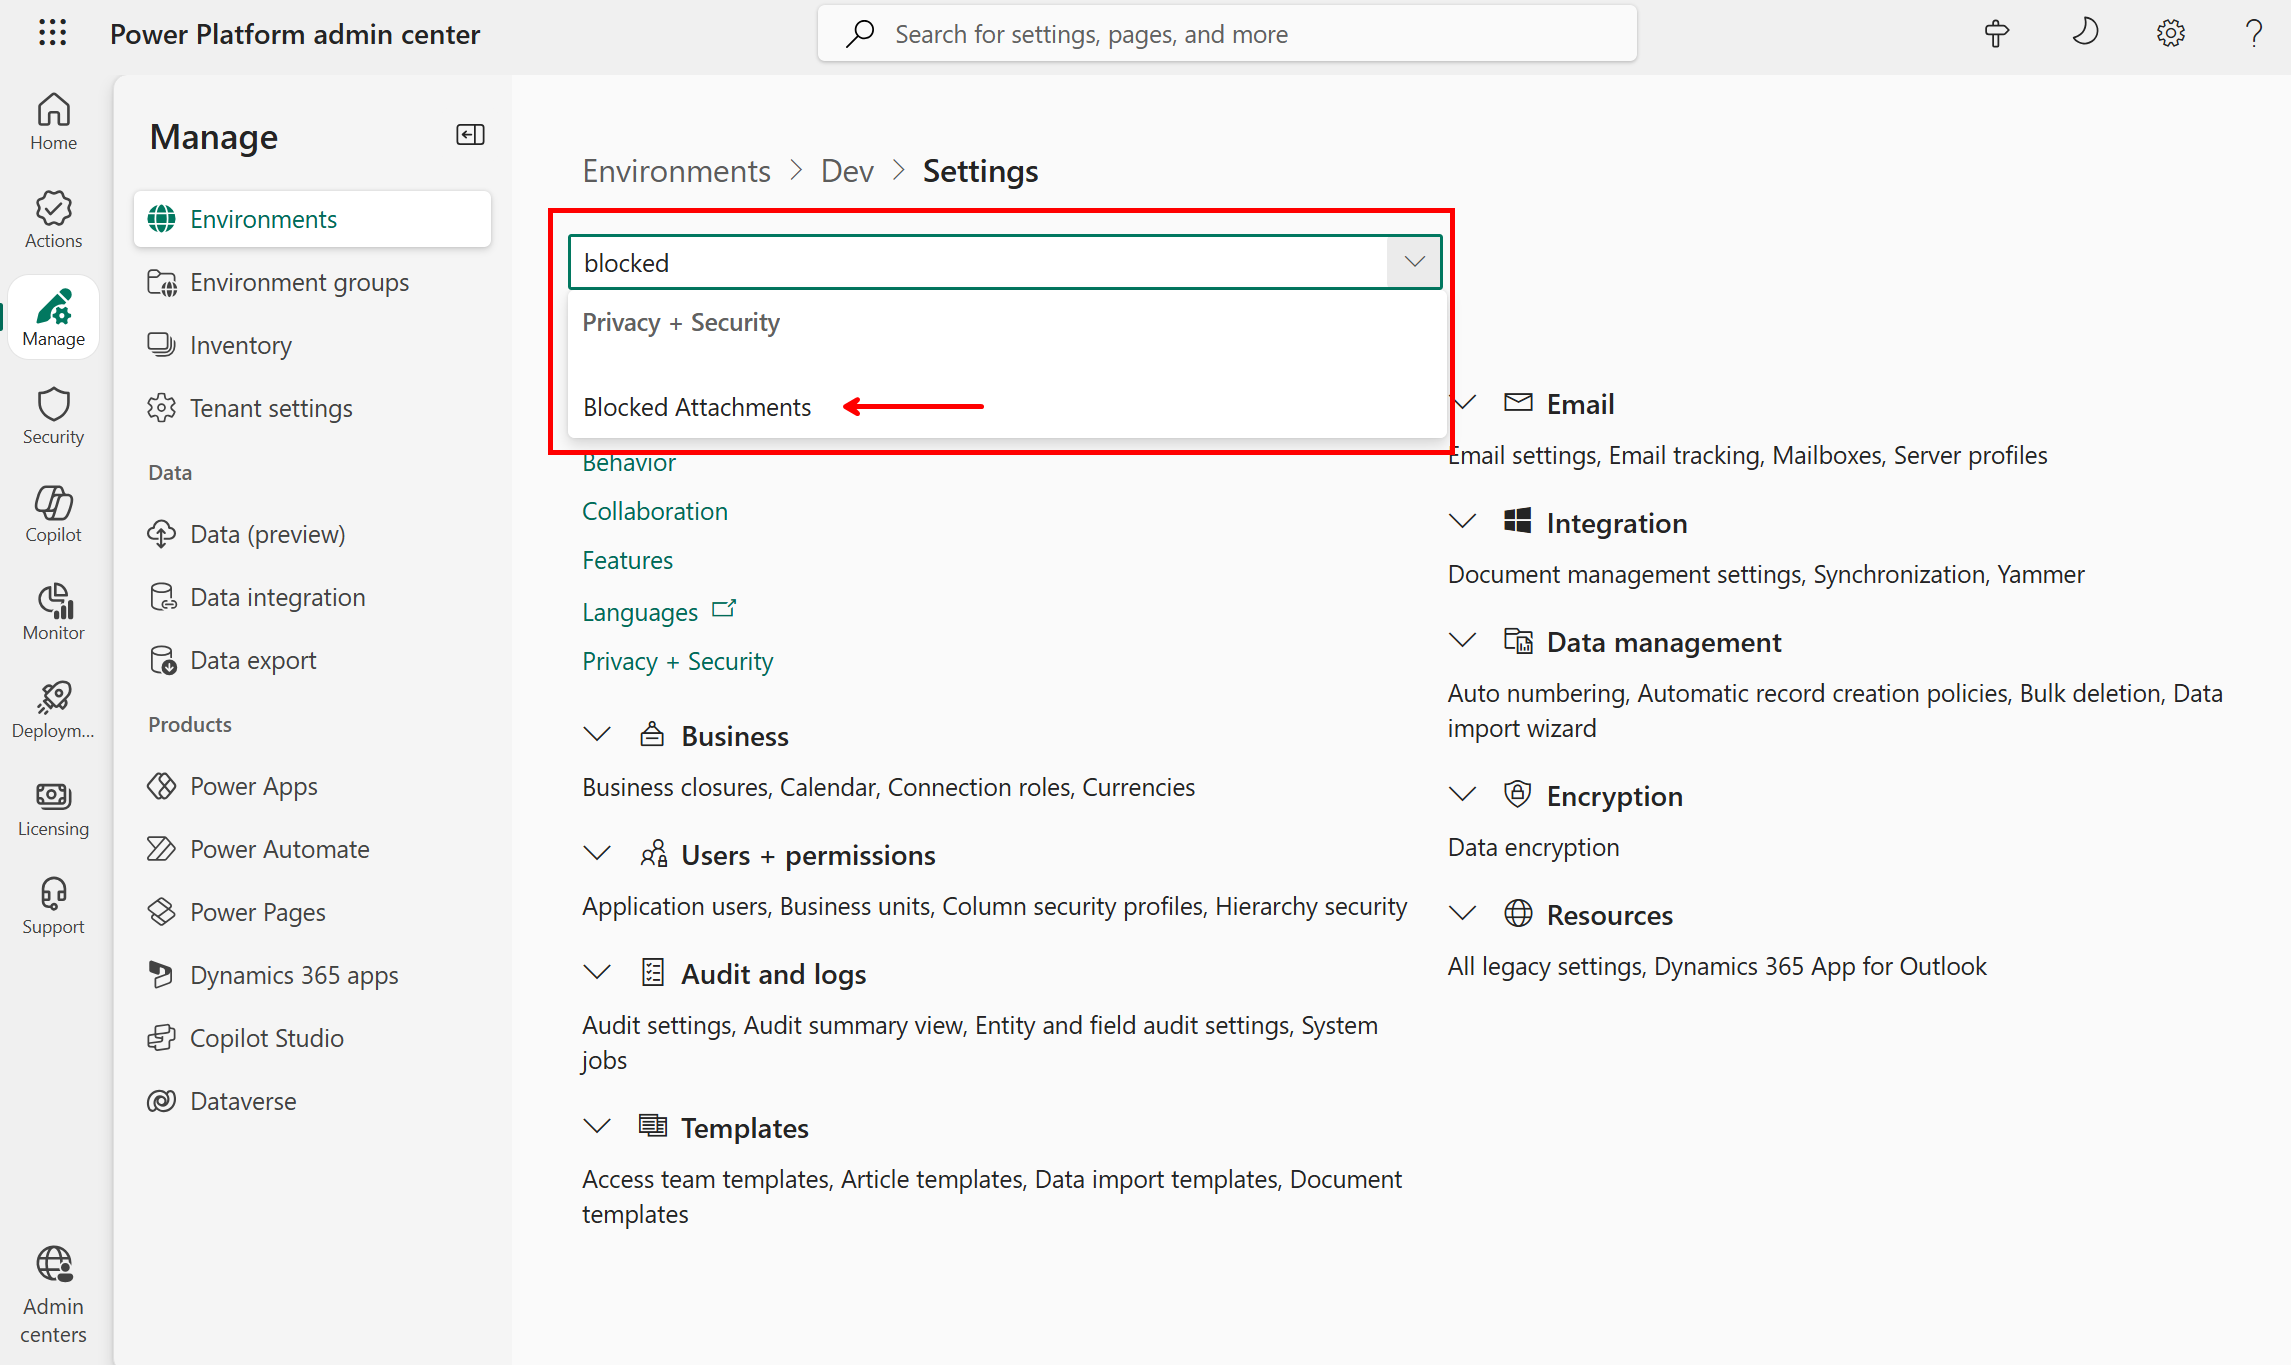
-
Remove .js from the list of blocked attachments and click on Save.
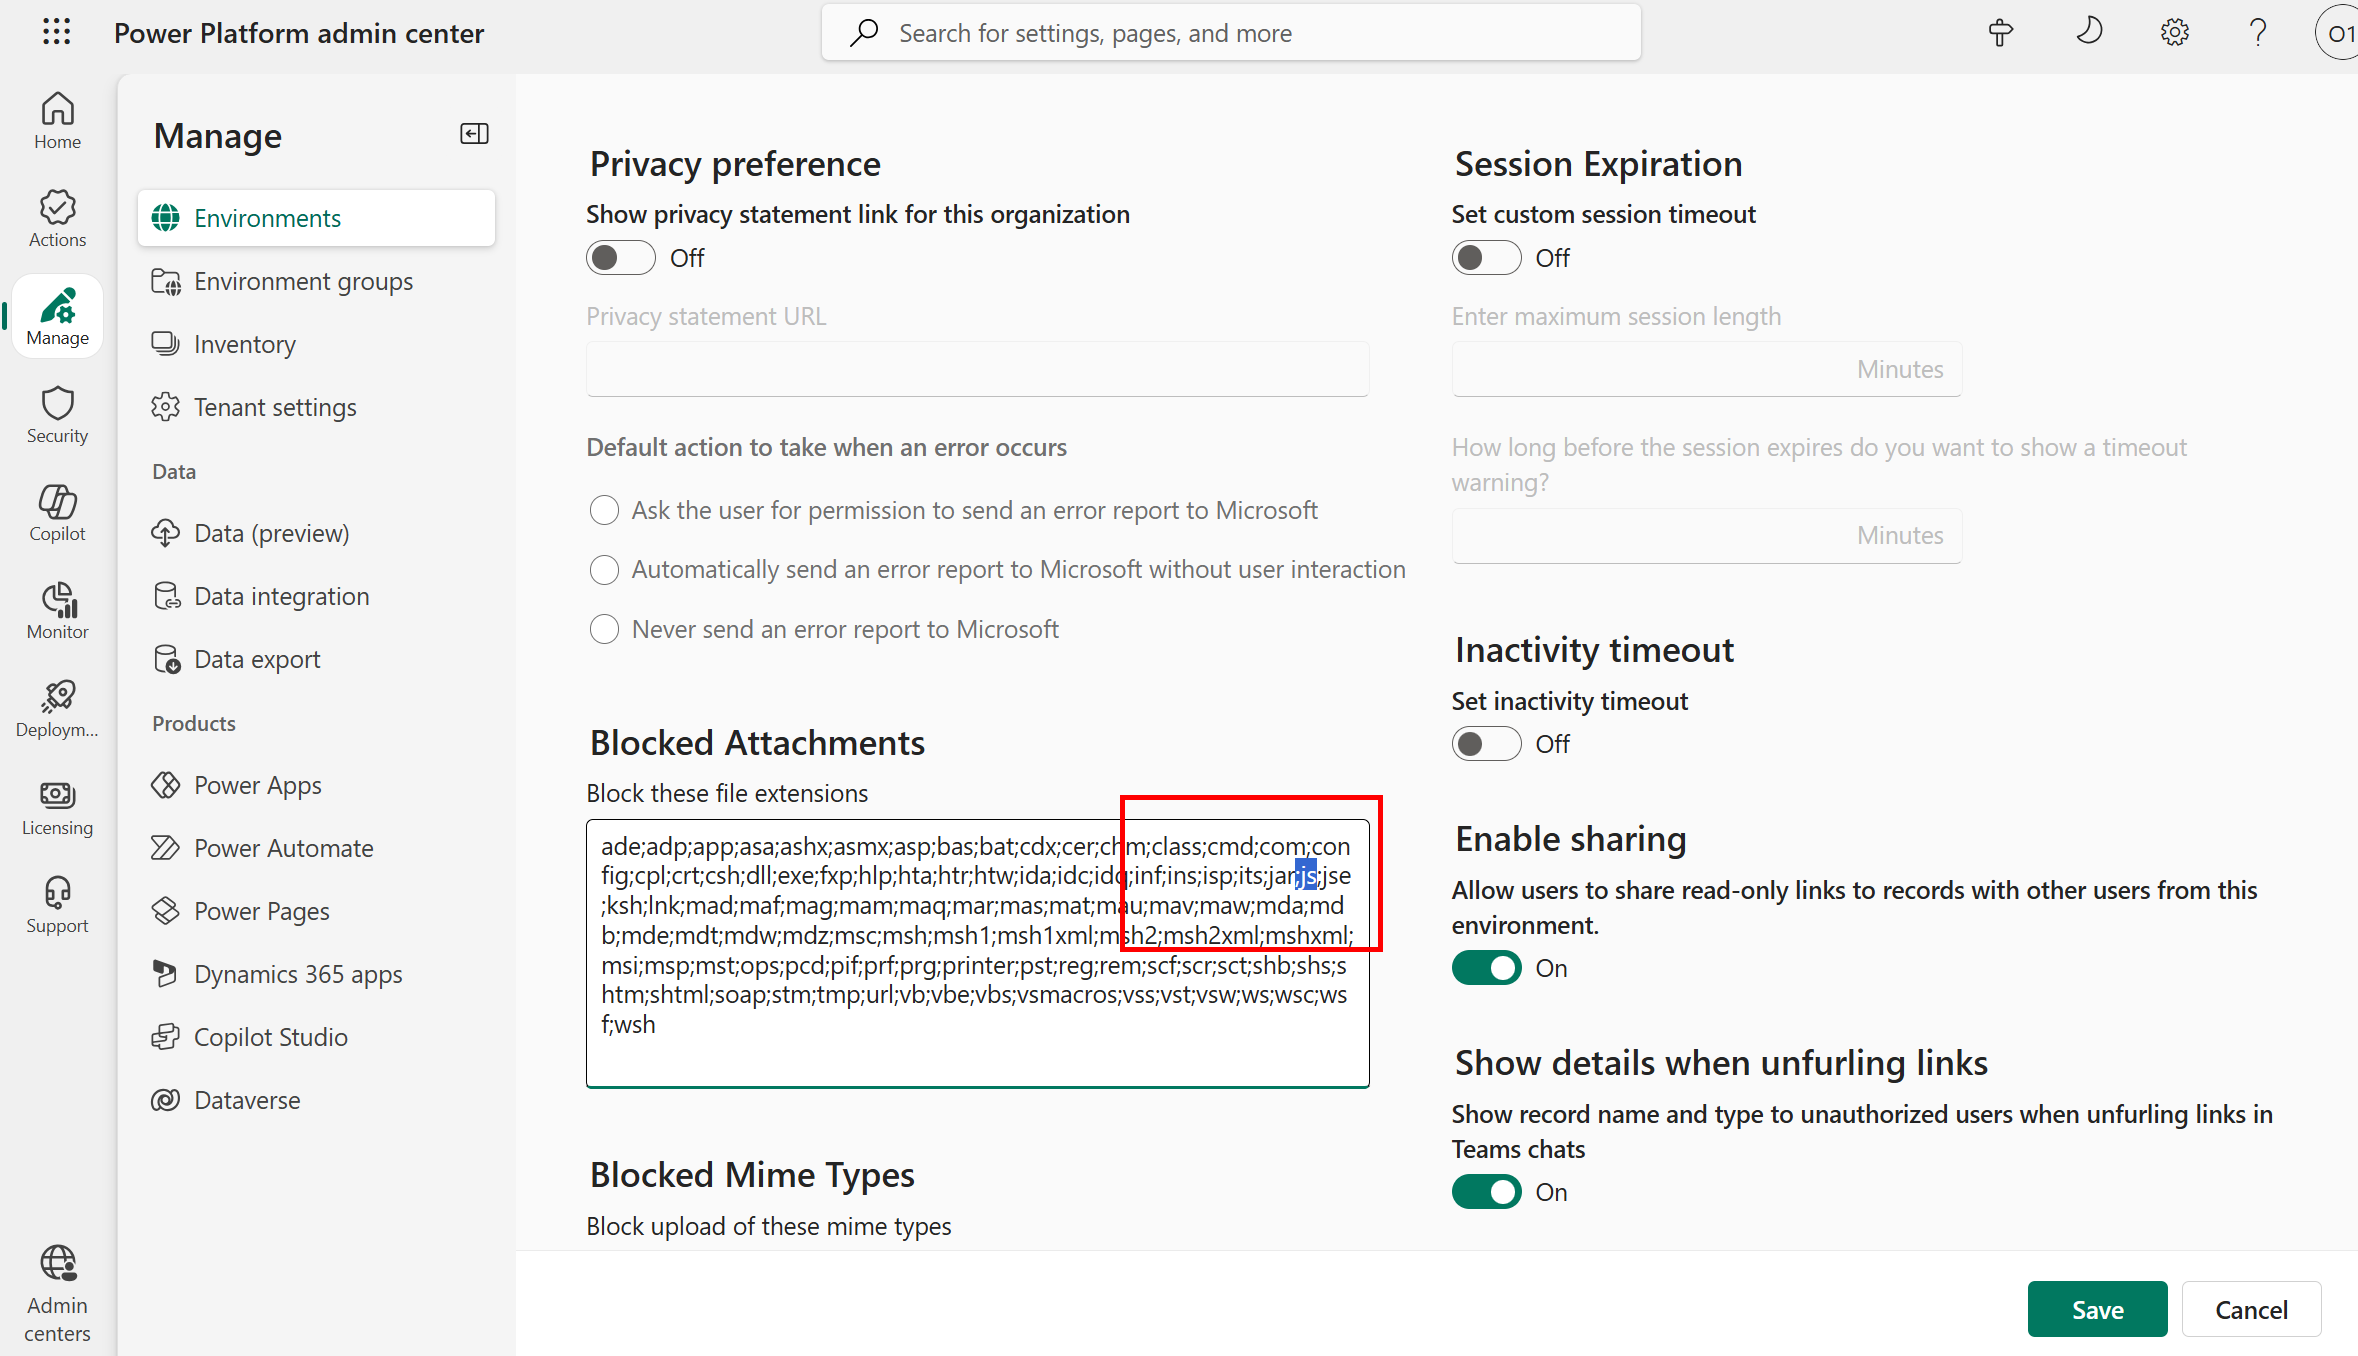
-
Repeat the same steps for Prod environment.
Deploy Single Page Application site to Power Pages
-
Open a terminal and run
git clone https://github.com/microsoft/power-pages-samples.gitcommand to clone the Power Pages samples repo locally. -
Navigate to
samples/bring-your-own-code/react/car-sales-websitefolder and open it in VS Code. -
Complete the steps provided in the README.md file to set up the local project and upload the website to Dev environment.
-
Switch to Prod environment and import the solution imported in Dev environment earlier to ensure the dependencies are met.
-
Follow the same steps as above to add the site to a solution and deploy it to Prod environment using Power Pipelines.
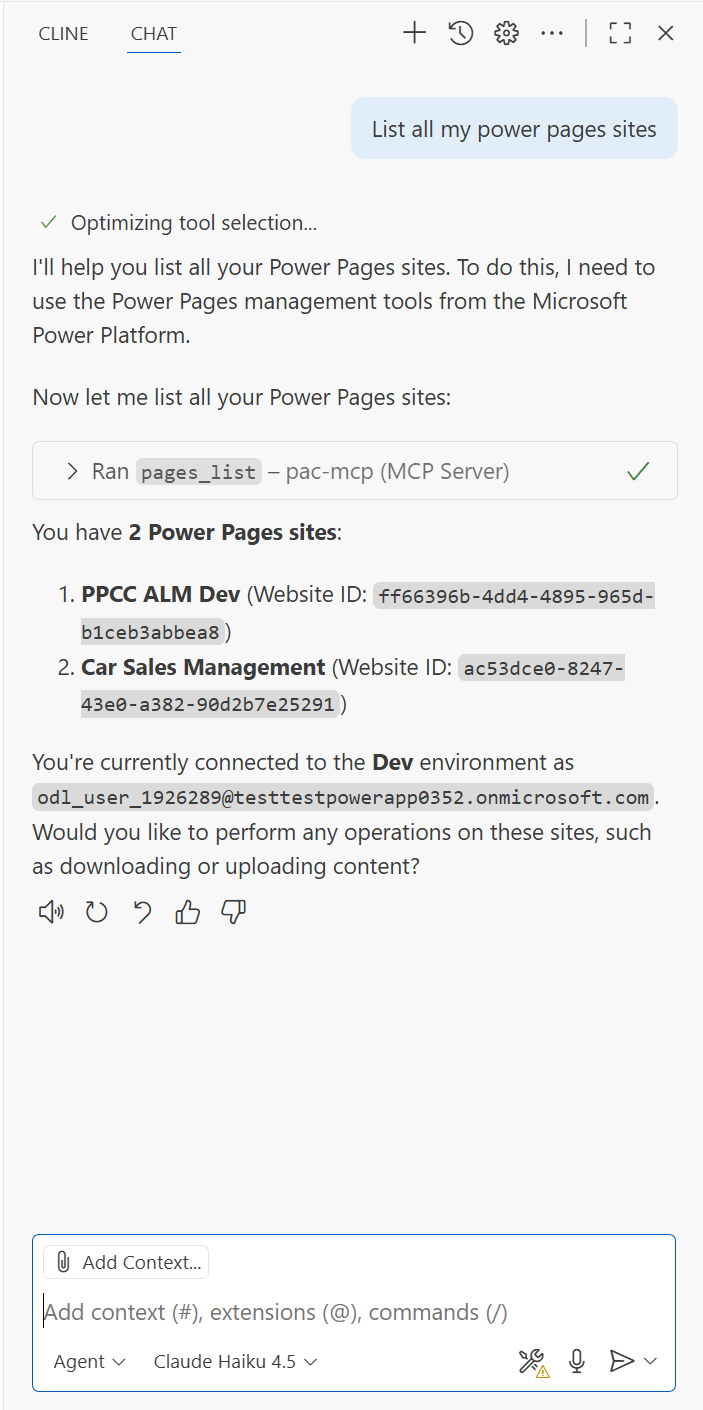
Optional: Supercharge your Power Pages development with Power Platform Tools VS Code Extension and PAC MCP Server
Power Platform Tools is a Visual Studio Code extension that streamlines the development and management of Power Pages sites. It offers features such as:
- Copilot for Power Pages
- Liquid intellisense support
- Seamless creation of new content like web pages, web templates etc. using right-click context menus.
- Power Pages Actions: A single place to manage all your Power Pages sites including site upload/download and site preview.
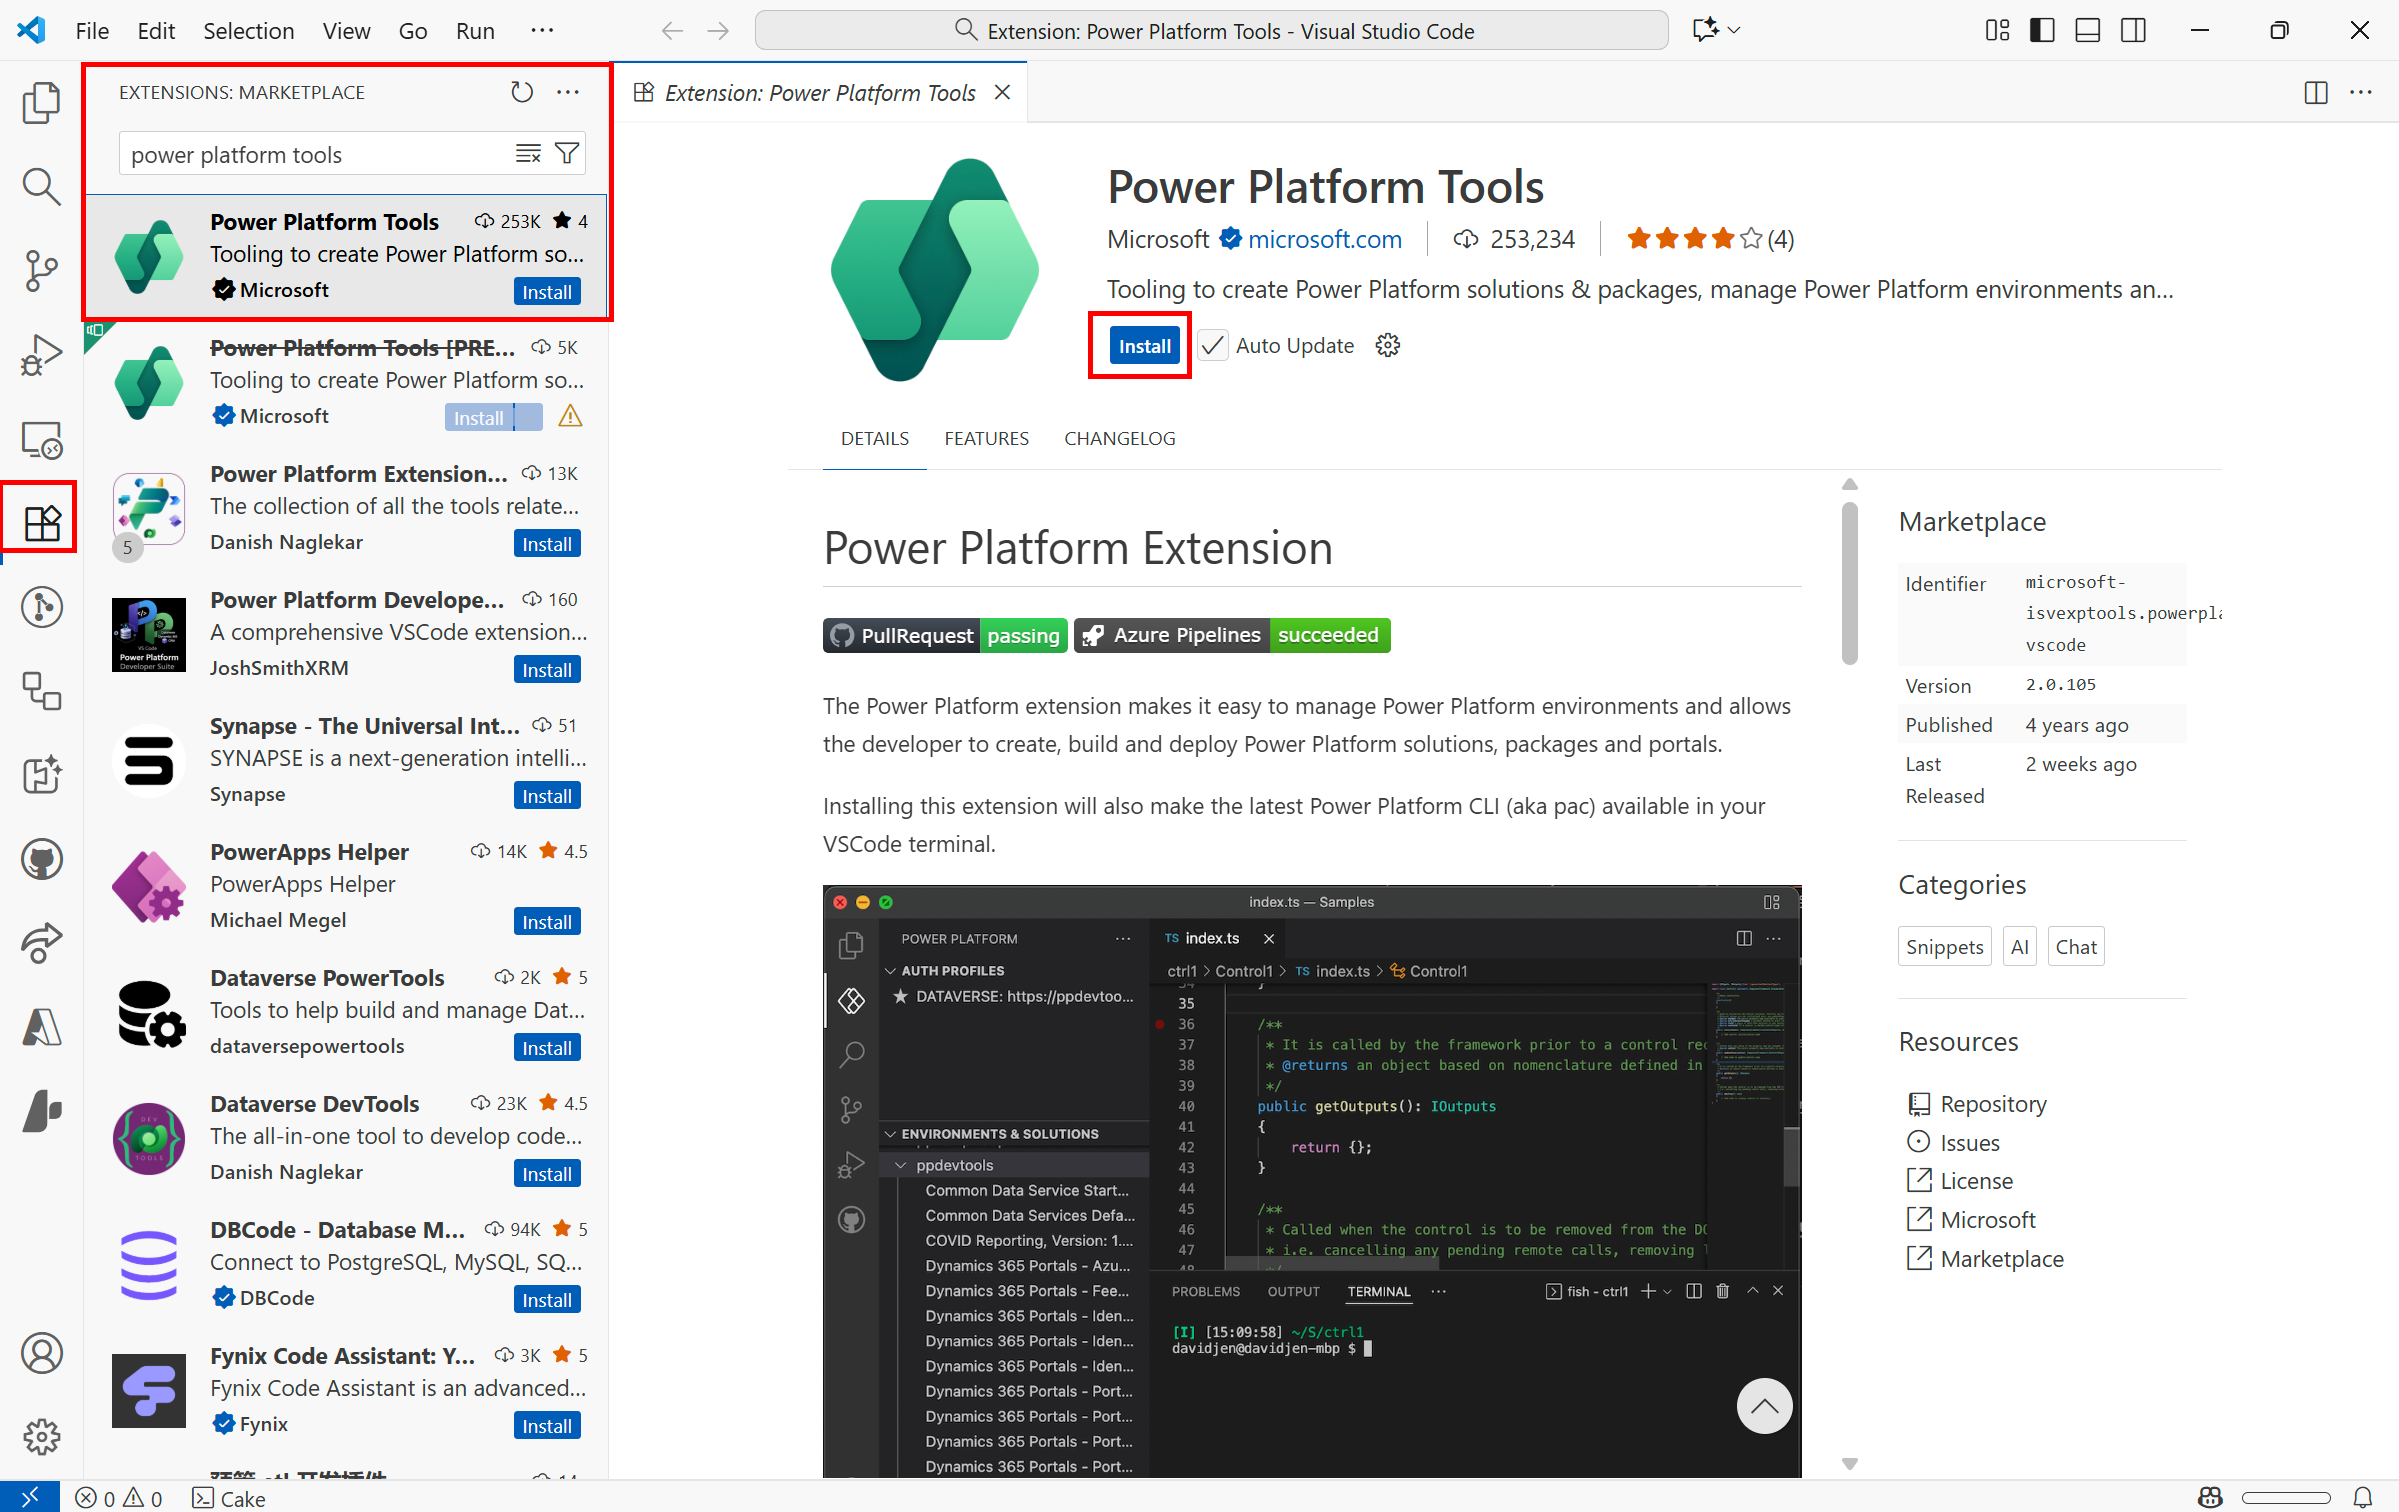
Install Power Platform Tools Extension
- Open VS Code Desktop.
- Click on the Extensions icon from the left menu.
-
Search for Power Platform Tools and click on Install.
-
After installation, the extension will ask you to login. Use the same credentials you are using for Power Pages Maker Studio.
- You can also install it from this VS Code Marketplace.
Install PAC MCP Server
- Ensure you have latest .NET installed.
-
Download PAC CLI by running below command in terminal:
dotnet tool install --global Microsoft.PowerApps.CLI.Tool -
Run below command to get the MCP Server location:
pac copilot mcp -
This will print out the MCP Server location. Copy the URL and add in your VS Code. It should look something like below:
"pac-mcp": { "type": "stdio", "command": "<MCP Server Location>", "args": [] } -
You can now use GitHub Copilot to manage your Power Pages sites using natural language.