Create Manual Release with Migration-Based Development
In this lab, we will create a manual release process with Migration-Based development and we will begin releasing our changes to downstream databases.
DevOps MPP Course Source
- This lab is used in course DevOps200.6x: DevOps for Databses - Module 3.
Prerequisites:
- Completion of Module 2 lab Continuous Intregration with a Migration-Based Methodology
Lab Tasks:
In this lab, we will begin releasing our changes to downstream databases.
- Prepare your local environment_
- Implement a Continuous Release process for Integration
- Implement a Release process for QA
Estimated Lab Time:
- approx. 40 minutes
Task 1: Prepare our local environment
We will set up a local environment for releases.
-
Open SQL Server Management Studio and connect to your instance. Enter this code in a query window and execute it. This will create the empty databases that we will use for our release process.
CREATE DATABASE WWI_QA; GO CREATE DATABASE WWI_Staging; GO -
Verify that the databases exist. You should see the WWI_QA and WWI_Staging databases if you refresh the database folder.

-
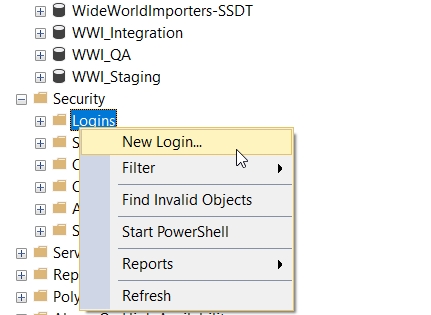
Expand the Security folder, right-click Logins, then click New Login.
-
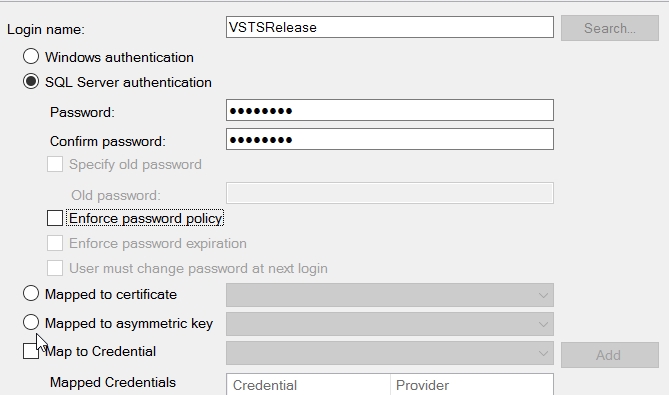
Configure a new login for your builds with a strong password. This is an account the agent will use, so choose SQL Server Authentication. If your agent runs as a service with a specific account, you can add that here. The name we are using in the lab is VSTSRelease. Uncheck Enforce Password Policy, then click OK.
-
On the User Mapping page, we will add the login to the databases for integration and QA. We will use the db_owner role as the user must be able to control all aspects of the database.
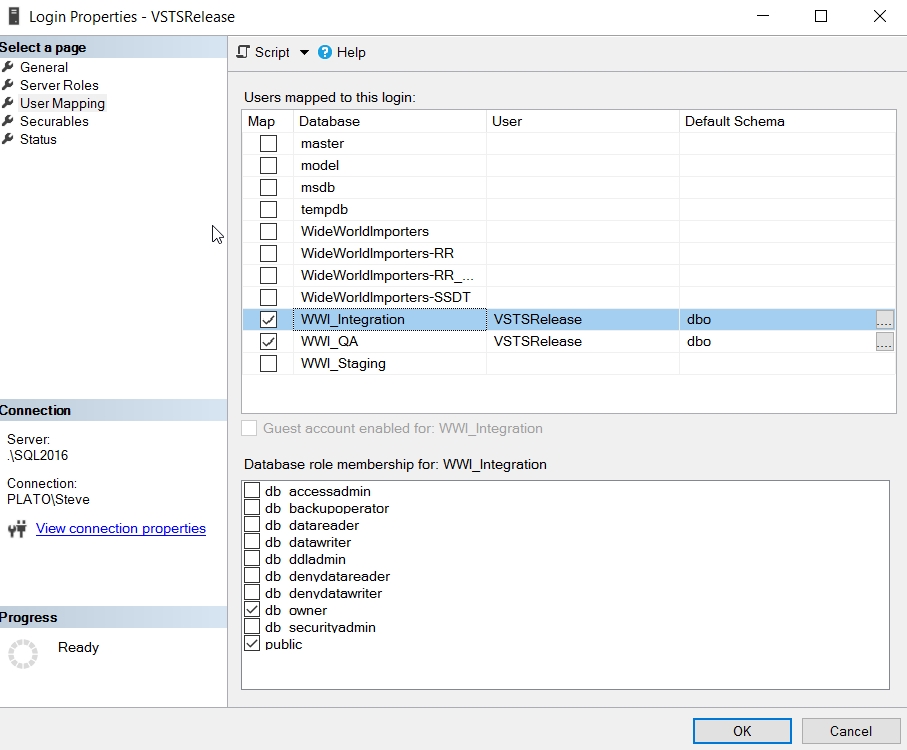
Remember this user and password. We will use it in the sections below.
-
Repeat the previous steps for a new login called VSTSReleaseStaging, mapping this user to only the WWI_Staging database as db_owner.
Task 2: Implement a Continuous Release process for Integration
We will implement an automation release process for continuous integration output.
-
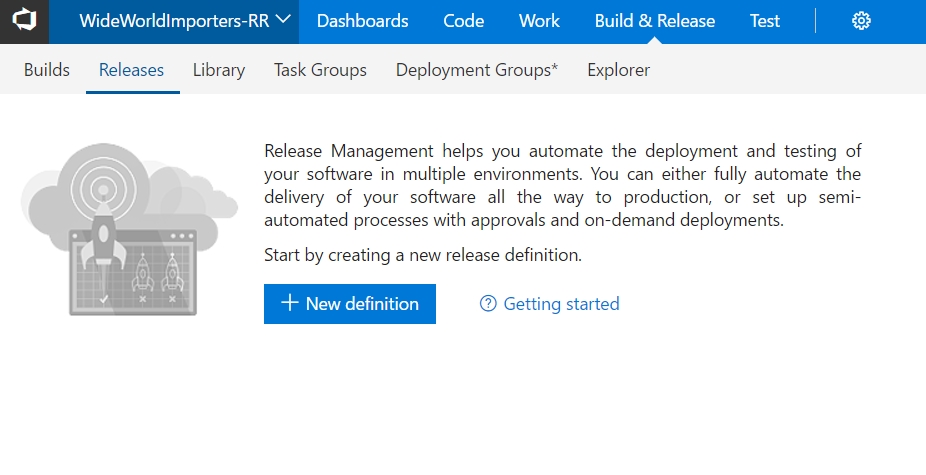
Open your VSTS account, select the WideWorldImporters-RR project, click the Build&Release menu at the top and select Releases. You should see an empty release definition page.
-
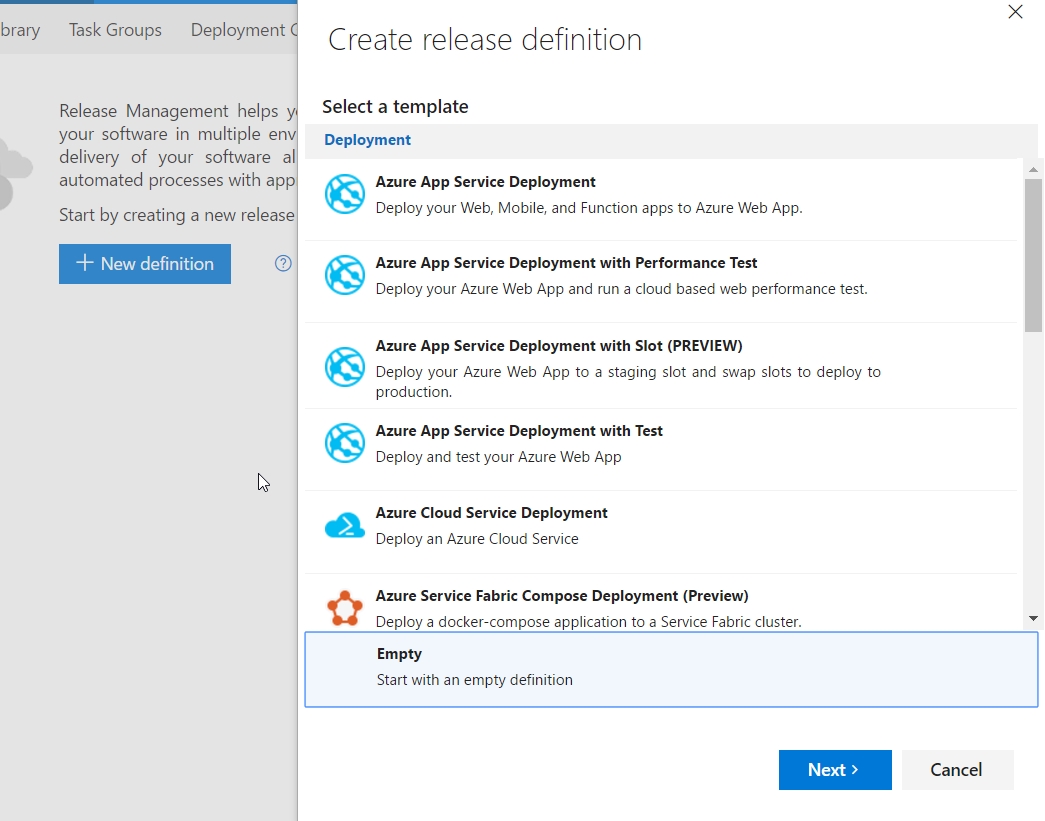
Click New definition button. You will receive a list of templates to select. We will choose the Empty definition, then click Next.
-
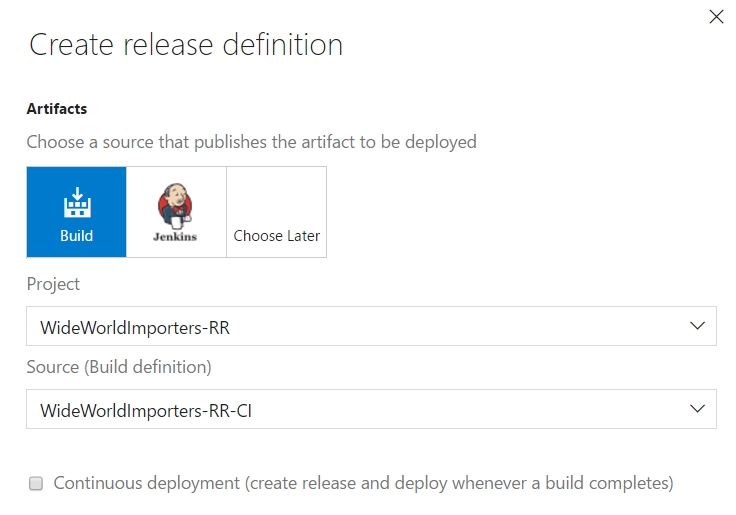
The next page asks which project and build source to use. The default project and your CI definition should be listed. Check the Continuous Deployment check box and click the Create button.
-
This will create an empty release definition with a default name.
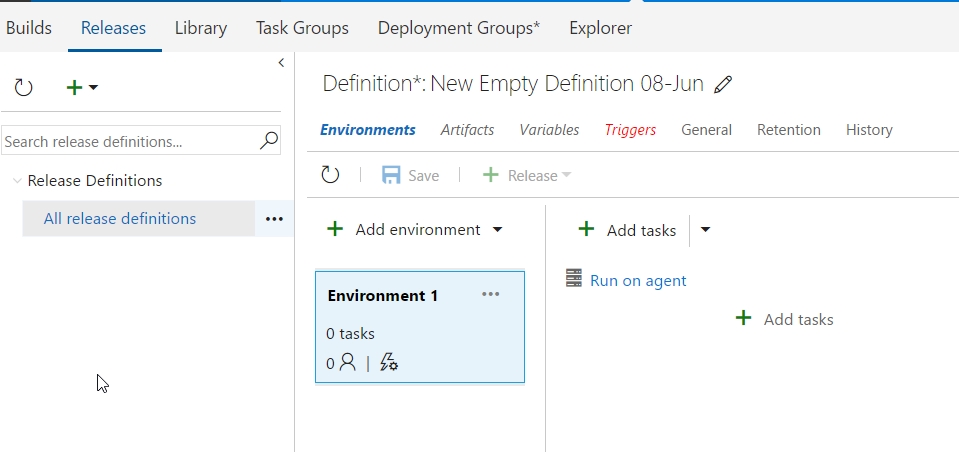
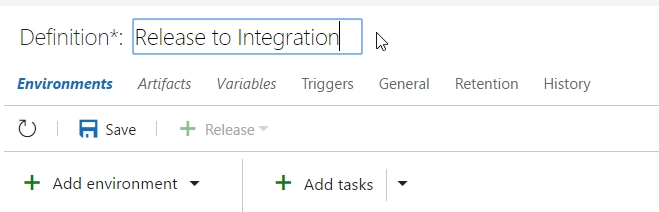
Click the pencil icon next to the name to edit it. Enter Release to Integration as the name.
-
Let us start by naming the environments for the database where we will release code. Single-click the name Environment 1 and change this to Integration.
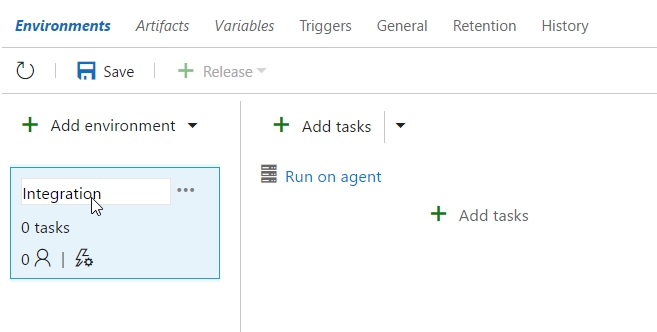
-
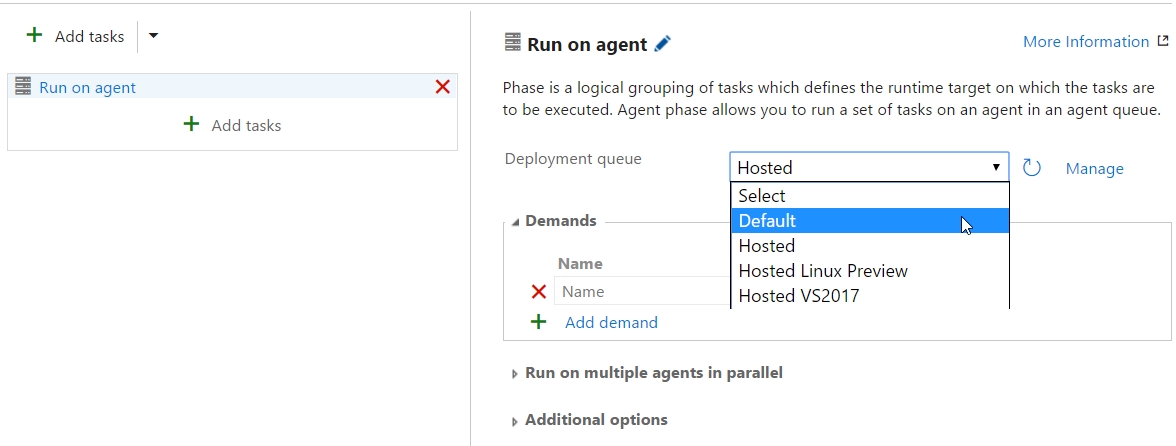
Click Run on agent line in the middle section. This will open properties on the right. Change the deployment queue to Default to execute this deployment on your local agent.
-
Click Add tasks in the center section. This should bring up the Task catalog. Scroll down to find the Deploy ReadyRoll Database Package task and click Add.
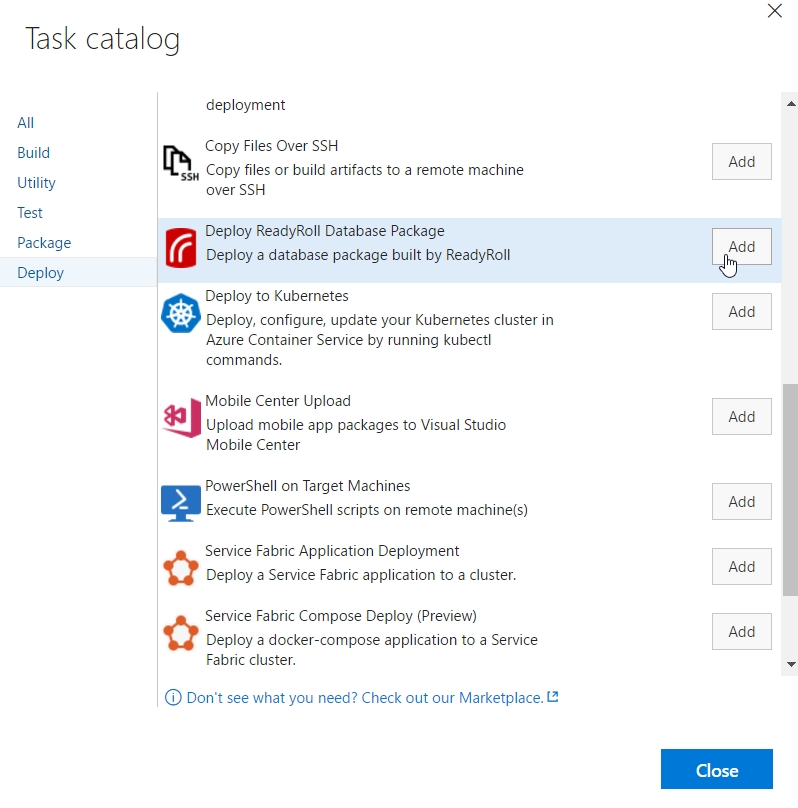
Click Close to close the Task catalog.
-
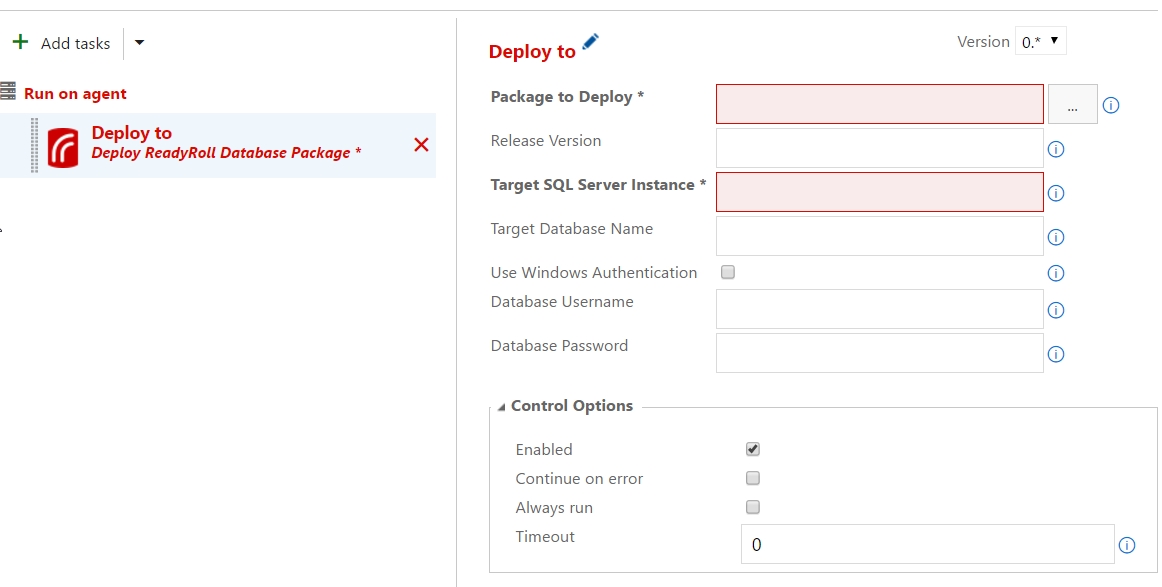
The Redgate task should be selected with properties to the right. We will configure these items separately in the next few steps.
-
Click the ellipsis next to Package to Deploy. This will allow us to select a package from our build artifacts. Expand the tree to find the .ps1 file in the Database_Package artifact. This should be named for your project with an _DeployPackage at the end. Select it then click OK.
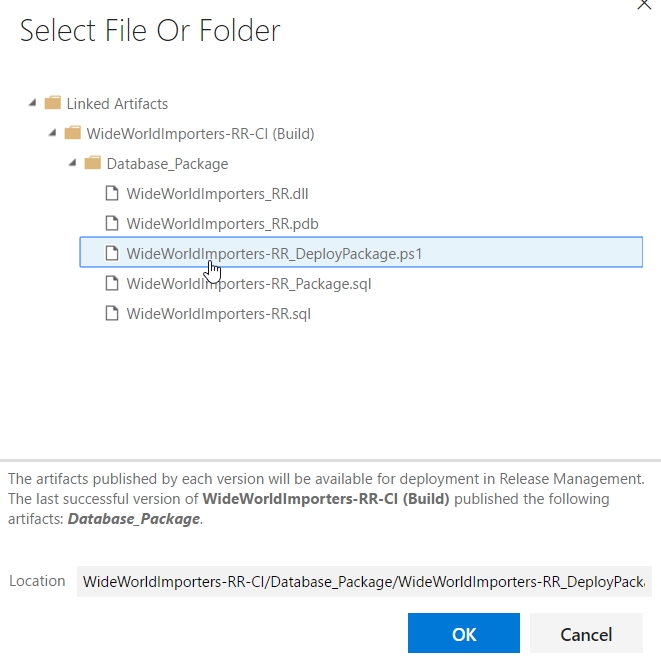
-
For the Release Version, we will use a system variable. Enter 1.0.$(Release.Releaseid) in the edit box. The Release.Releaseid is a system variable that is incremented during each release.
-
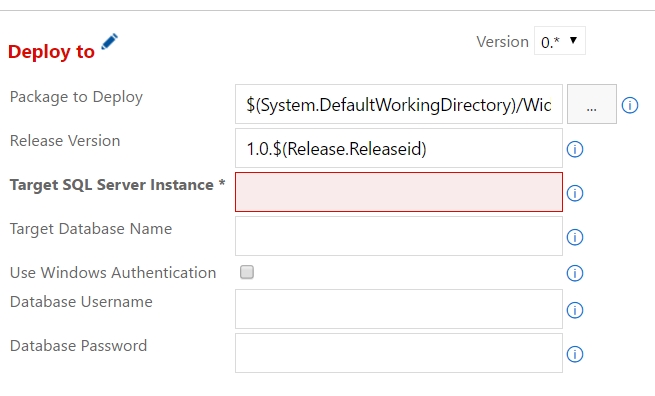
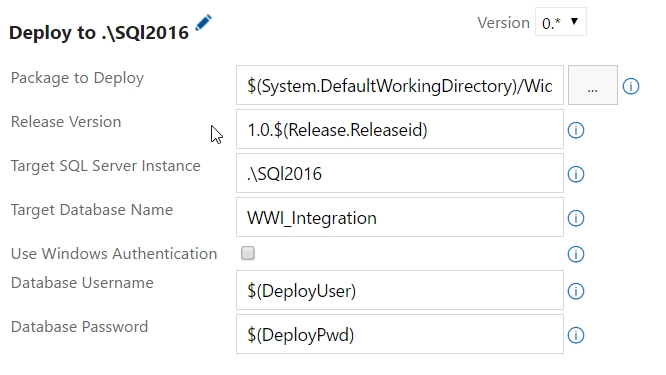
We will now configure the target database properties. These will vary depending on your particular instance. Replace the values below with those that are appropriate for your instance.
- Target SQL Server Instance: .\SQL2016 - This is the instance name as your agent will connect to it.
- Target Database Name: WWI_Integration - From the first part of this lab above.
- Database Username: $(DeployUser) - A variable we will create.
- Database Password: $(DeployPwd) - A variable we will create.
-
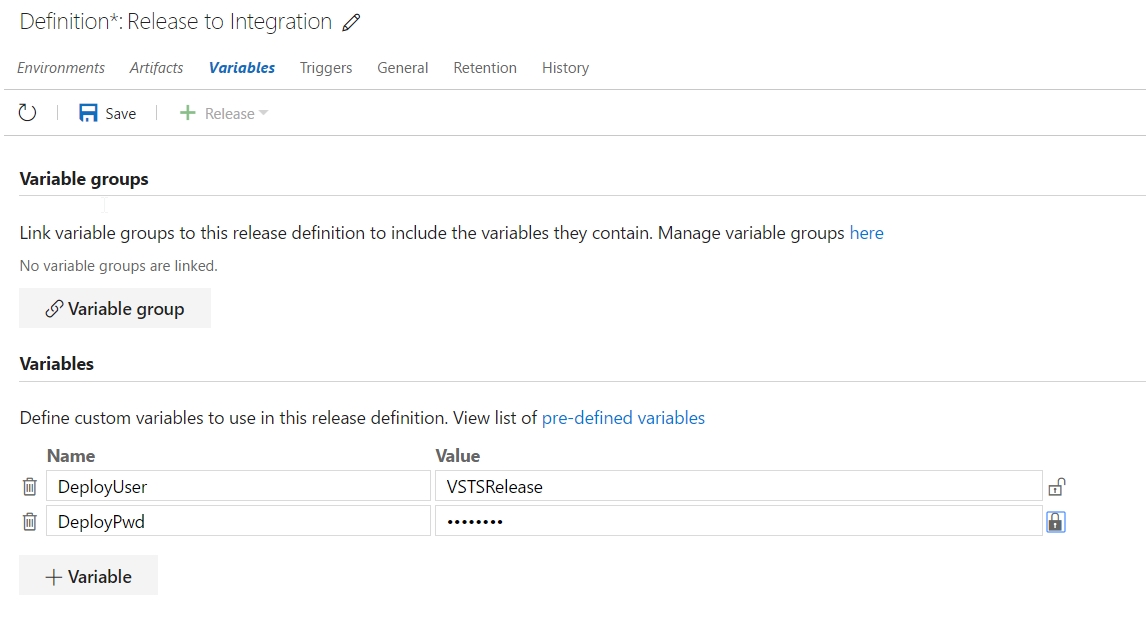
Click the Variables menu item in the release definition. In the Variables list below, enter two new variables:
- DeployUser: VSTSRelease (created in the first part of this lab)
- DeployPwd: Use the value you entered for this login in the first part of this lab. Click the padlock to the right to hide the actual value as a secret.
-
Click the Triggers menu item. Continuous Deployment should be selected. This will trigger a release when the CI build completes.
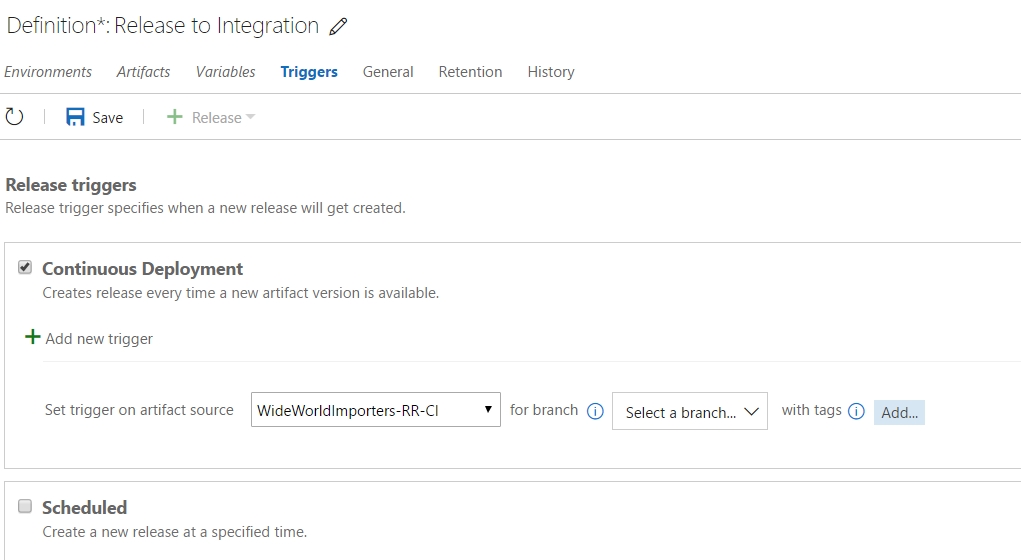
-
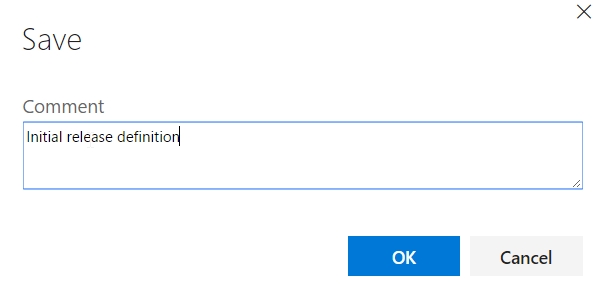
Click Save to save the release. Enter a comment **for the version control of this definition, then click **OK.
-
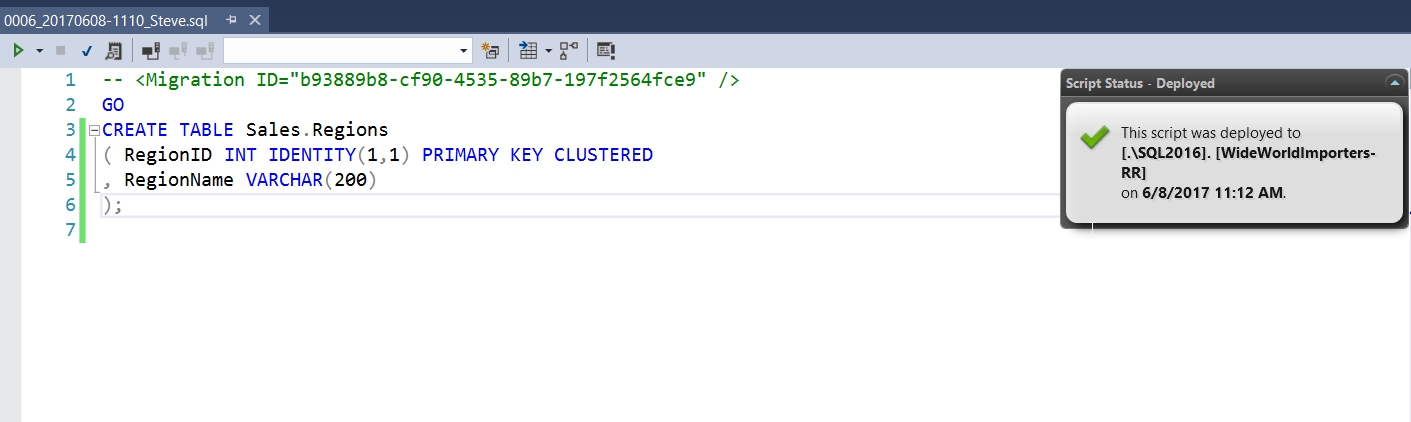
Test the release by returning to Visual Studio. Right-click the Migrations folder, click Add, then click Script. Enter this code in the migration script.
CREATE TABLE Sales.Regions
( RegionID INT IDENTITY(1,1) PRIMARY KEY CLUSTERED
, RegionName VARCHAR(200)
);
Click Save, then click Deploy the Project.
-
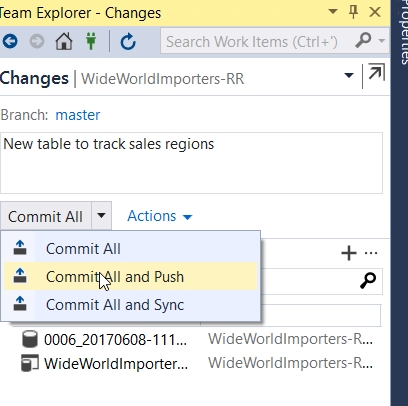
Go to Team Explorer and the Changes tab. Your new migration script should be listed. Enter a comment, then click Commit All and Push.
-
Open your VSTS project and quickly navigate to the Build definitions. You should find a build which might be in the Not Started or In Progress states. In the image below, build 5 has not been started.
-
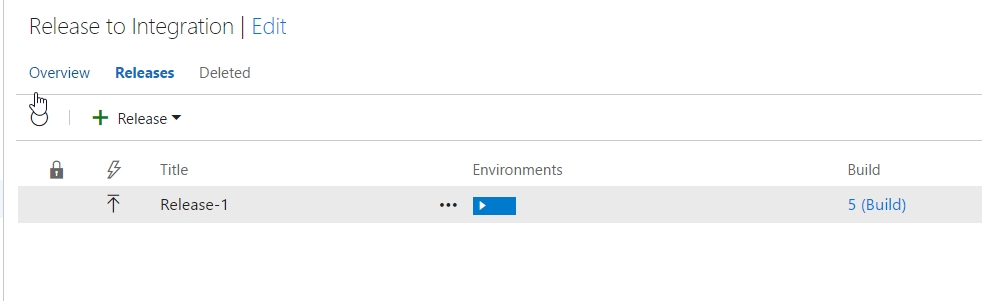
Quickly move to the Releases page, as this should start as soon as the build completes. You should be able to find a release in progress if you click the refresh button.
-
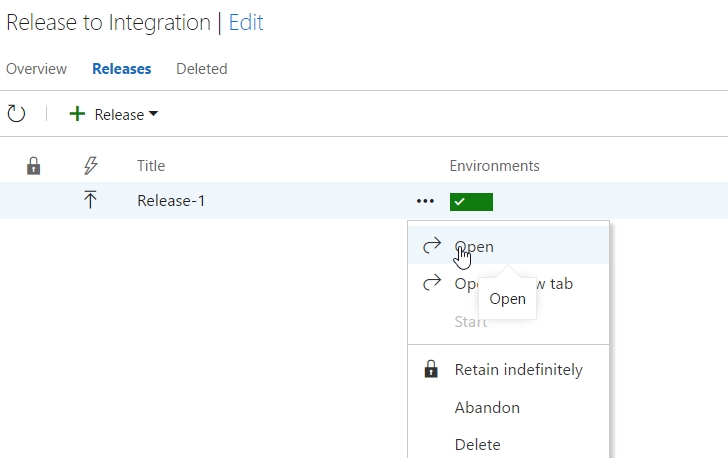
Refresh the page until the build is complete. When it is complete, the rectangle next to the release number should turn green. Click the ellipsis to the left and click Open.
-
The Summary tab opens and includes some basic details.
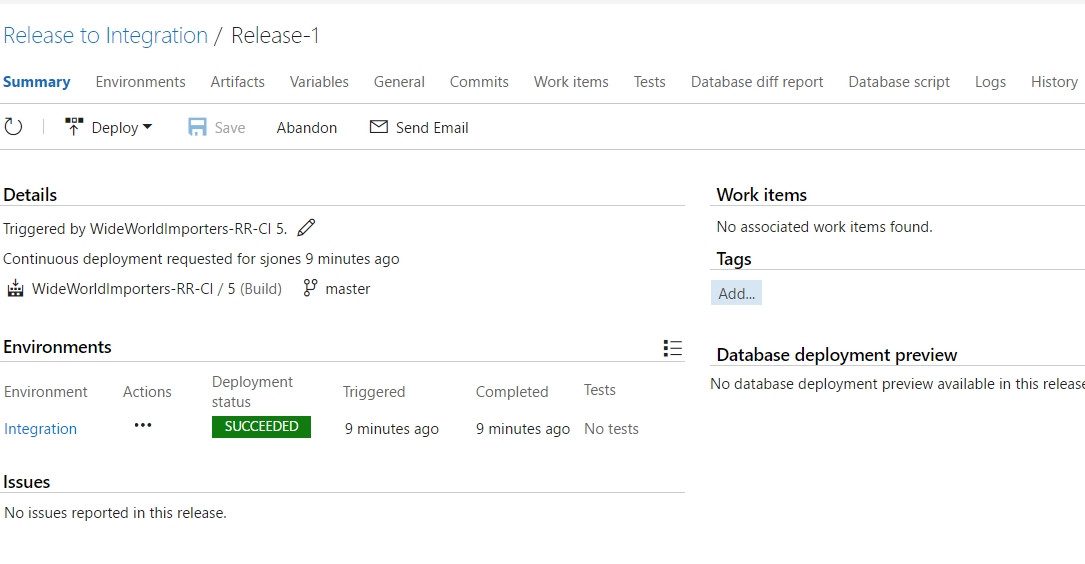
If you would like more details, you can see the details actions by clicking the Logs menu item.

We have completed an automated build and release for any changes committed and pushed to our VSTS repository.
Task 3: Implement a continuous release process for QA
We will implement a manual release process for another environment.
-
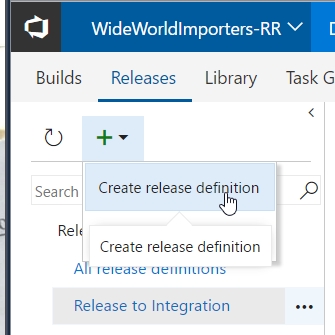
In your VSTS project, click the Build&Release menu item at the top and select Releases. Click the plus sign on the left and click Create release definition.
-
You will receive a list of templates to select. We will choose the Empty definition, then click Next.
-
The next page asks which project and build source to use. The default project and your CI definition should be listed. Check the Continuous Deployment checkbox and click Create.
-
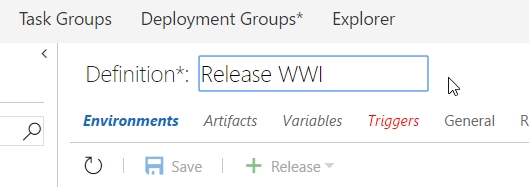
This will create an empty release definition with a default name.
Click the pencil icon next to the name to edit it. Enter Release WWI as the name.
-
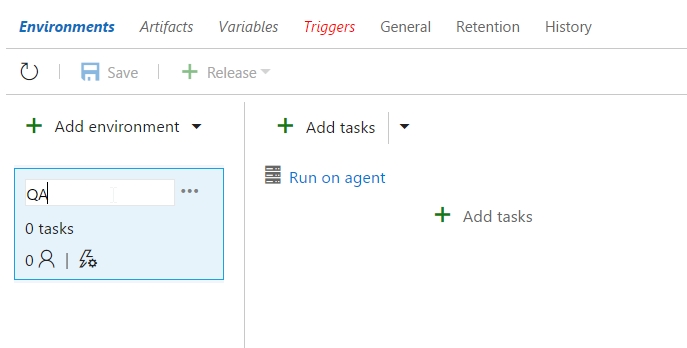
Click the name Environment 1 and change this to QA.
-
Click Run on agent in the middle section. This will open properties on the right. From the Deployment queue drop-down list, select Default to execute this deployment on your local agent.
-
Click Add Tasks in the center section. This should bring up the Task catalog. Scroll down to find the Deploy ReadyRoll Database Package task and click Add.
Click Close to close the Task catalog.
-
The Redgate task should be selected with properties to the right. We will configure these items separately in the next few steps.
-
Click the ellipsis next to Package to Deploy. This will allow us to select a package from our build artifacts. Expand the tree to find the .ps1 file in the Database_Package artifact. This should be named for your project with an _DeployPackage at the end. Select it, then click OK.
-
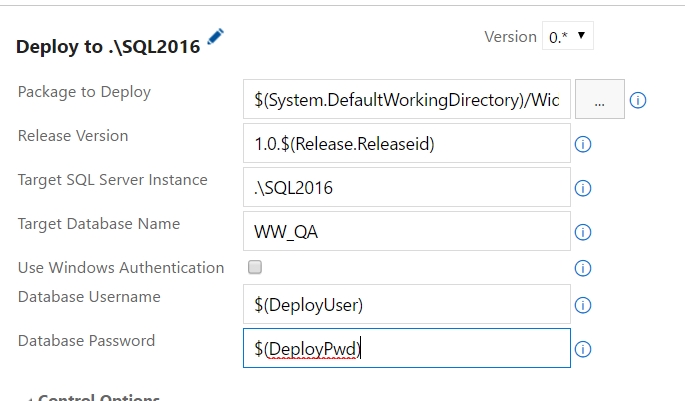
For the Release Version, we will use a system variable. Enter 1.0.$(Release.Releaseid) in the edit box. The Release.Releaseid is a system variable that is incremented during each release.
-
We will now configure the target database properties. These will vary depending on your particular instance. Replace the values below with those that are appropriate for your instance.
- Target SQL Server Instance: .\SQL2016 - This is the instance name as your agent will connect to it.
- Target Database Name: WWI_QA - From the first part of this lab above.
- Database Username: $(DeployUser) - A variable we will create.
- Database Password: $(DeployPwd) - A variable we will create.
-
Click the Variables menu item in the release definition. In the Variables list below, enter two new variables:
- DepoyUser: VSTSRelease (created in the first part of this lab)
- DepoyPwd: Use the value you entered for this login in the first part of this lab. Click the padlock to the right to hide the actual value as a secret.
-
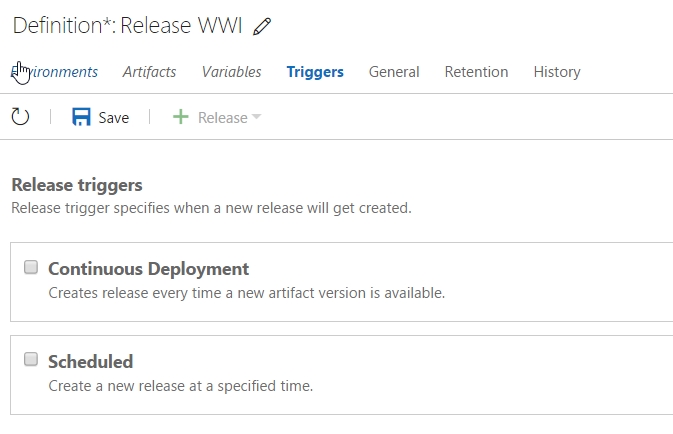
Click the Triggers menu item. Continuous Deployment should not be selected. This is different from our previous release. We will manually need to create a release here.
-
Click Save to save the release. Enter a comment for the version control of this definition, then click OK.
-
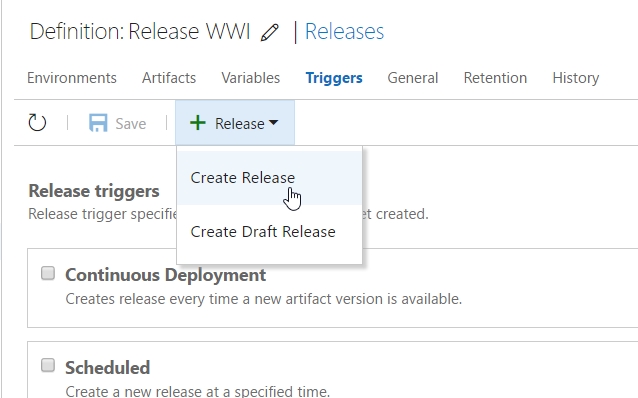
Click the Release menu item as shown below to create a new release.
-
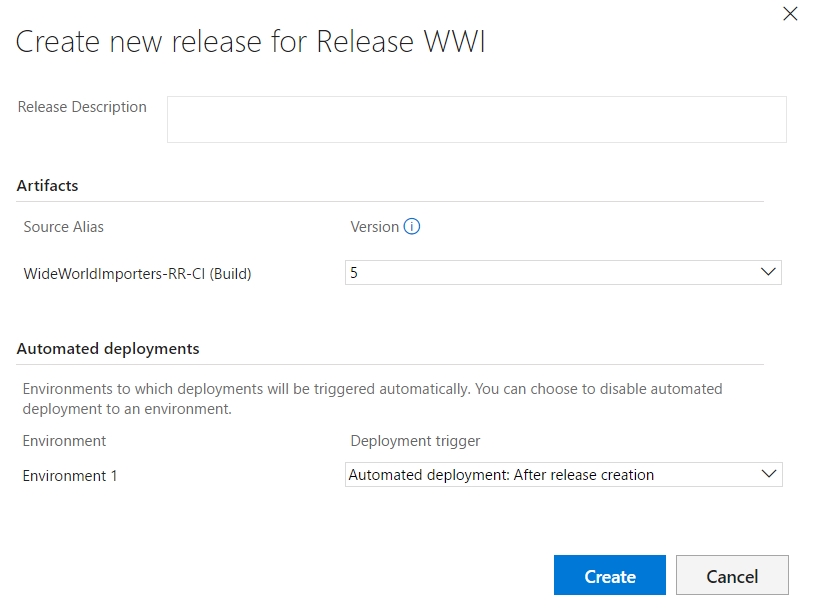
This will bring up a release dialog where you can select the build that you will release. The most recent release build should be shown, 5 in the case of the image shown. Note that this release is automatically approved, and will be automatically released after you click create. Click Create.
-
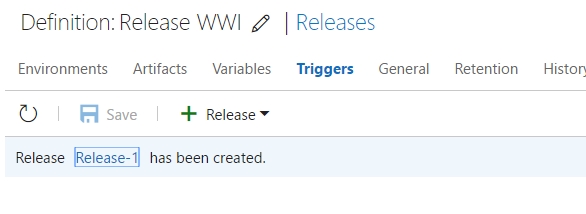
The dialog should disappear and just below the menu, a blue bar with a note that the release was created appears. Click the release that is highlighted.
-
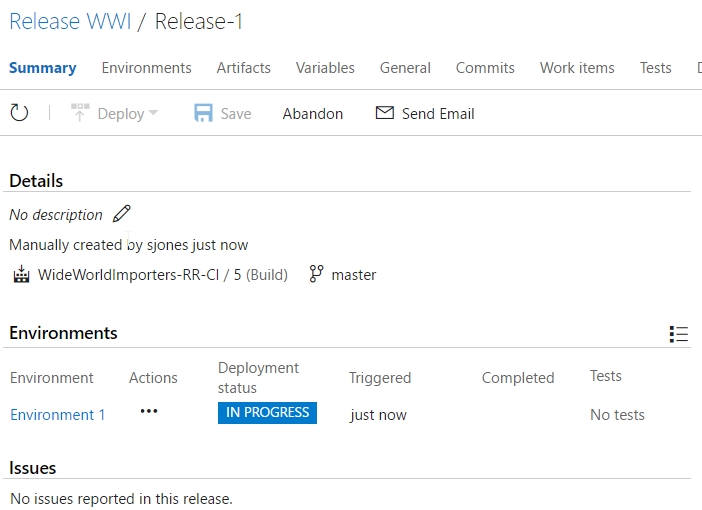
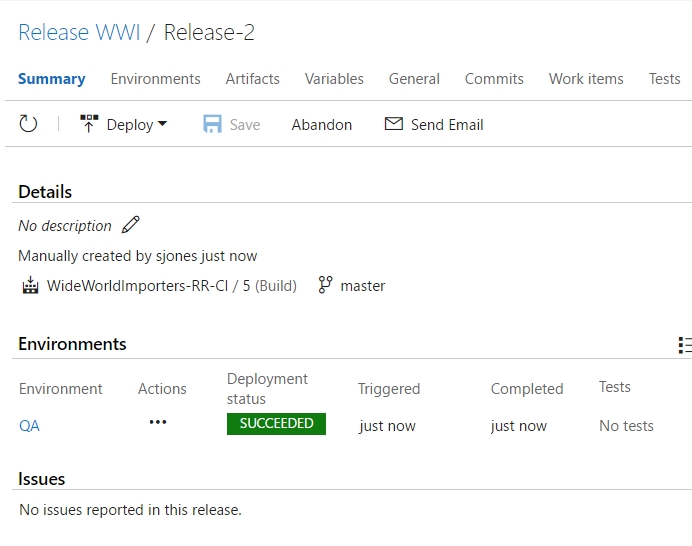
You will go to the Summary tab for this release. The release should be in progress.
-
If you click refresh a few times, the status will change to Succeeded. If there are any issues, double-check all your settings and use the Logs tab to determine what the issue is.
Summary
In this lab you completed the following tasks:
- Prepared your local environment_
- Implemented a Continuous Release process for Integration
- Implemented a Release process for QA