Setup VSTS for Database Development
This lab will familiarize you with Visual Studio Team Services (VSTS) and get your environment set up for your database development.
Note: The look of VSTS changes on a regular basis, so the images below might be out of date. However, the basic flow should remain intact.
DevOps MPP Course Source
- This lab is used in course DevOps200.6x: DevOps for Databses - Module 1.
Pre-requisites:
- Internet and email access.
Lab Tasks:
- Create a Visual Studio Team Services(VSTS) account
- Create a Project for your code
- Browse a project
If you already have a VSTS account created, you can skip the first section and just create new projects for our database development labs.
Estimated Lab Time:
- approx. 20 minutes
Task 1: Create a Visual Studio Team Services(VSTS) Account
The account you will use for all future database labs.
-
The first step is to create an account on VSTS. Using a modern browser, navigate to VisualStudio.com. At the time of writing this lab, the page looked like this (but it does change regularly):
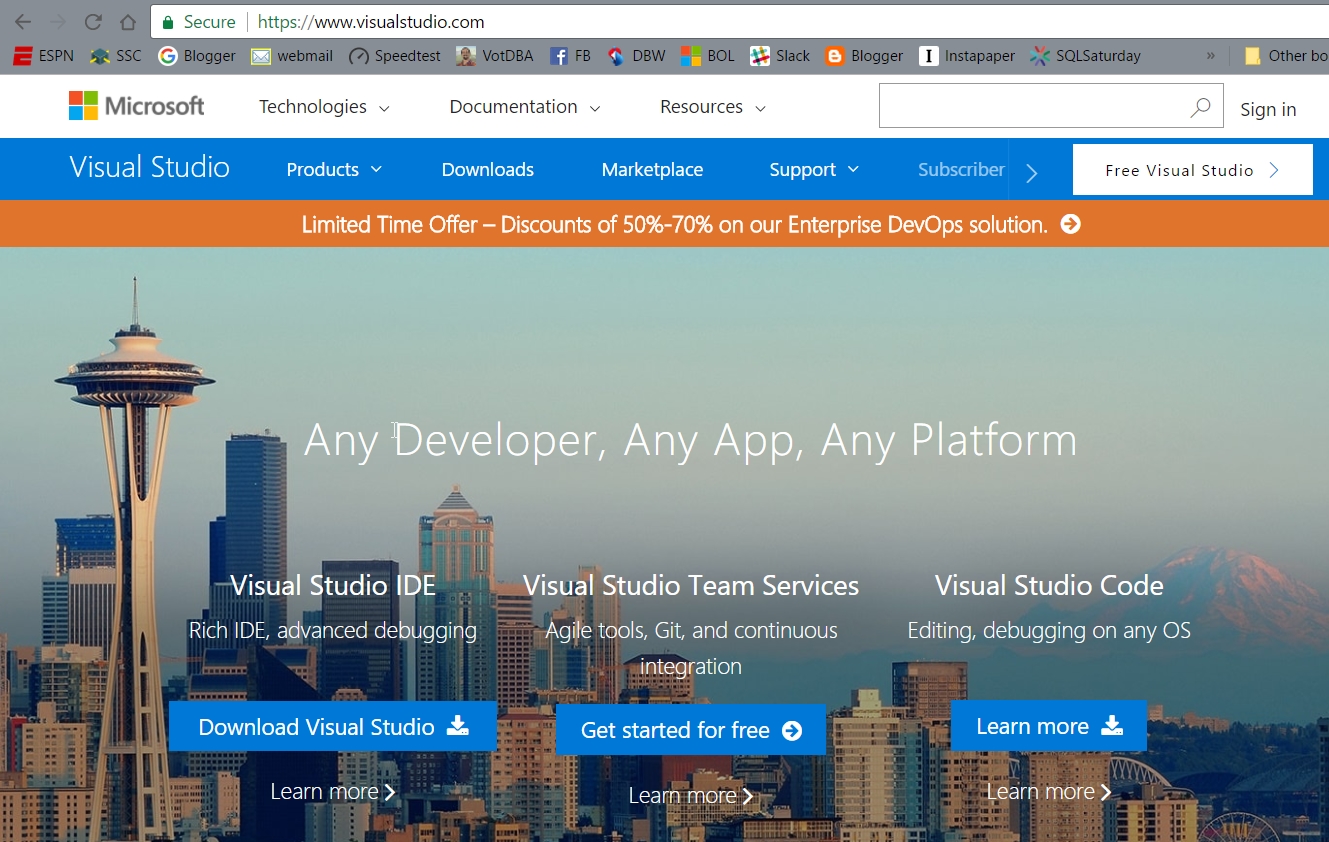
-
Click the Free Visual Studio button in the upper left. This will send you to the Microsoft Free Developer Offers page. There are several offers here, but we are looking for the free account offer (shown in the middle below).
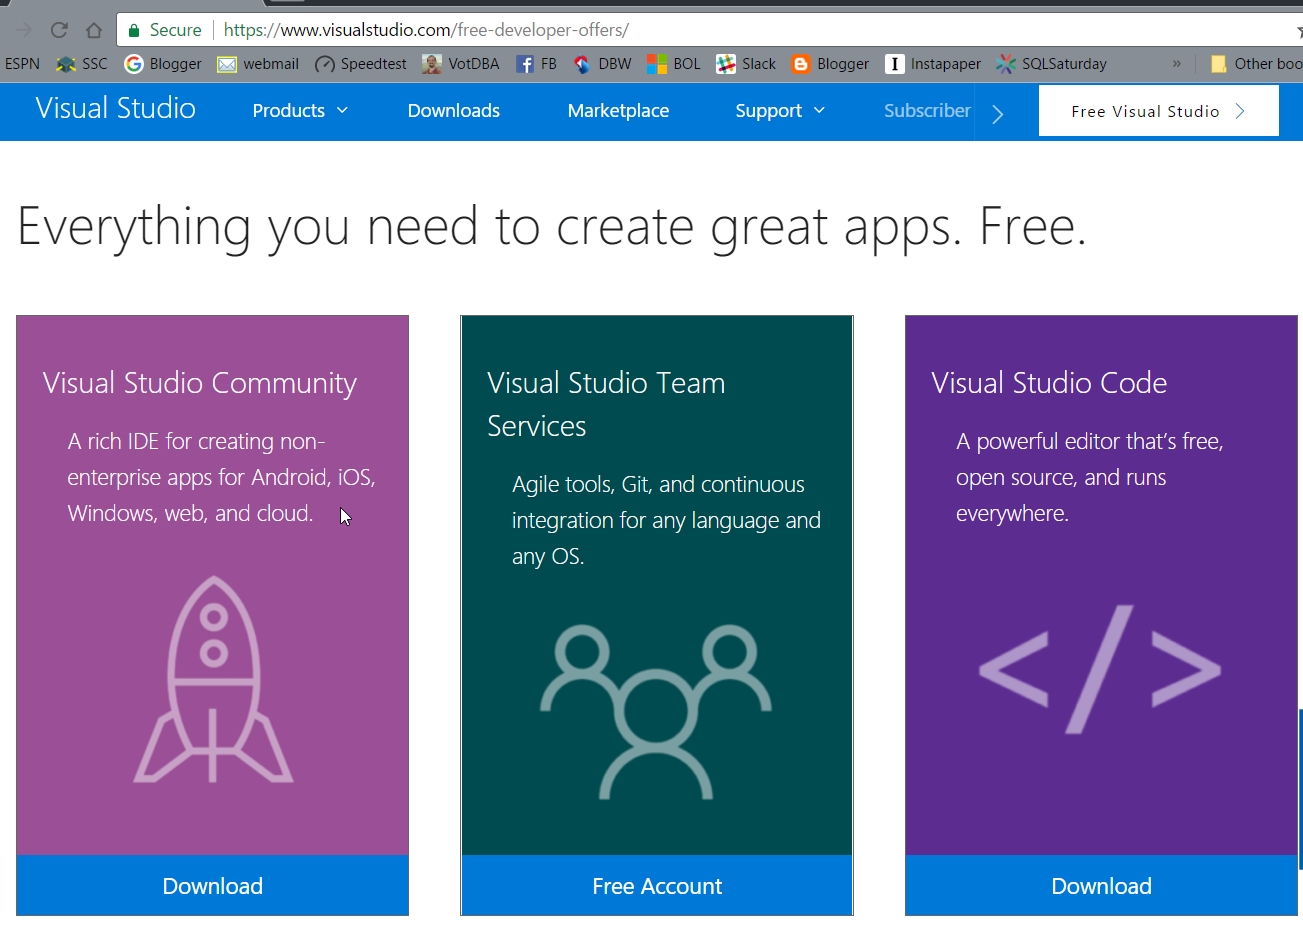
-
You might be taken to a login page if you are not logged in with a Microsoft account. Here you can enter your credentials or sign up for a new account. If you do not have an account, you might find that you need to go through a security process and verify that you are the owner of the email account.
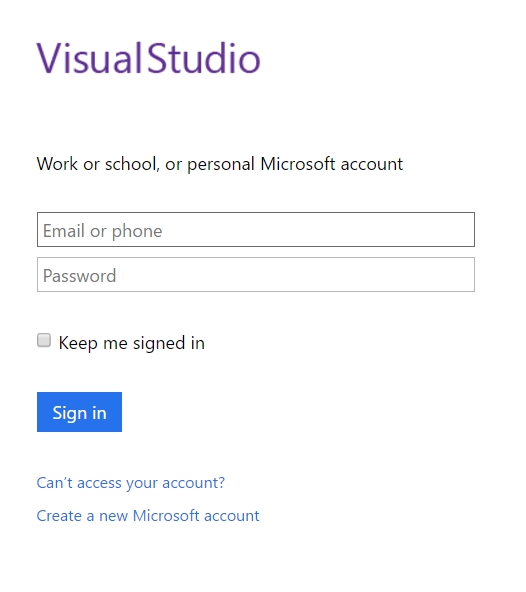
-
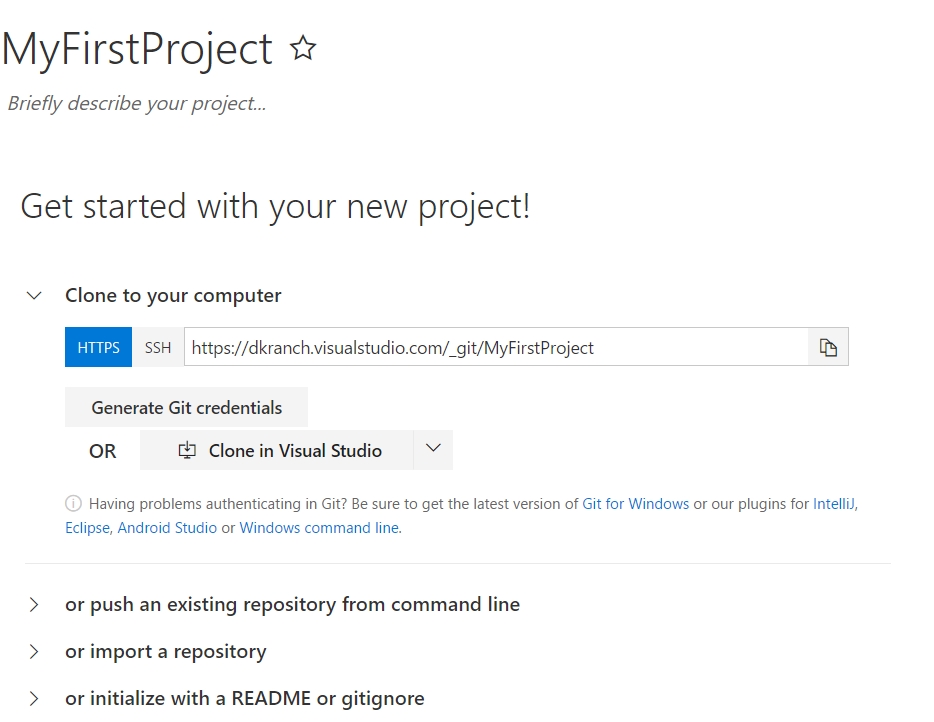
After this is complete, you might be taken to a My First Project page, or a list of your projects, depending on whether this is a new account.
Task 2: Create Development Projects
This will be a smaple project where you will store your code.
In this section, we will create a project. If you received the image below when you created a new account, ignore this. We will create two new projects separately from this one.
Note: If you are prompted to create a new Visual Studio Team Services account, follow the prompts to create one, specifying Git as the communication method.
-
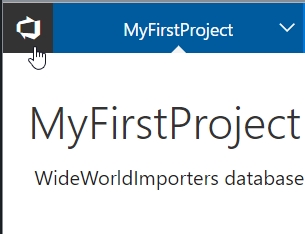
After your new account is created, you will see a dialog like the one below.
-
Click the icon in the upper left corner to go to the overview for your account.
-
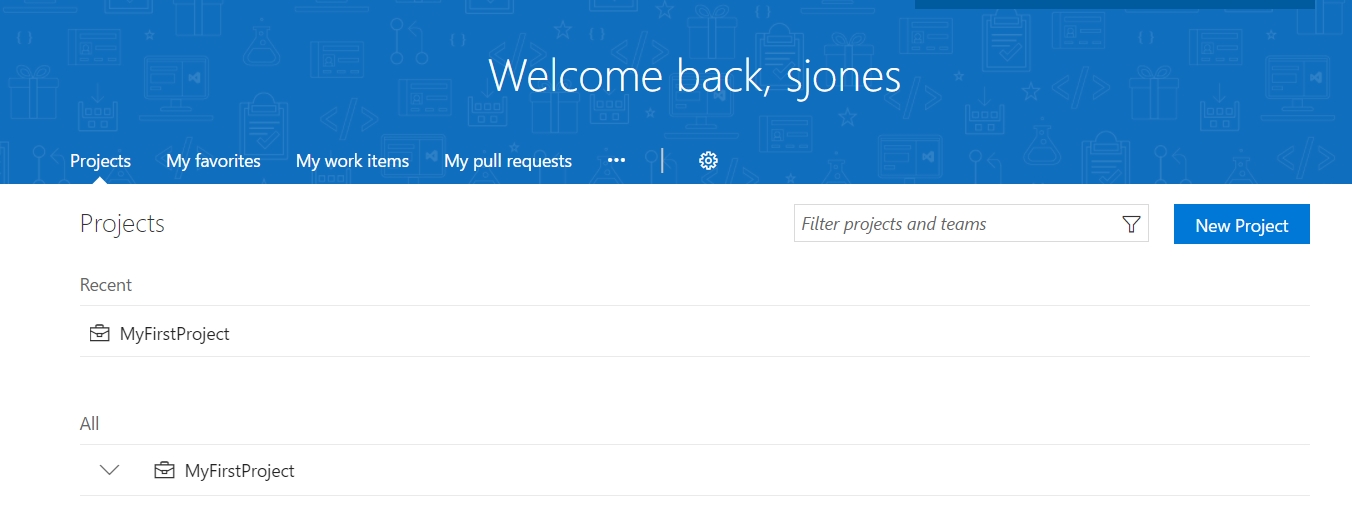
On the account overview, you will see a list of your projects. Click the New Project button (upper right) to create a new project.
-
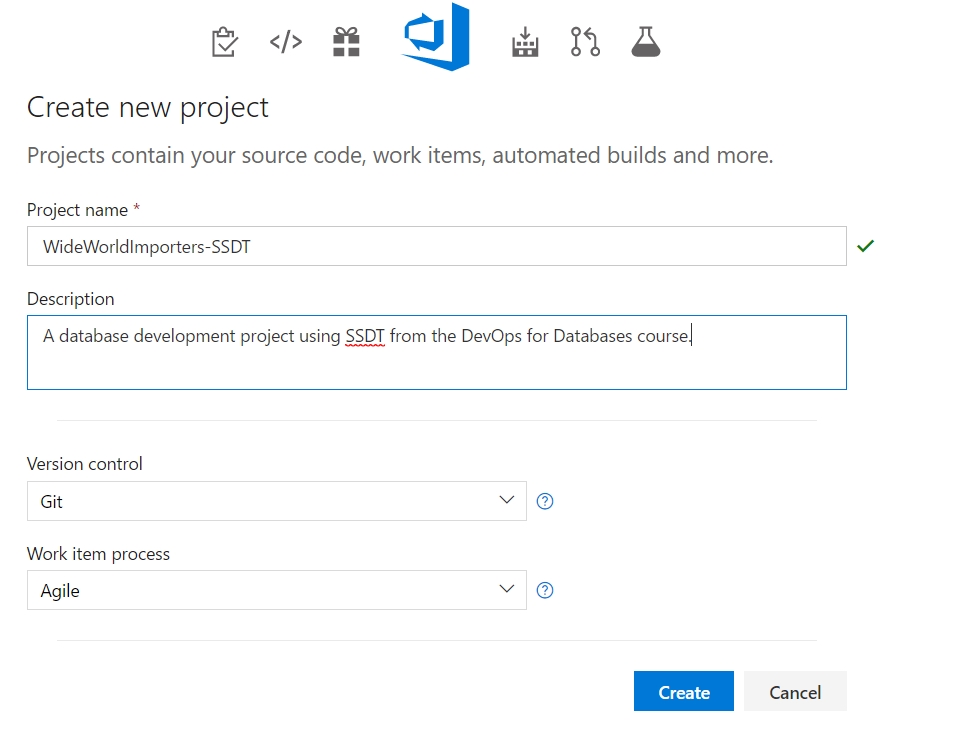
The new project form is simple. We will create a new project for our state-based development. You can provide any name and description, but I have used WideWorldImporters-SSDT for my project name. Click Create to continue.
-
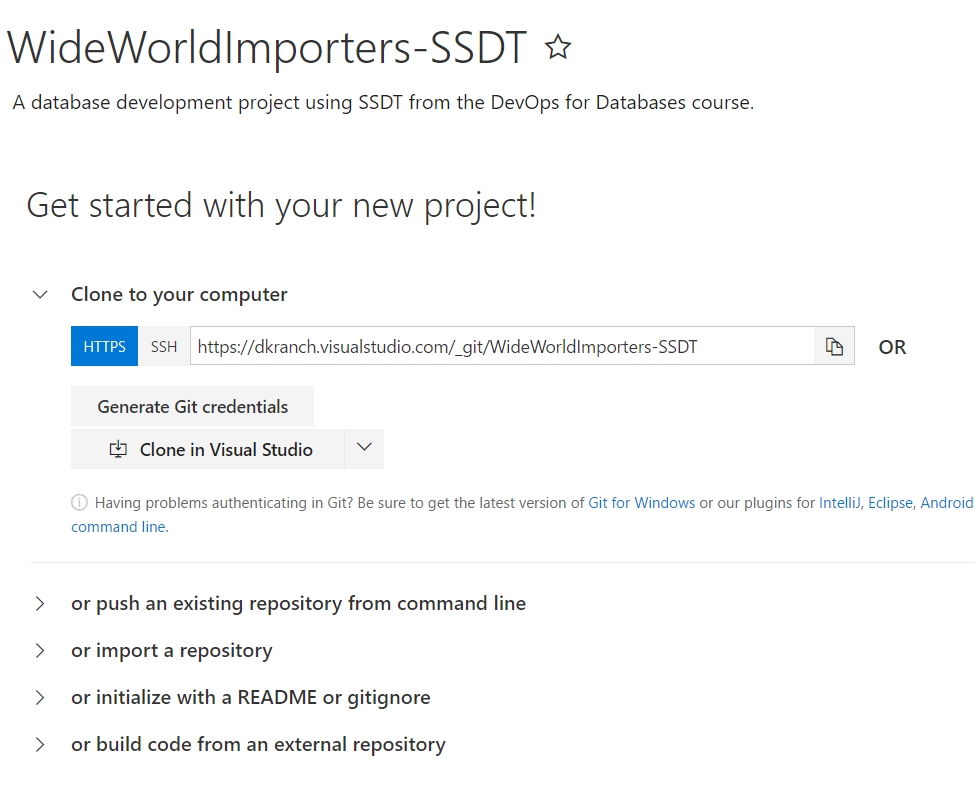
The project is created and you are prompted to clone this project to your computer. We will do that in another lab.
-
Repeat the previous steps to create another project WideWorldImporters-RR.
Task 3: Browse a project
Get oriented with Visual Studio Team Services and learn where the different locations are for tasks.
-
After the projects are created in the lab above, you should have the last project selected. In the image below, we can see WideWorldImporters-RR in the upper left of my screen.
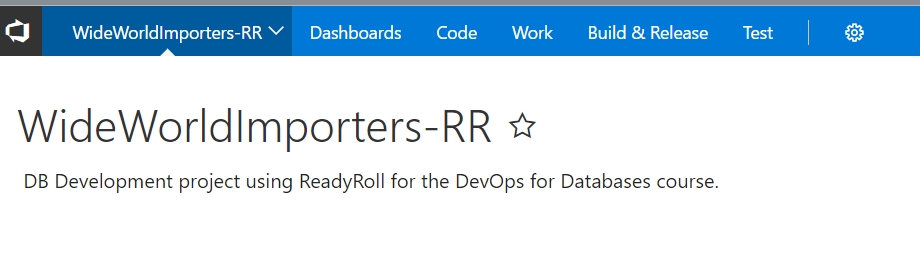
All of the icons to the right of the project name are used to browse the project. We will walk through them briefly in this lab.
-
Click on Dashboards and you should see an image like the one below:

This is the overview of your project. By default, there are several widgets that give you information about your project or allow you to perform tasks. For example, on the left, there are several possible options in the first pane. Below that is a chart that is currently shown without any dates entered.
In the middle, I can see my work. I don’t have any yet. Below that, I can begin adding work. To the right, I see other widgets that are useful for understanding other information.
In the upper right of each widget, as I hover over it, is a set of three dots that I can click to get other options. For example, on the “Work assigned to sjones” widget, I get these options.
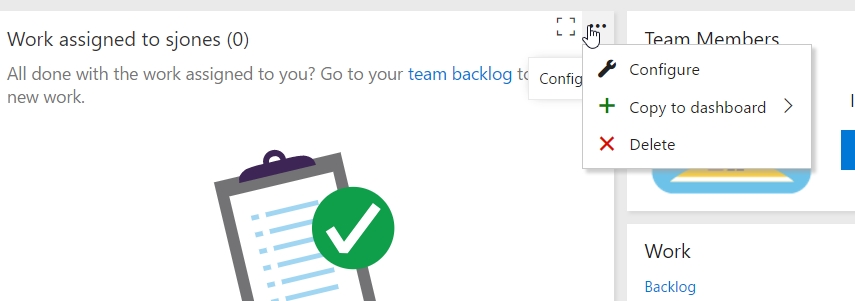
We will not discuss this in detail, but be aware that there are numerous capabilities in VSTS that are useful for software development teams. You can learn more here.
-
Click Code at the top of the page. You should get a page that lets you know this repository is empty. That’s expected because we just created the project.
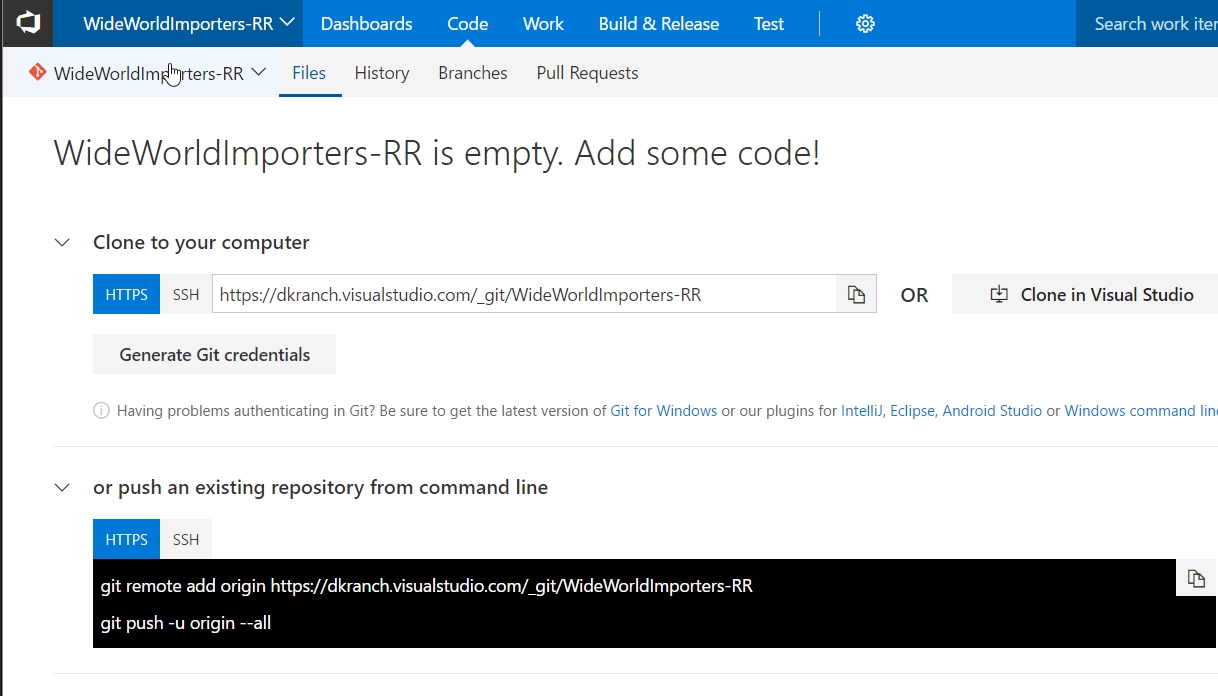
In another lab, we will learn how to connect our Visual Studio projects to this repository.
-
Click Work at the top of the page. This provides the area where we can plan and track the various tasks that our project needs.
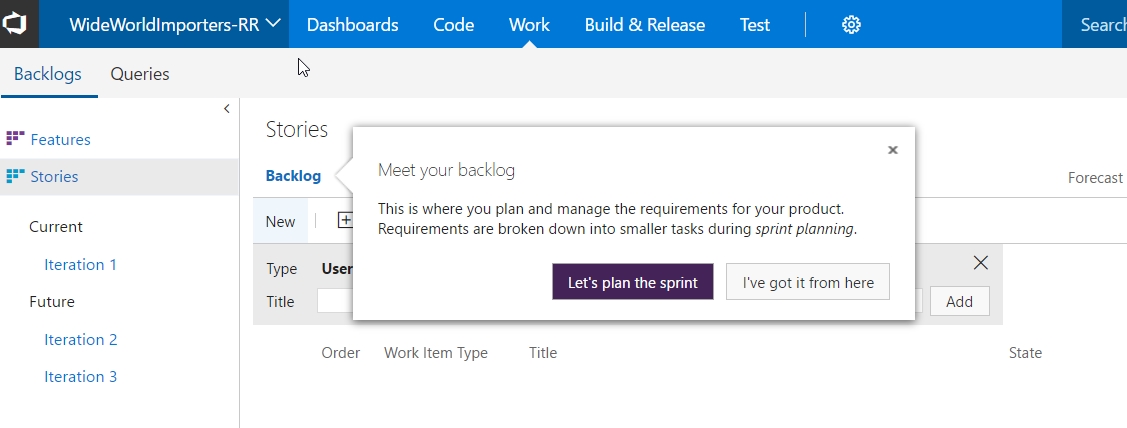
We will not spend much time explaining this page, but there is additional documentation on the VSTS site.
-
Click Build&Release at the top of the page. You should then see a page with a set of tabs. The visible one is the Builds tab, and is underlined.
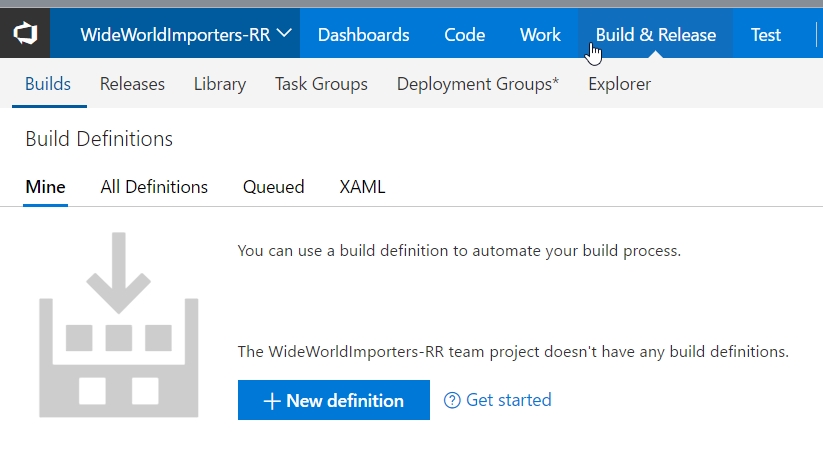
There are additional menus, as you can see in the image above. The page is opened to my personal build definitions, but there are tabs for all project builds, the queued builds, and the raw XAML used for builds.
In a future lab, we will create a new build definition.
-
Click the Releases tab. You should see that there are no release definitions defined yet.
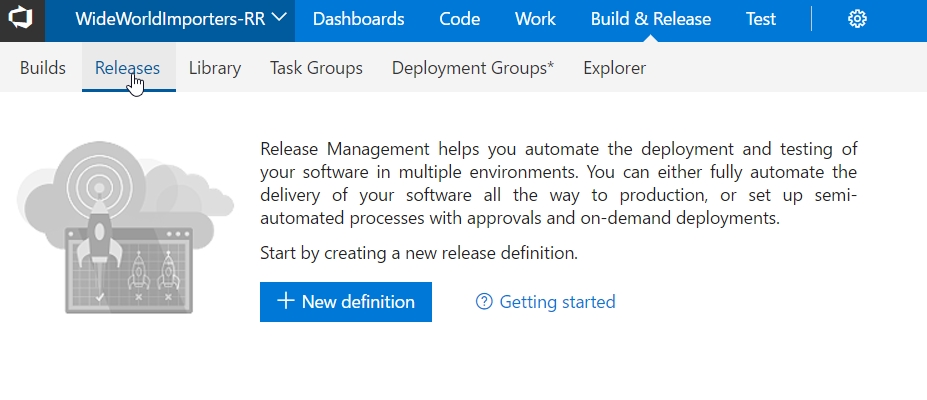
In a future lab, we will create more release definitions.
-
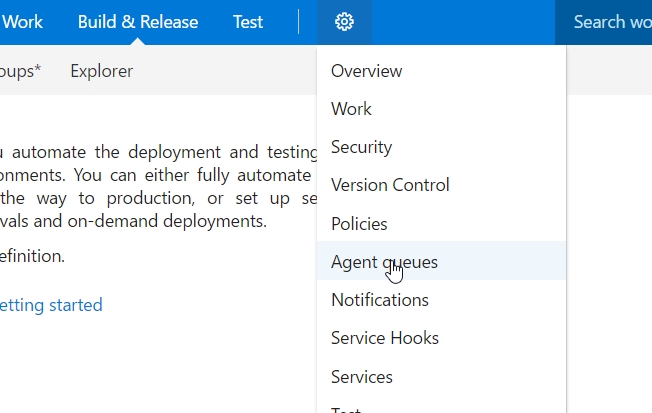
Hover over the gear icon to the right of the top menu. From the drop-down menu that appears, click Agent queues.
-
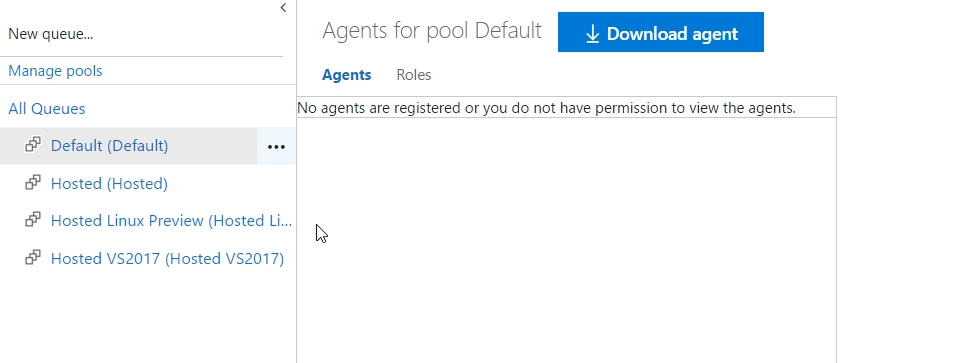
This will open the Agent queues list. There are several queues to the left, some are hosted and one is a default queue. In the center, click the Download agent button to download the VSTS agent software.
-
Unzip and configure the local agent. This is a process that is better described in the Deploy an agent on Windows documentation. We will use this agent to run our builds and deploy our software.
Note: The commands for configuring the agent will not work if executed interactively in PowerShell. They should be executed in an elevated (Run as Administrator) command prompt.
Summary
In this lab you completed the following tasks:
- Create a Visual Studio Team Services account
- Create a Project for your code
- Browse a project
There are many, many more features in VSTS, but these are the main items we will use in future labs. If you want to learn more, the main VSTS documentation is located at VisualStudio.com.