Azure Automation with DSC
In this lab we will create a Desired State Configuration (DSC) file. We will import the DSC file into an Azure Automation Account, compile it, and then apply the configuration to Azure Virtual Machines (VMs).
DevOps Course Source:
This lab is used in the following courses.
- DevOps200.2x: Infrastructure as Code - Module 2 Desired State Configuration (DSC).
- AZ-400T05: Implementing Application Infrastructure - Module 2 Azure Automation. The lab compliments the AZ-400 series of courses to help you prepare for the AZ-400 Microsoft Azure DevOps Solutions certification exam.
Pre-requisites:
- Complete the previous lab Azure Automation Runbook Deployments
Lab Tasks:
- Create a DSC configuration file, import it into an Azure Automation Account, and compile it.
- Apply the DSC configuration to Azure VMs.
Estimated Lab Time:
- Approx. 40 minutes.
Task 1: Create a DSC configuration file, import it into an Azure Automation Account, and compile it.
-
In your local environment, copy the following code, paste it into a new Windows PowerShell DSC Configuration file, and save the file locally as
LabConfig.ps1.configuration LabConfig { Node WebServer { WindowsFeature IIS { Ensure = 'Present' Name = 'Web-Server' IncludeAllSubFeature = $true } } }
Note: If you prefer, you can also use a pre-existing version of the file
LabConfig.ps1. You can download the file in RAW format from Microsoft’s Parts Unlimited GitHub repository.
-
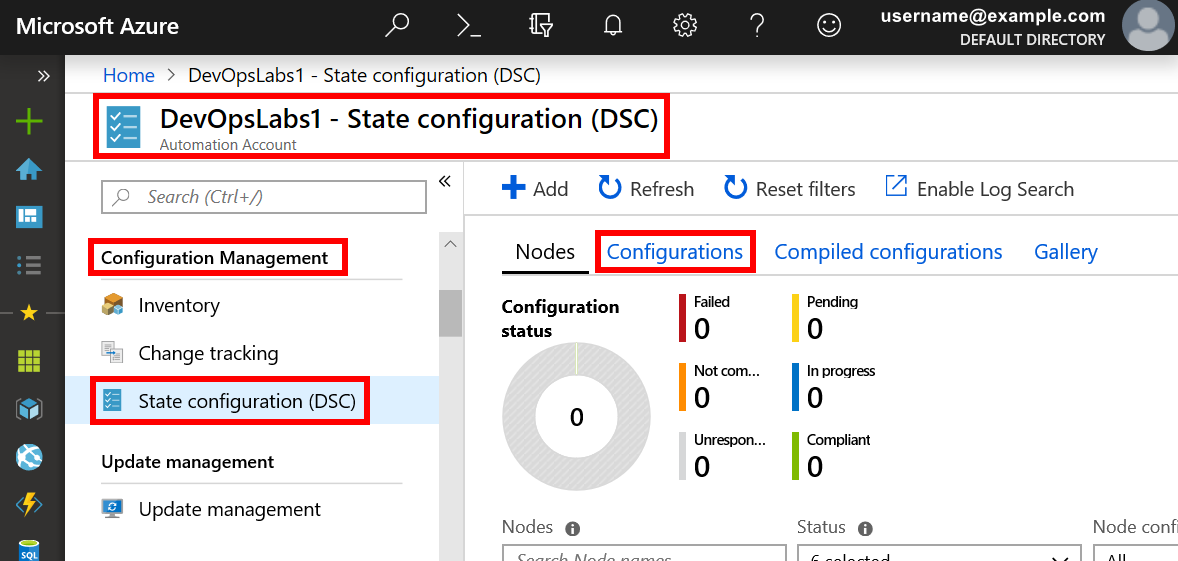
In Azure Portal, navigate to the Azure Automation Account you created in the previous lab. Go to Configuration Management > State configuration DSC. Select the Configurations tab from the State Configuration DSC pane.
-
Choose + Add. From inside the Import configuration pane, select the script file
LabConfig.ps1that you created in the previous task. Then choose the OK button.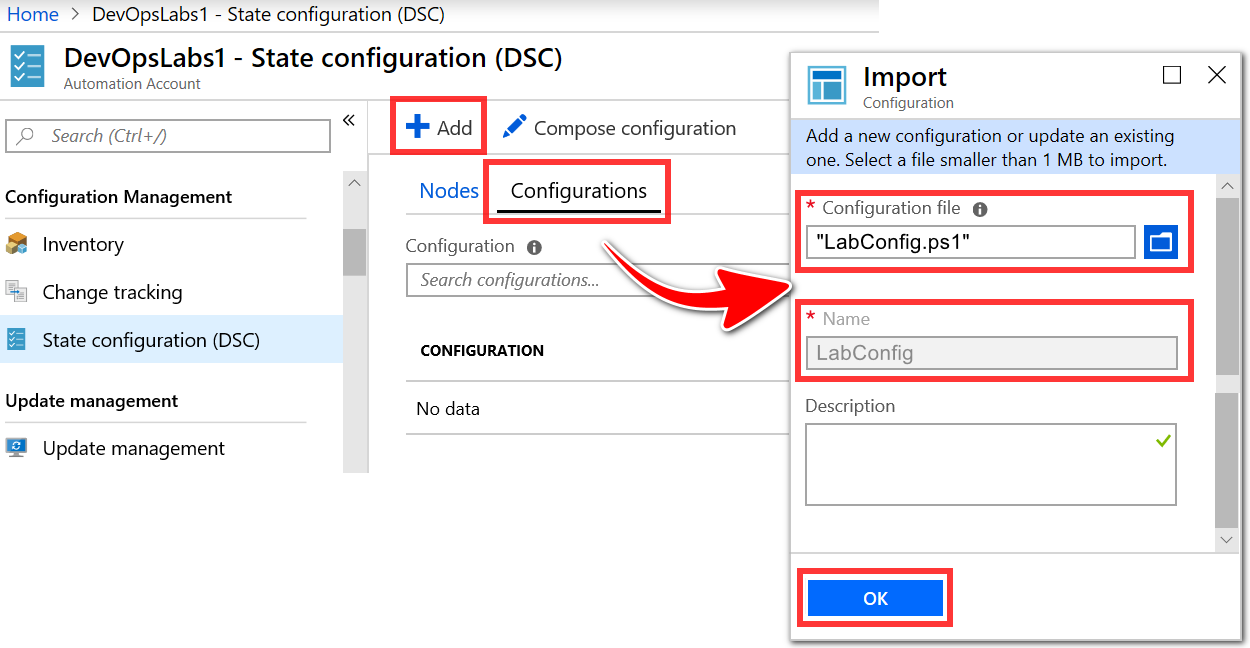
-
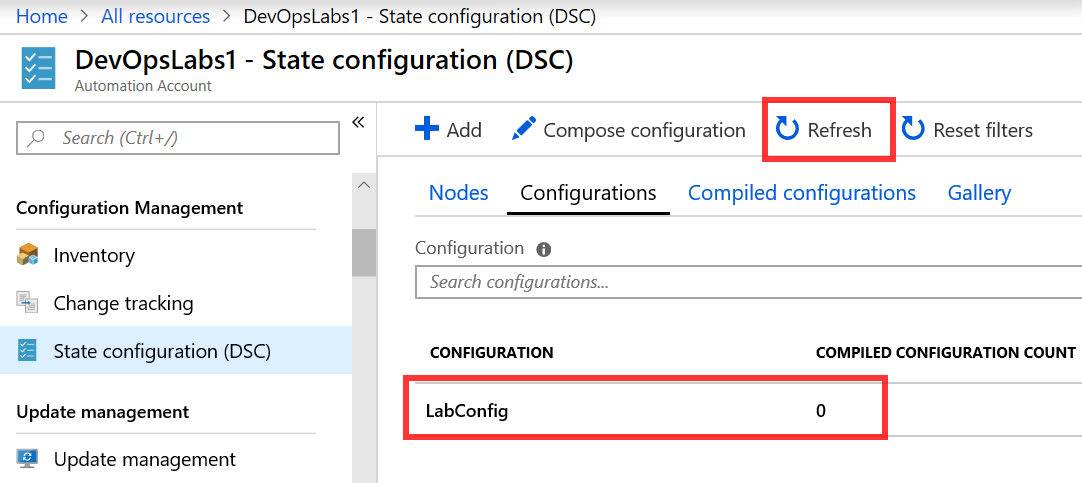
Select the Refresh button to verify that the configuration file loaded. Then click on the file name LabConfig.
-
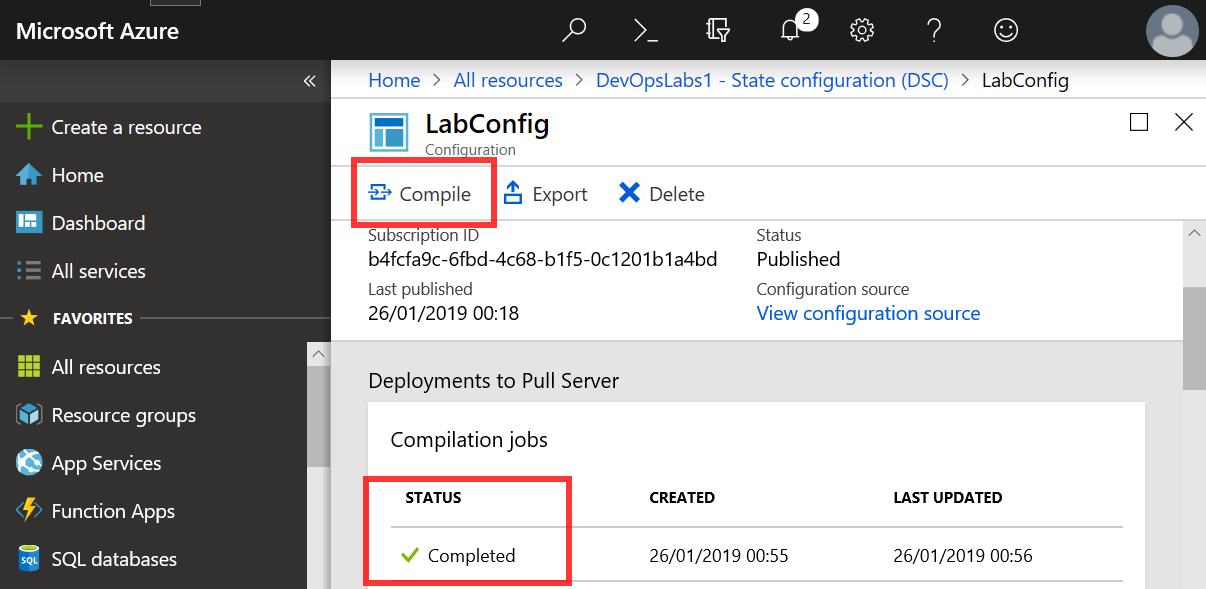
When the LabConfig Configuration pane opens, select the Compile button. Choose Yes, if you are prompted to confirm that you want to compile the configuration. Wait for the compile operation to complete, then confirm that the Compilation jobs status is Completed.
The configuration file may take up to 15 minutes to compile.
Task 2: Apply DSC configuration to Azure Virtual Machines
We will now apply the DSC configuration file to the VMs that you provisioned in the previous lab (Azure Automation Runbook Deployments lab).
Note: To continue with this lab task, ensure that you have completed the previous lab successfully and that the required VMs are present. If the VMs are not present, complete the previous lab before you proceed.
-
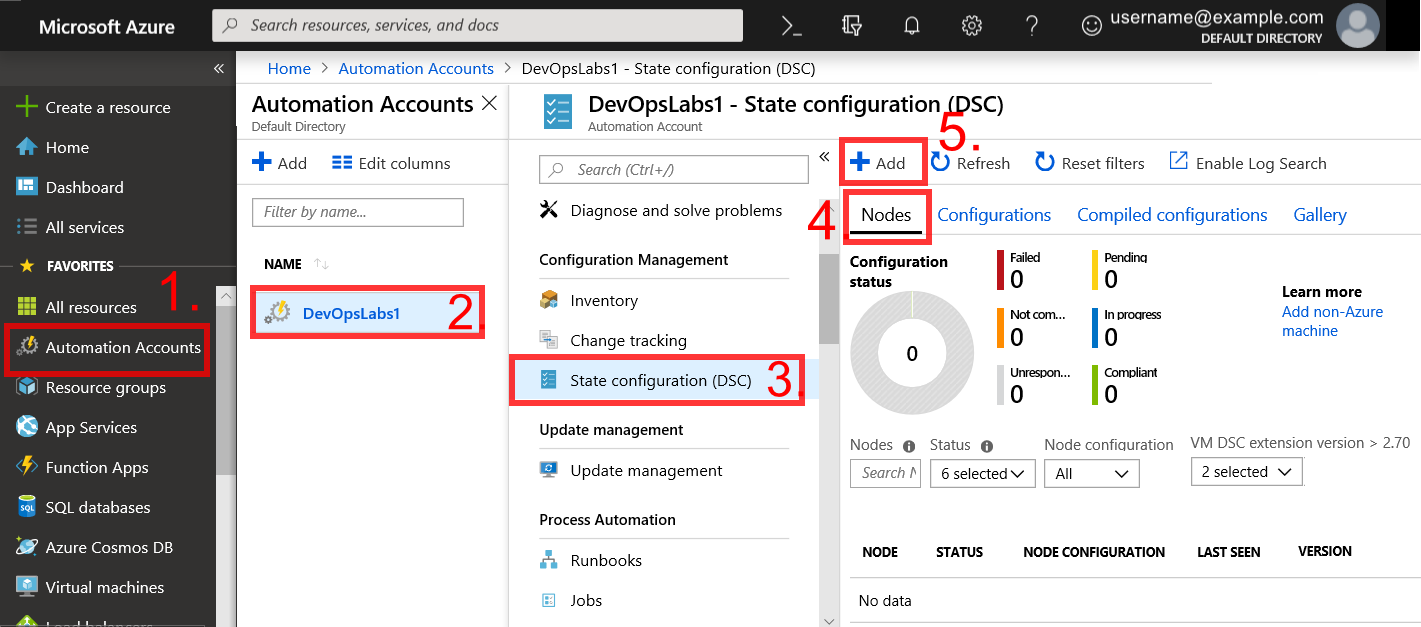
In Azure Portal, navigate to the Azure Automation Account you created in the previous lab. Go to Configuration Management > State configuration DSC. Choose the Nodes tab from the State Configuration DSC pane. Select the + Add button.
-
Choose the first VM
vm1. Select the + Connect button to add the Azure VMs to your Automation Account, from the vm1 Connection Status pane.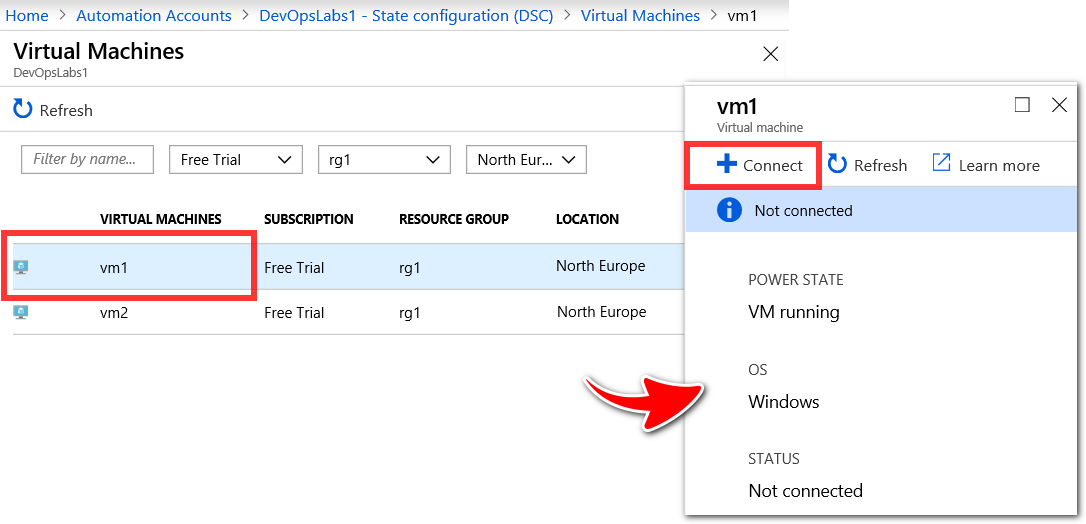
-
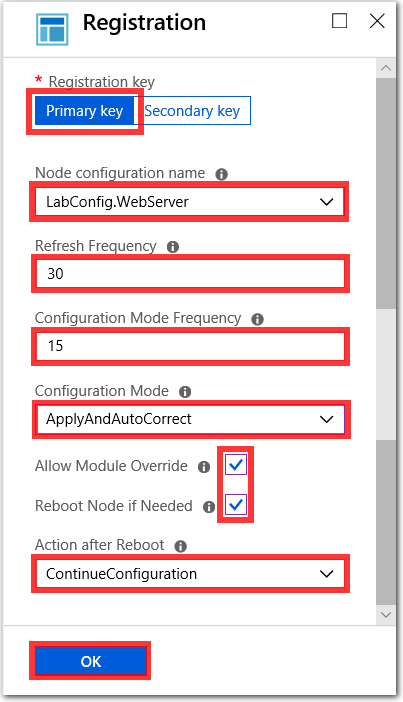
Specify the following settings for the VM, inside the Registration pane. When you have entered the settings, select the OK button.
- Registration key:
Primary key - Node Configuration Name:
LabConfig.WebServer - Refresh Frequency:
30 - Configuration Mode Frequency:
15 - Configuration Mode:
ApplyAndAutoCorrect - Allow Module Override: check the checkbox
- Reboot Node if Needed: check the checkbox
- Action after Reboot:
ContinueConfiguration
- Registration key:
-
It may take 15 minutes to connect to vm1 and apply the DSC configuration. While you wait for operations on vm1 to be completed, repeat steps 2 and 3 for the second VM i.e. vm2.
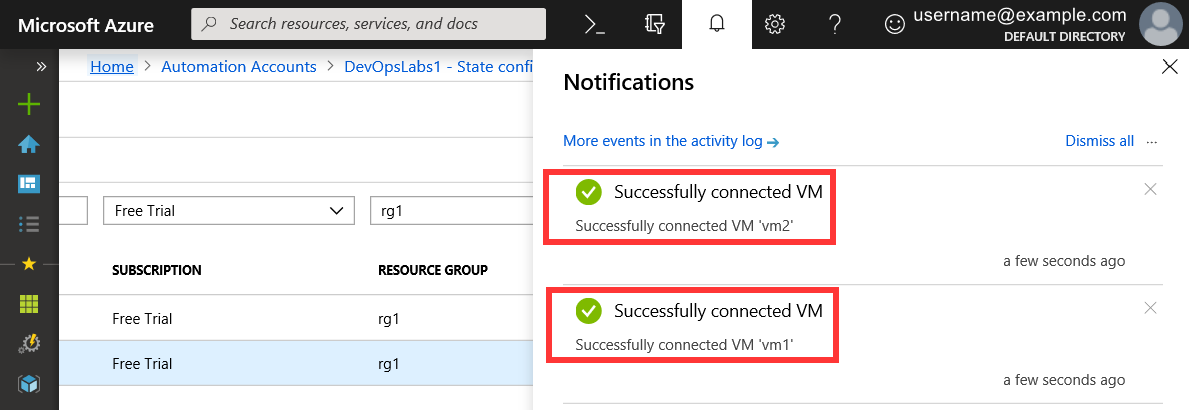
You can select the Notifications icon to open the Notifications pane, to monitor the progress of the VM connection and DSC configuration operations.
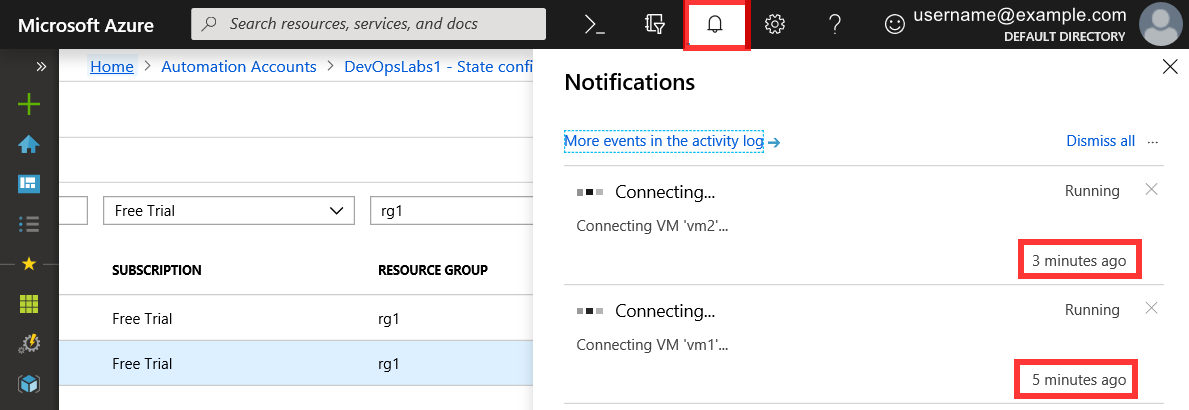
When the operations are completed the Successfully connected VM message will be shown in the Notifications pane.
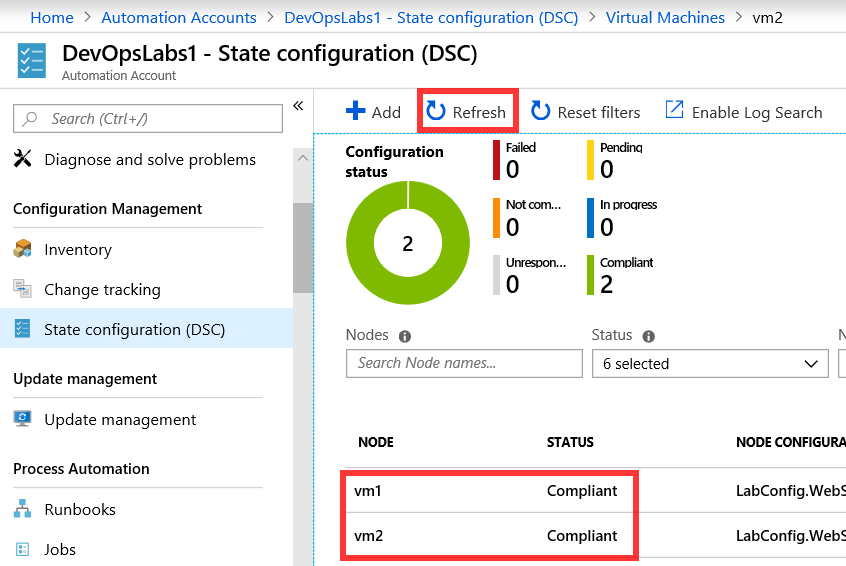
-
Once the operations are completed, navigate back the State Configuration DSC pane. In the Nodes tab, the VMs status should now be listed as compliant. You may need to select the Refresh button.
-
Obtain the public IP Address of the Load Balancer that was generated as part of the previous lab (Azure Automation Runbook Deployments lab).
Form the menu on the left, choose All Resources. Select the Load Balancer, i.e.
rg1lb, from the list of resources inside the All Resources pane.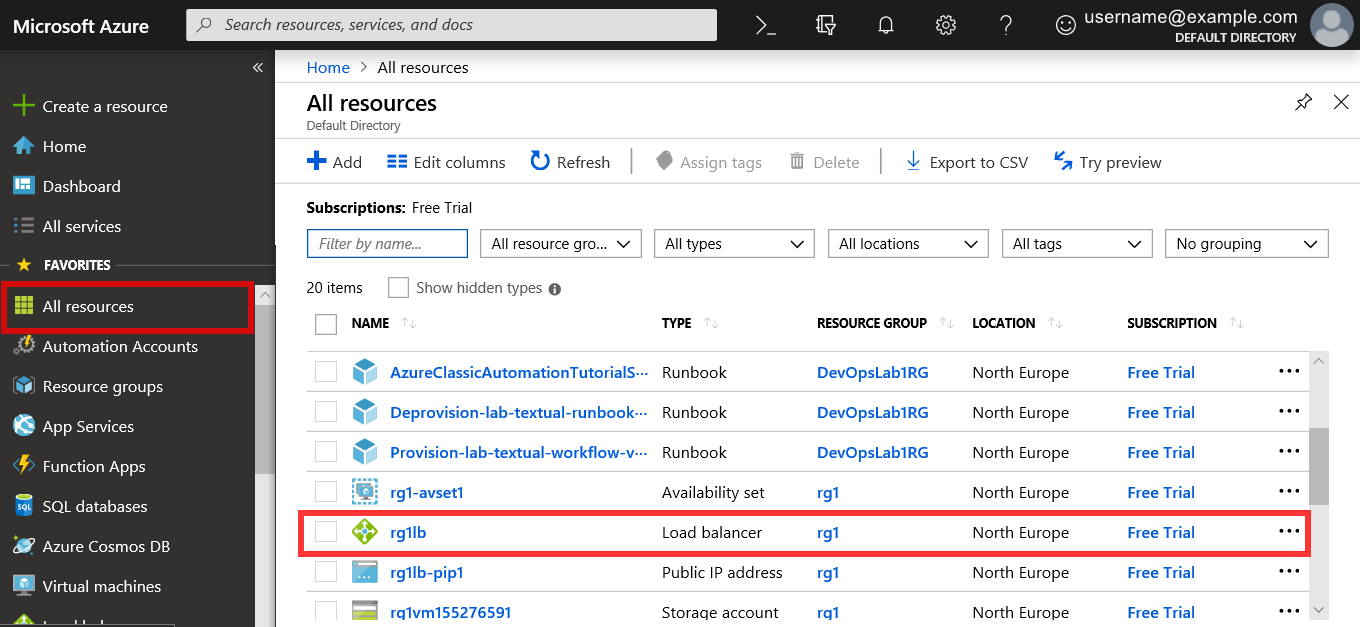
Copy the public IP Address of the Load Balancer shown in the Public IP address field, from inside the Resource Details Overview pane for the Load Balancer.
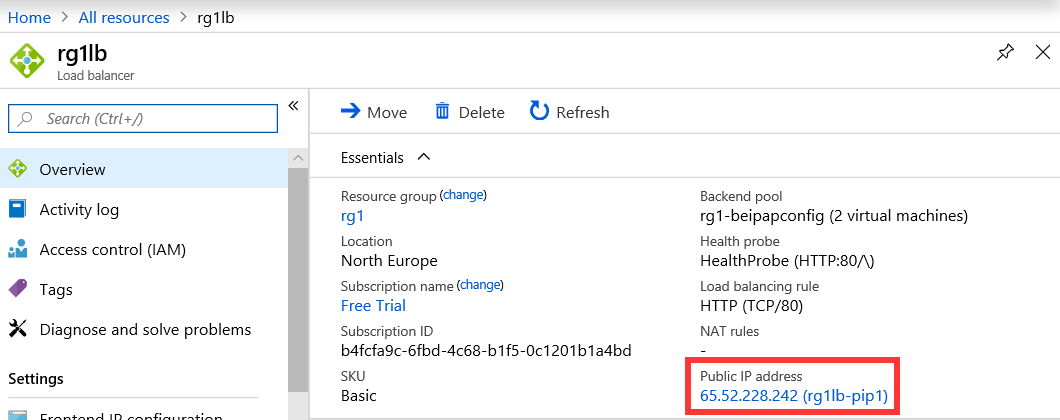
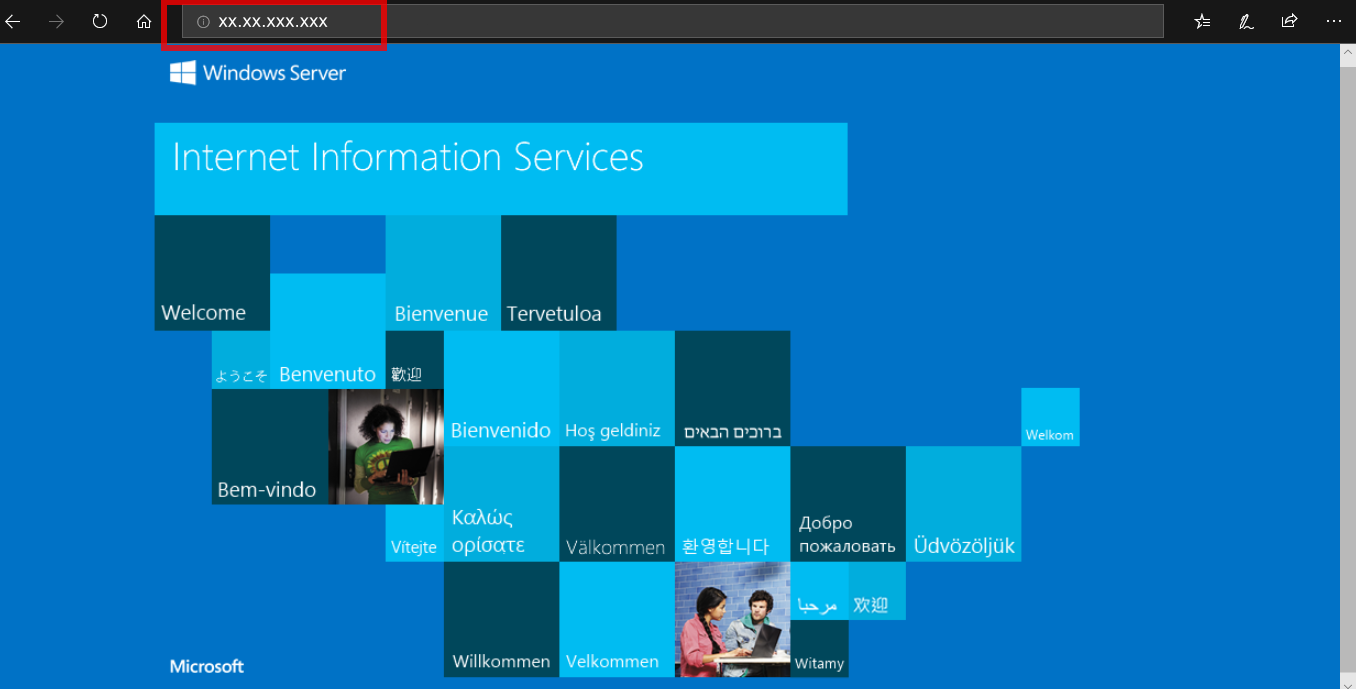
Verify that changes took effect by pasting public IP Address of the Load Balancer into the address bar of a web browser, and browsing to address. You should see the default Internet Information Services (IIS) web page, if your changes were applied successfully.
Summary
You have successfully applied a DSC defined configuration to two azure virtual machines.
If you have time you could perform some of the following additional tasks for to help you learn more about DSC configurations and Azure.
- Take one of the VMs offline and verify that you can still access the IIS default page
- Connect to one of the VMs using the Remote Desktop Protocol (RDP)
- Uninstall IIS
- Verify that the DSC configuration is applied to the VM within 15 minutes, as we configured earlier, without any further intervention from you
- Verify the DSC state is re-applied and becomes compliant in Azure, and that you can connect to IIS successfully