Create a Coded UI Test using Visual Studio
In this lab, you will learn to create a coded UI test using Visual Studio 2017. You will create the demo test by recording actions and adding assertions using the Coded UI Test Builder. For the purposes of the lab, we will use the PartsUnlimited web application hosted on Azure to run this lab.
DevOps MPP Course Source
- This lab is used in course DevOps200.5x: DevOps Testing - Module 5.
Lab Video:
Pre-requisites:
- Visual Studio 2017
- Coded UI Builder needs to be installed (Requires Enterprise Edition and is an optionally installed item)
- PartsUnlimited website deployed to a Microsoft Azure Web App (see link). For our purposes, we will use the PartsUnlimited website deployed at http://cdrm-pu-demo-dev.azurewebsites.net/
Lab Tasks:
- Create a Coded for a Coded UI Test by Recording and Adding Assertions
Estimated Lab Time:
- approx. 30 minutes
Let’s get Started on the Lab
-
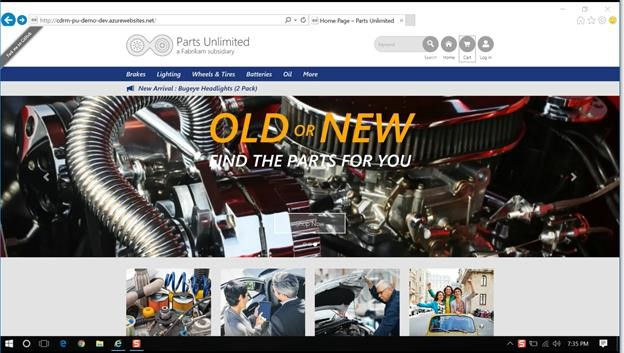
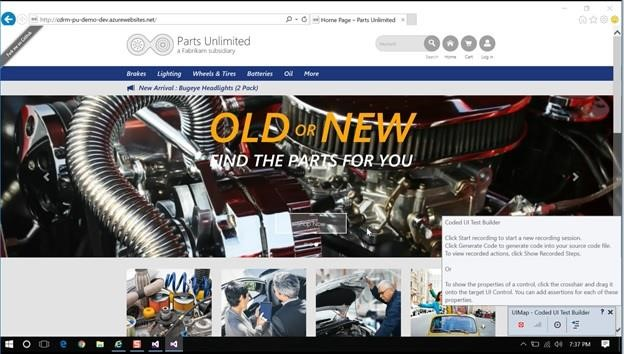
Launch the PartsUnlimited web application by going to the URL http://cdrm-pu-demo-dev.azurewebsites.net/
-
This opens the PartsUnlimited application as shown below.
-
Review the shopping cart and check to see it is empty.
-
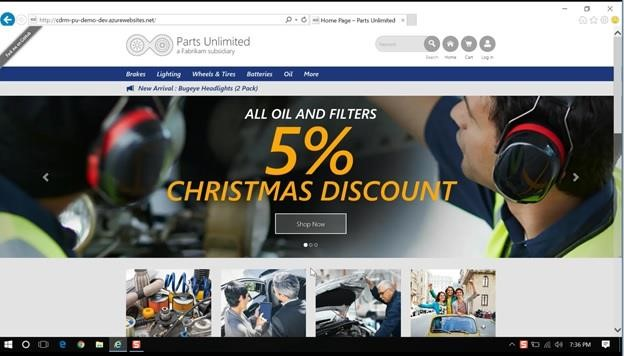
Click the Home web link to go back to Home page. You can see that we have our Christmas discounts running on the Home page.
- Launch Visual Studio Enterprise 2017.
-
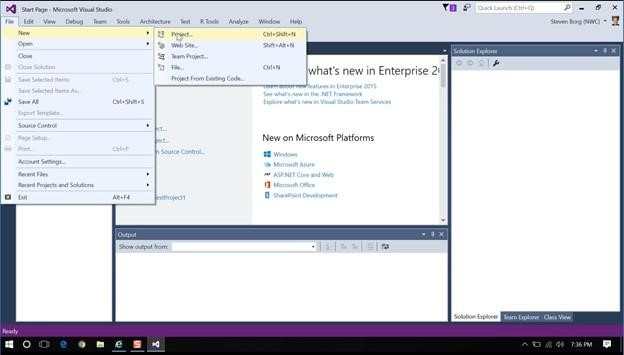
We will now create a new project. Click File > New > Project.
-
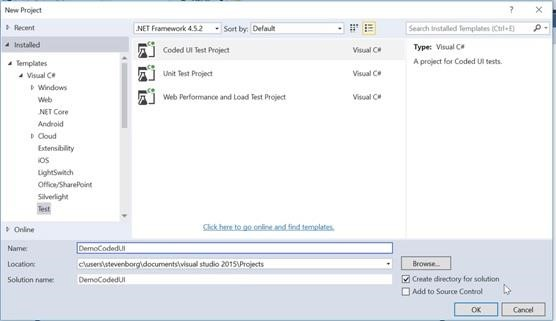
Project will be a Visual Studio Test project. In the New Project window, select Coded UI Test Project. Ensure project Type is Visual C#.
-
We’ll call our project DemoCodedUI. Type the Name as DemoCodedUI.
-
Ensure that the Create directory for solution check box is checked. Keep the Add to Source Control unchecked. Of course, in a real-world scenario you will check this.
-
Click OK.
This will create the new project as DemoCodedUI.
-
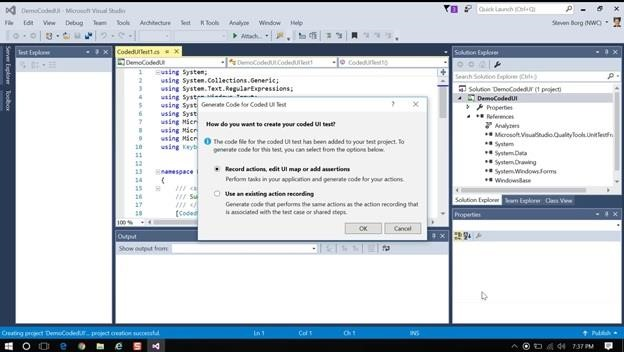
Now, the Generate Code for Coded UI Test dialog box pops-up. It’ll ask you How do you want to create your coded UI test? It’ll give you a choice to record actions or to use an existing action recording. Keep the default option Record actions, edit UI map or add assertions selected and click OK.
This brings up the Coded UI Test Builder at the bottom-right corner of the screen.
-
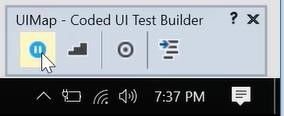
To record what you want to do, click the Start Recording
 button in the Coded UI Test Builder pop-up at the right bottom of the screen.
This starts the recording.
-
Now, we will track what we will do. Click on Lighting menu item on the home page of the PartUnlimited web application. This moves you to the Lighting section.
-
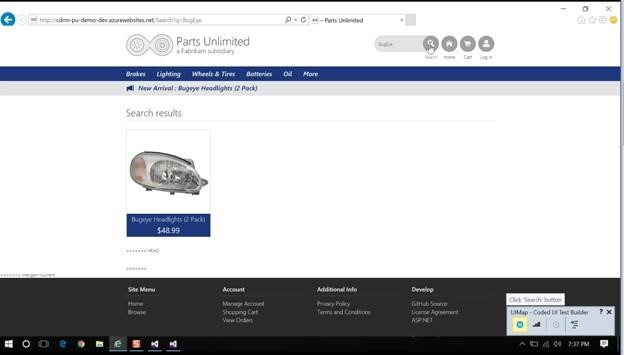
Next, we will go up and search for BugEye. Type BugEye in the Search field and then click Search. This displays the Search result with the BugEye product displayed.
-
Click the BugEye product image. This displays the BugEye product details page.
-
Click ADD TO CART button. This displays the Review your Cart page. At this point we want to generate the code.
-
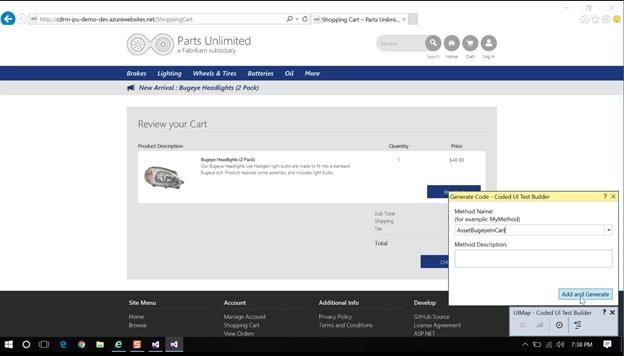
Click on Generate Code button at the bottom-right corner of the screen in the Coded UI Test Builder interface.
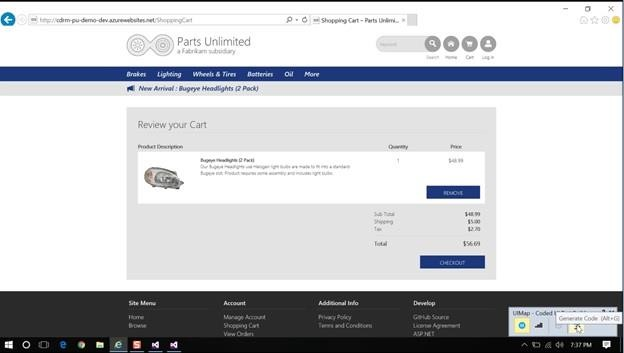
This displays the Generate Code – Coded UI Test Builder box.
-
Type AddBugeyeToCart as the Method Name and click the Add and Generate button.
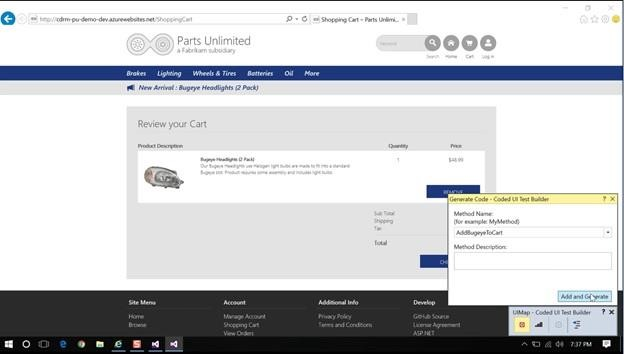
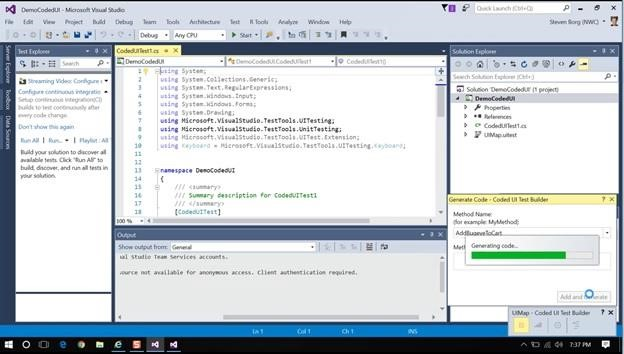
This generates the code.
-
Next thing we want is to make an assertion to make sure it made it to the cart. Click the Add Assertion
 button on the bottom-right corner of the screen. You might also want to hit the « symbol to expand the window.
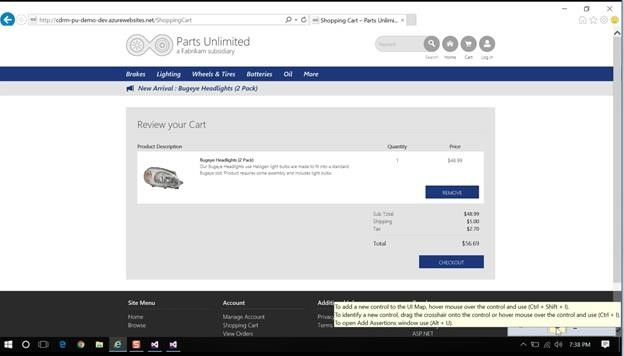
-
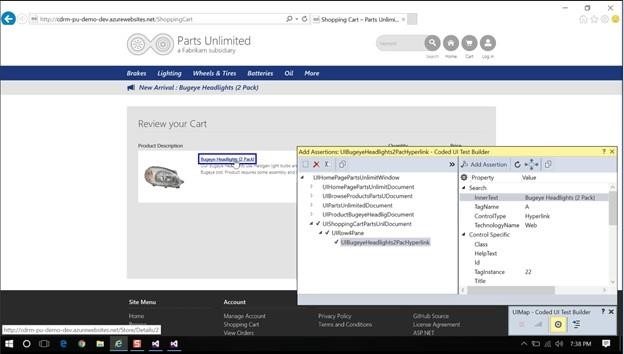
Now hover your mouse over the Bugeeye Headlights (2 Pack) product name shown on the screen and click Control-I to select it. This adds the Assertion to the list of controls that we care about.
-
Next, add an assertion by clicking the Add Assertion button in the Add Assertions: UIBugeyeHeadlights2PacHyperlink – Coded UI Test Builder window.
This opens the Add assertion for: InnerText box. Make sure it includes Bugeye Headlights (2 Pack) as the Comparison Value.
-
Type in the message Cart doesn’t include bugeye in the Message on Assertion Failure textbox to ensure you have a message in case it fails.

-
Click OK.
The assertion is now added. You can close the Add Assertions box.
-
Click the Generate Code
 button at the bottom-right corner of the screen. This displays the Generate Code – Coded UI Test Builder box.
 -
Type AssertBugeyeInCart in the Method Name text box.
-
Click Add and Generate.
This generates the code.
-
At this point, you can resume the recording by clicking the Resume Recording
 button at the bottom-right corner of the screen in the UIMap – Coded UI Test Builder tool.
 -
Click the REMOVE button in your shopping cart. Your cart is now empty.
-
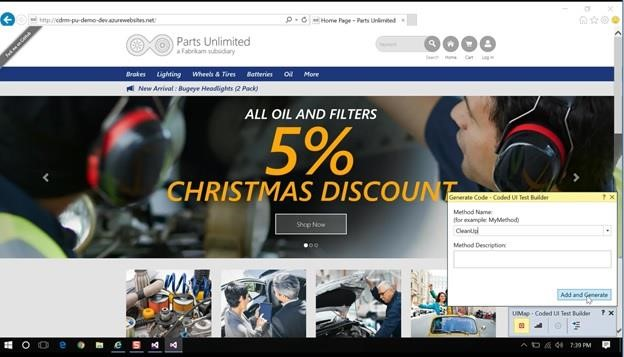
Click on Home link to go to the home page.
-
Generate the code again by clicking the Generate Code
 button at the bottom-right corner of the screen.
 -
Type CleanUp in the Method Name and click the Add and Generate button.
-
We are done. Close the UIMap – Coded UI Test Builder tool on the bottom-right corner of the screen.
-
You now have your Coded UI Test. You have the AddBugeyeToCart, AssertBugeyeInCart and CleanUp codes.
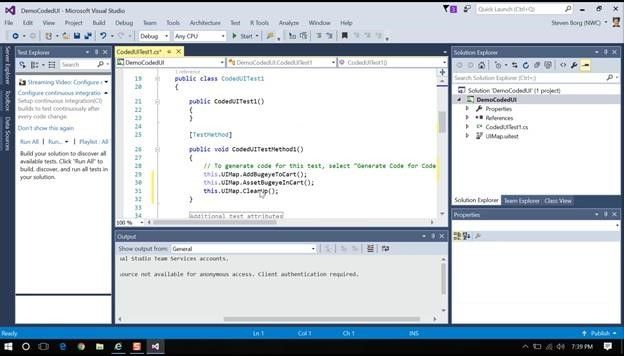
You are now all done with creating the Coded UI Test.
Click the Run Tests menu option to run your tests.
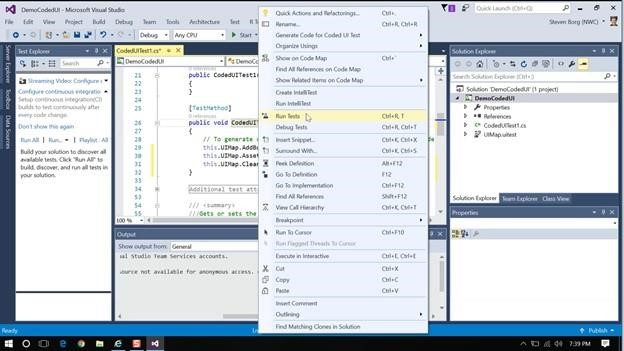
The test will now run on its own.
Congratulations! You’ve now completed this lab.
For more information , you can see: Visual Studio: https://aka.ms/edx-devops200.5x-vs01 Web Apps: https://aka.ms/edx-devops200.5x-az03