Challenge 7: Analytical Dashboard Using SAP S/4 Hana DB - Coach’s Guide
Notes & Guidance
There are few actvities for the PowerBI APP intergation with SAP HANA DB, at the high level steps can be summerized into three activities.
Contact your Microsoft team for the deployment files like SAP HANA studio, HANA client.
Activity 1:
Make sure that SAP S/4 appliance is installed and have access details to correct SAP client.
Activity 2:
Download and install the Power BI client, SAP Hana client and SAP HANA studio on SAP windows jump box to configure the DB connection and create the direct query using power BI desktop,
Activity 3:
Configure the poweBI app connection to SAP HANA DB using steps from documenations (both SAP and Azure). steps include –
- Create the additional SAP schema user , Assign appropriate previleges and roles to newly created users in HANA studio to conenct to SAP S/4 schema.
- In power BI clinet GUI add the user name / password of HANA db user and connection strings with tables name to extract the data.
- Once the data is extracted into power BI client, use appropariate column, row and filter criteria to create the query to show vistulaization using PIE and BAR chart.
- Publish the power BI app for the end user so they can use on their desktop for future use.
Login into SAP HANA Database using HANA Studio:

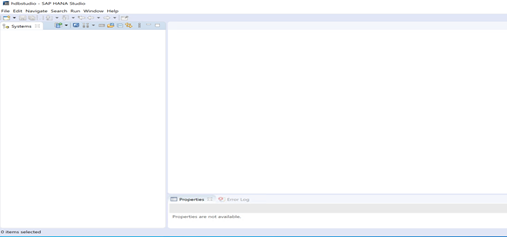
Initial screen of SAP HANA studio will pop up
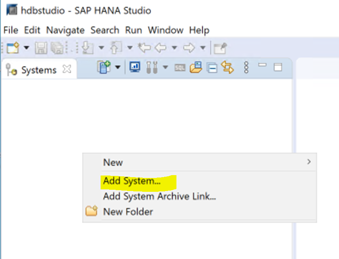
Right click on the left space under systems and select “Add System”
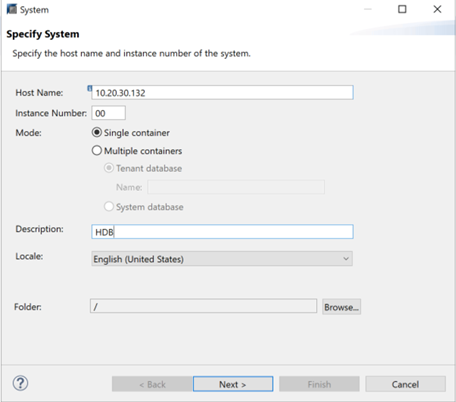
Enter the system information as below
Enter system user ID and password for SAP HANA DB
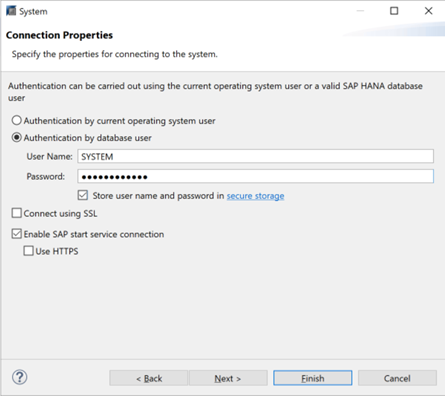
Add SAP system S4P
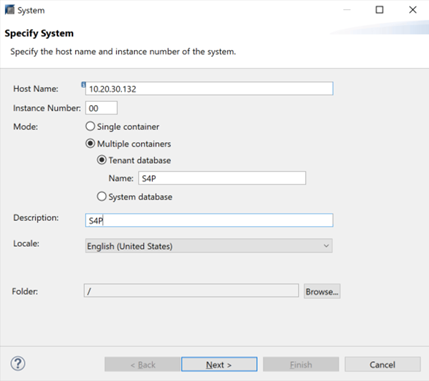
Enter the “SYSTEM” DB user and password
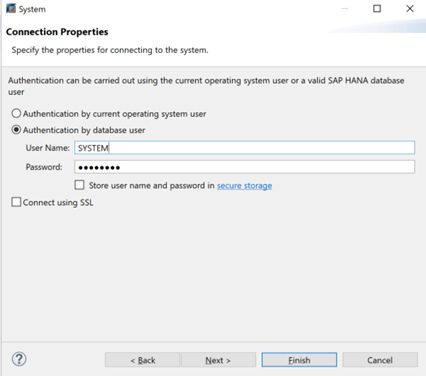
Setup new User ID in SAP HANA Database:
Create a new user ID SAPOPENHACK in SAP HANA, this user will be used to connect Power BI to SAP HANA Database
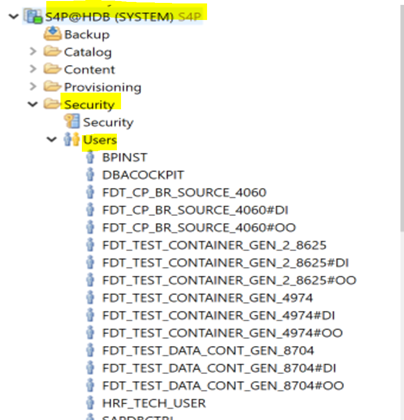
Create new user SAPOPENHACK
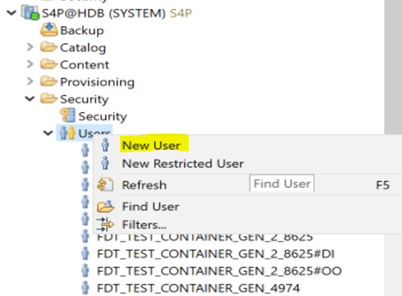
Enter “SAPOPENHACK” ID and Password –
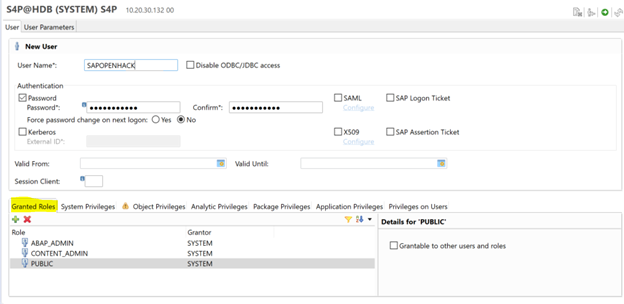
Add “ ABAP admin” “content admin” public” roles
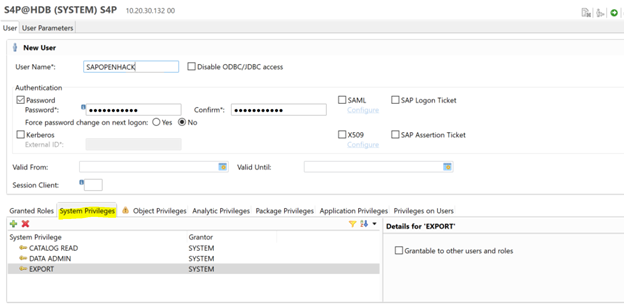
Add “catalog read”, “data admin” and “export” system privileges ..
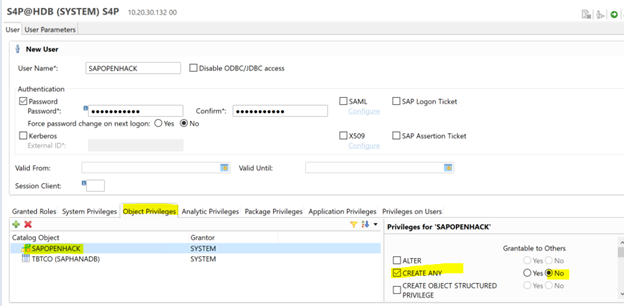
Add following object privileges — create and select
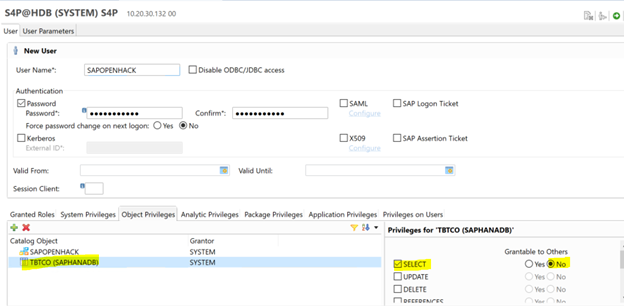
Save the configuration
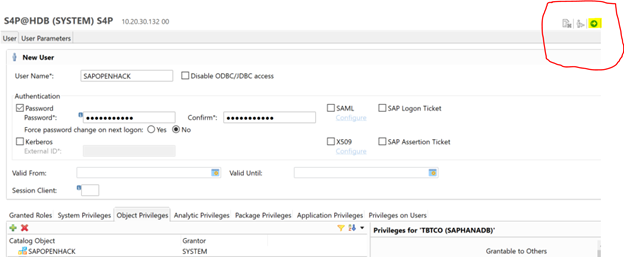
When we update the “Object Privileges” with TBTCO and granter is SYSTEM it won’t save it and gives an error. So remove that object and login into S4P with SAPHANADB ( User ID) and then goto securityàUsers-àSAPOPENHACK and add the object privileges with TBTCO.
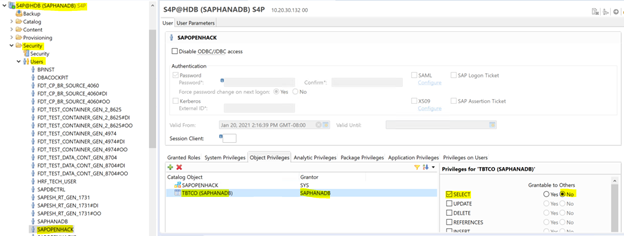
Follow the steps above and add an entry for SAPOPENHACK user also in HANA Studio.
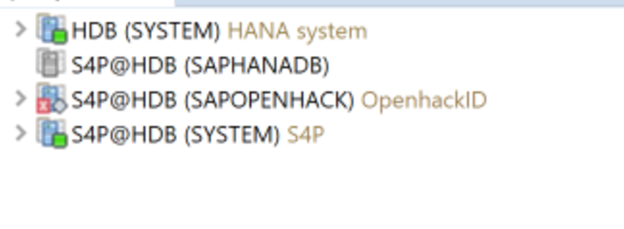
HANA configuration is complete … now Let’s work on Power BI connection and report…
Setup the connection in Power BI desktop to SAP HANA Database:
Install Power BI Desktop

Open Power BI desktop
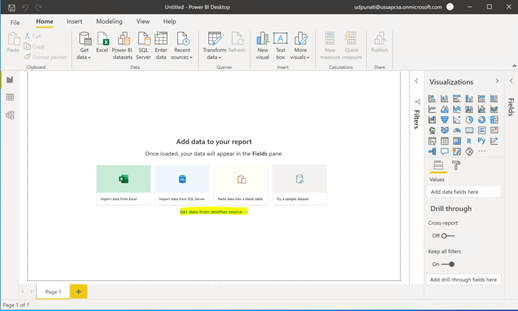
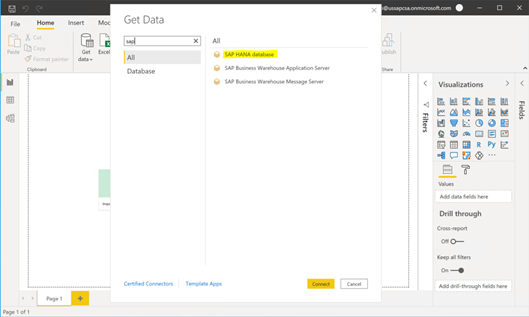
Click on “Get data from another source” and select “ Connect”
On following screen, type SAP Keyword
Enter SAP DB information on following screen
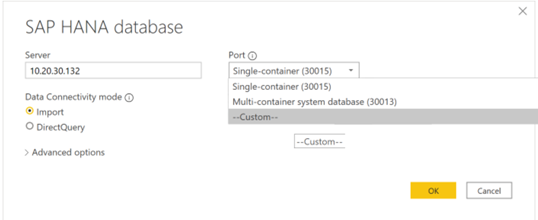
Enter port information as follows
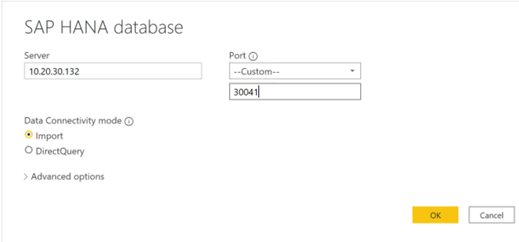
How to find the right SQL port in SAP HANA
Select custom and SQL query as follows
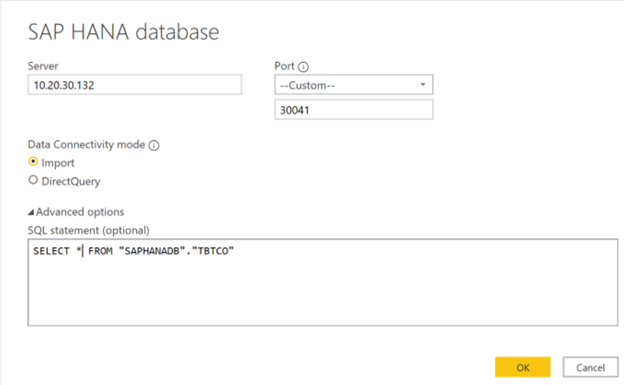
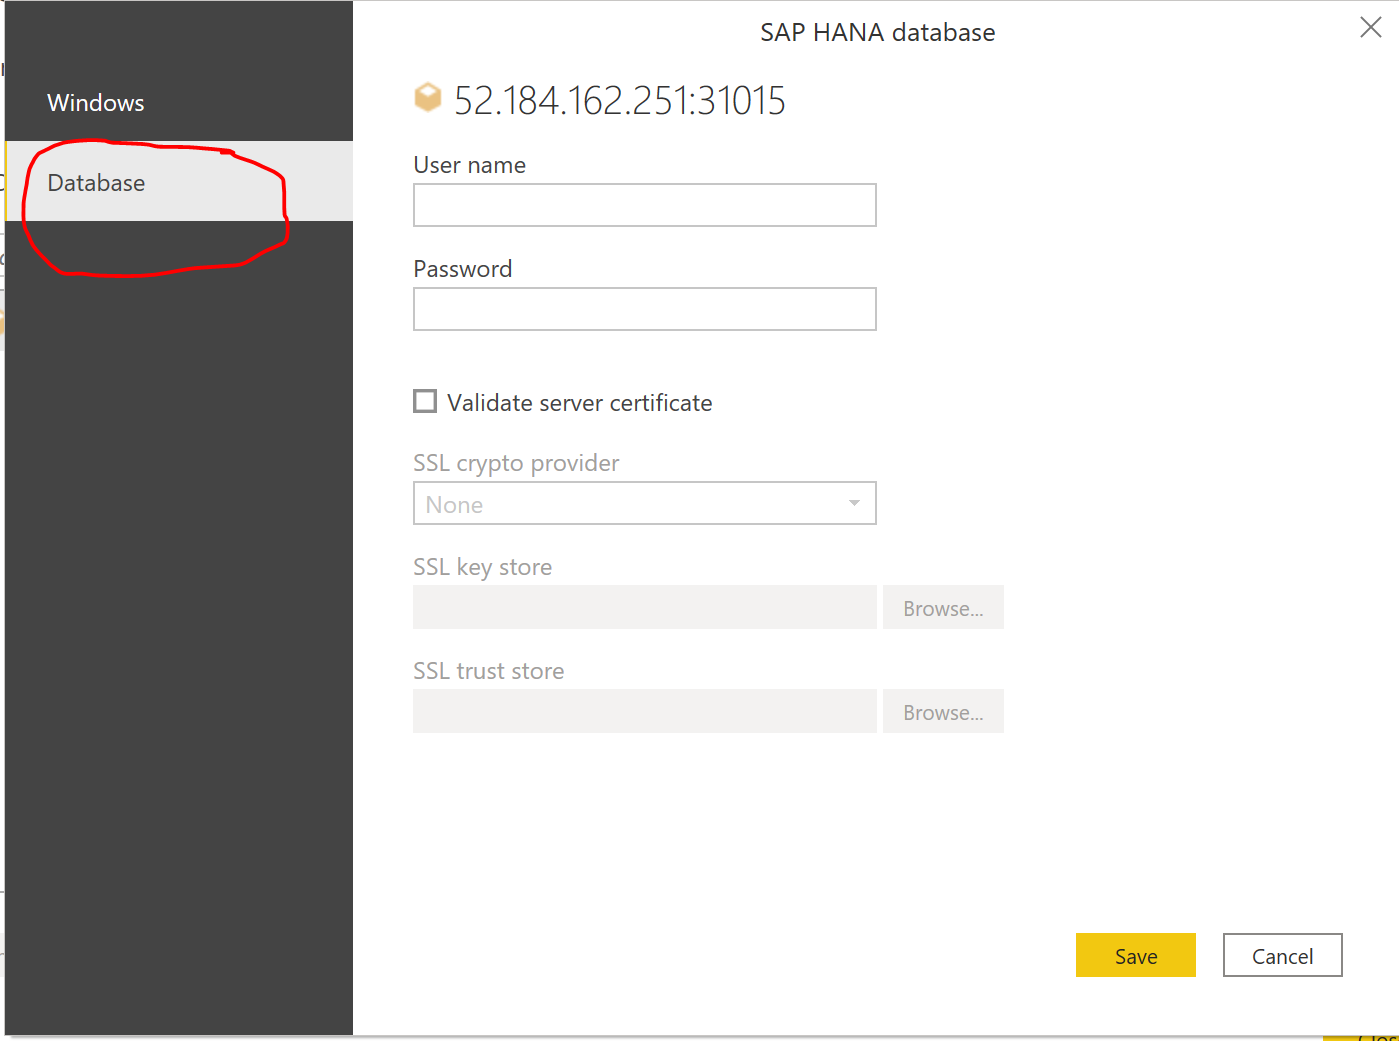
Note: When entering User credentials please make sure you select “Database” not “Windows” on left hanad side as highlighted on the below image.
Will pop up with information about SAP table TBTCO as follows
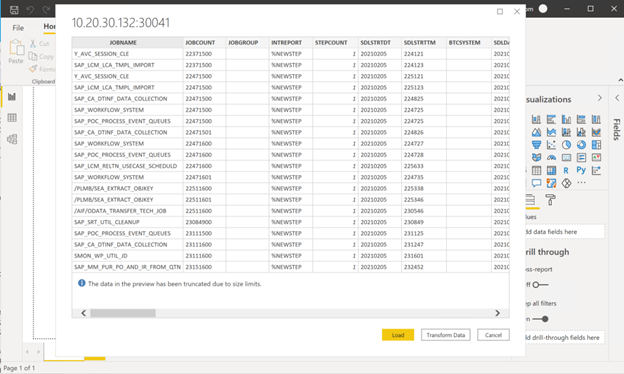
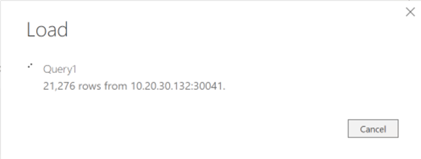
Select “Load” after the screen appears
Select “transform data “ on opo up screen as shwon in following screen
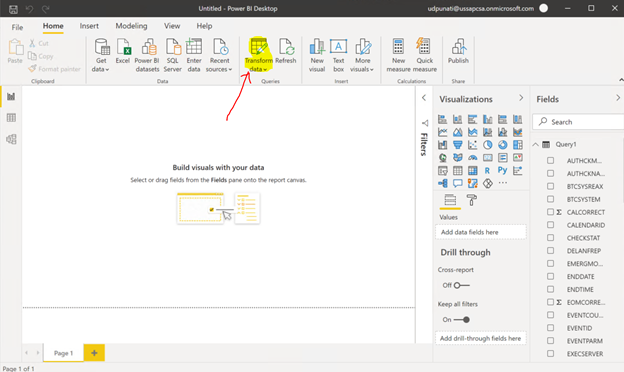
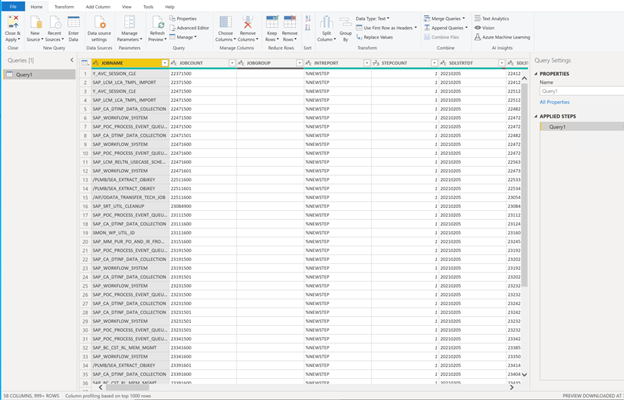
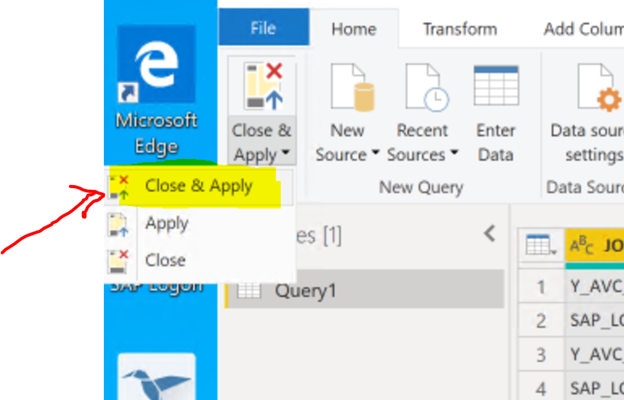
Creating visualization in Power BI using the SAP table TBTCO
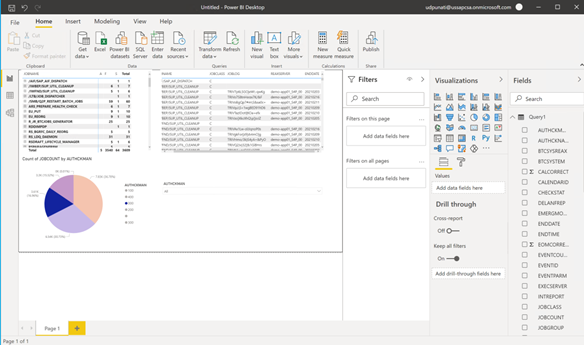
Create a Matrix.
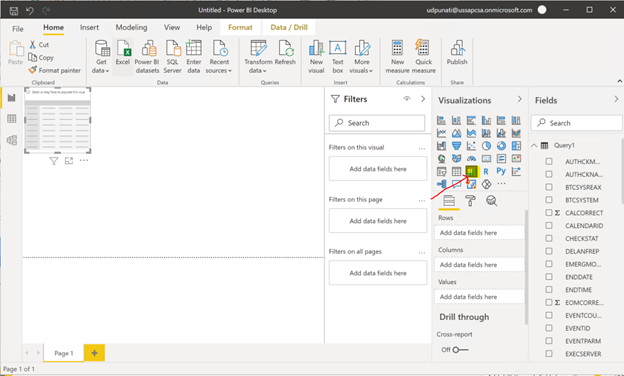
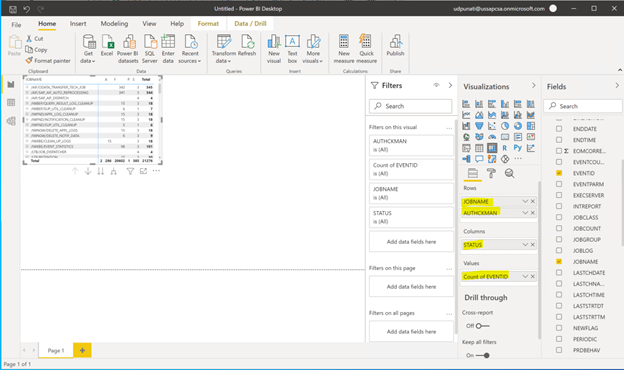
Add fields “JOBNAME” and “AUTHCKMAN” in Rows
Add field “STATUS” in Columns
Add “EVENTID” in Values
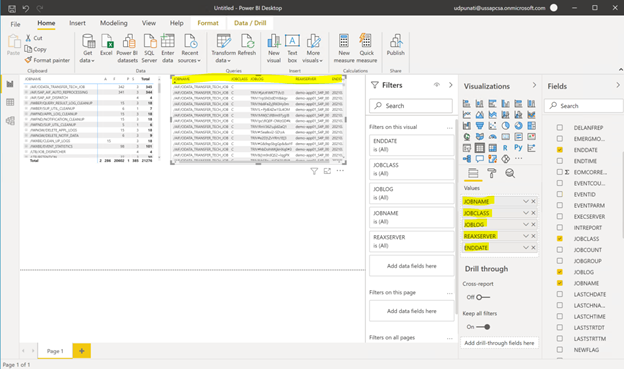
Create a new Table in the visualization
Drag and drop fields “JOBNAME”, “JOBCLASS”, “JOBLOG”, “REAXSERVER” and “ENDDATE” under values
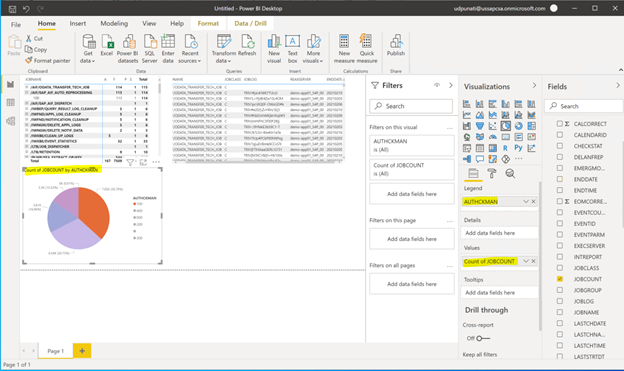
Create a Pie chart:
Drag and drop field “AUTHCKMAN” under Legend and field “JOBCOUNT” under Values ( with count).
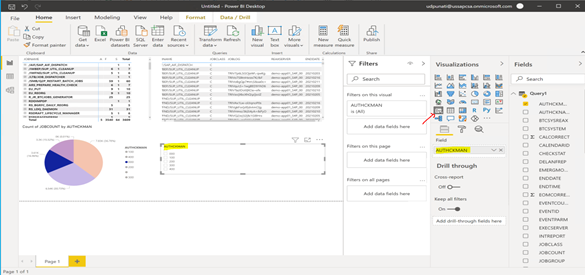
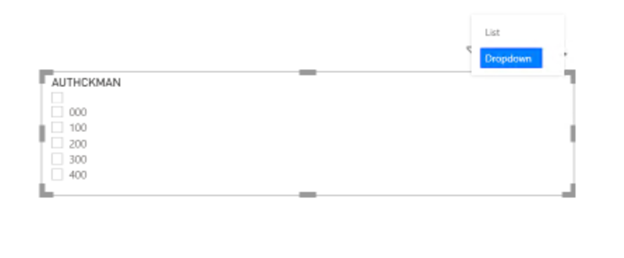
Create a Filter or Slicer
Drag and drop field “AUTHCKMAN” under Field.
Save the report
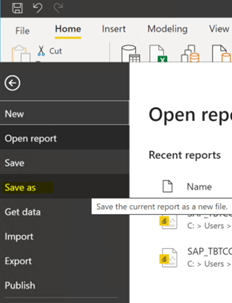
Once the report is saved need to publish to Power Apps

