[Optional] Creating an Ontology in Microsoft Fabric (Preview)
This guide walks you through creating an Ontology (preview) item in Microsoft Fabric, using the Build directly from OneLake approach. The ontology represents the Network Operations scenario (telecommunications), tracking outages and trouble tickets.
Schema Overview
The ontology is based on the schema defined in data/default/config/ontology_config.json:
| Table | Columns | Key | Description |
|---|---|---|---|
| tickets | ticket_id, customer_name, issue_description, priority, status |
ticket_id |
Stores trouble ticket records |
| inspections | inspection_id, ticket_id, result, score |
inspection_id |
Stores inspection results linked to tickets |
Relationship: inspections → tickets (linked via ticket_id)
Prerequisites
- A Microsoft Fabric workspace with Ontology (preview) enabled at the tenant level.
- A Lakehouse in your workspace containing the tickets and inspections tables loaded into OneLake.
- Appropriate permissions to create items in the workspace.
Step 1: Create the Ontology Item
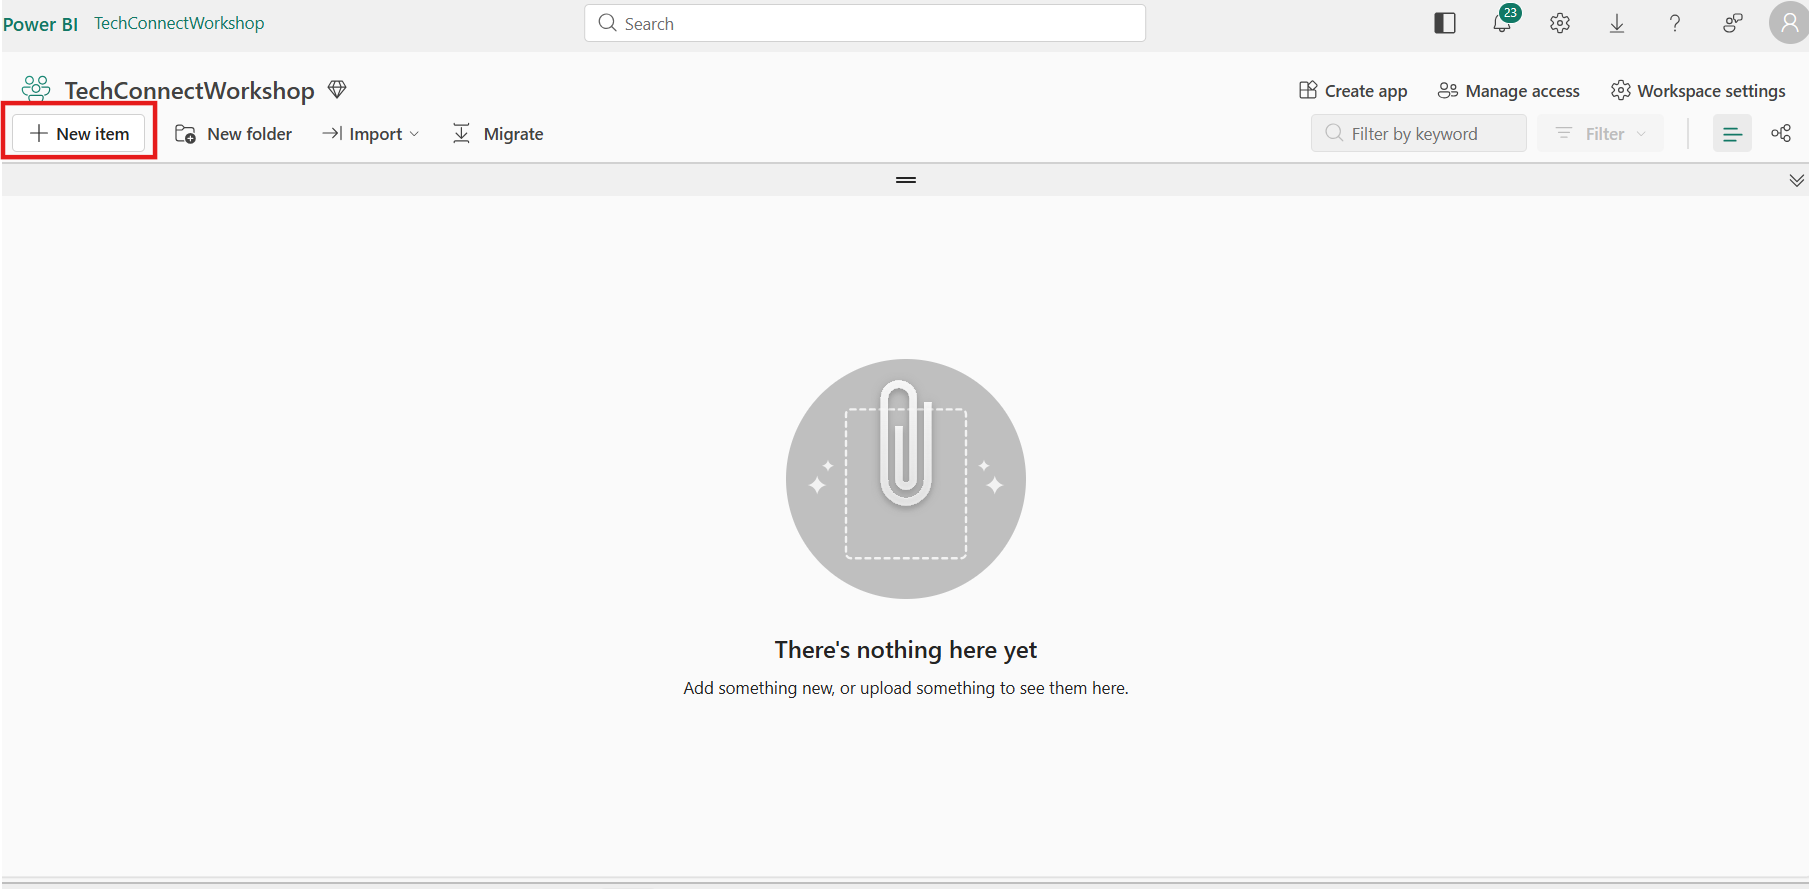
-
In your Fabric workspace, select + New item.
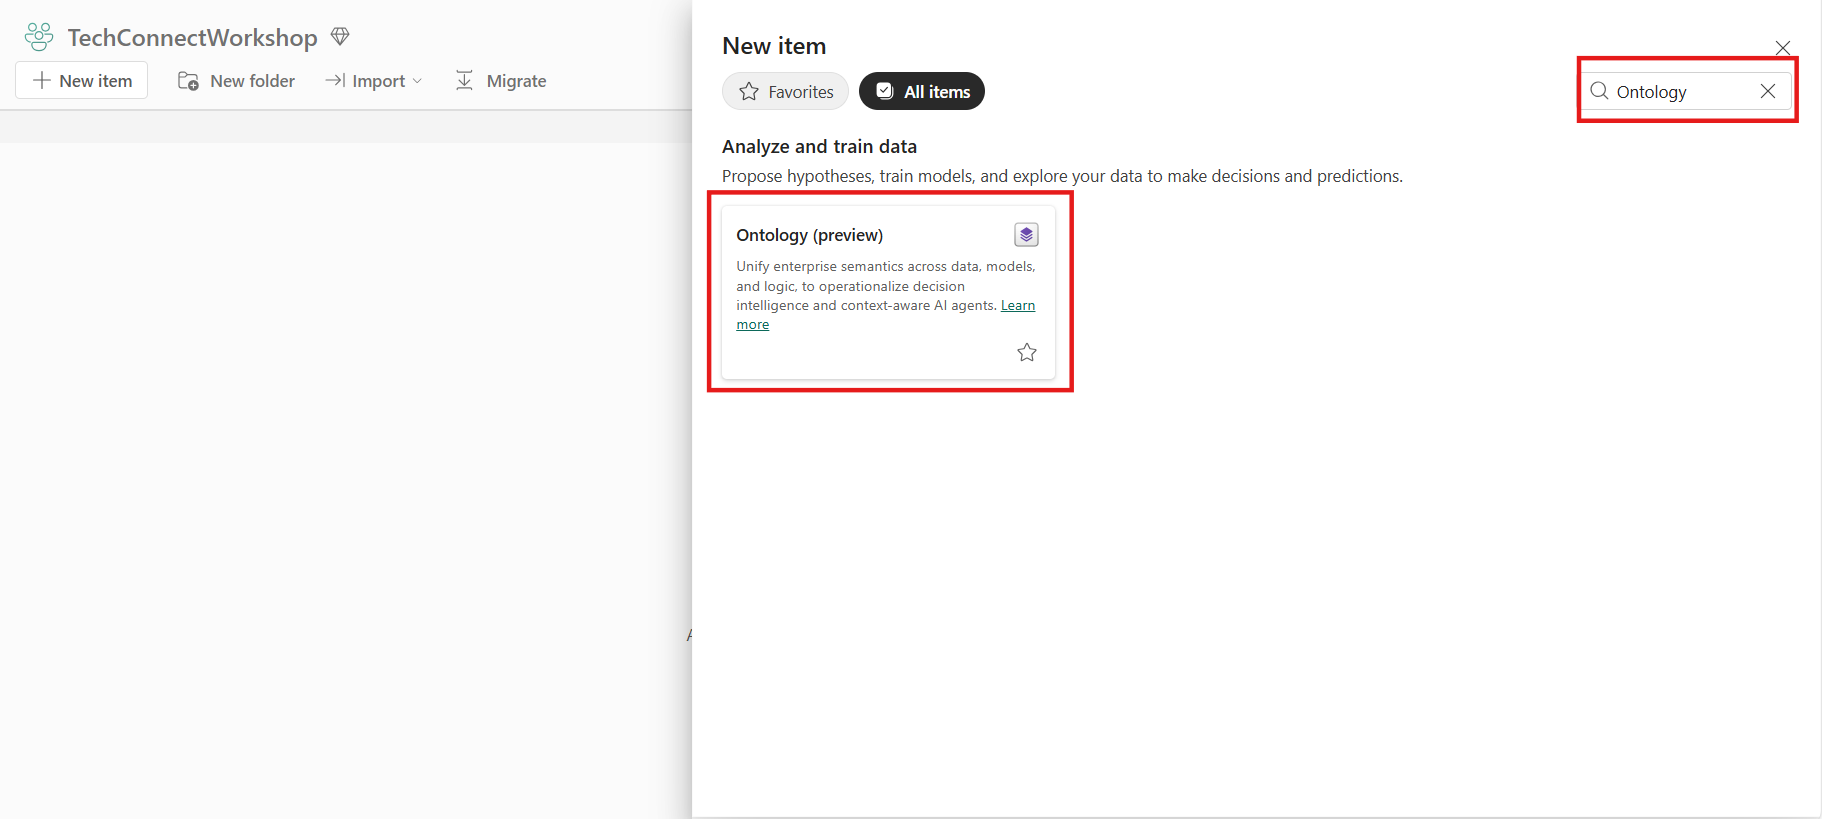
-
Search for and select Ontology (preview).
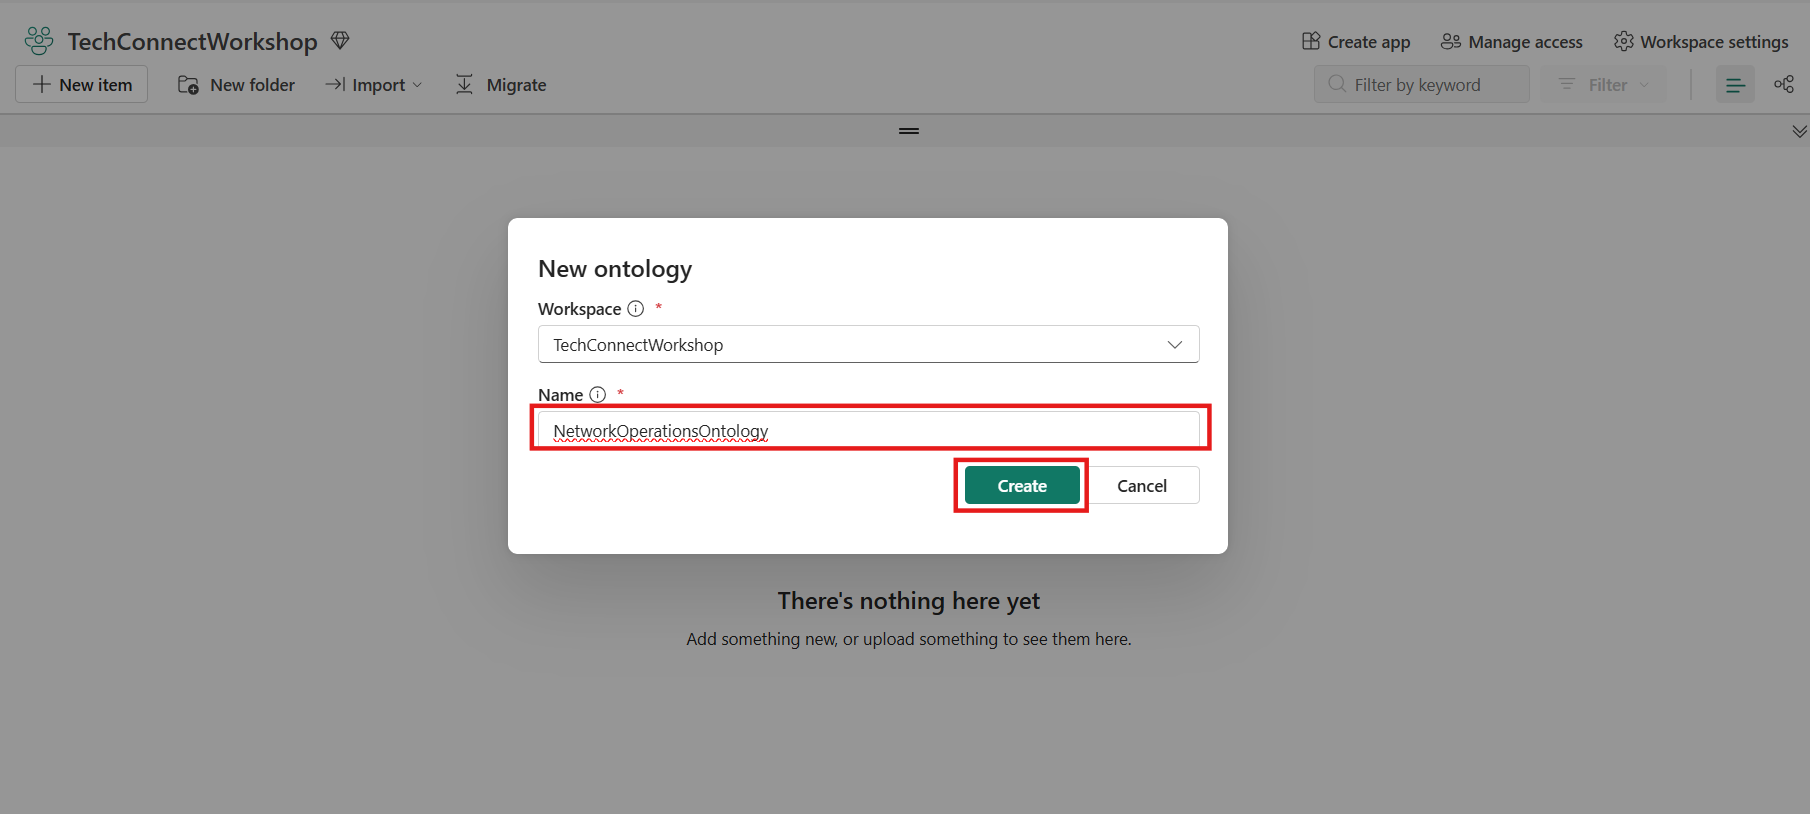
 3. Enter a name for your ontology (e.g.,
 NetworkOperationsOntology) & Click on Create.
Tip: Ontology names can include numbers, letters, and underscores. Do not use spaces or dashes.
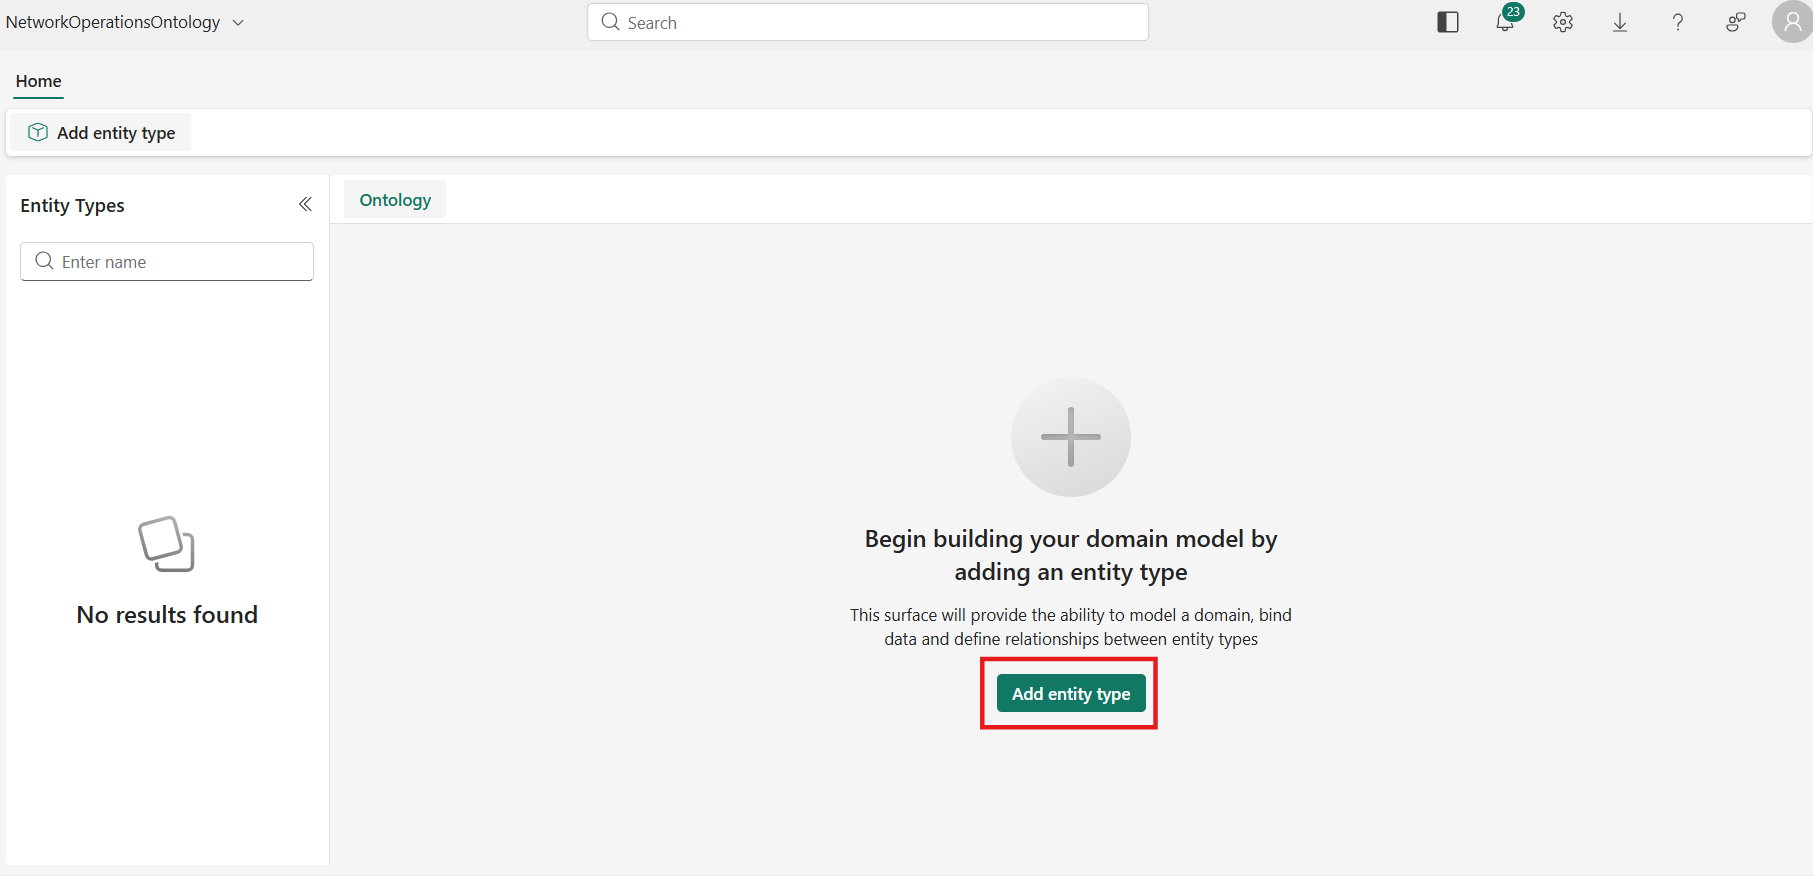
 4. The ontology opens when it's ready.
Step 2: Create Entity Types and Data Bindings
Entity types represent categories of objects in your business domain. For this schema, you will create two entity types: Tickets and Inspections.
2.1 — Add the Tickets Entity Type
- From the top ribbon or the center of the configuration canvas, select Add entity type.
 2. Enter
 Tickets as the name and select Add Entity Type.
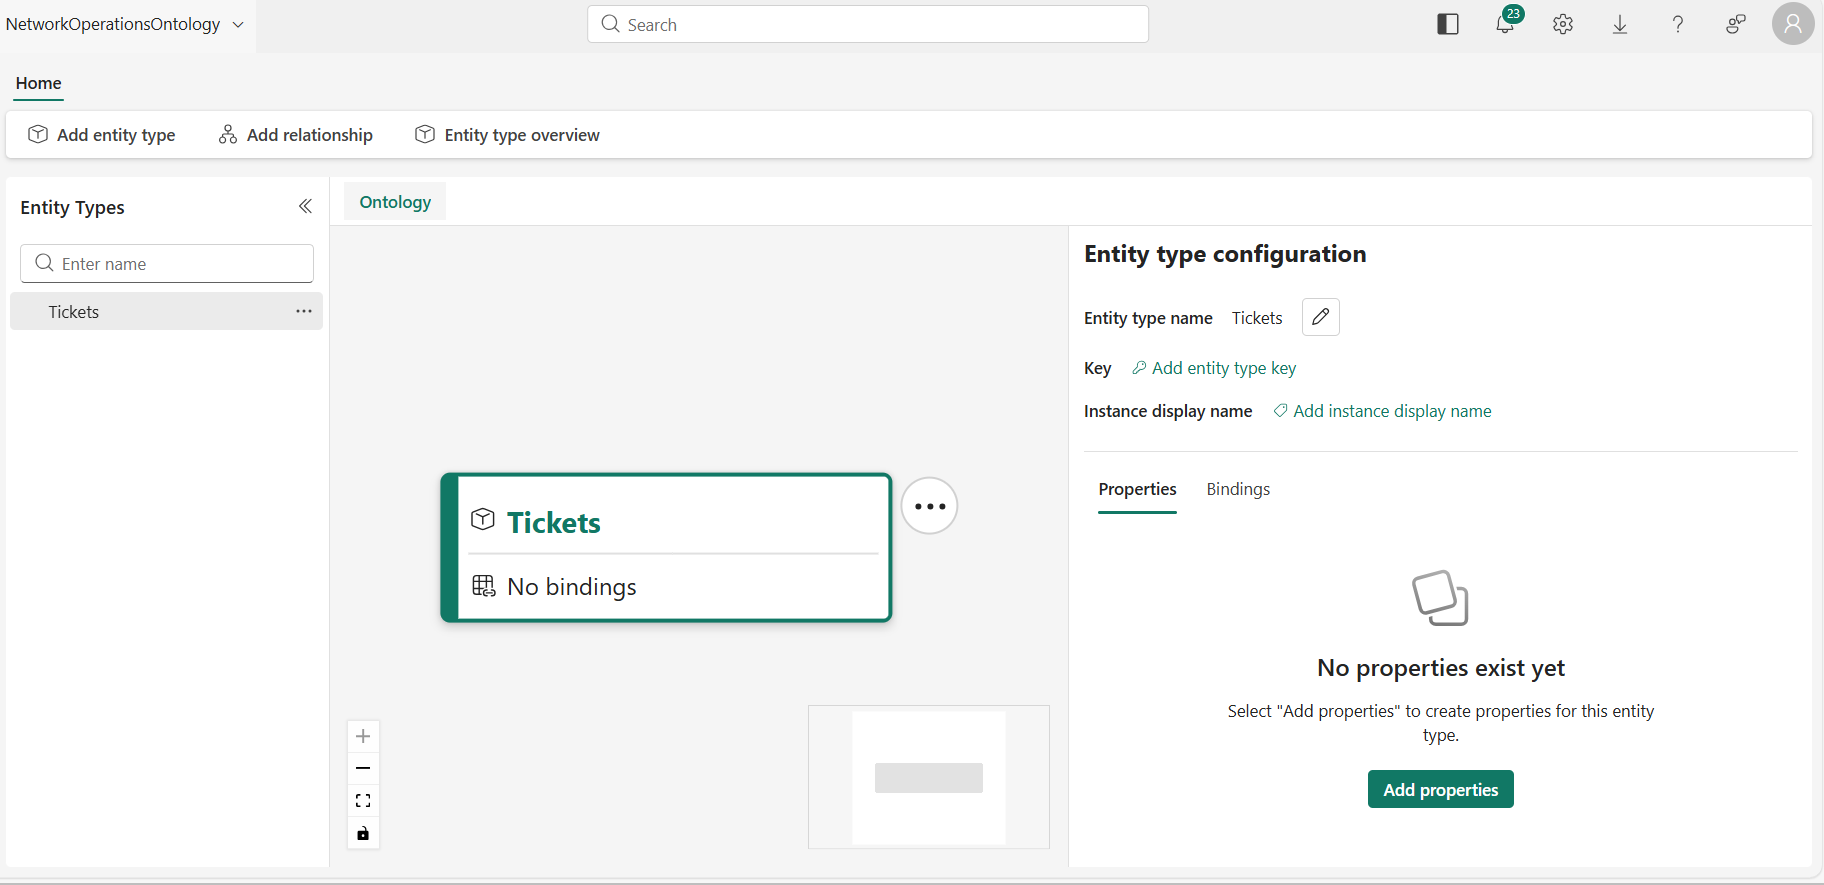
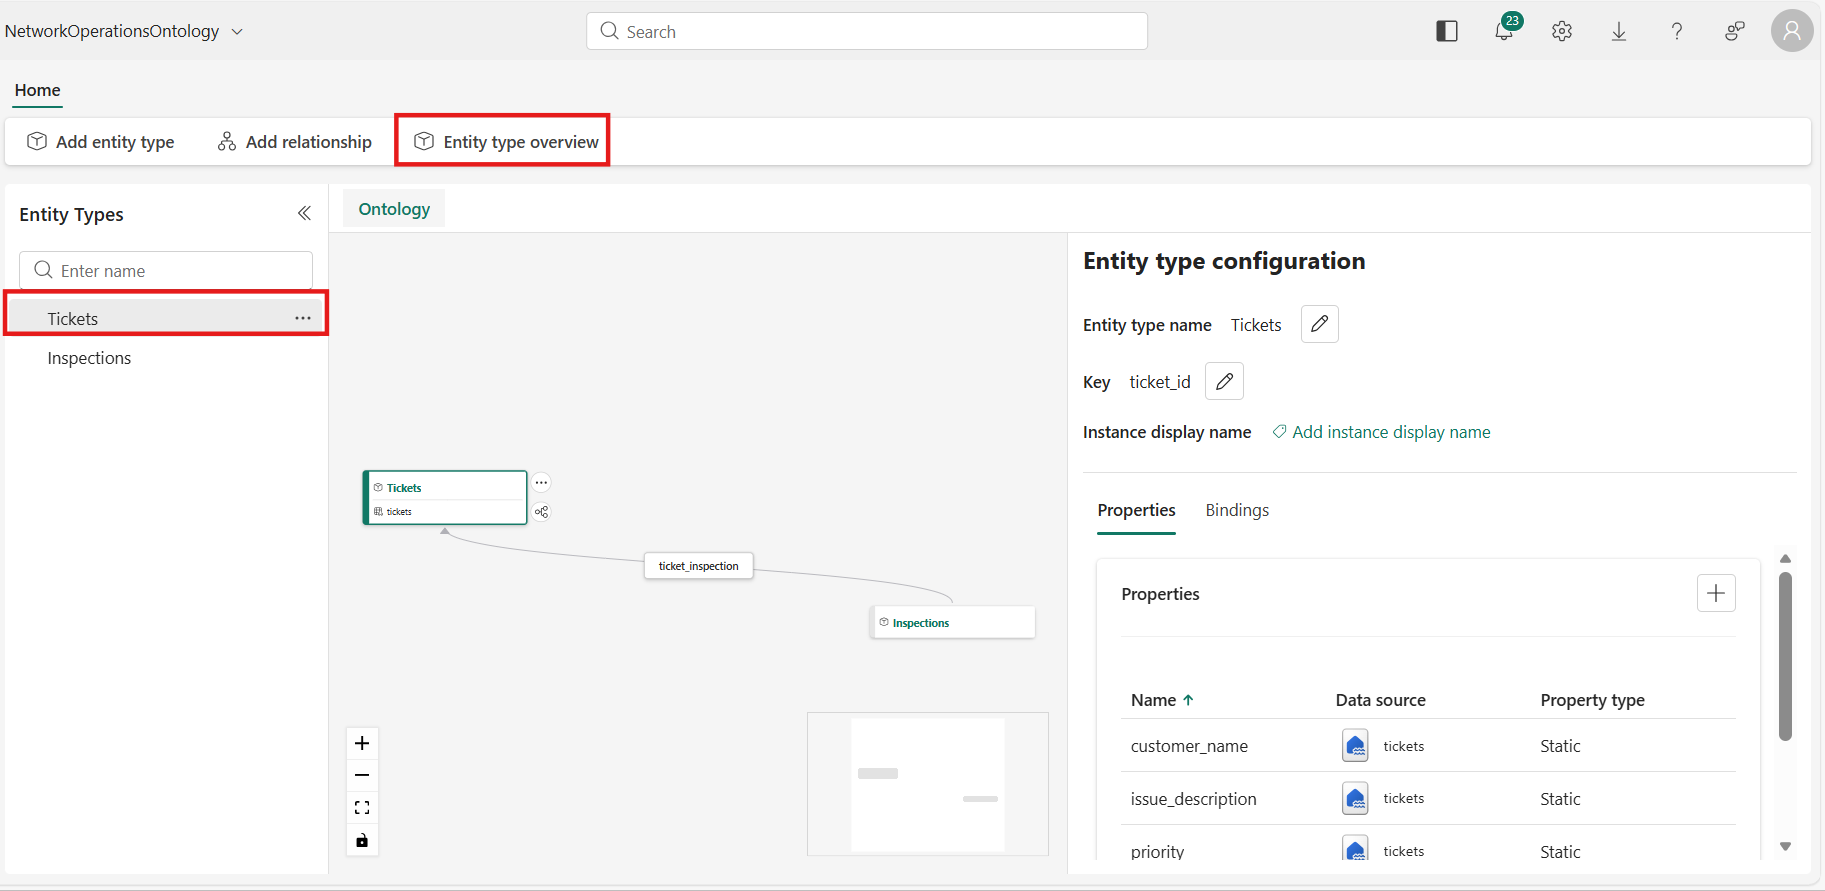
 3. The Tickets entity type appears on the configuration canvas and the Entity type configuration pane opens.
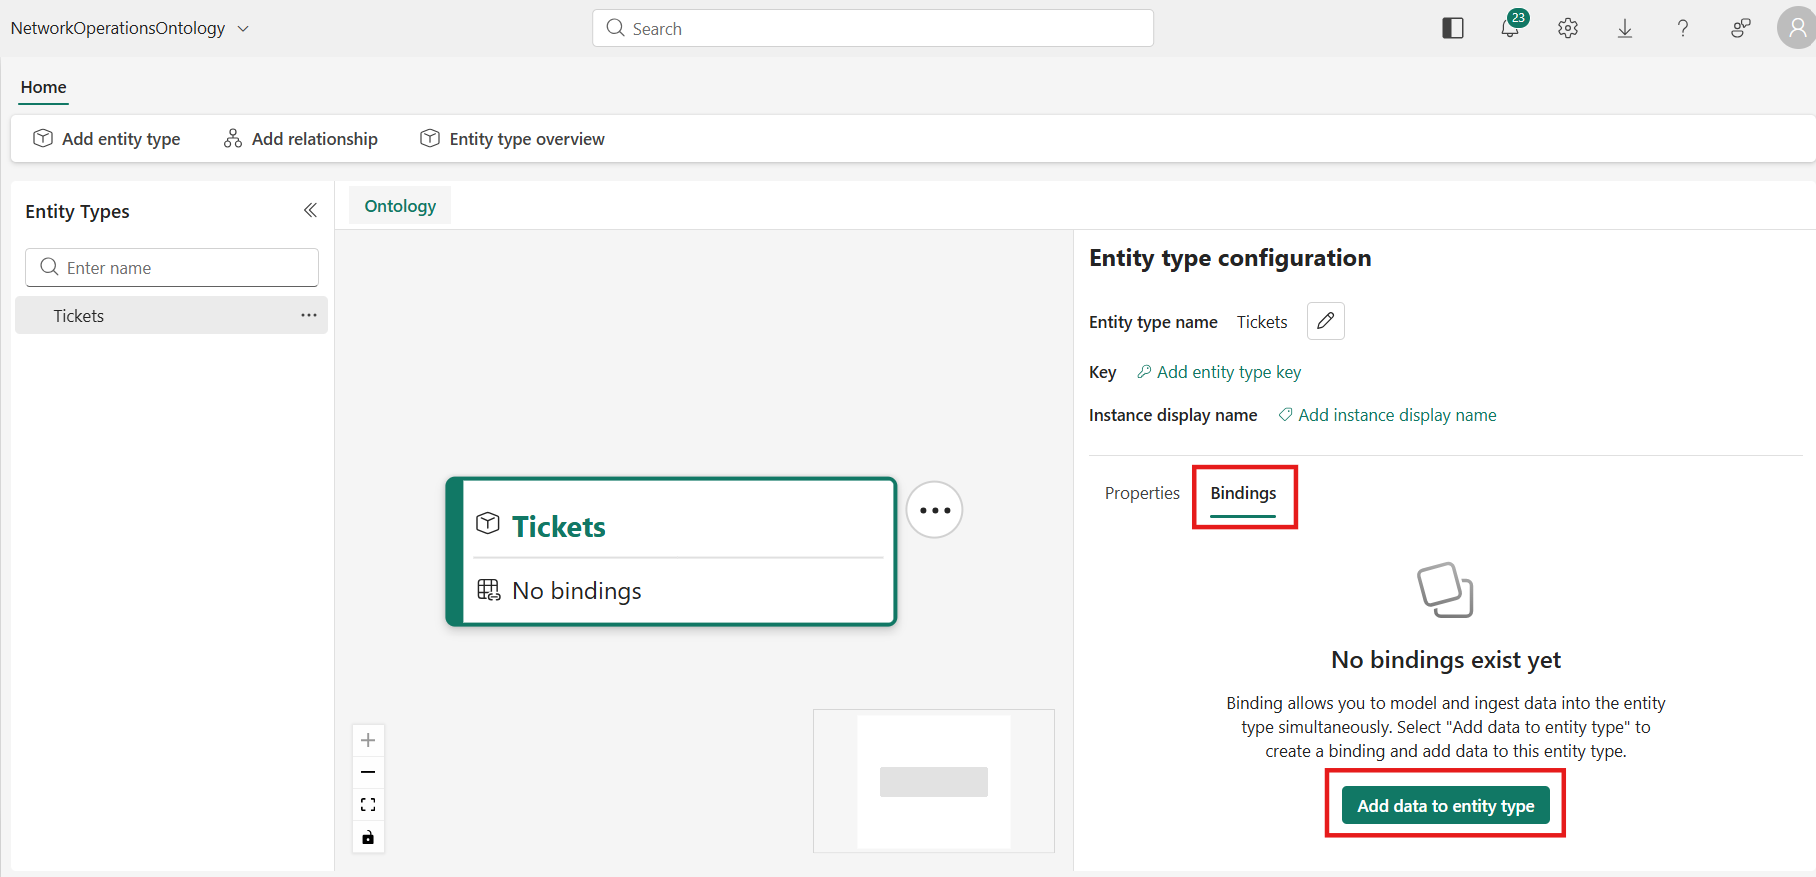
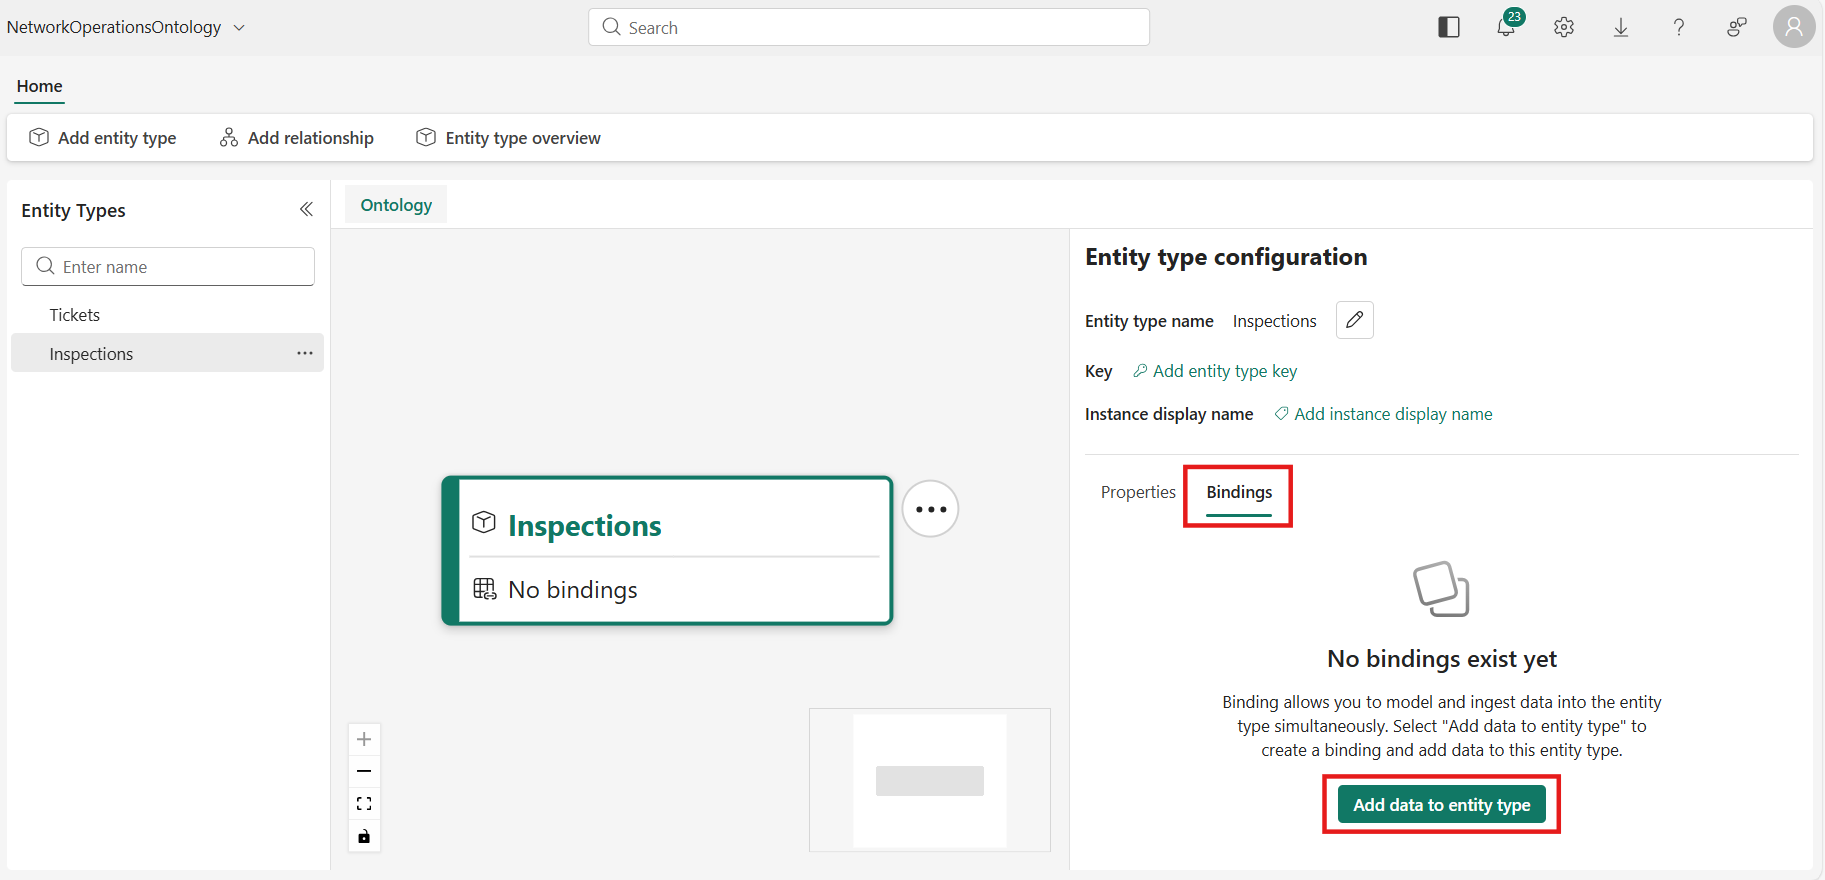
 4. Switch to the Bindings tab and select Add data to entity type.
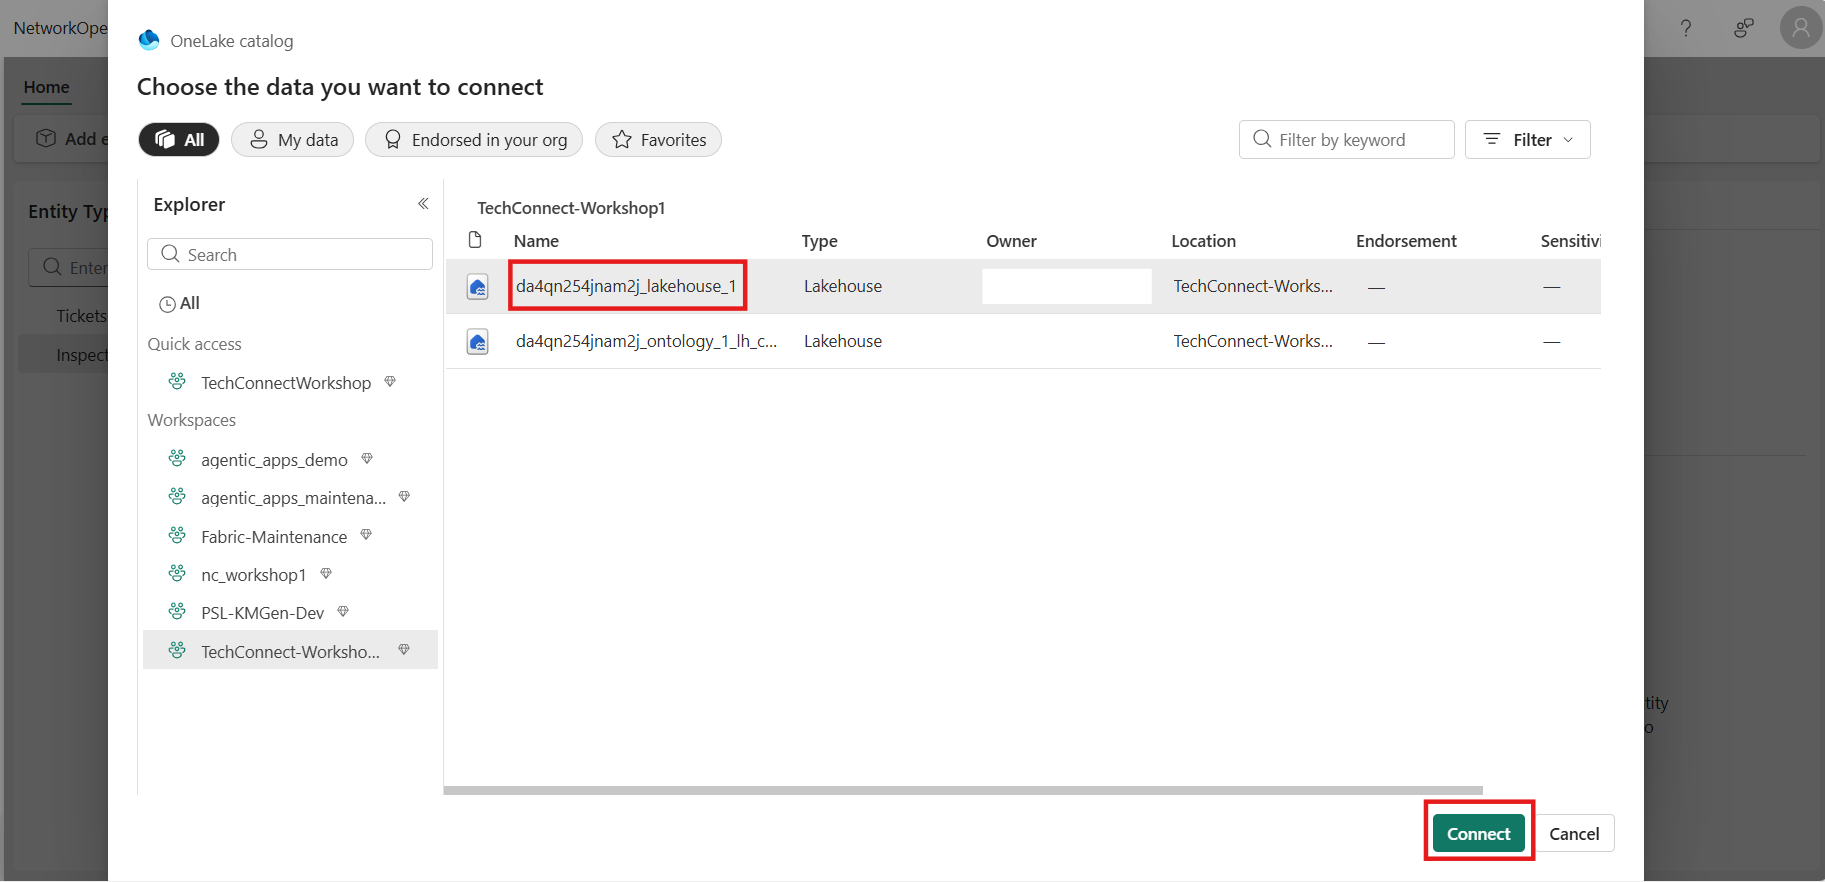
 5. Choose your data source:
a. Select your Lakehouse and select Connect.
5. Choose your data source:
a. Select your Lakehouse and select Connect.
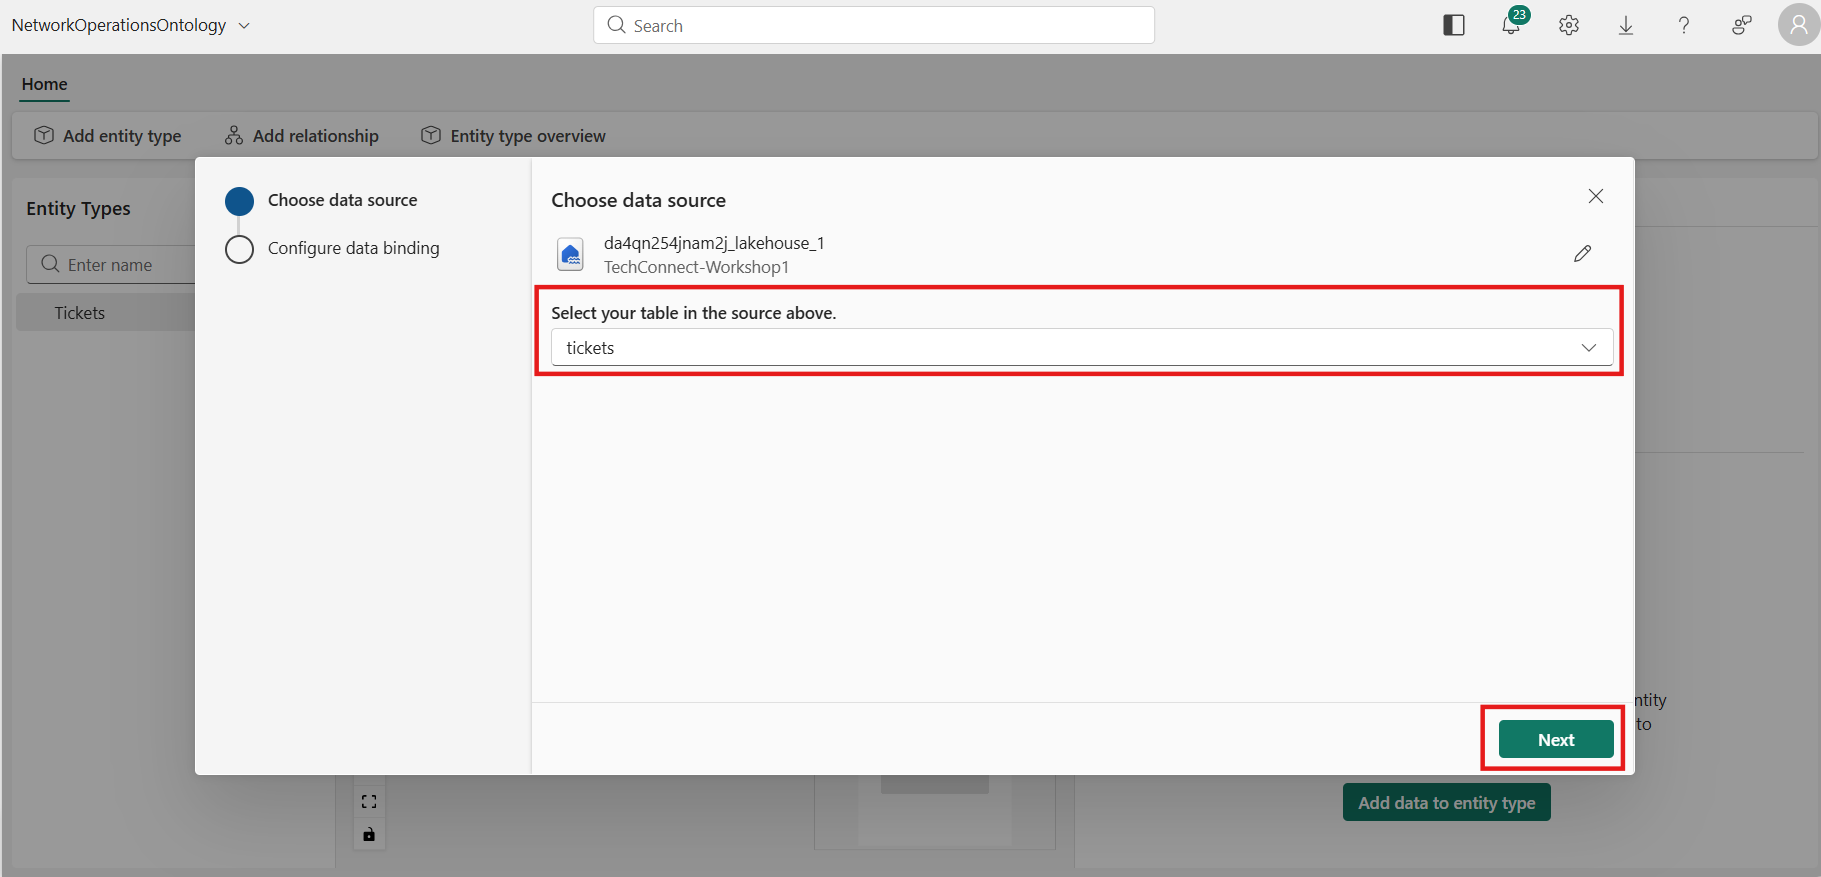
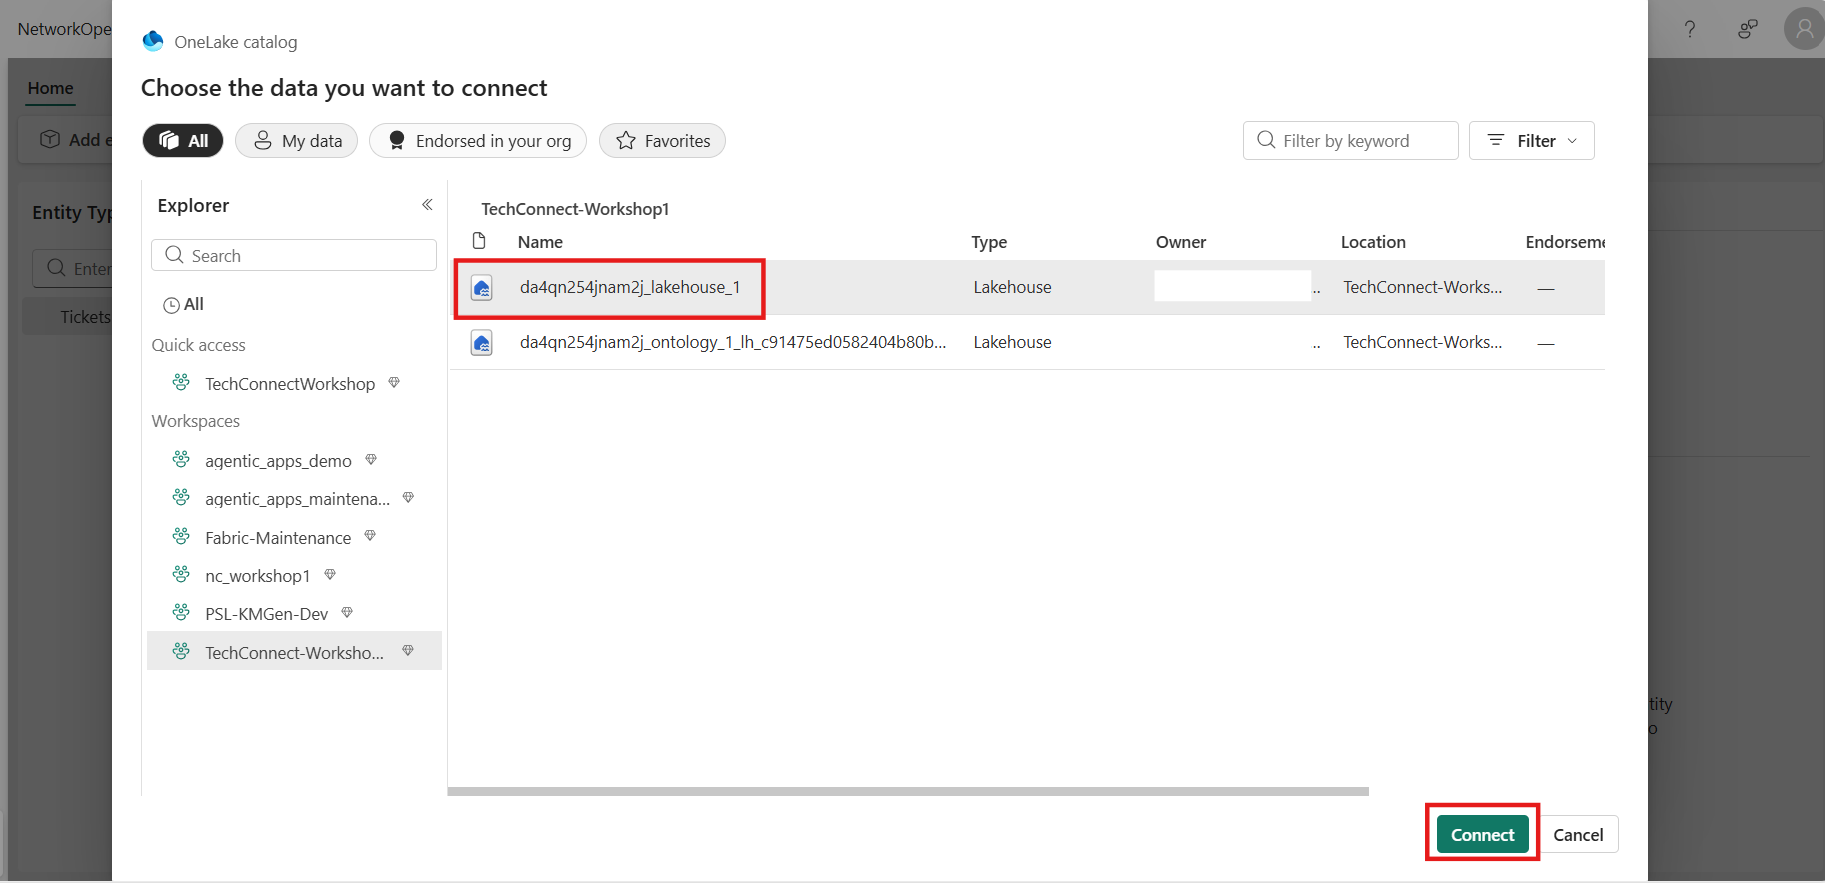 b. Select the tickets table and select Next.
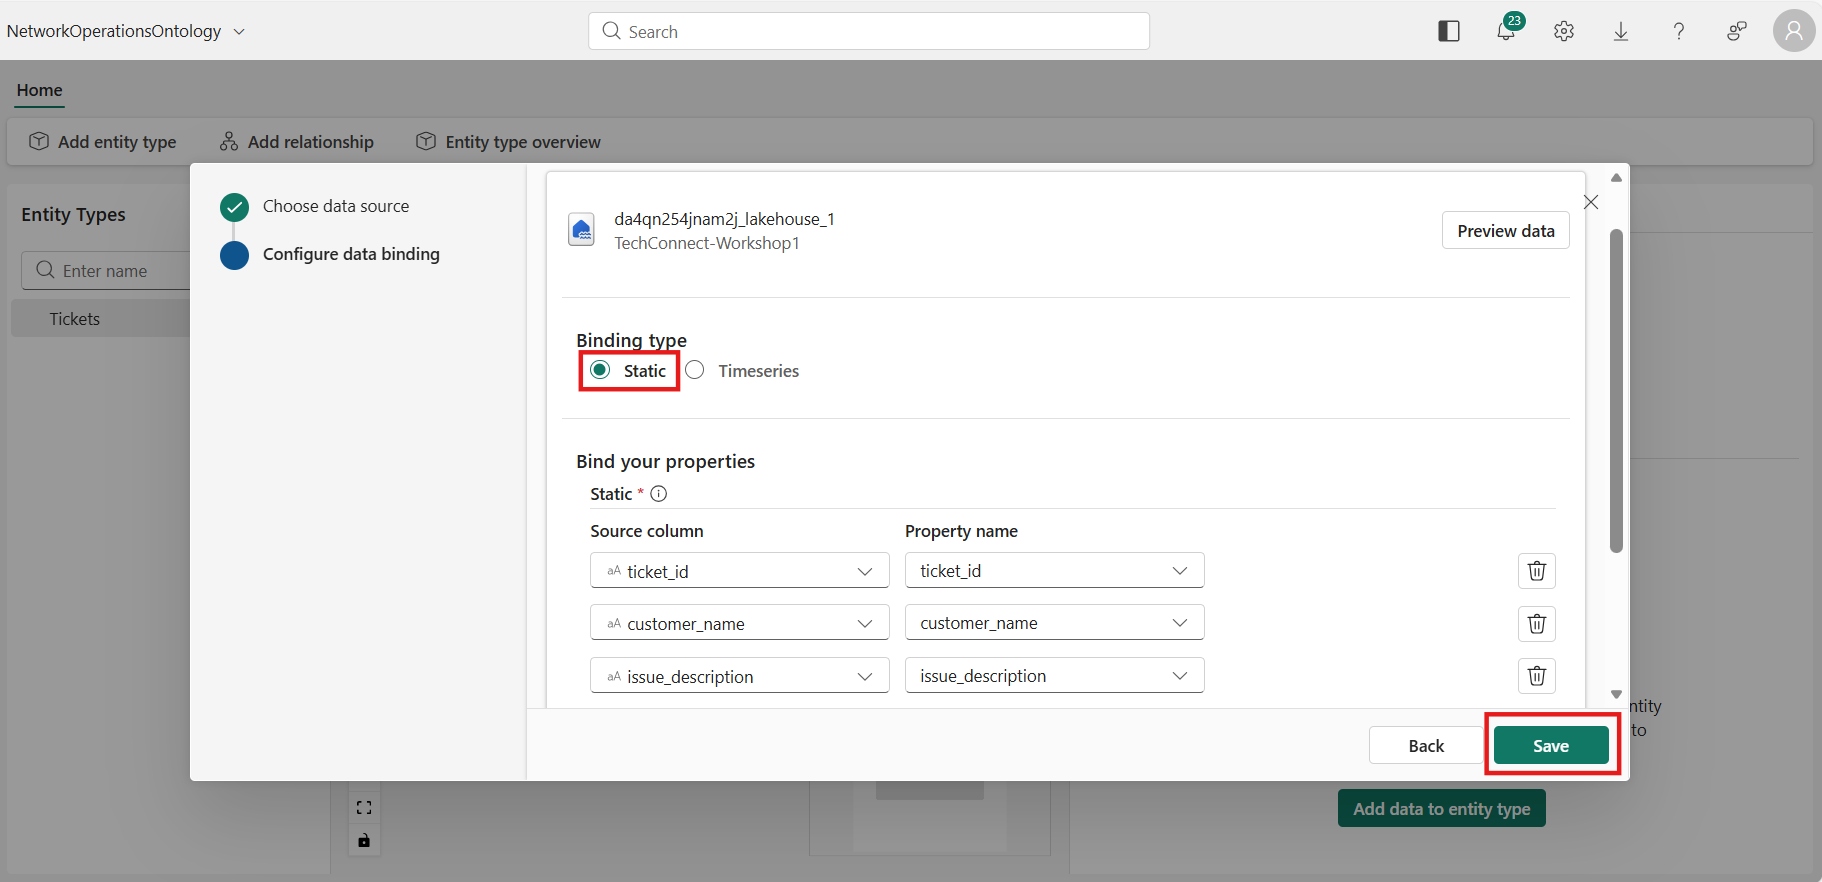
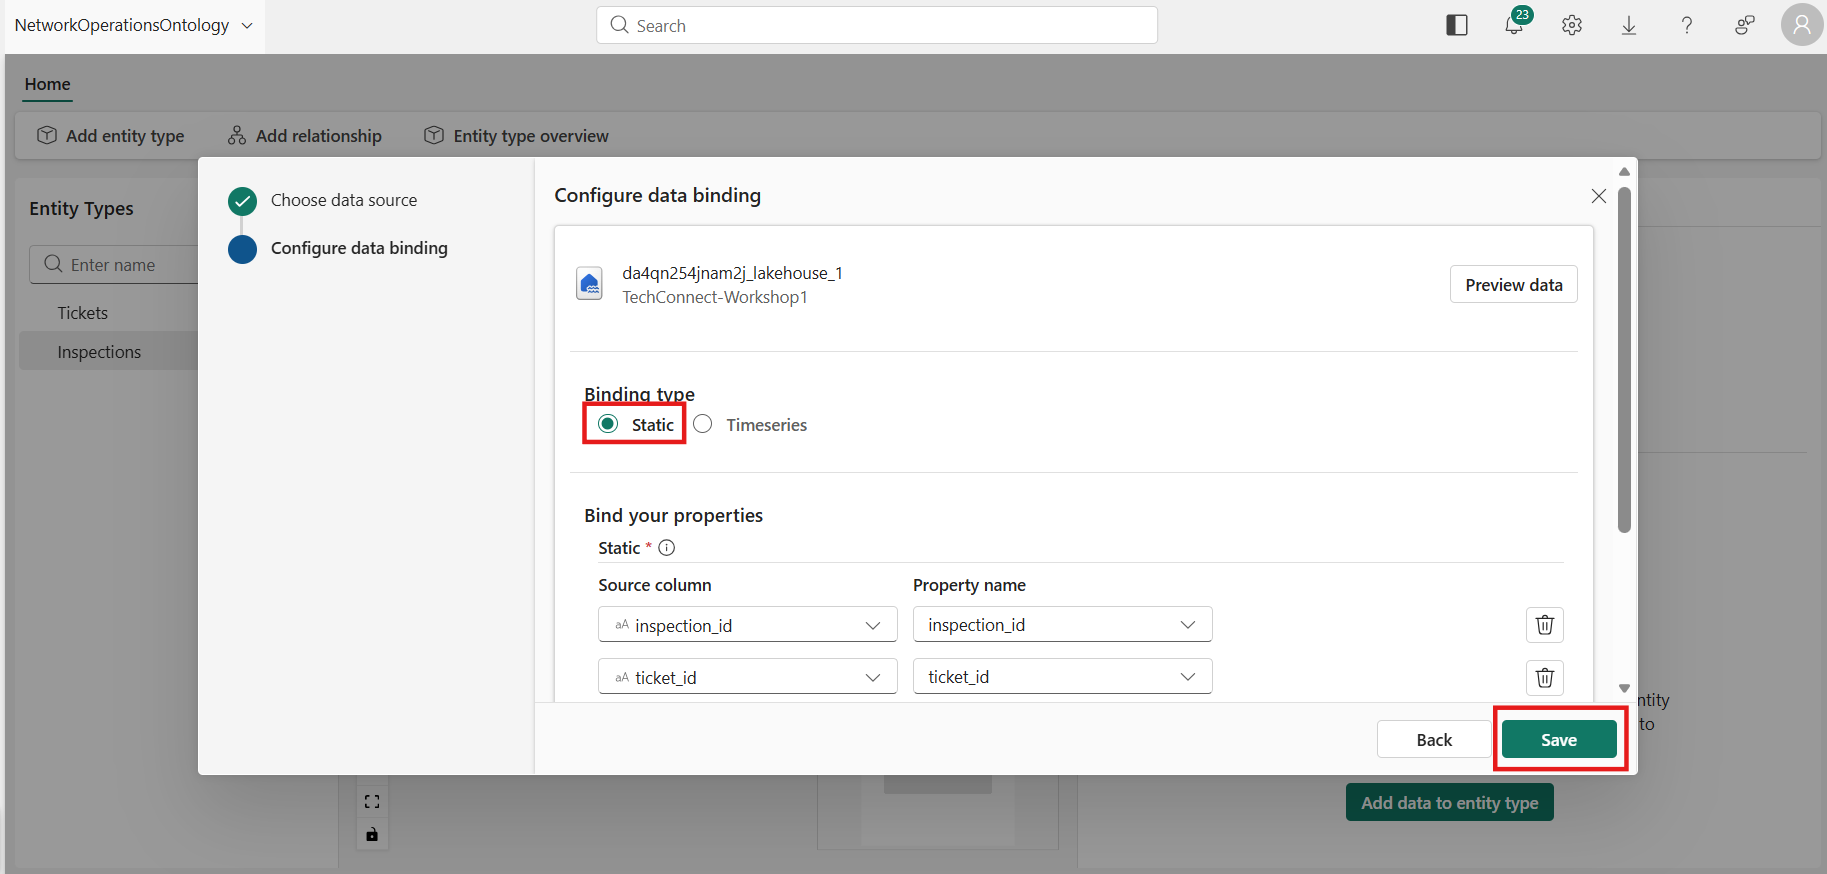
 6. Configure a Static data binding:
-
For Binding type, keep the default Static.
-
Under Bind your properties, the columns from the
ticketstable populate automatically:Source Column Property Name Type ticket_idticket_id String customer_namecustomer_name String issue_descriptionissue_description String prioritypriority String statusstatus String -
Select Save.
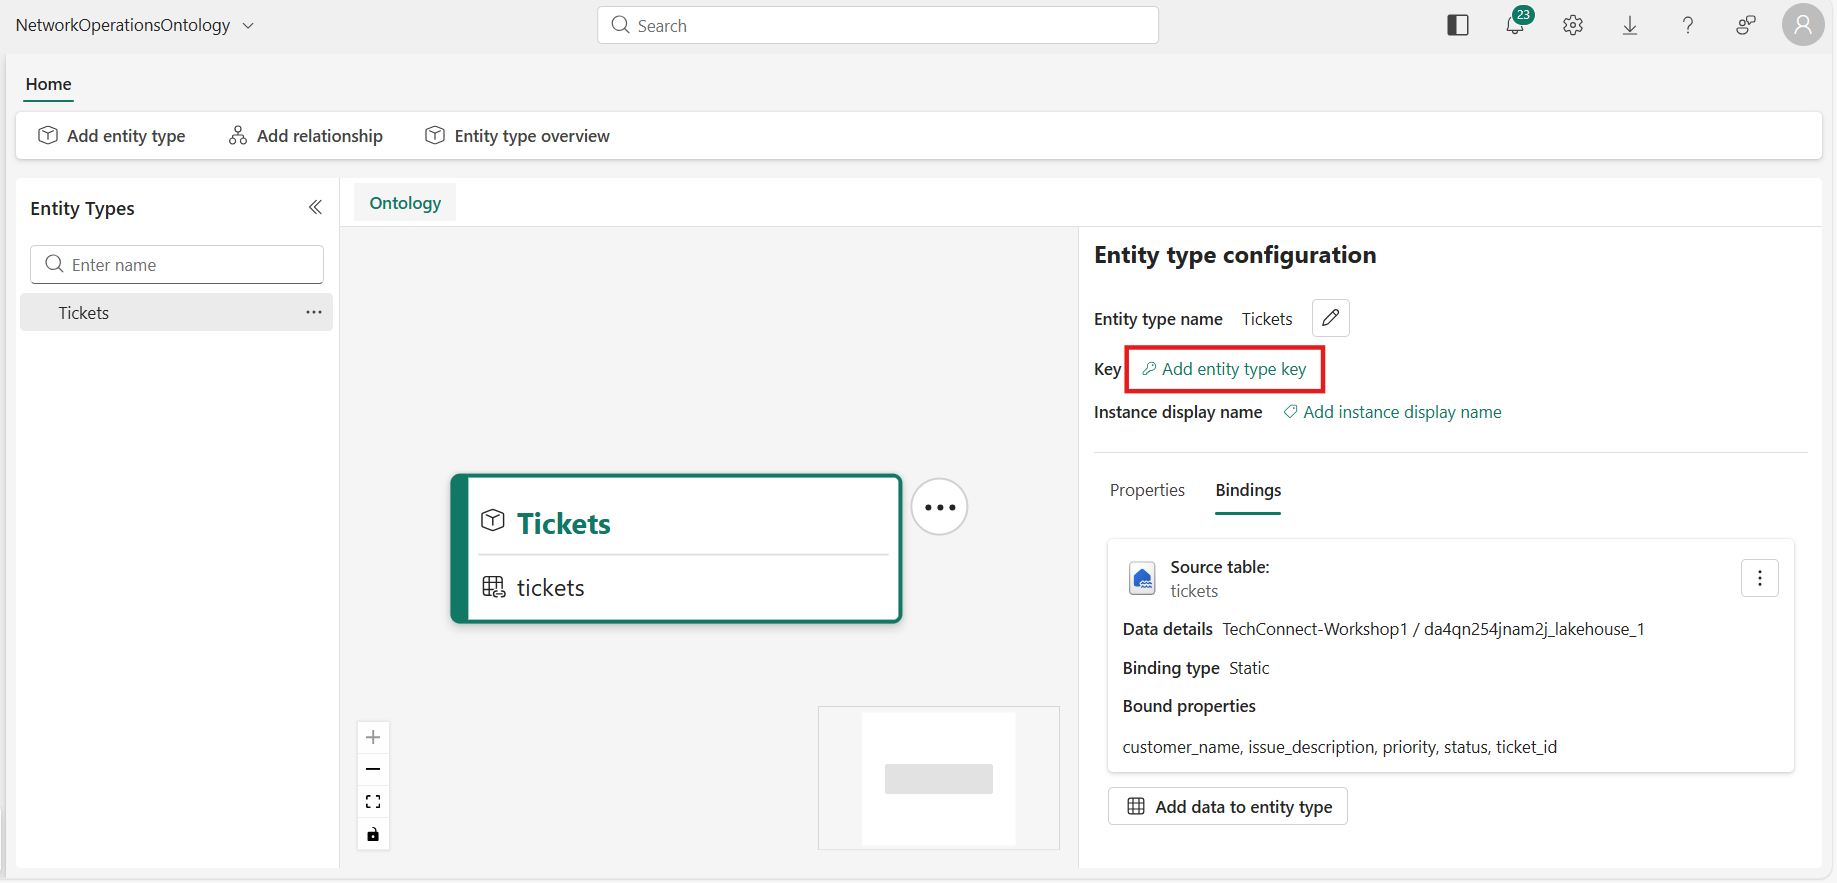
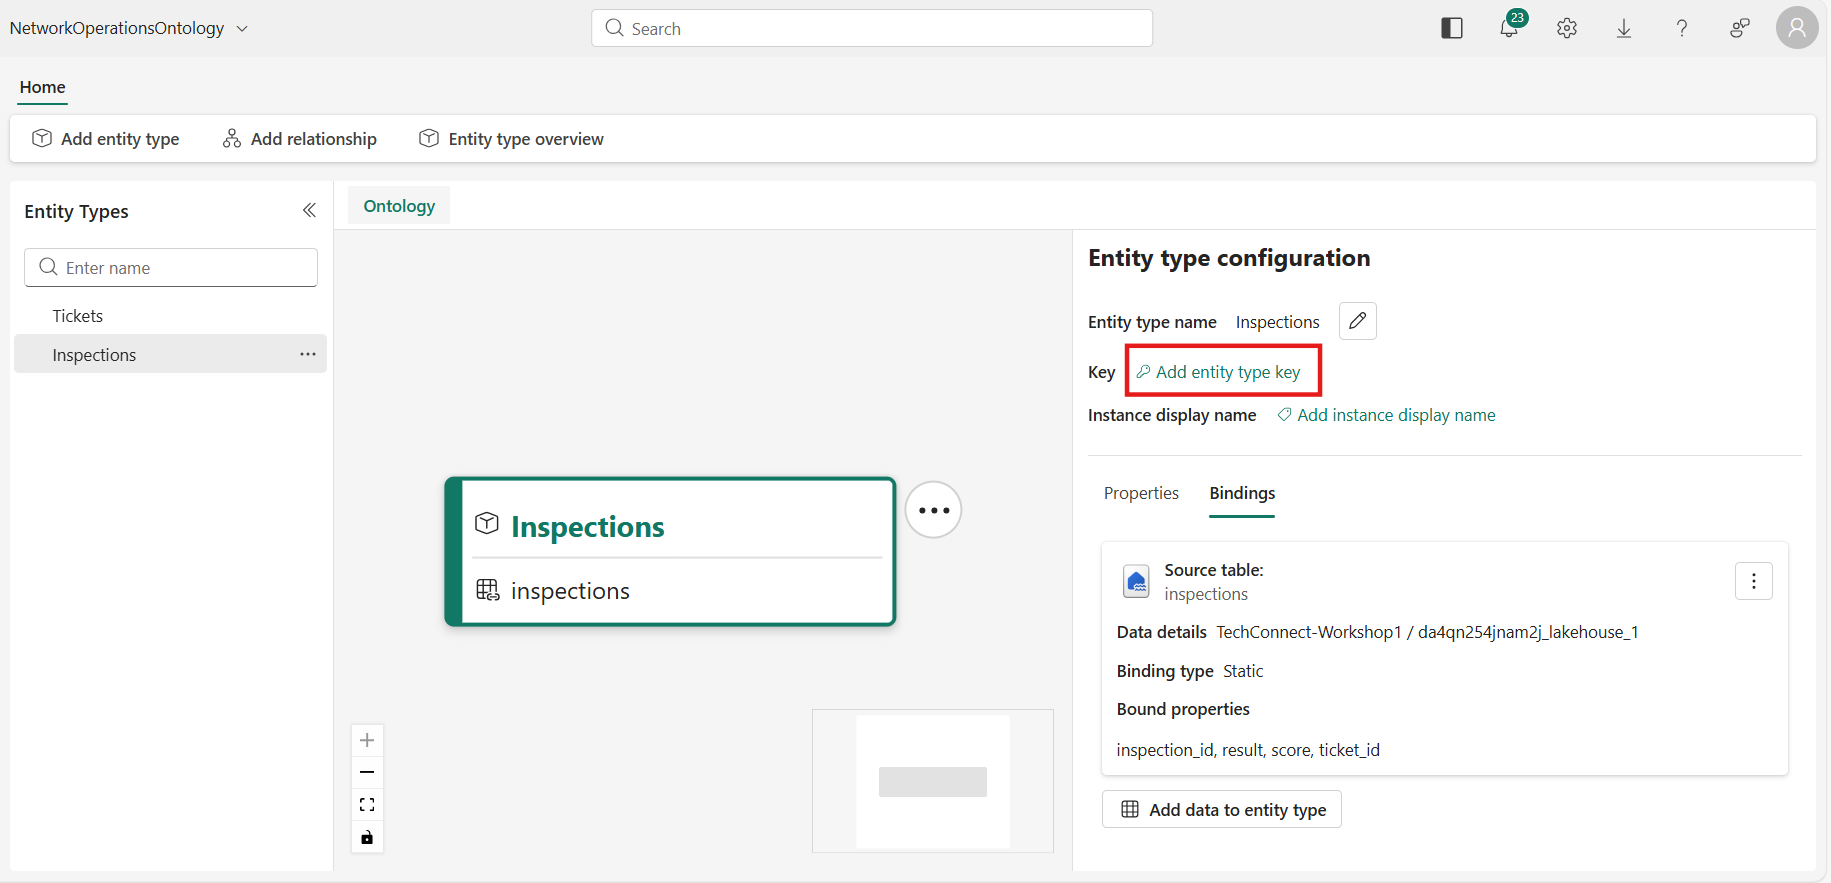
 7. Back in the Entity type configuration pane, select Add entity type key.
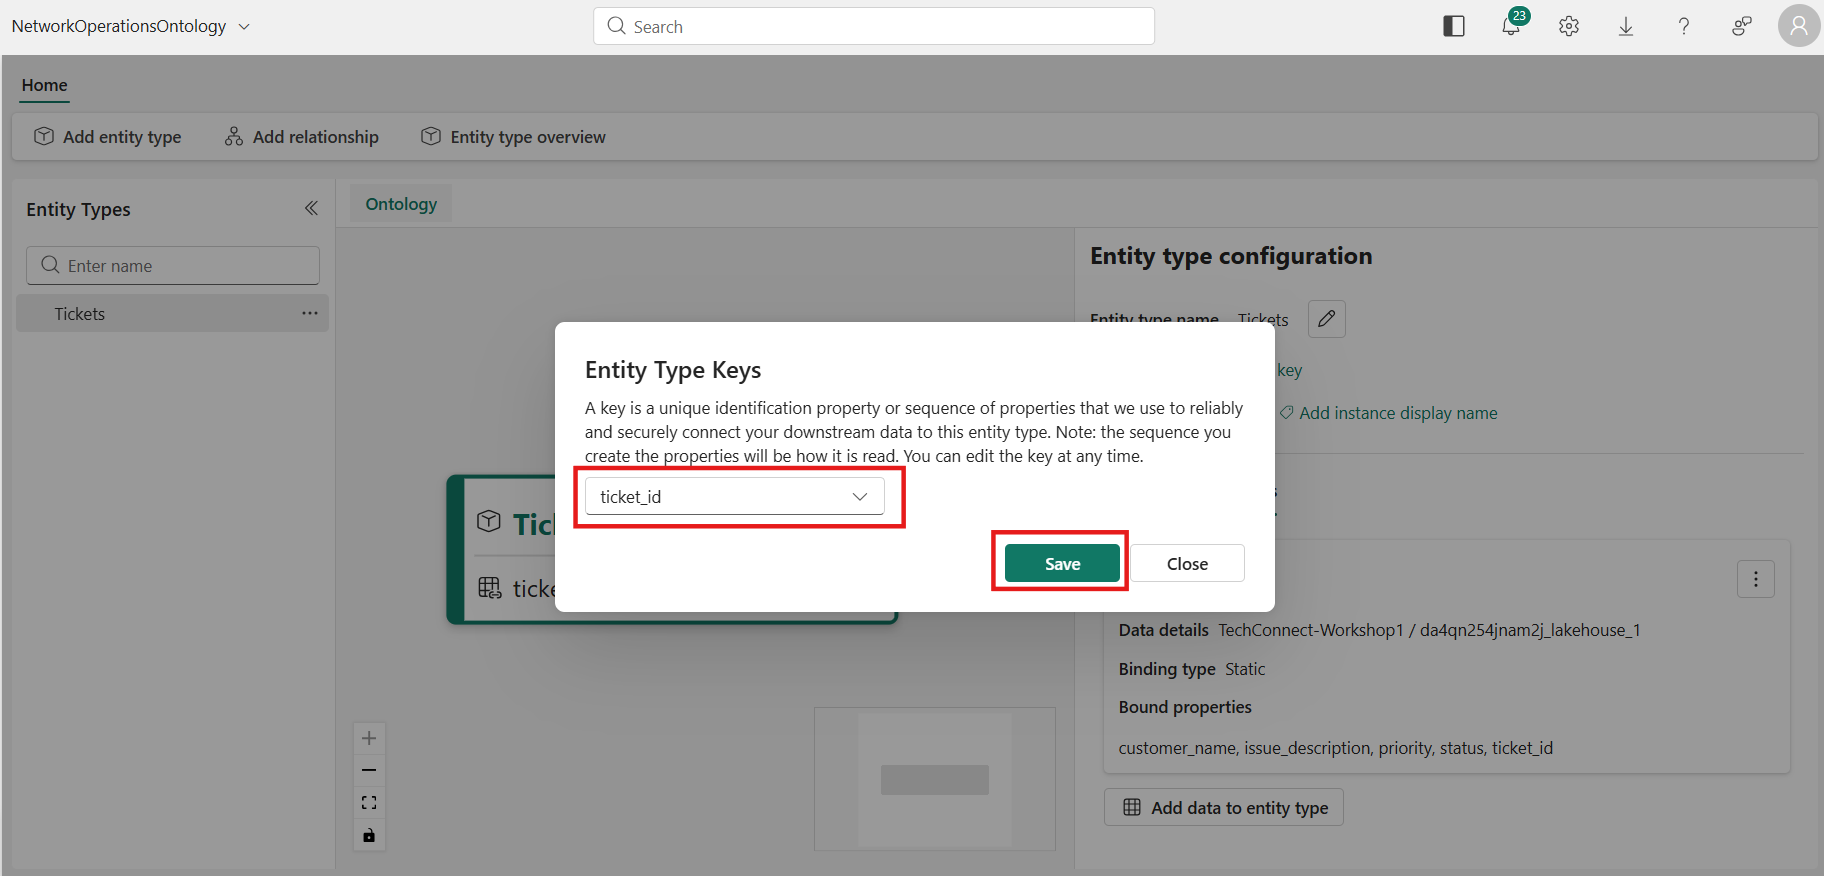
 8. Select ticket_id as the key property and select Save.
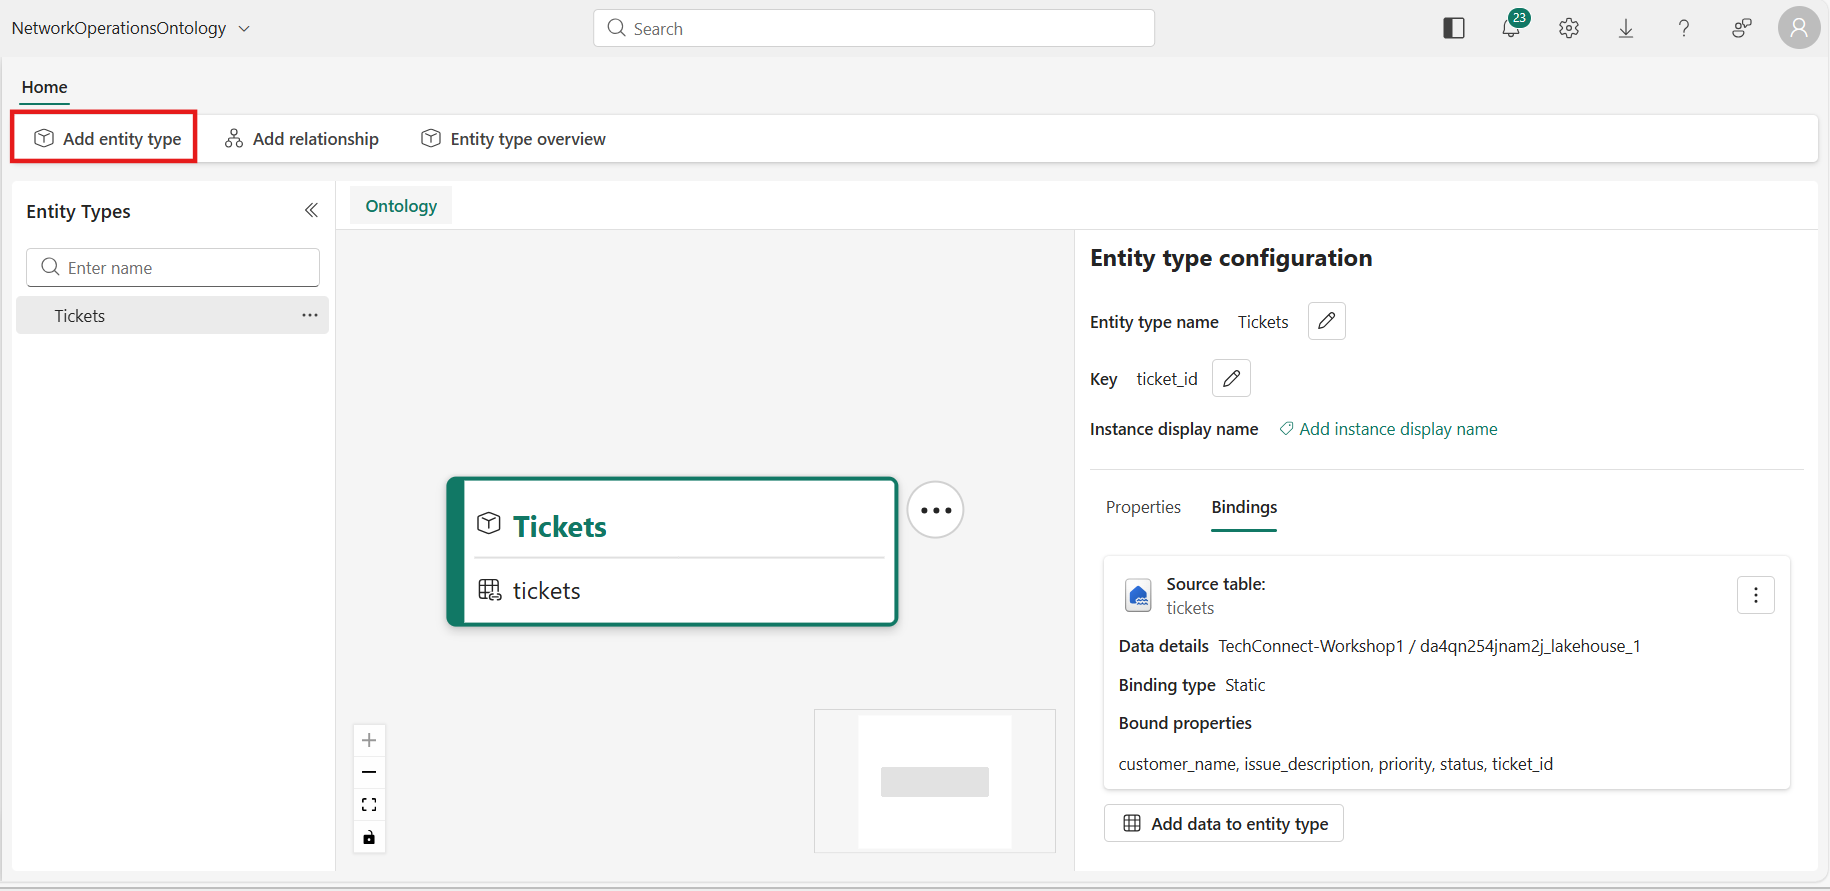
2.2 — Add the Inspections Entity Type
Follow the same steps as above for the Inspections entity type:
- Select Add entity type from the ribbon.
- Enter
Inspectionsas the name and select Add Entity Type.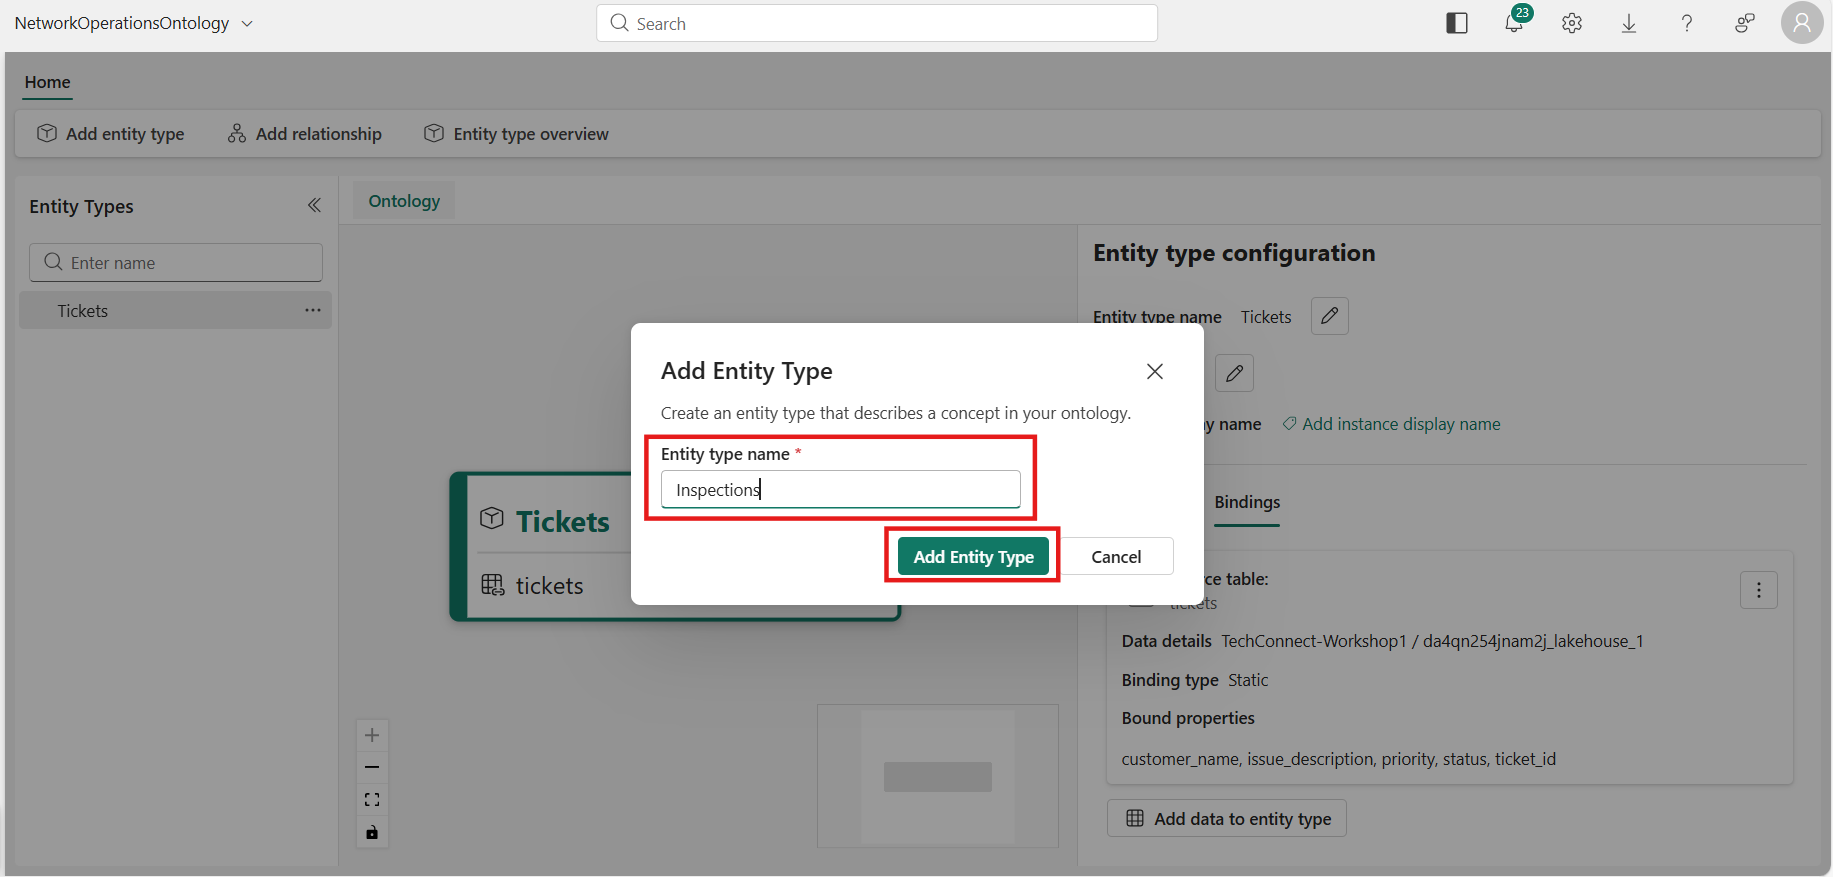
- Switch to the Bindings tab → Add data to entity type.
- Choose your data source.
a. Select your Lakehouse and select Connect.
 b. Select the inspections table and select Next.
 5. Configure a Static data binding with the following columns:
| Source Column | Property Name | Type |
|---|---|---|
inspection_id |
inspection_id | String |
ticket_id |
ticket_id | String |
result |
result | String |
score |
score | BigInt |
- Select Save.
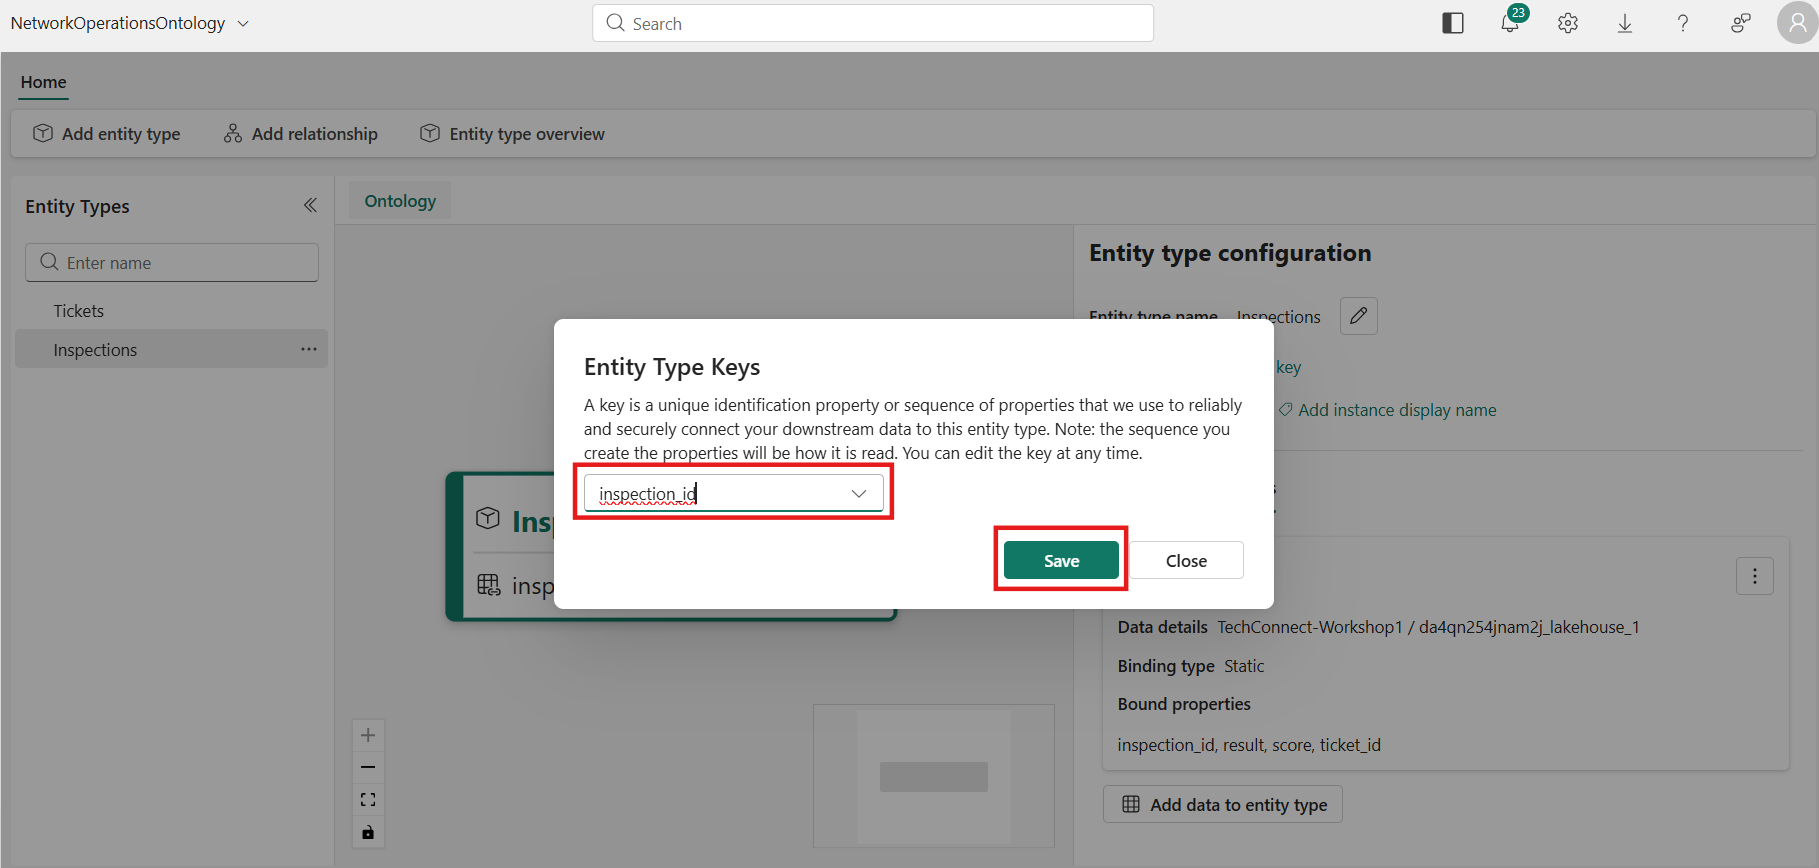
 6. Select Add entity type key → choose inspection_id.
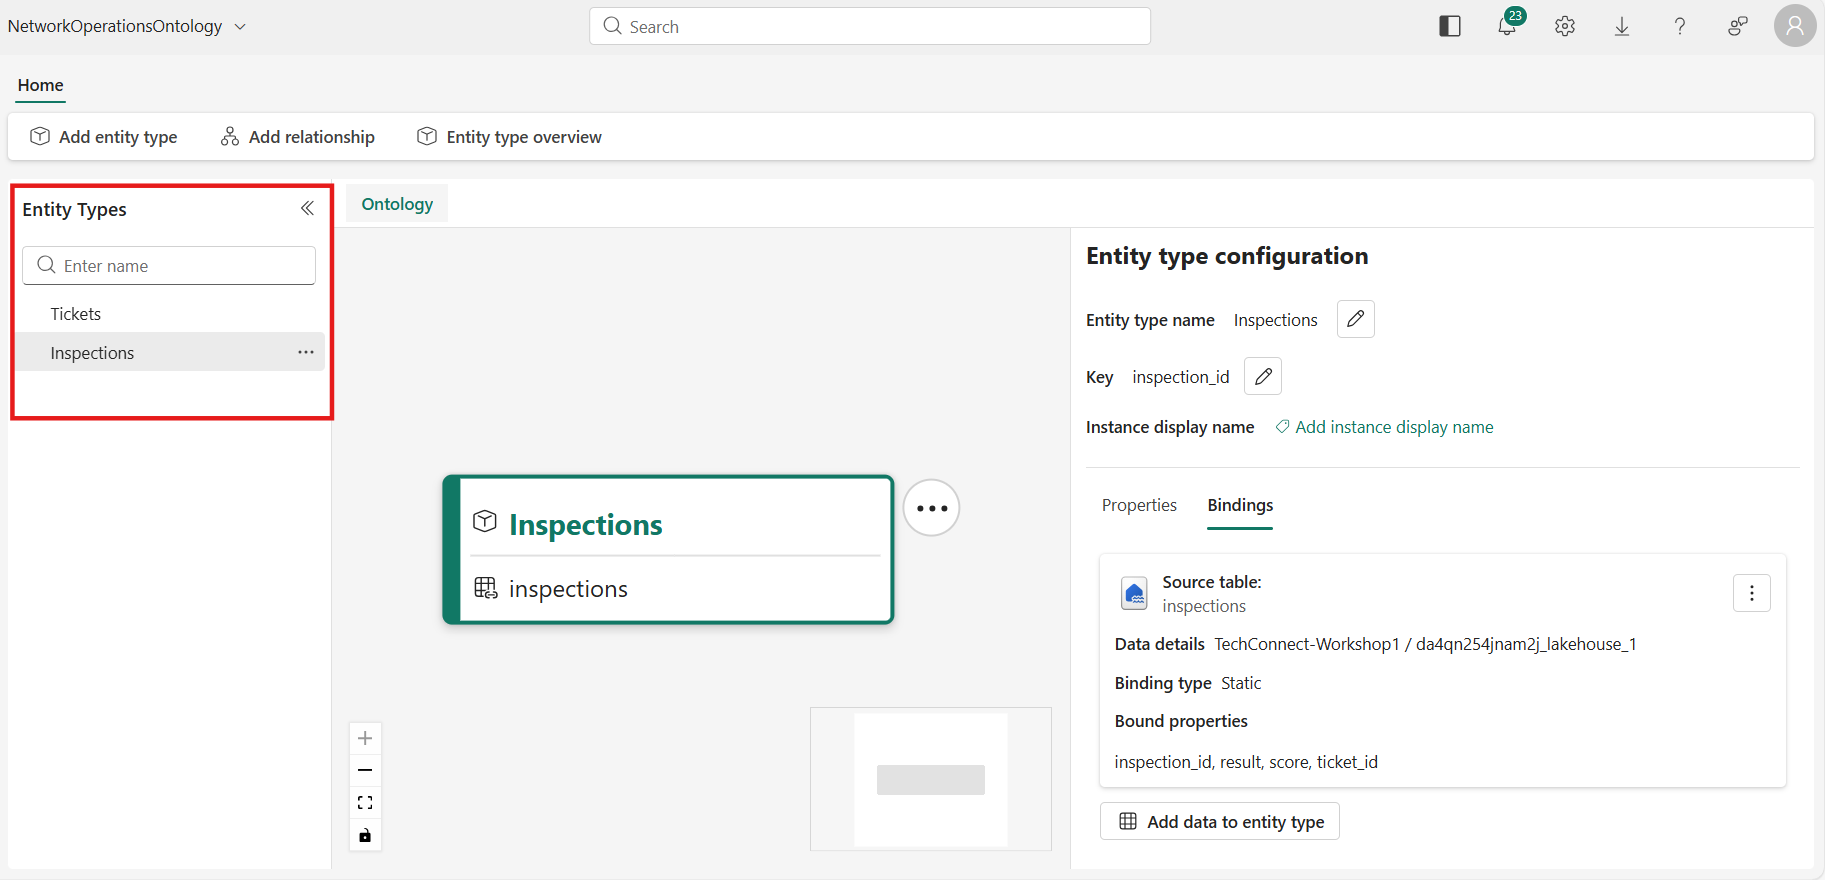
 7. Select inspection_id as the key property and select Save.
Summary of Entity Types
| Entity Type | Source Table | Key Property |
|---|---|---|
| Tickets | tickets | ticket_id |
| Inspections | inspections | inspection_id |
Step 3: Create Relationship Types
Relationship types represent contextual connections between entity types.
3.1 — Inspections → Tickets (ticket_inspection)
This relationship links an inspection record to its parent trouble ticket.
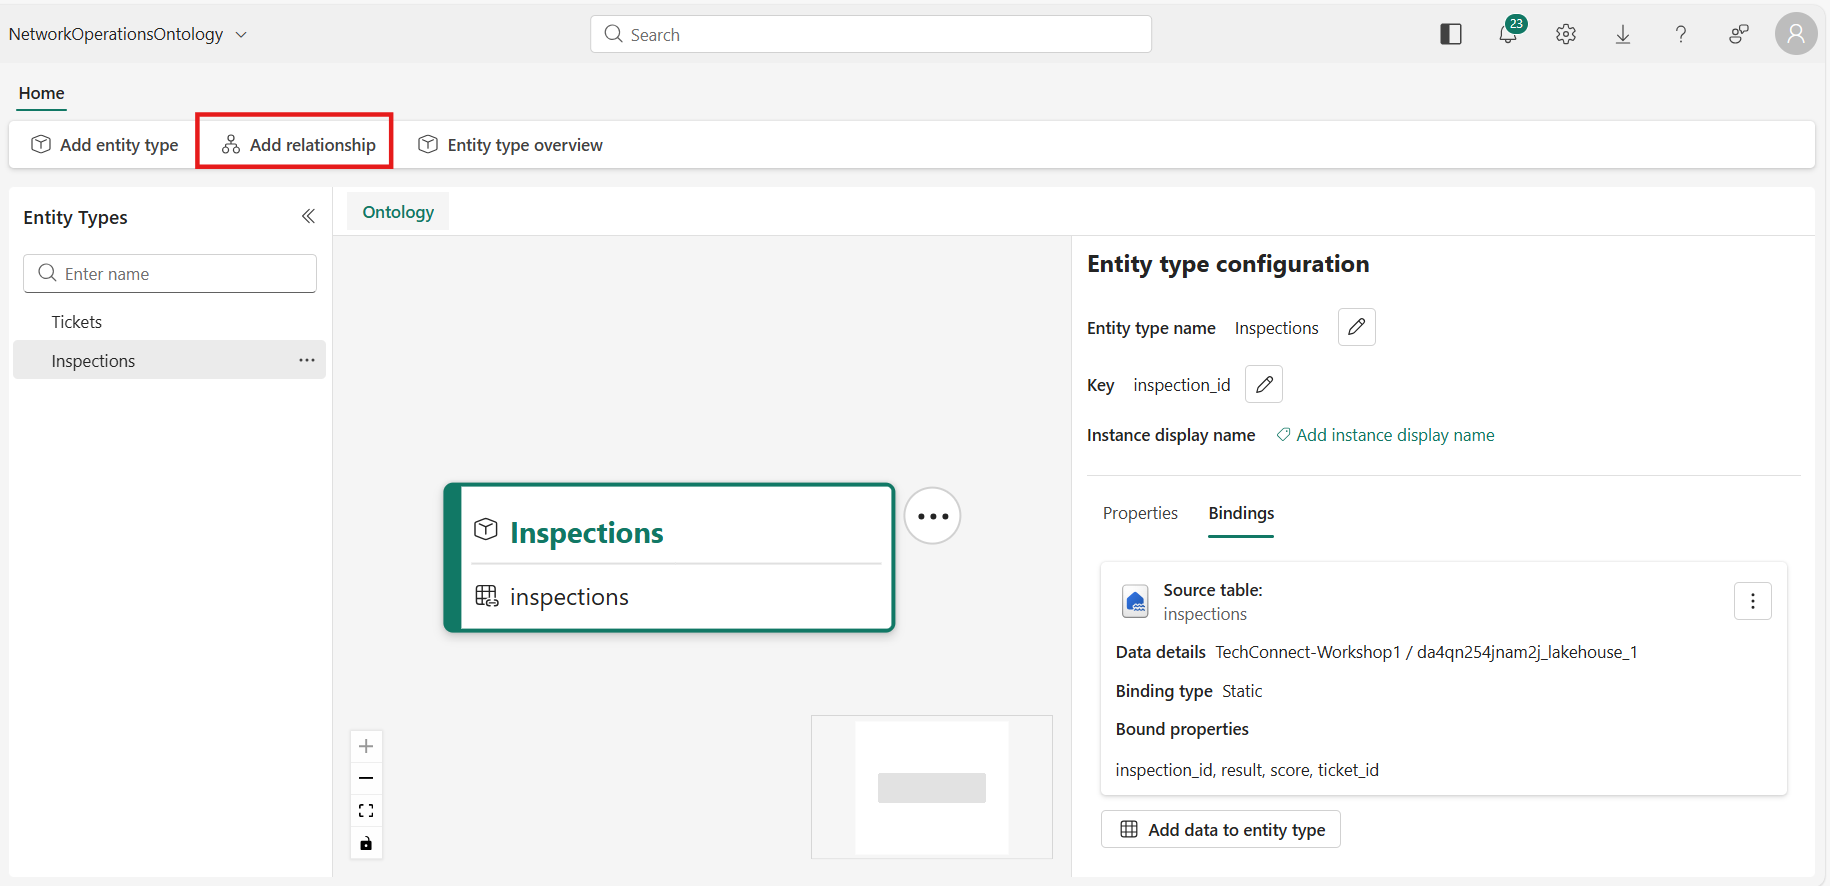
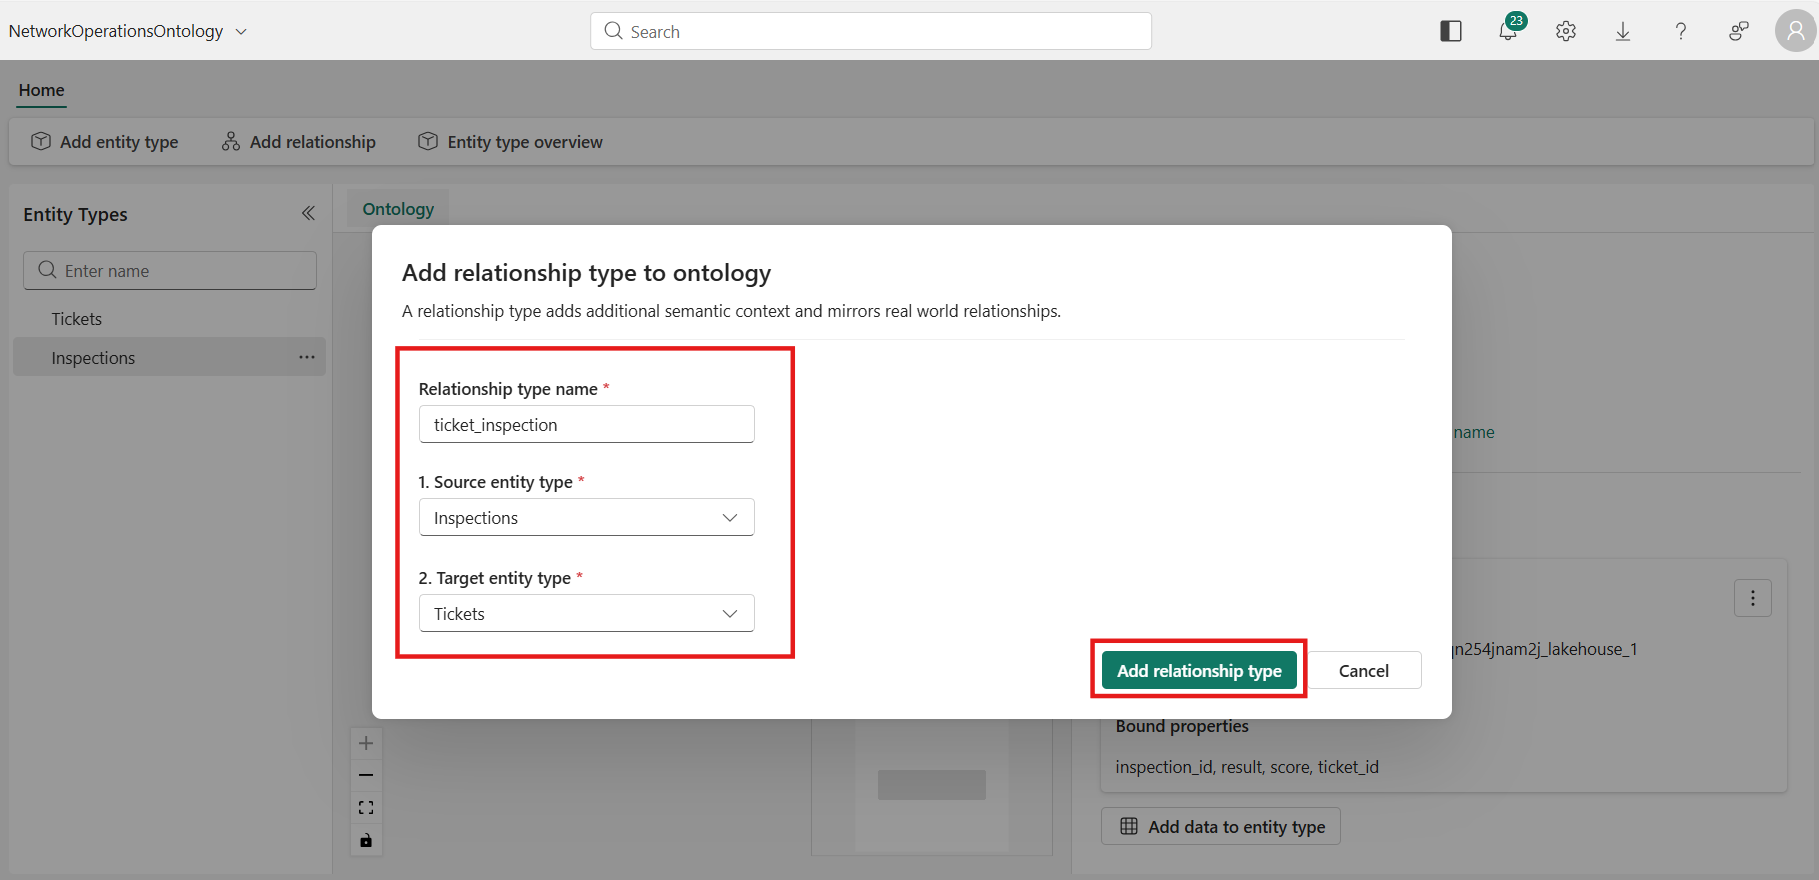
- Select Add relationship from the menu ribbon.
- Enter the following relationship details and select Add relationship type:
- Relationship type name:
ticket_inspection - Source entity type:
Inspections - Target entity type:
Tickets
 3. The Relationship configuration pane opens. Enter the following:
- Source data: Select your workspace → your Lakehouse → the inspections table.
> This table links Inspections and Tickets because it contains the
ticket_idcolumn that references the Tickets entity.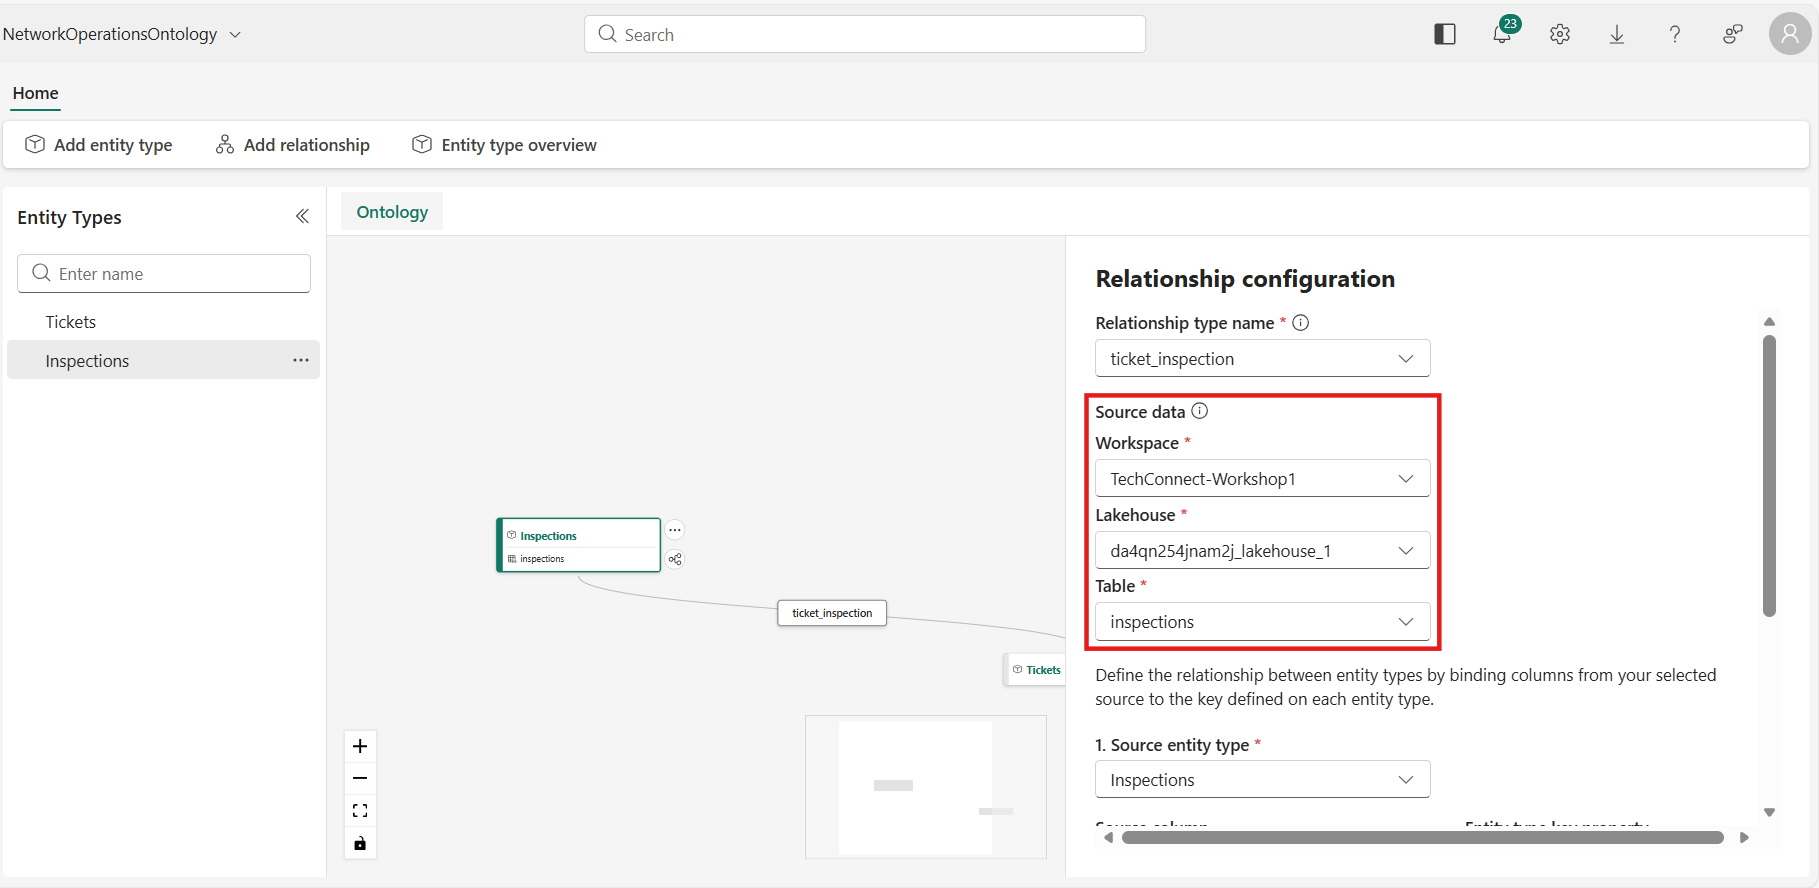
- Source entity type > Source column: Select
inspection_id> This matches the key property on the Inspections entity. - Target entity type > Source column: Select
ticket_id> This matches the key property on the Tickets entity (ticket_idin the tickets table).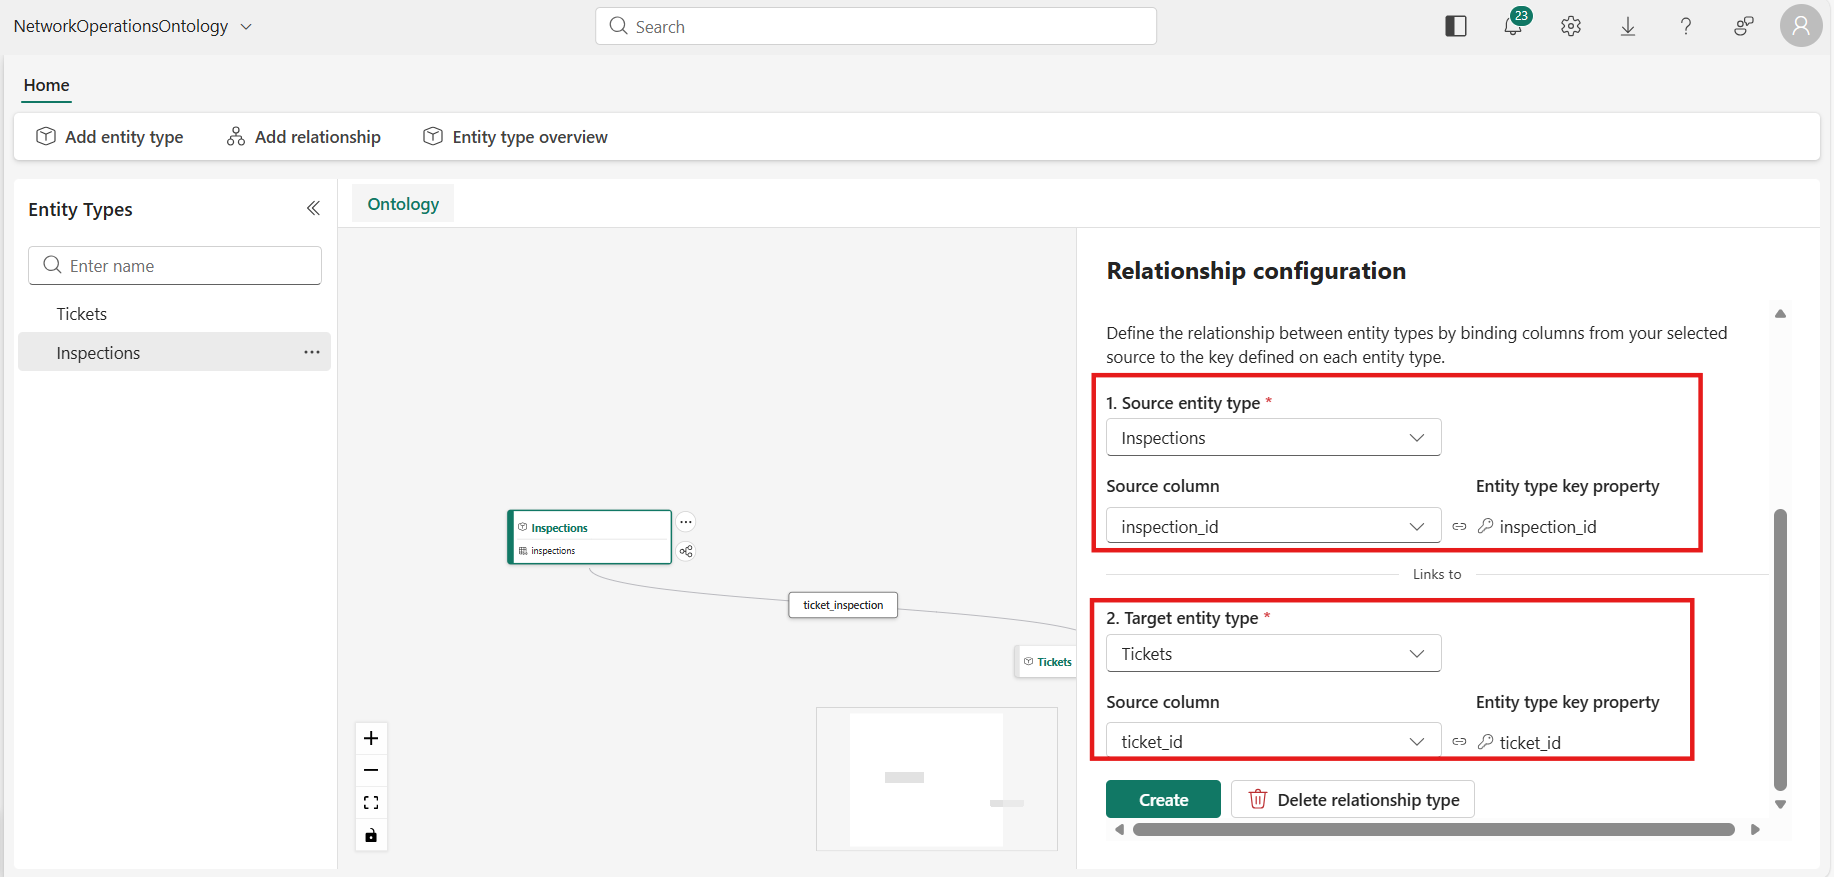
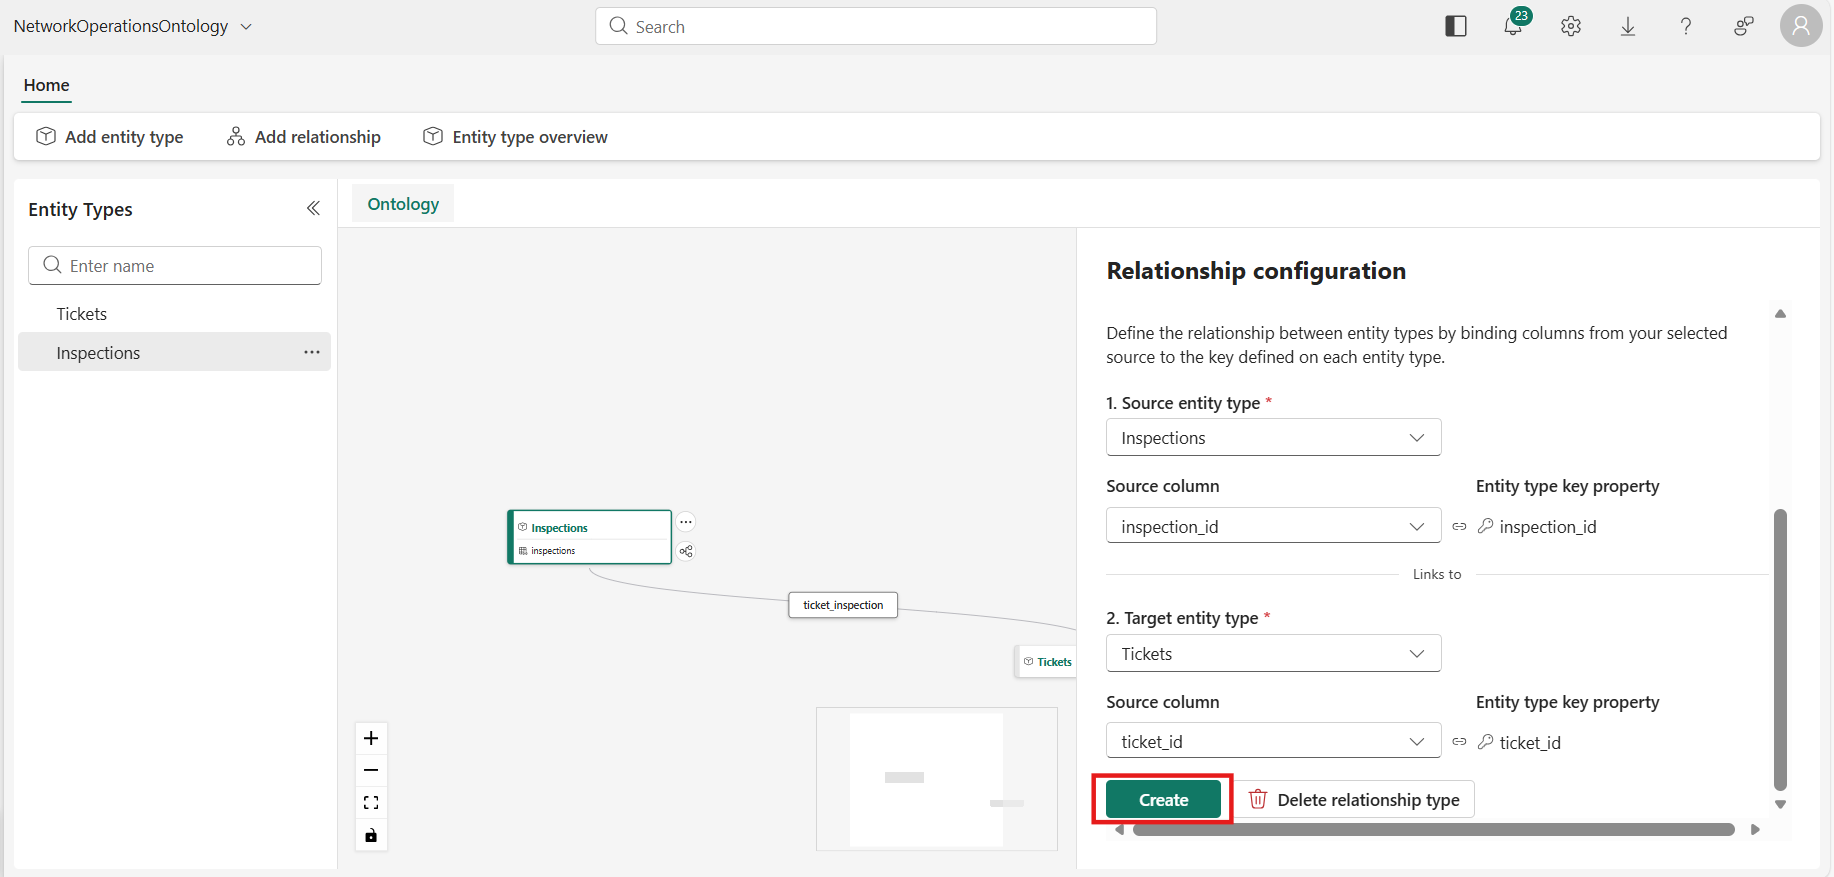
- Select Create.
Summary of Relationships
| Relationship Name | Source Entity | Target Entity | Link Column |
|---|---|---|---|
| ticket_inspection | Inspections | Tickets | ticket_id |
Step 4: Validate the Ontology
After creating all entity types and relationships:
- Review the configuration canvas — you should see both Tickets and Inspections entity types with a relationship arrow between them.
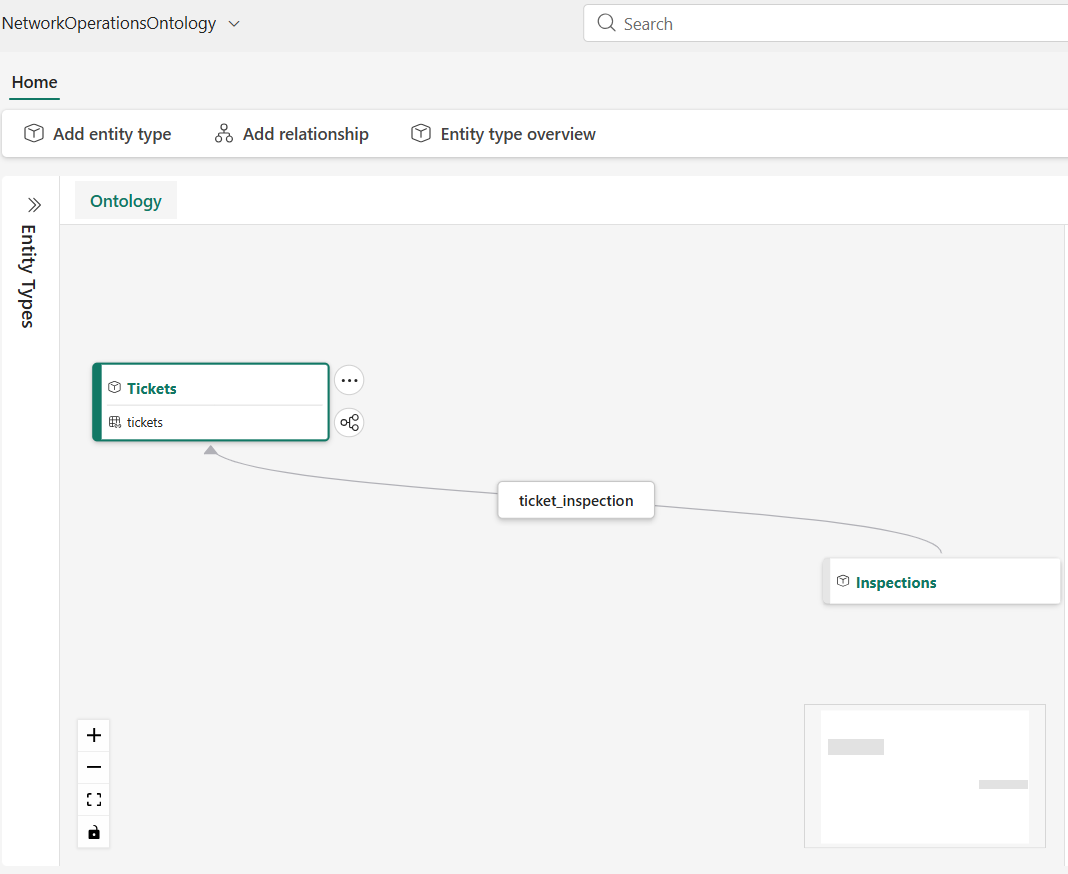 2. Verify each entity type has:
- A valid data binding (Bindings tab shows the source table).
- A key property set.
- Verify the relationship shows the correct source/target columns.
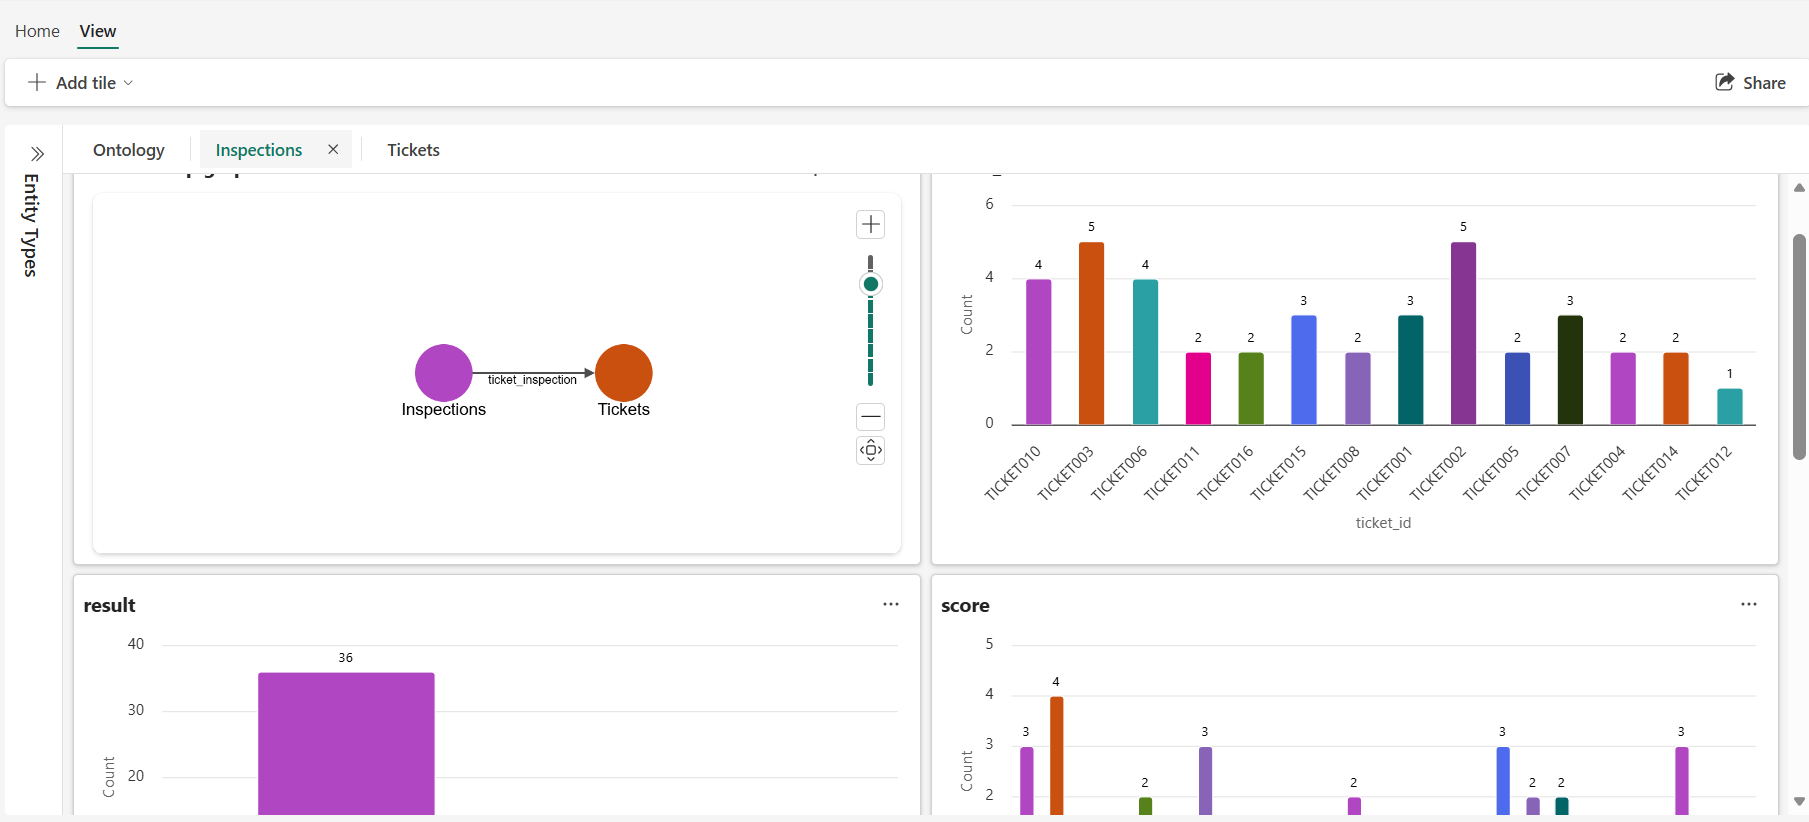
Step 5: Entity Type Overview
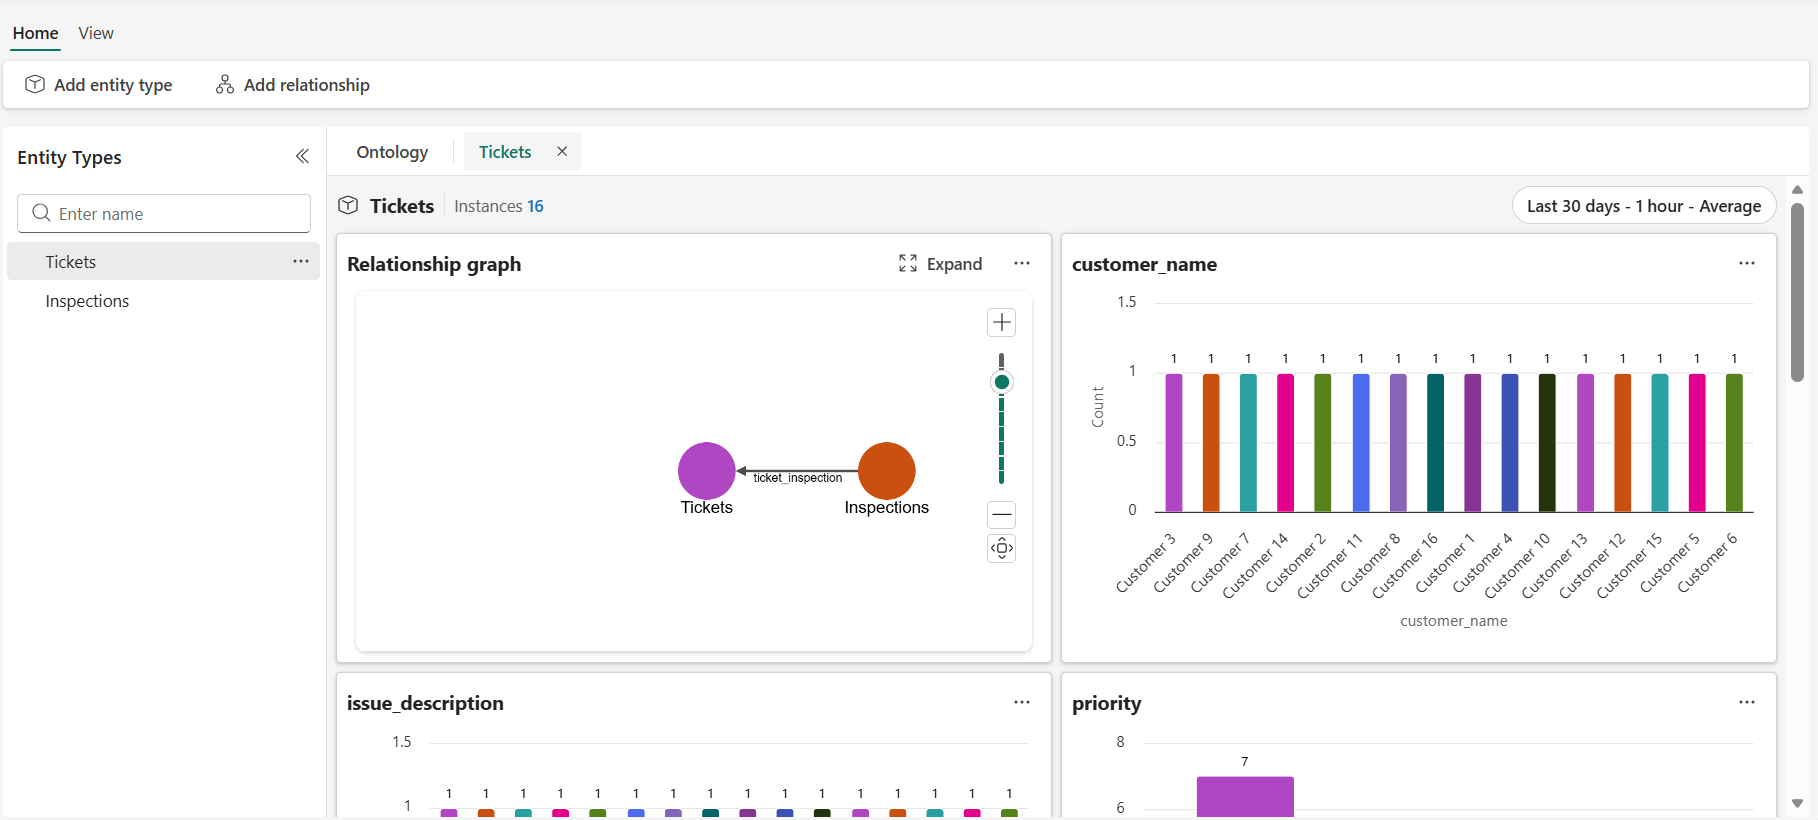
After saving, the ontology takes 15 to 20 minutes to sync and materialize the data. Once ready, you can view the entity type overview for each entity.
- Select the Tickets entity type and then click on Entity type overview.
- View the dashboard.
- Select the Inspections entity type and then click on Entity type overview.
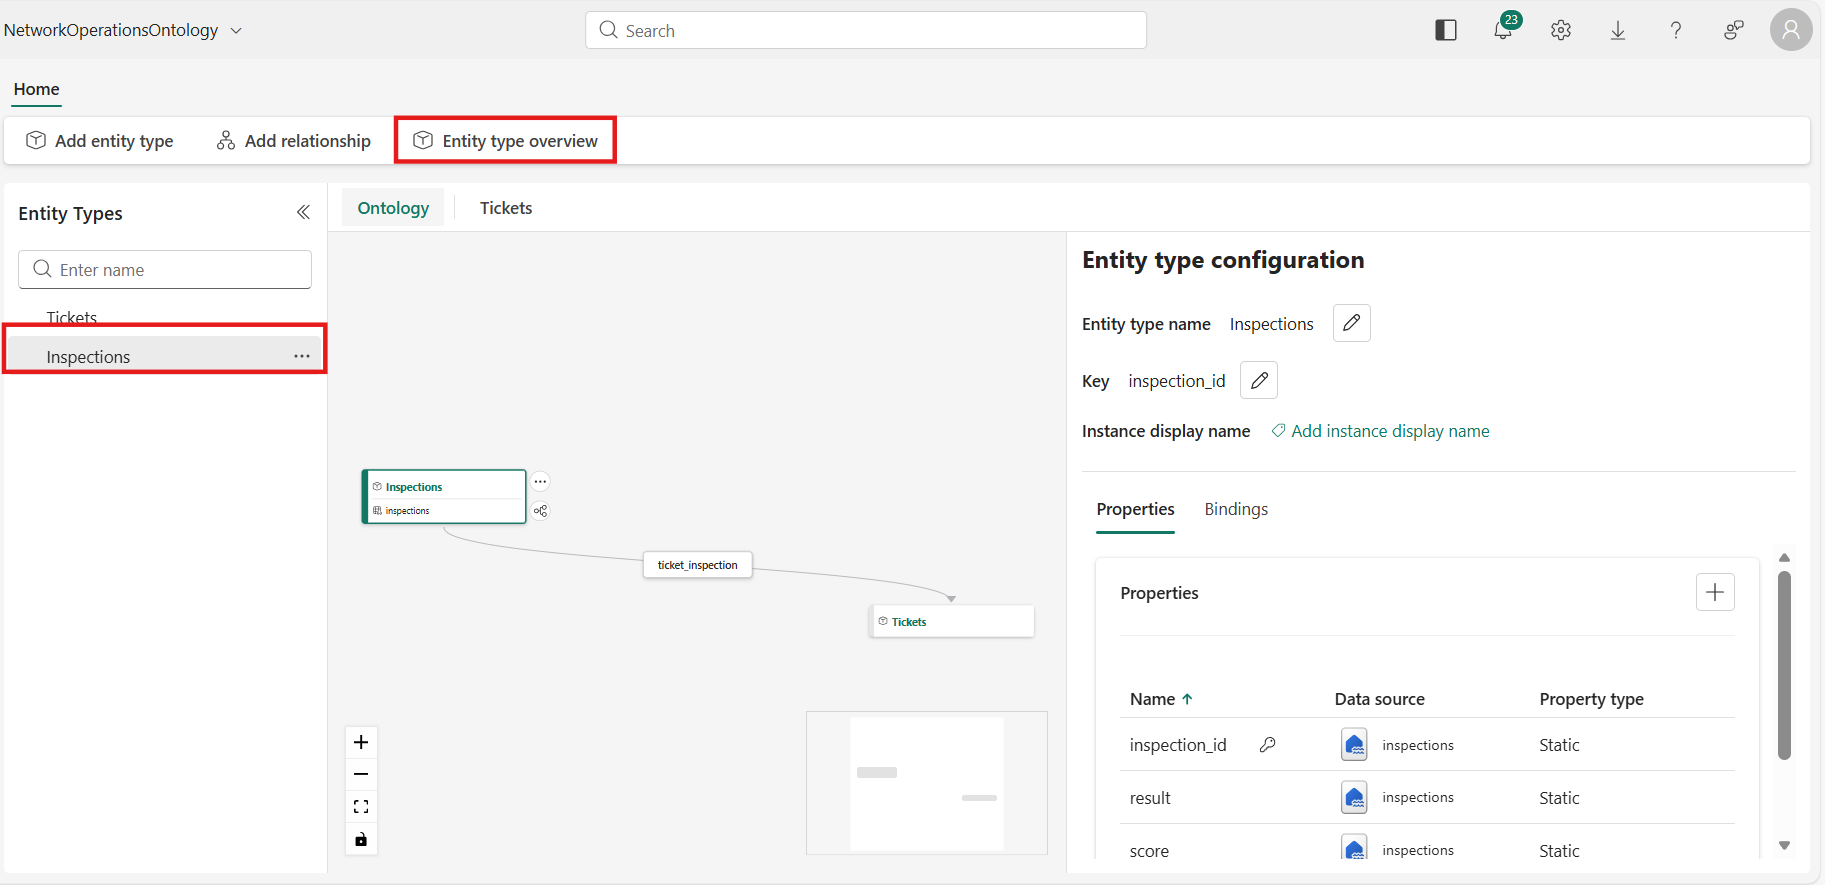
- View the dashboard.
Note: If the overview still shows "Setting up", wait a 15 to 20 minutes and refresh the page. The ontology needs time to process the data bindings against the Lakehouse tables.
Next Steps
- Query the ontology using natural language through Fabric IQ.
- Test the Fabric Data Agent — continue with the next section in the Build solution guide.
- Enrich the ontology with additional data sources or time-series bindings. See Tutorial Part 2: Enrich the ontology.
Troubleshooting
| Issue | Resolution |
|---|---|
| Unable to create ontology item | Ensure the Ontology (preview) feature is enabled at the tenant admin level. |
| Tables not appearing in data source selection | Verify that the tables are loaded into the Lakehouse and accessible in OneLake. |
| Relationship creation fails | Confirm both entity types have key properties set before creating the relationship. |