Cable-binder connector
This is the most common connection between an electrical cable and a binder clip. The springness of the binder clip arm is used to create a reliable connection with the cable without having to solder.
Make
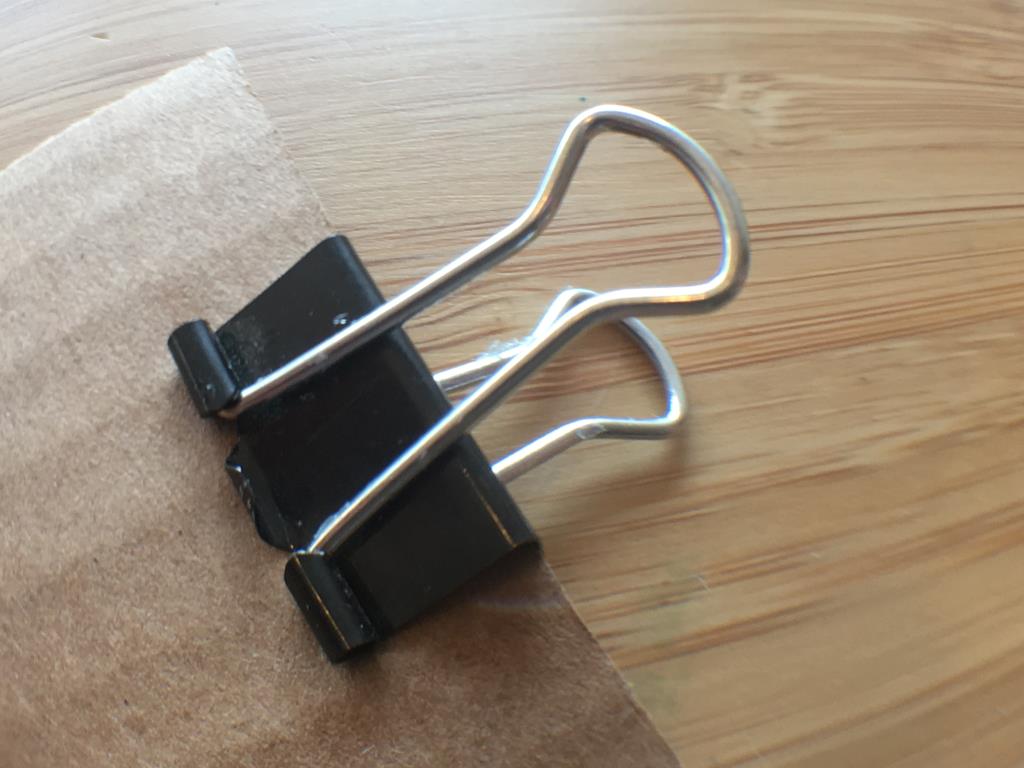
Step 1: Attach the binder clip
Position the binder clip to the side of the cardobard
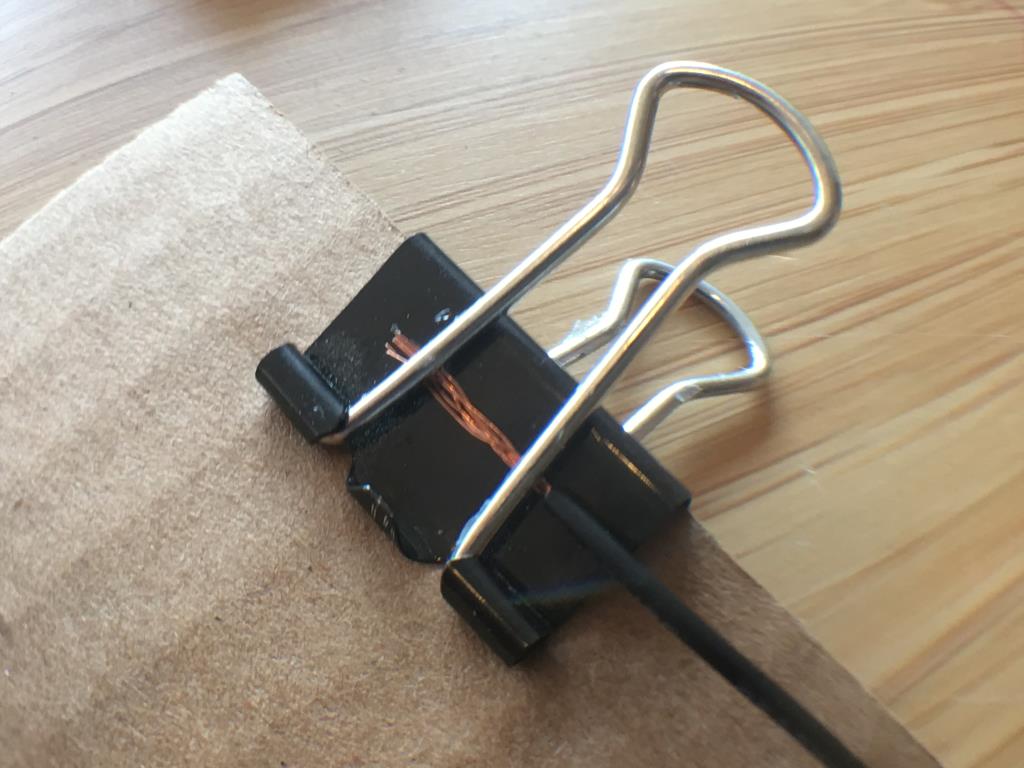
Step 2: Clamp the cable
Lift the binder clip arm and clamp the cable under it.
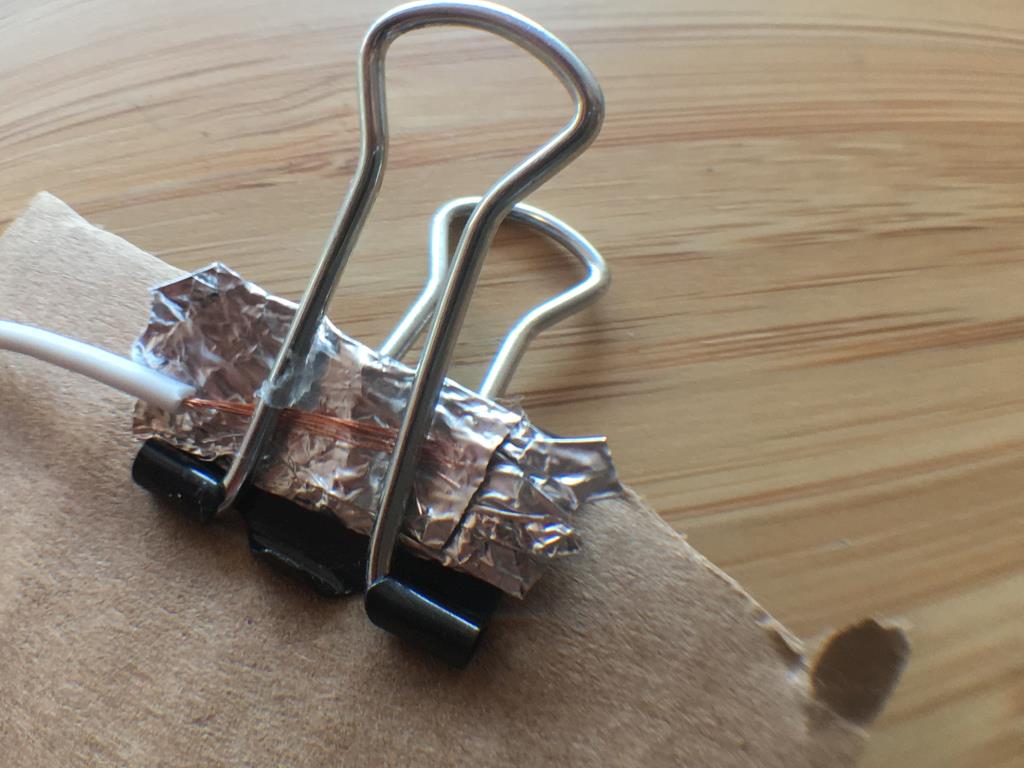
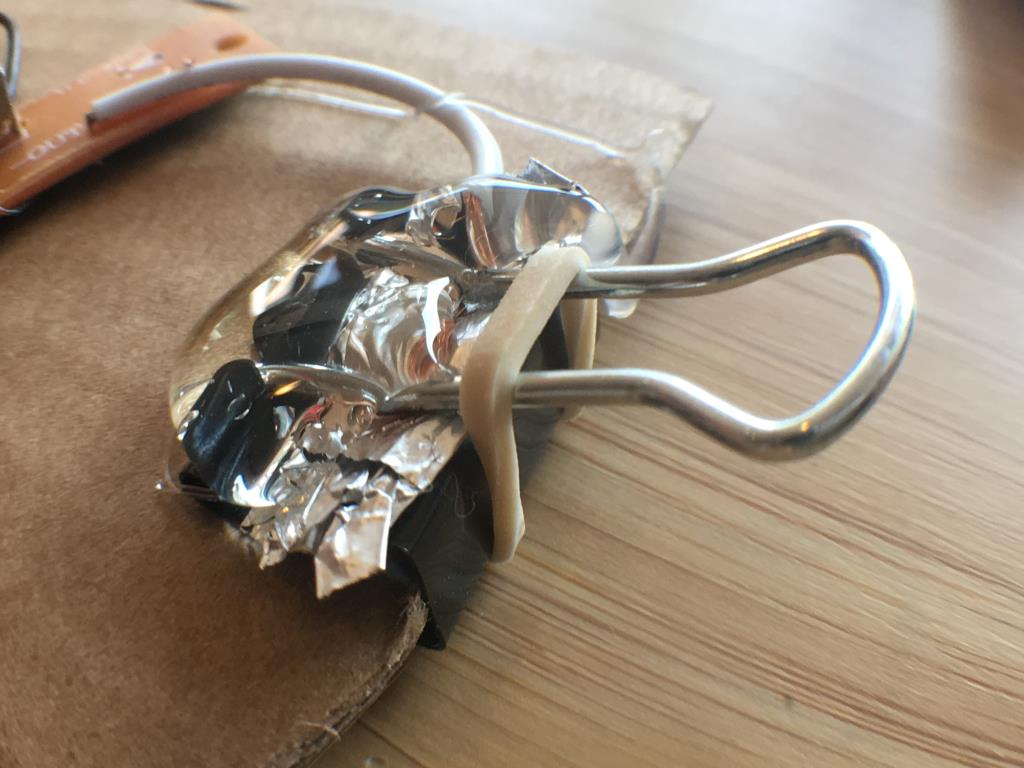
Cable too thin?: Add foil
If the cable is too thin on step 2, add a layer of Aluminium foil between the binder and the binder arm.
Step 3: Testing!
Use a multi-meter or a connection tester to make sure that your connection works… before adding glue!
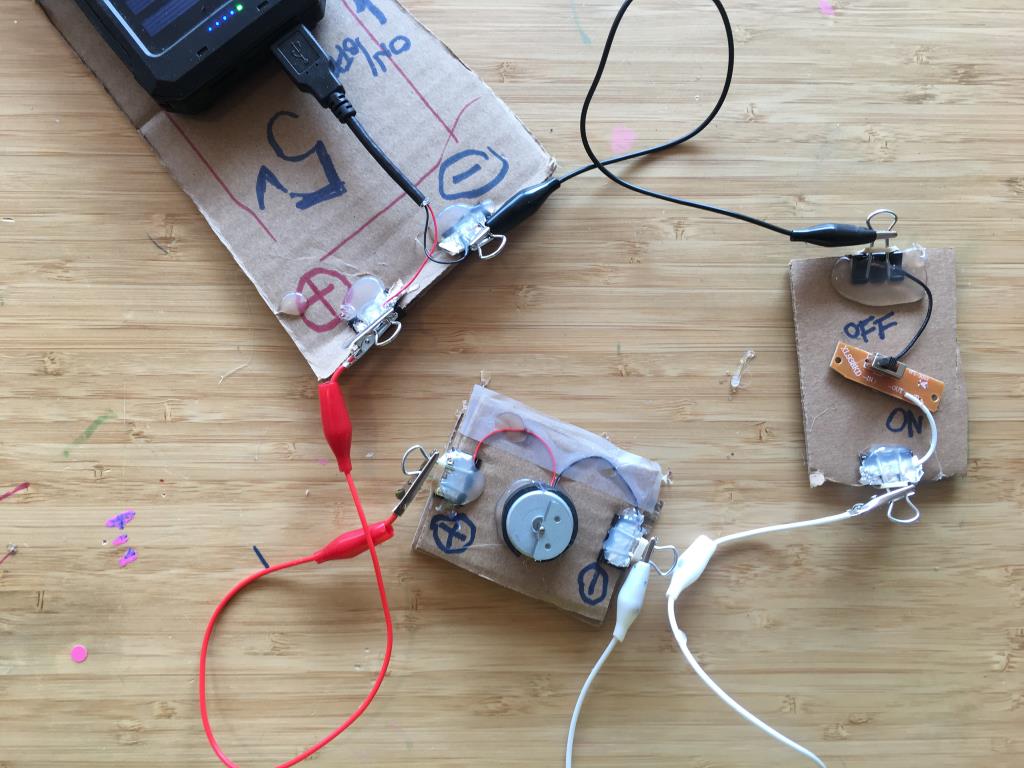
Step 4: Glue it all
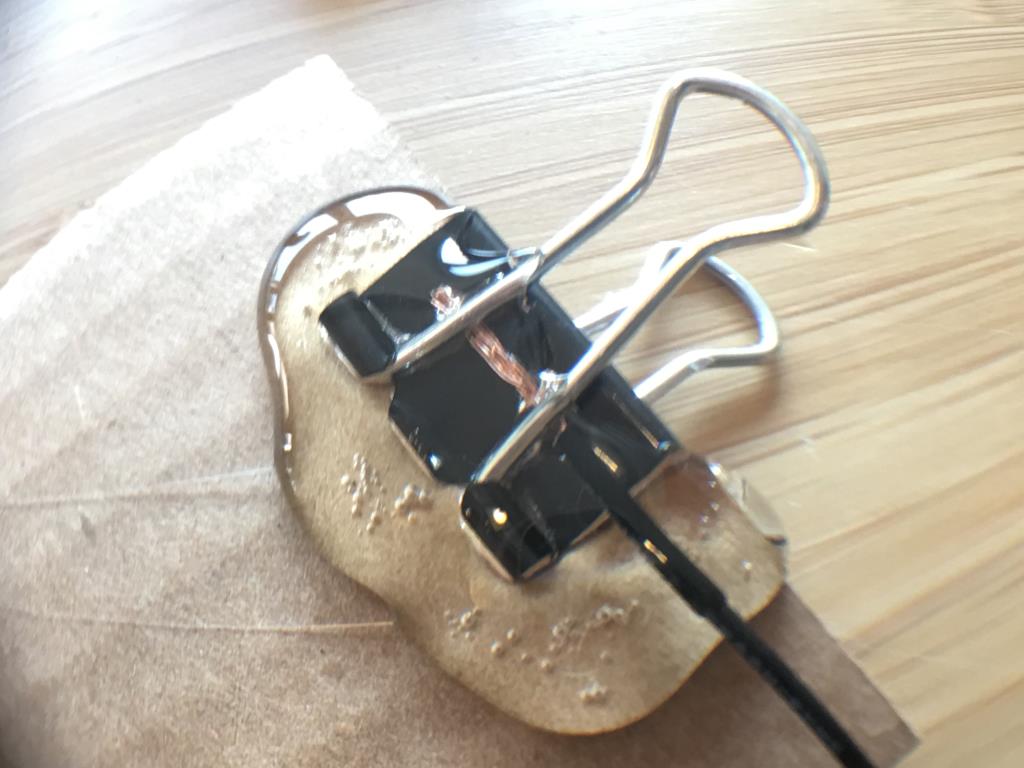
(Optional) Step 5: Add rubber bands
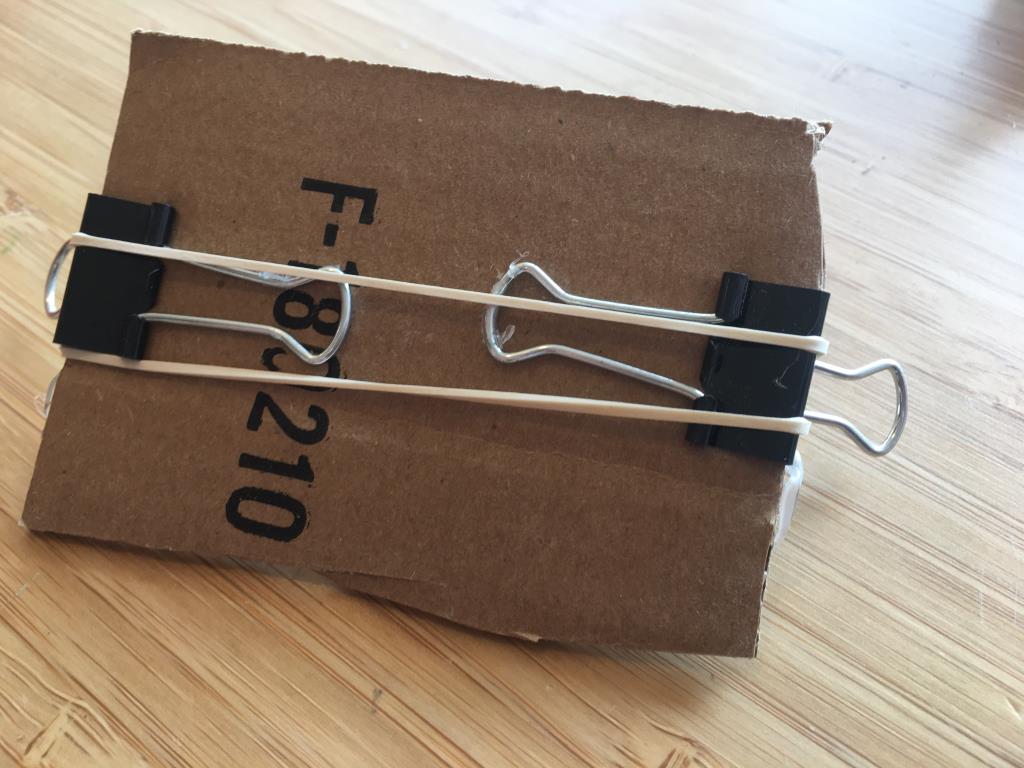
You can optionally add rubber bands to improve the connection on the connector.
You can run the rubber accross the module when positioning the clips on opposite sides of the board.
Tips and tricks
- Test all your connection before gluing them. Be generous with glue.
- Use colored markers to describe the purpose of each connector.
- Trimming a cable with a cable cutter can be very trickly… and lead to no more cables! We highly recommend getting cable trimmers which make this operation seamless for kids.
- Thicker cables can be attached without Aluminium foil. Trial and error is generally the best way to determine if you can skip that step.
- Rubber bands can be used to strengthen the connection and ensure it does not get ripped out.