Continuous Markdown Translations
GenAIScript documentation is now accessible in French, thanks to a continuous translation workflow integrated with GitHub Actions. As documentation changes, translations are updated automatically, reducing manual effort and ensuring consistency across languages.
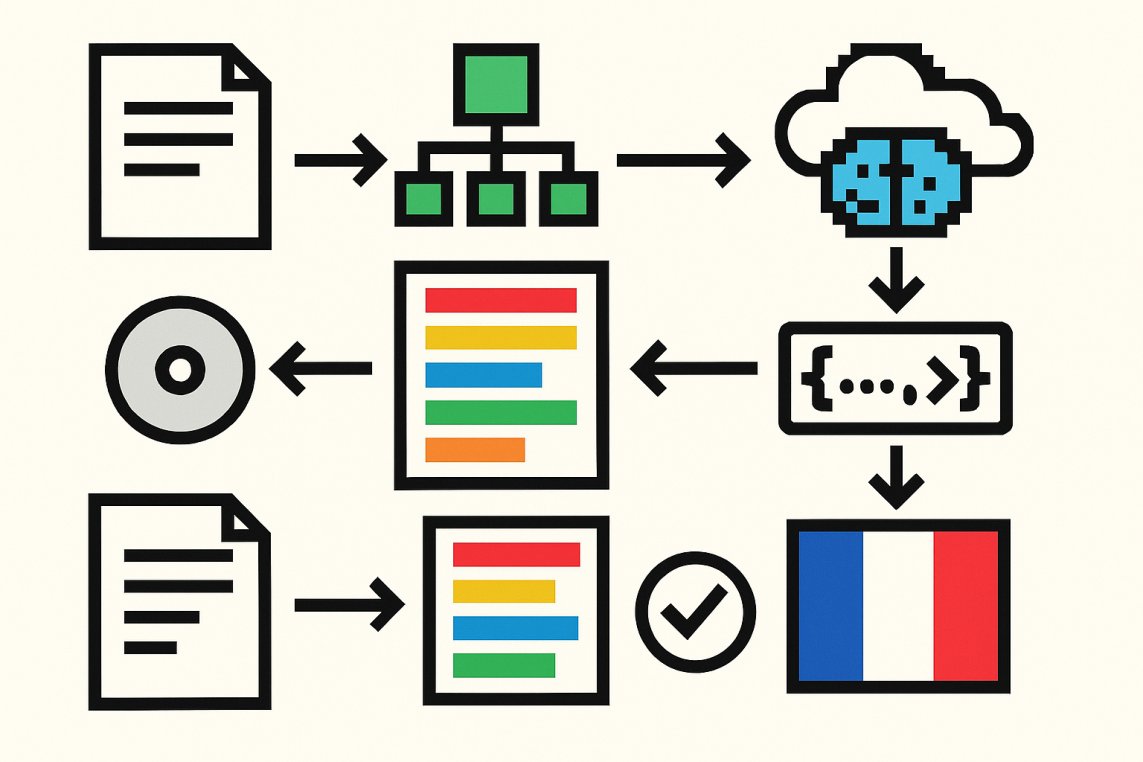
The translation system parses Markdown files into an Abstract Syntax Tree (AST), breaks content into translatable text chunks, and attaches unique identifiers for each segment. Only those new or modified segments are sent for translation by a large language model. This selective approach avoids unnecessary retranslation, supports idempotency, and allows granular updates without risking document drift.
Translations are then evaluated for markdown validity and URL consistency, and undergo an automated quality check using the same LLM. Validated segments are saved in a cache, so future translation runs can instantly reuse existing work and focus only on true differences. Once all checks pass, the automated workflow commits and pushes the new translations back to the repository, with no developer intervention required.
The process is robust, extensible to other languages, and leverages open-source plugins for Markdown AST manipulation. Teams benefit from localized, up-to-date documentation with minimal friction, driven entirely by automation and modern AI tooling.