Launch FLUTE
Local run
Install the requirements stated inside of requirements.txt. Ideally this sould be done inside of a virtual environment, for instance, using Anaconda.
FLUTE uses torch.distributed API as its main communication backbone, supporting three buil-in backends. For more information please refer to [Distributed Communication Package](https://pytorch.org/docs/stable/distributed.html). Therefore, we highly suggest to use NCCL backend for distributed GPU training and Gloo for distributed CPU training. There is no setup.py as FLUTE is not currently distributed as a package, but instead meant to run from the root of the repository.
After this initial setup you can use your data for launching a local run. However the following instructions will be adapted to run nlg_gru task. For running this example, you need to first download and preprocess the data. Instructions can be found here. Once the data is available you can run FLUTE from root as follows:
python -m torch.distributed.run --nproc_per_node=3 e2e_trainer.py -dataPath ./testing/mockup -outputPath scratch -config testing/configs/hello_world_local.yaml -task nlg_gru -backend nccl
If the setup of the experiment has been done correctly, after the model initialization we would be able to see the clients being trained:
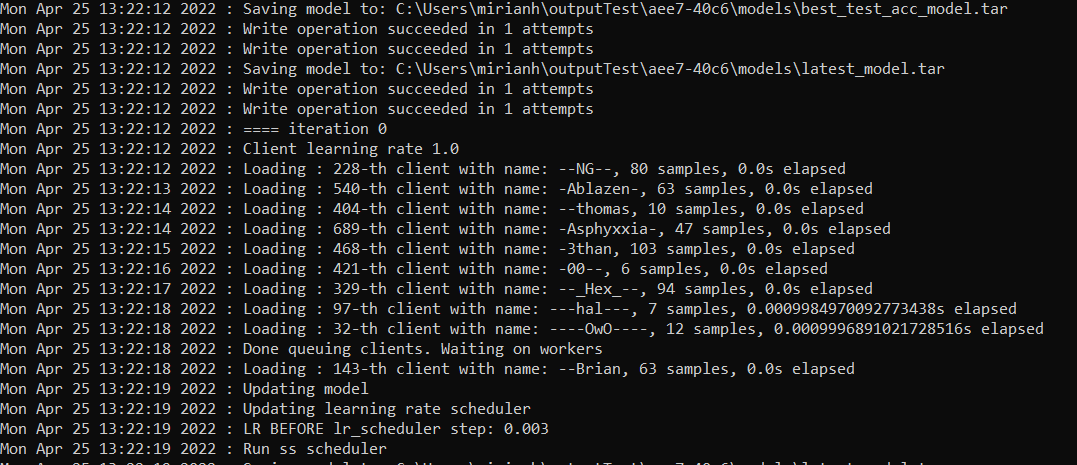
Local run for nlg_gru task.
AML Run
FLUTE has a native integration for job submissions with Azure ML, allowing users to use the built-in CLI or web interface for job/experiment tracking.
For running experiments on AzureML, the CLI can help. You should first install the CLI install the CLI (make sure you have v2) and create a resource group and workspace. You can then create a compute cluster, type az ml compute create -h for more info. Afterwards, you should write a YAML file with instructions for the job; we provide a simple example below:
experiment_name: basic_example
description: Basic example of AML config for submitting FLUTE jobs
code:
local_path: .
compute: azureml:Test
environment:
image: pytorch/pytorch:1.9.0-cuda10.2-cudnn7-devel
inputs:
data:
    folder: azureml://datastores/data/paths/cifar
    mode: rw_mount
command: >
apt -y update &&
apt -y install openmpi-bin libopenmpi-dev openssh-client &&
python3 -m pip install --upgrade pip &&
python3 -m pip install -r requirements.txt &&
python -m torch.distributed.run --nproc_per_node=4 e2e_trainer.py
-outputPath=./outputs
-dataPath={inputs.data}
-task=classif_cnn
-config=./experiments/classif_cnn/config.yaml
-backend=nccl
You should replace compute with the name of the one you created before, and adjust the path of the datastore containing the data. In the example above, we created a datastore called data and added to it a folder called cifar, which contained the two HDF5 files. The command passed above will install dependencies and then launch a NCCL job with 4 threads, for the experiment defined in experiments/classif_cnn. Details on how to run a job using the AzureML CLI are given in its documentation , but typically it suffices to set up the environment and type az ml job create -f <name-of-the-yaml-file>. In the same page of the documentation, you can also find more info about how to set up the YAML file above, in case other changes are needed.
Note
The local_path above is relative to the location of the YAML file. Setting it to . assumes it is in the same folder as e2e_trainer.py.
Note
All files on this folder will be uploaded to Azure, including hidden folders such as .git, make sure to remove large files and folders that are not needed.
After launching the experiment, you can follow it on AzureML Studio, which prints logs, plots metrics and makes the output easily available after the experiment is finished.