😁 Jokes MCP Server Sample (Streamable HTTP version)
Welcome to the Jokes MCP Server Sample (Streamable HTTP version). In this sample, you will learn how to deploy the MCP Server to Azure or run it locally, and then add it to Microsoft Copilot Studio.
This MCP Server has multiple tools available:
get-chuck-joke| Get a random Chuck Norris jokeget-chuck-joke-by-category| Get a random Chuck Norris joke by categoryget-chuck-categories| Get all available categories for Chuck Norris jokesget-dad-joke| Get a random dad joke
⚙️ Prerequisites
- Visual Studio Code (link)
- Node v22 (ideally installed via nvm for Windows)
- GitHub account
- Azure Developer CLI (link)
🚀 Minimal path to awesome
Clone this repository
Open Visual Studio Code and open the sample folder
Open the terminal and navigate to the sample folder
Run
npm installRun
npm run build && npm run start
Select
PORTSat the top of the Visual Studio Code Terminal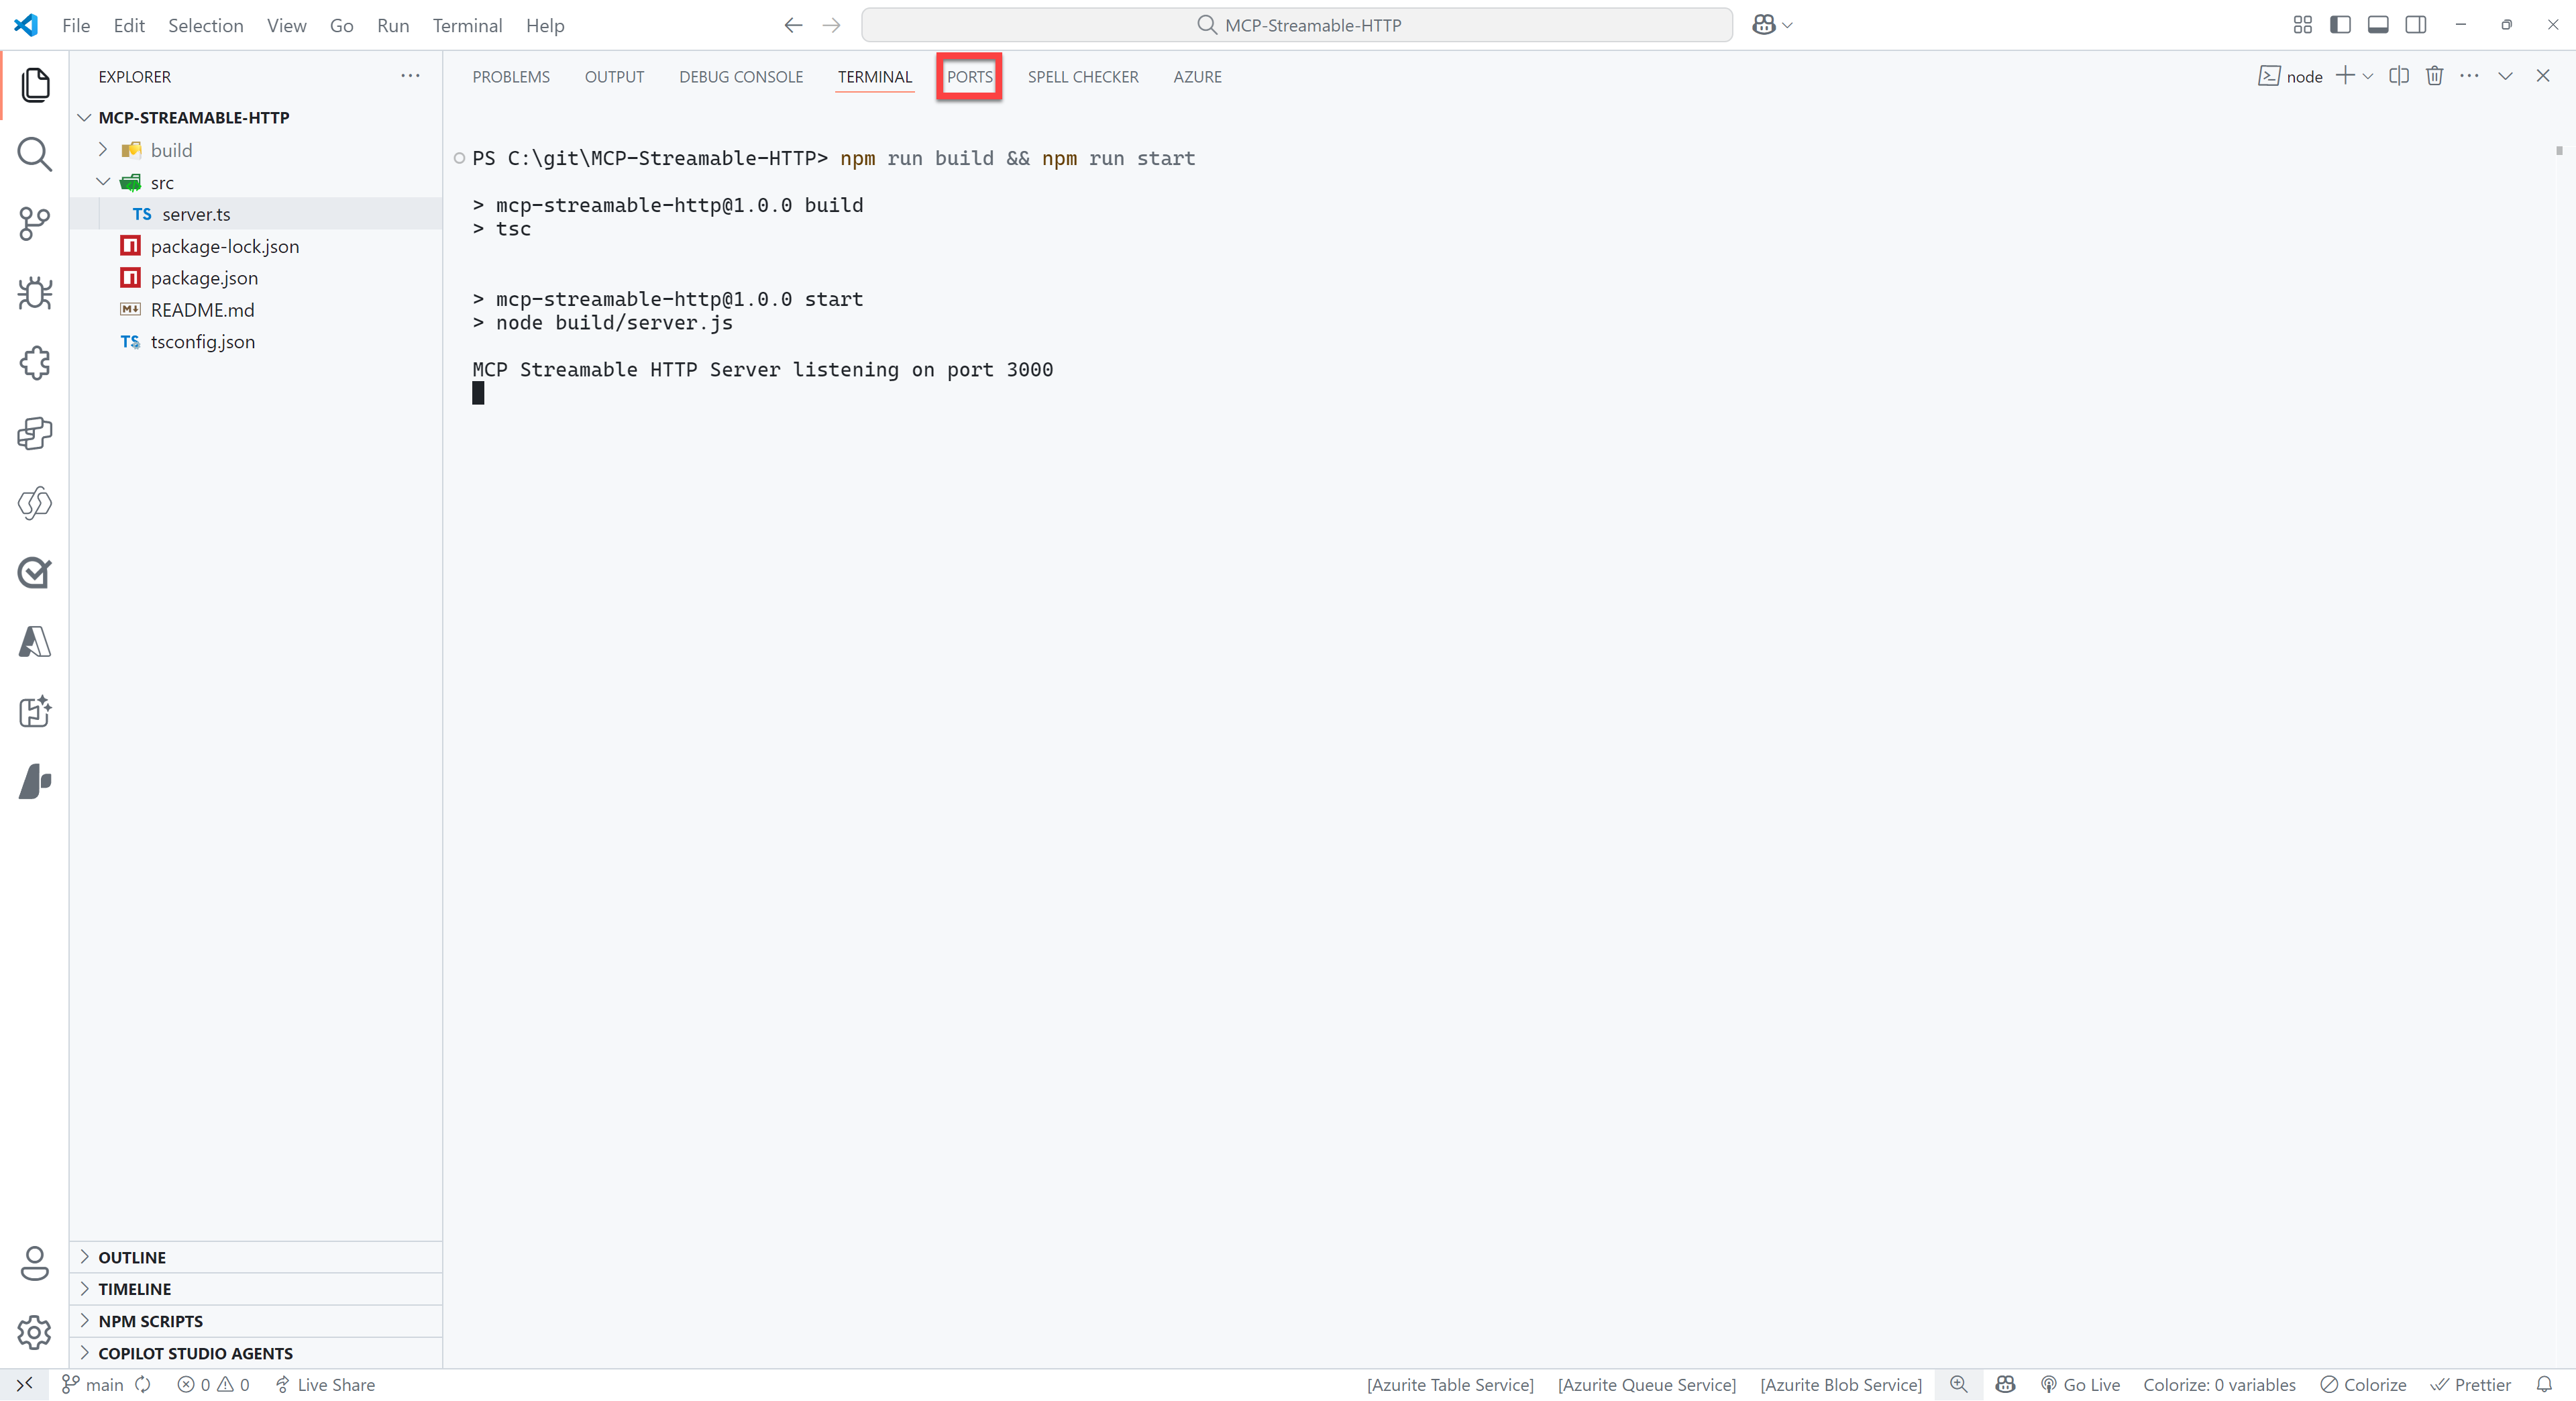
Select the green
Forward a Portbutton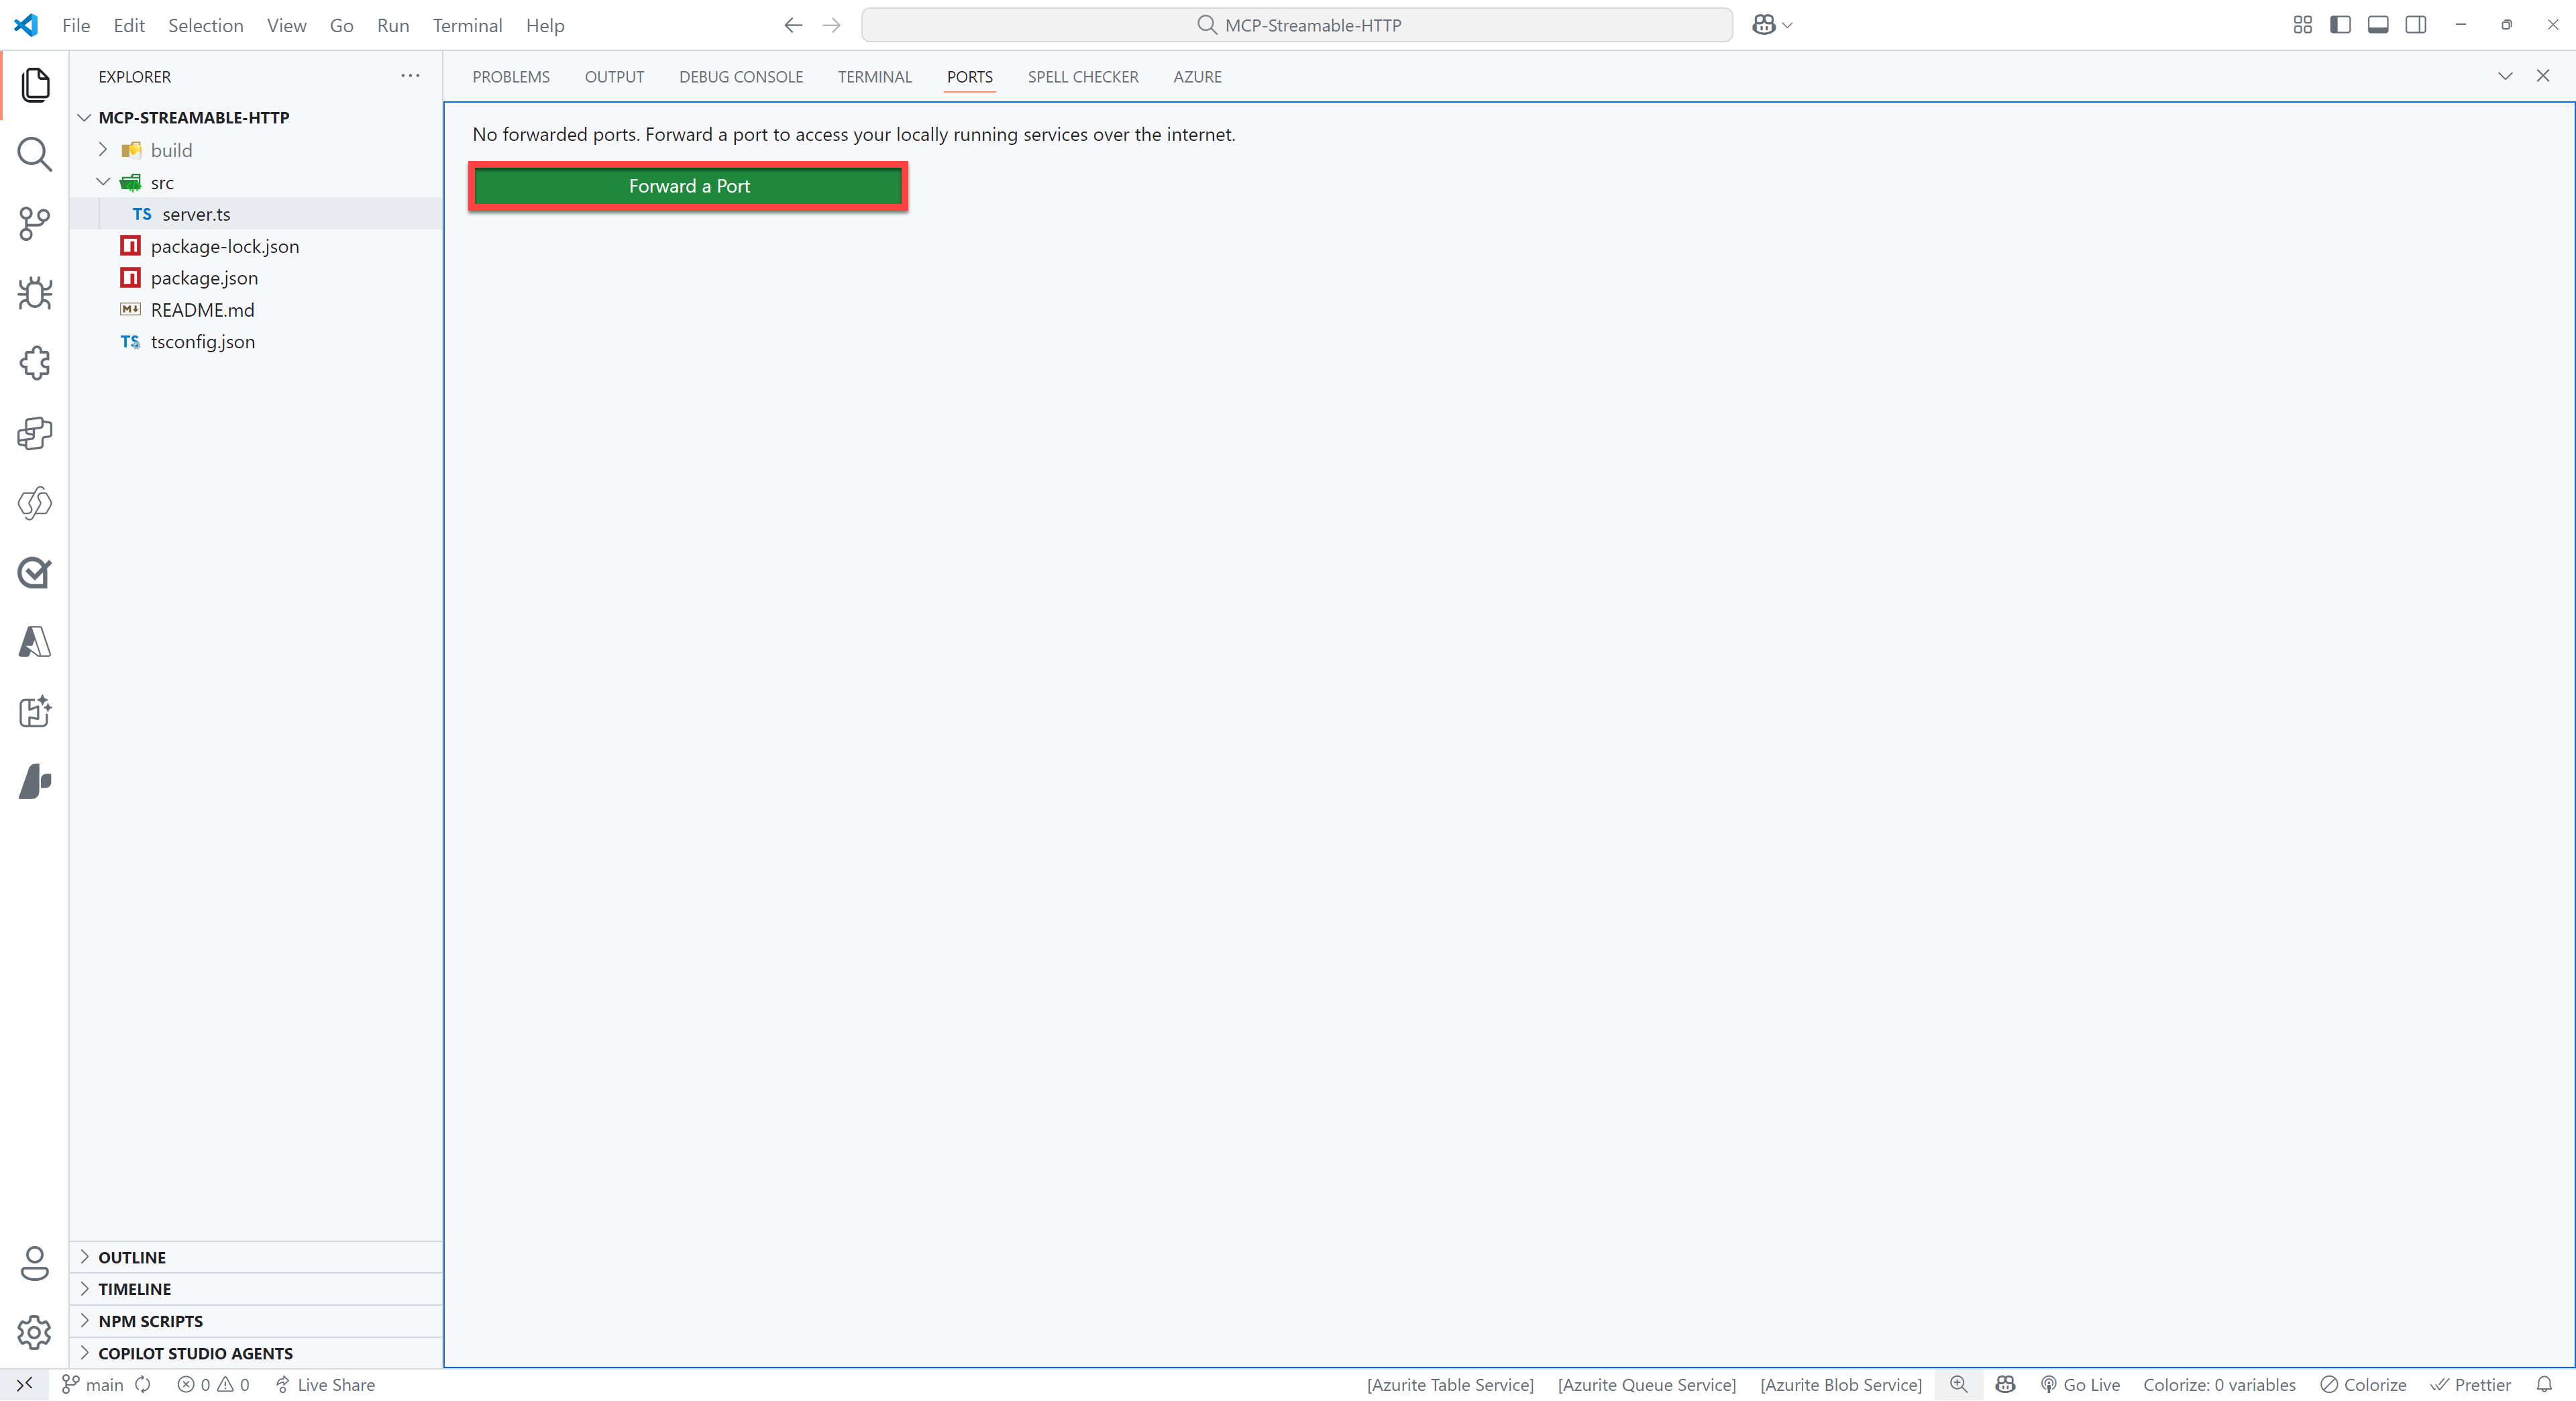
Enter
3000as the port number (this should be the same as the port number you see when you ran the command in step 5). You might be prompted to sign in to GitHub, if so please do this, since this is required to use the port forwarding feature.Right click on the row you just added and select
Port visibility>Publicto make the server publicly availableCtrl + click on the
Forwarded address, which should be something like:https://something-3000.something.devtunnels.msSelect
Copyon the following pop-up to copy the URL
Open to the browser of your choice and paste the URL in the address bar, type
/mcpbehind it and hit enter
If all went well, you will see the following error message:
{"jsonrpc":"2.0","error":{"code":-32000,"message":"Method not allowed."},"id":null}Don't worry - this error message is nothing to be worried about!
🌎 Host on Azure Container Apps
Make sure to login to Azure Developer CLI if you haven't done that yet.
azd auth loginRun the following command in the terminal:
azd upAfter running the azd up command, it will take a couple of minutes before the server has been deployed. When it's done - you should be able to go to the URL that's listed at the end and add /mcp to the end of that URL.

You should again see the following error:
{"jsonrpc":"2.0","error":{"code":-32000,"message":"Method not allowed."},"id":null}Again - don't worry - this error message is nothing to be worried about!
👨💻 Use the Jokes MCP Server in Visual Studio Code / GitHub Copilot
To use the Jokes MCP Server, you need to use the URL of your server (can be either your devtunnel URL or your deployed Azure Container App) with the /mcp part at the end and add it as an MCP Server in Visual Studio Code.
Press either
ctrl+shift+P(Windows/Linux) orcmd+shift+P(Mac) and typeMCPSelect
MCP: Add Server...Select
HTTP (HTTP or Server-Sent Events)Paste the URL of your server in the input box (make sure
/mcpin the end is included)Press
EnterEnter a name for the server, for instance
JokesMCPSelect
User Settingsto save the MCP Server settings in your user settingsOpen
GitHub CopilotSwitch from
AsktoAgentMake sure the
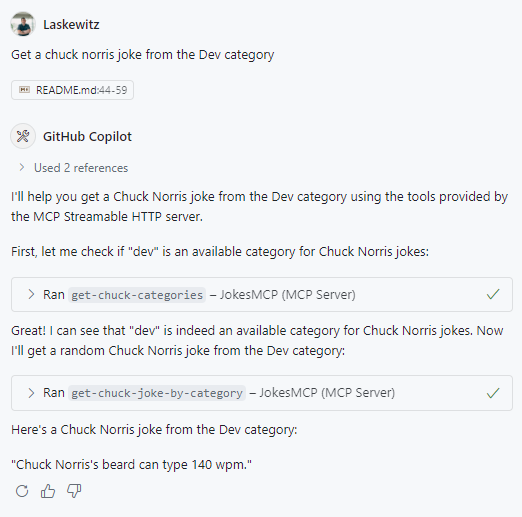
JokesMCPserver actions are enabledAsk the following question:
textGet a chuck norris joke from the Dev category
This should give you a response like this:
Now you have added the JokesMCP server to Visual Studio Code!