🌳🌲Parks Server Sample
Welcome to the Parks Server Sample. In this sample, you will learn how to run the MCP Server locally, and then add it to Microsoft Copilot Studio. This sample exposes the NPS APIs as MCP tools and it's used to demonstrate how you can setup an MCP server that connects to an API which requires authentication using the API key method.
The MCP server
The MCP server uses the HTTP Streaming transport protocol to expose the following capabilities:
getParks| Get the list of the national US parks given a specific stategetActivities| Get the list of activities available in US parks
⚙️ Prerequisites
- Visual Studio Code (link)
- Node v22 (ideally installed via nvm for Windows)
- GitHub account
🚀 Minimal path to awesome
Open Visual Studio Code on the subfolder
samples/parks-http-typescriptOpen the terminal and navigate to the same folder
Run
npm run start
Select
PORTSat the top of the Visual Studio Code Terminal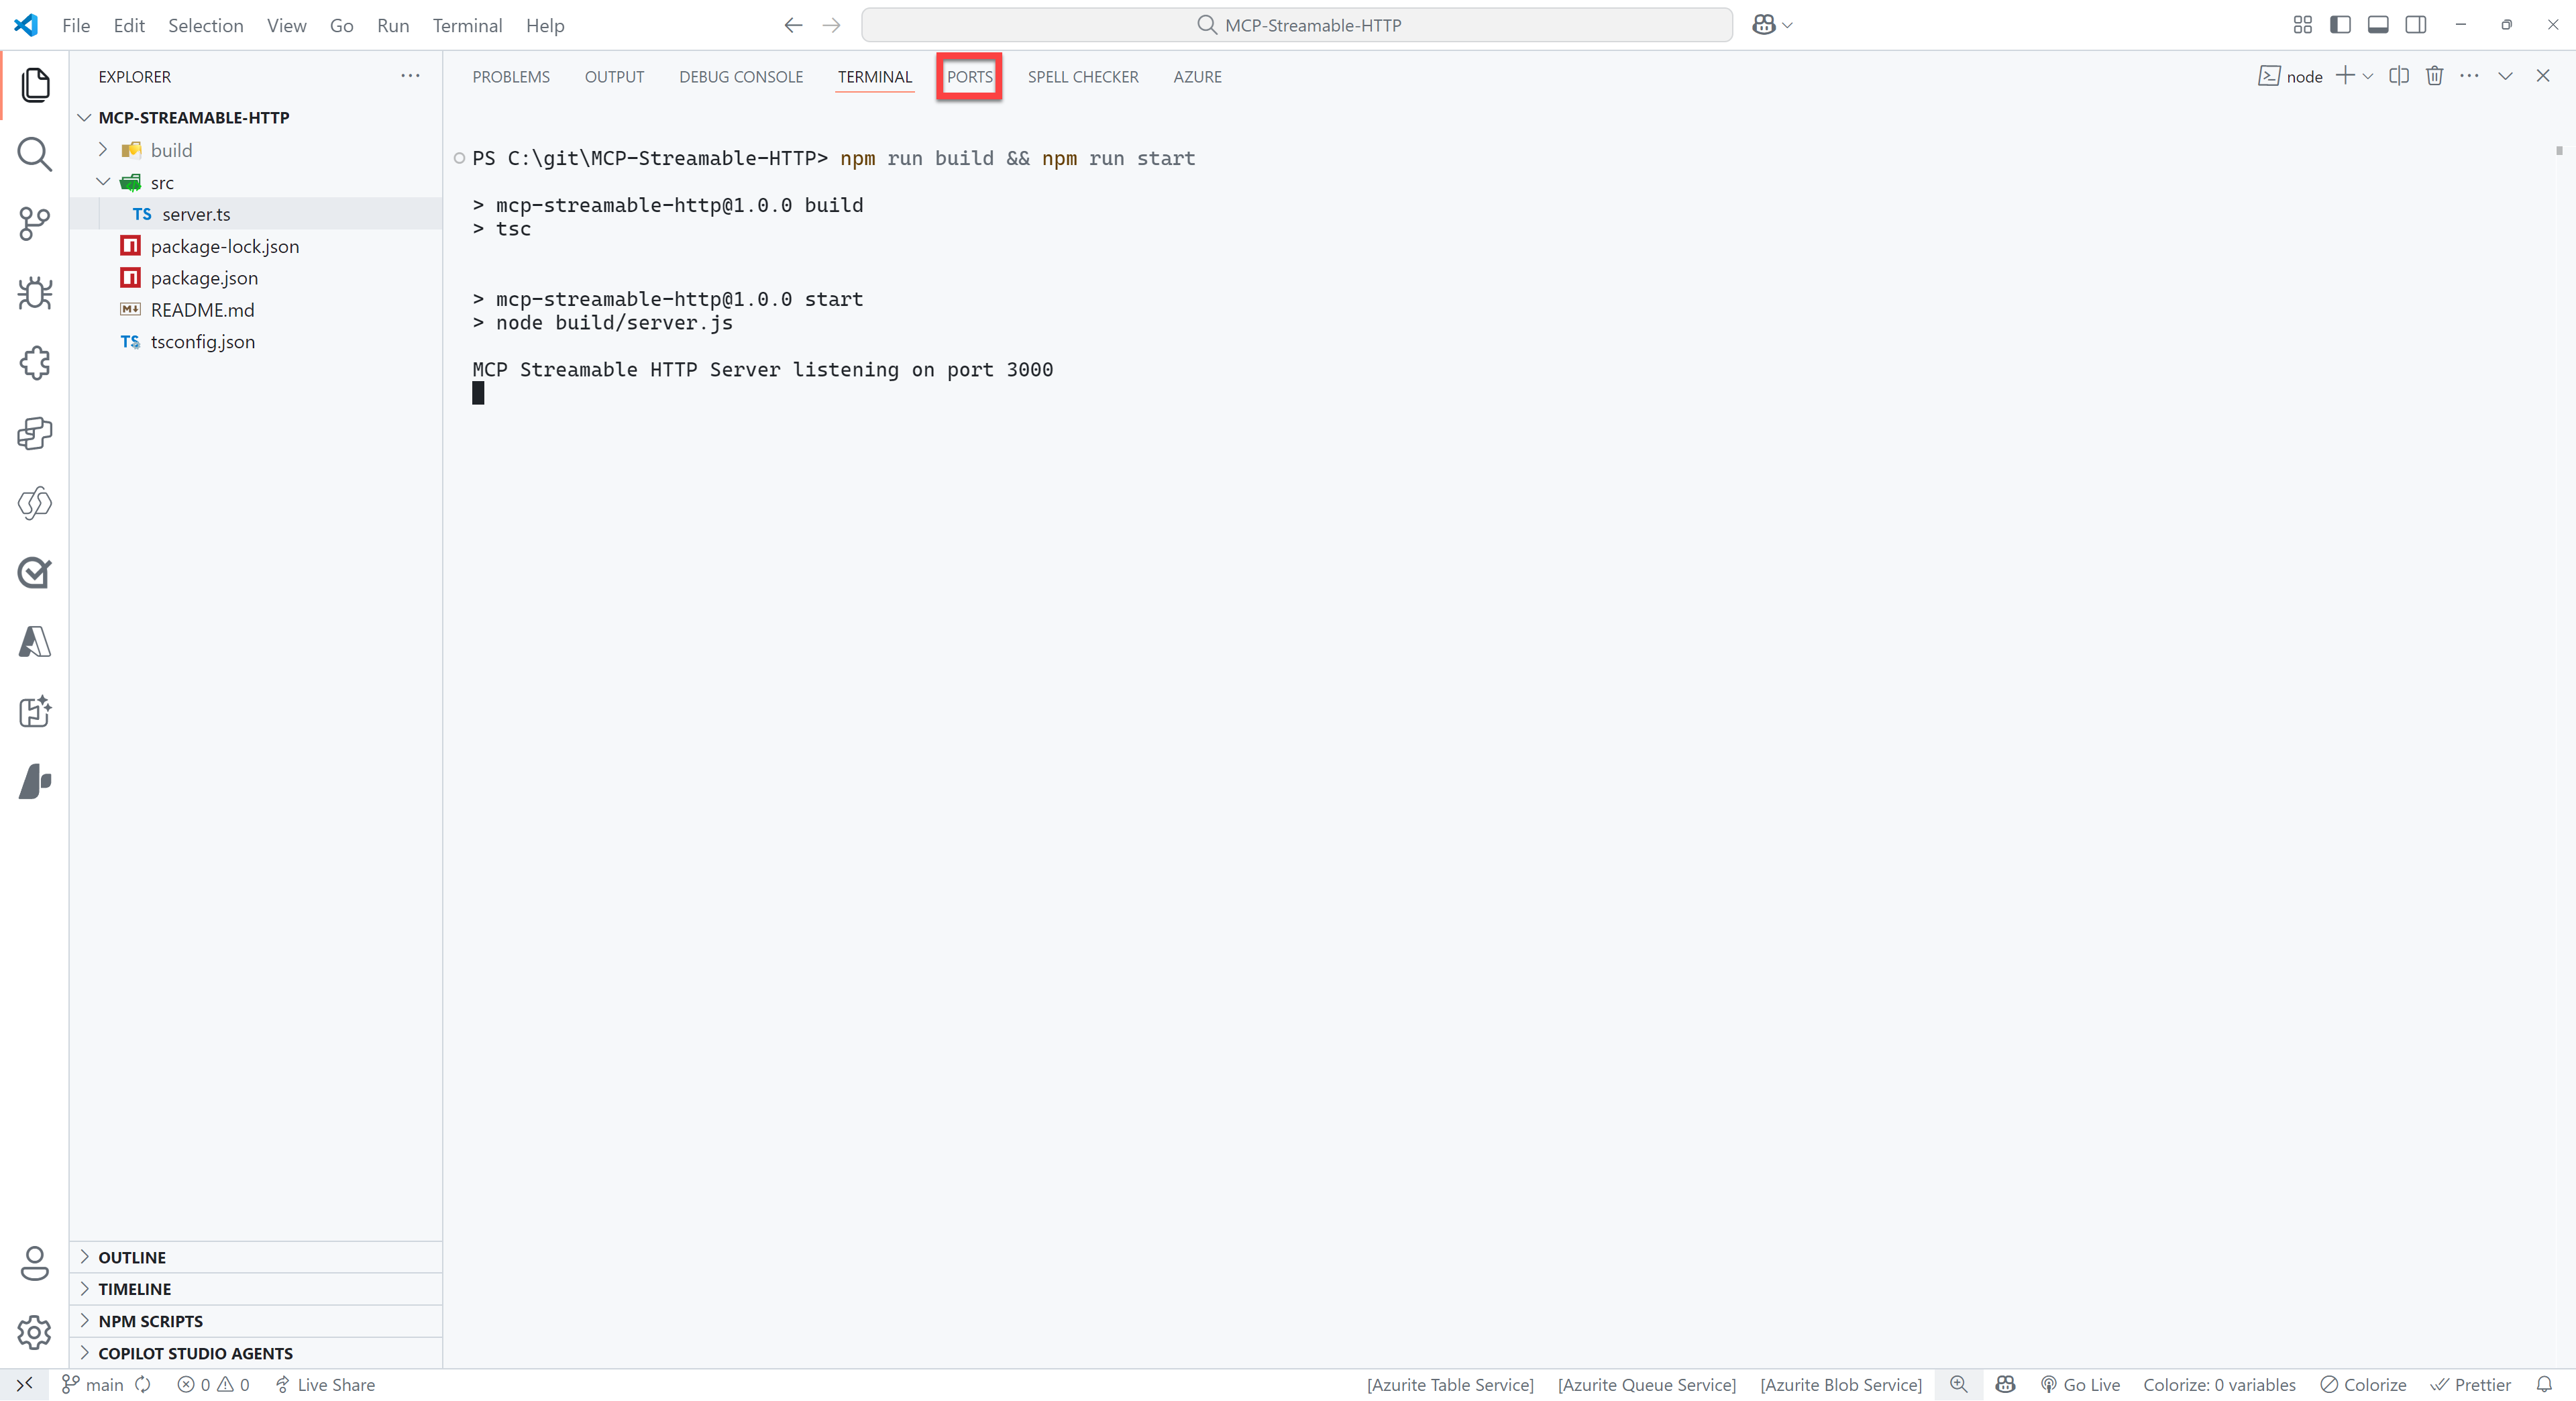
Select the green
Forward a Portbutton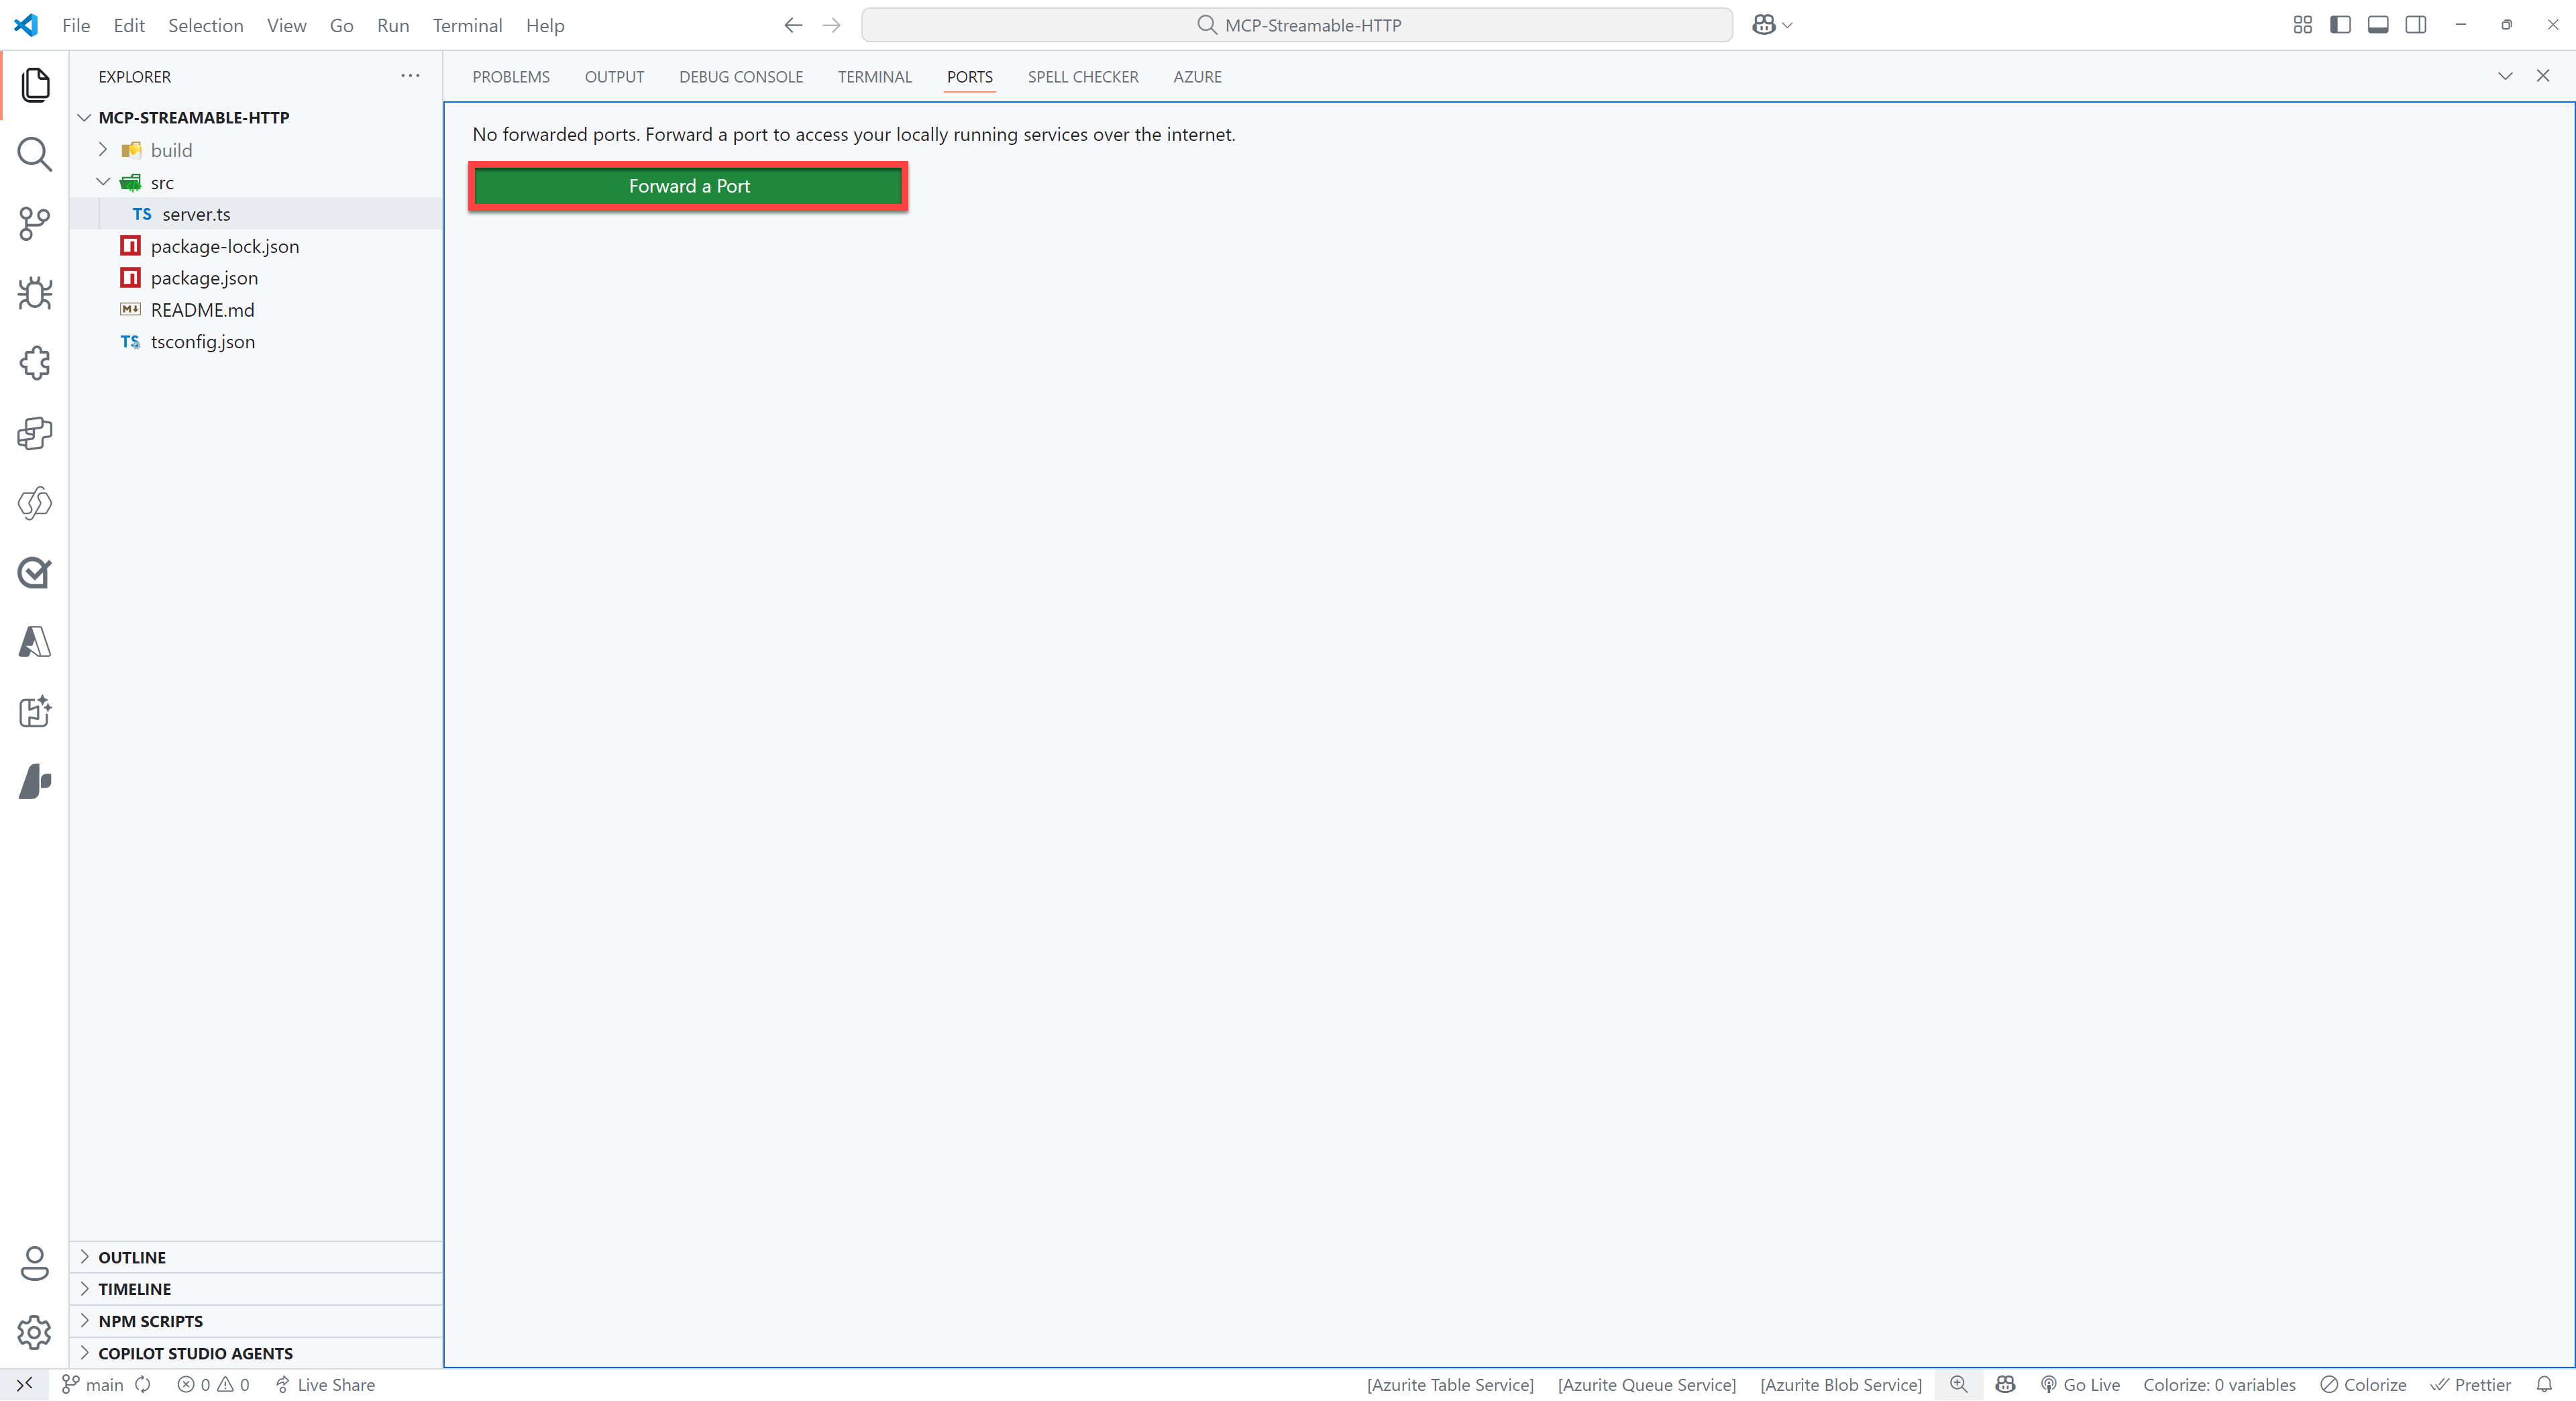
Enter
3000as the port number (this should be the same as the port number you see when you ran the command in step 5). You might be prompted to sign in to GitHub, if so please do this, since this is required to use the port forwarding feature.Right click on the row you just added and select
Port visibility>Publicto make the server publicly availableCtrl + click on the
Forwarded address, which should be something like:https://something-3000.something.devtunnels.msSelect
Copyon the following pop-up to copy the URL
Open to the browser of your choice and paste the URL in the address bar, type
/mcpbehind it and hit enter
If all went well, you will see the following error message:
{"jsonrpc":"2.0","error":{"code":-32000,"message":"Method not allowed."},"id":null}Don't worry - this error message is nothing to be worried about!
👨💻 Use the Parks MCP Server in Microsoft Copilot Studio
Go to https://make.preview.powerapps.com/customconnectors (make sure you’re in the correct environment) and click + New custom connector.
Select
Import from GitHubSelect
Customas Connector TypeSelect
devas the BranchSelect
MCP-Streamable-HTTPas the ConnectorSelect
Continue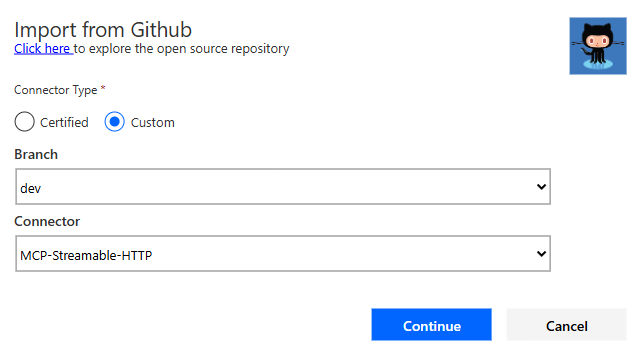
Change the Connector Name to something appropriate, like for instance
Events MCPChange the Description to something appropriate
Paste your root URL (for instance
something-3000.something.devtunnels.ms) in the Host fieldMove to the Security tab and select
API Keyas the Authentication TypeProvide the following values for the configuration:
- Parameter label: API key
- Parameter name: x-api-key
- Parameter location: Header
Select Create connector
You may see a warning and an error upon creation – it should be resolved soon - but you can ignore it for now.
Close the connector
Create your agent
Select Tools > Add a tool > Model Context Protocol > And then select the MCP server you’ve just created
You will be asked to provide the API key, which you can get for free from the NPS API documentation page.