Downloading source code to make a customized bot
-
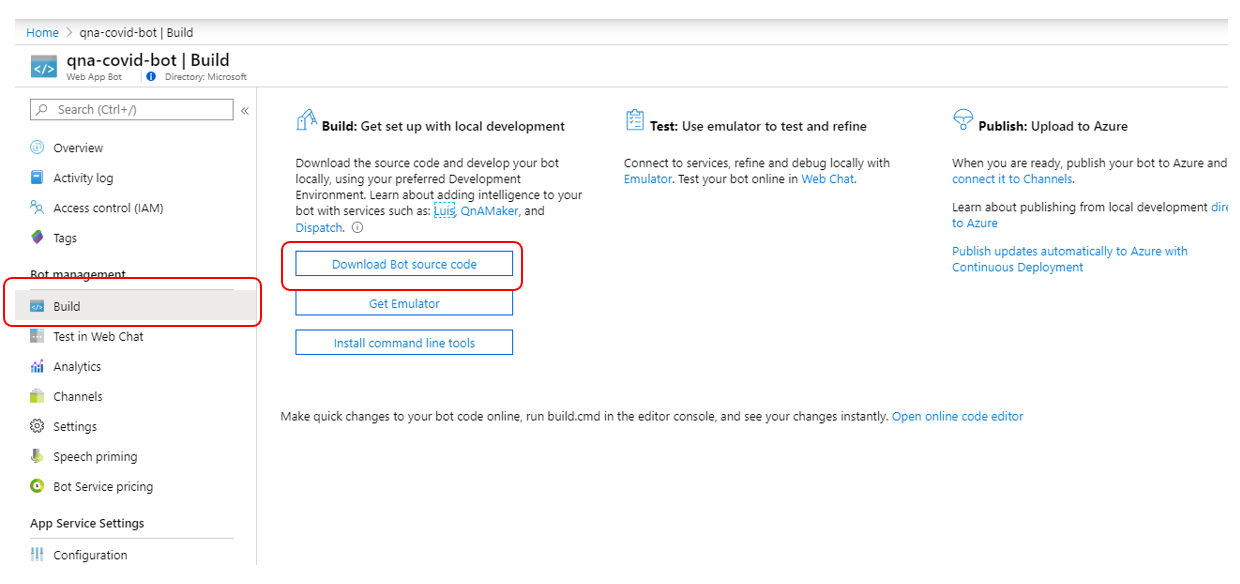
Open up the Azure Portal and choose your Web App Bot resources.
-
Select Build, then click Download Bot source code
-
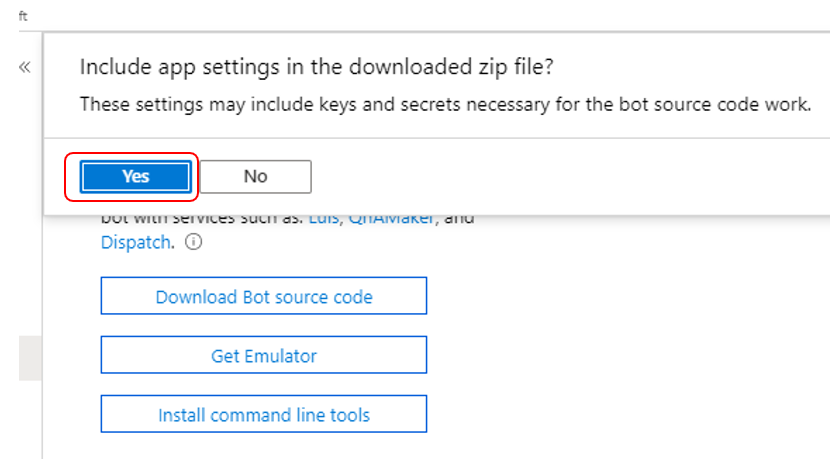
Select Yes to include app settings.
-
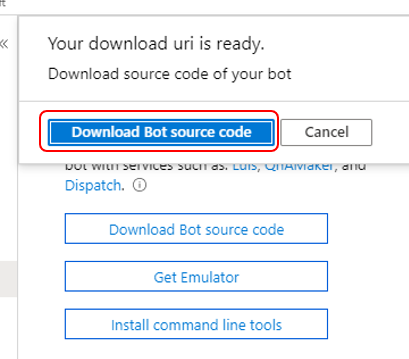
When download is ready, click Yes to download the file. This will download a zip file to your downloads folder.
-
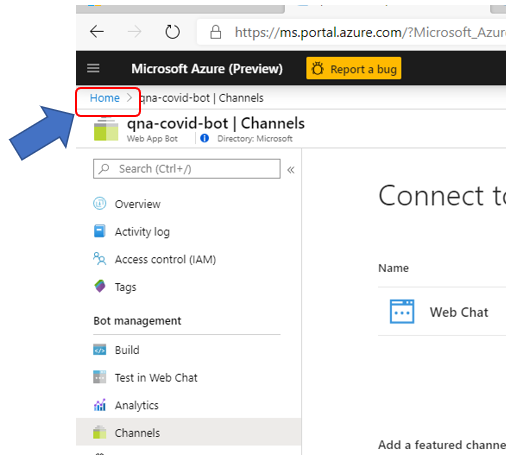
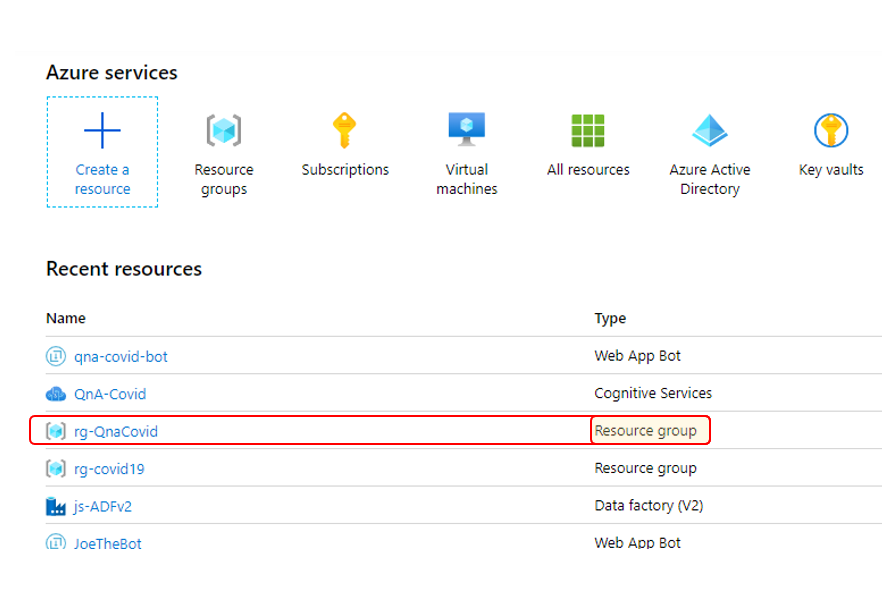
Click Home at the top left corner.
-
Locate the Resource group for your Bot assets. It should be in the Recent resources list. Make sure you select the Resource group object type.
-
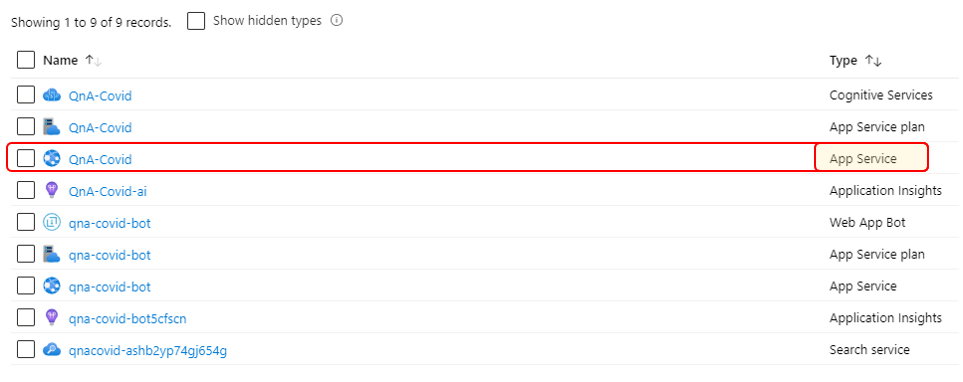
You should see all the assets required for your Bot. Click on the App Service object.
-
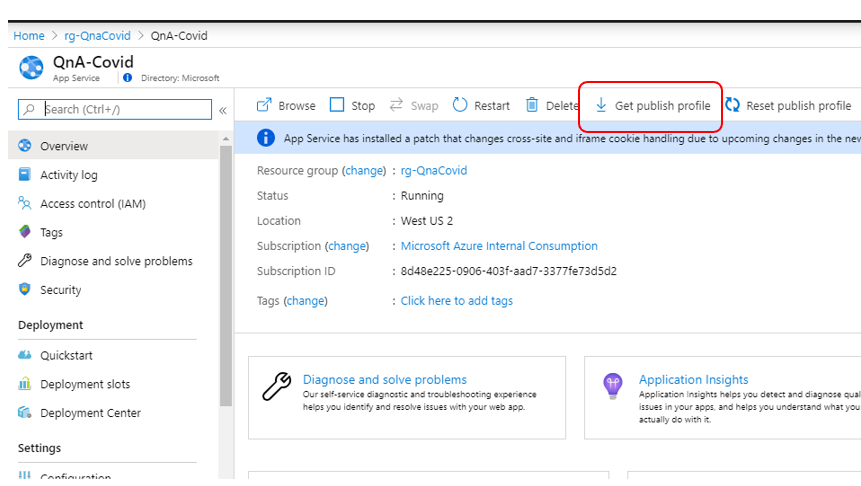
Click Get publish profile. This will download a file to your downloads folder.
-
Copy the zip file (from step 4) from your downloads folder to a new directory (you can name that directory Covid).
-
Copy the publish profile (from step 8) from your downloads folder to the same directory as the zip file.
-
Unzip the contents of the zip file.
-
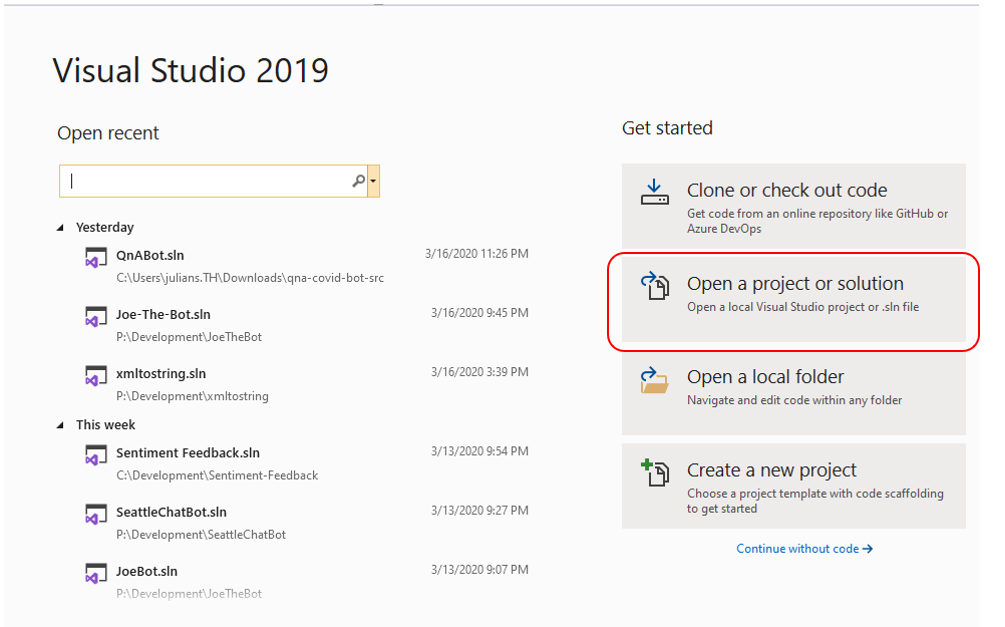
Launch Visual Studio and select Open a project or solution (download and install Visual Studio 2019 Community Edition if you do not have Visual Studio).
-
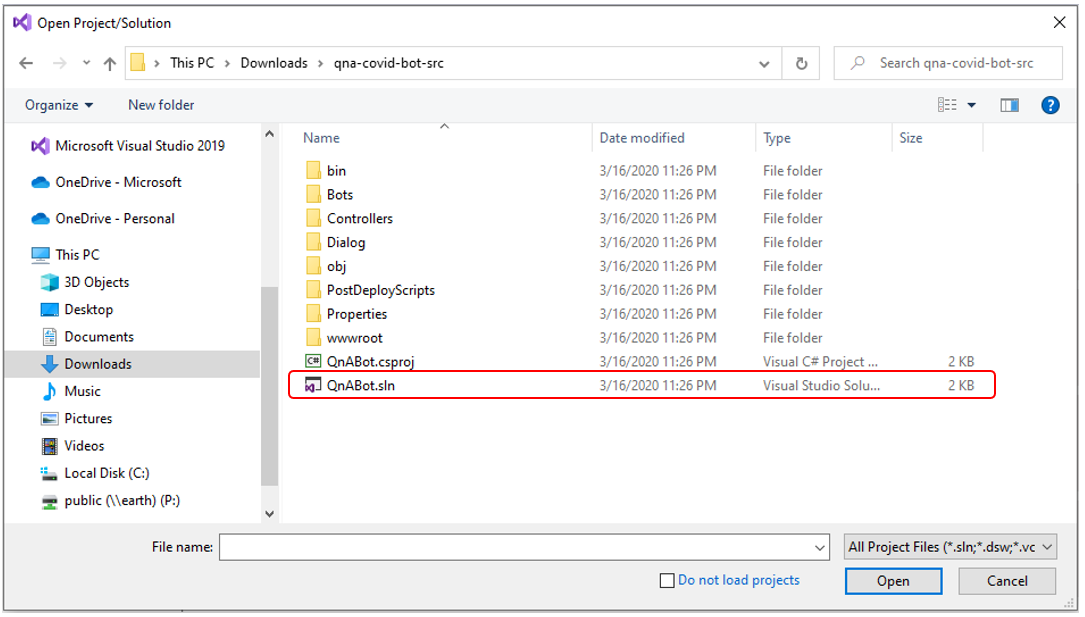
Open QnABot.sln.
-
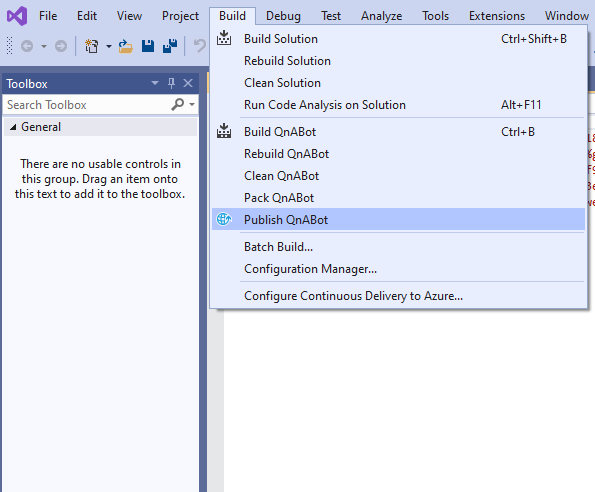
Click Build -> Publish QnABot.
-
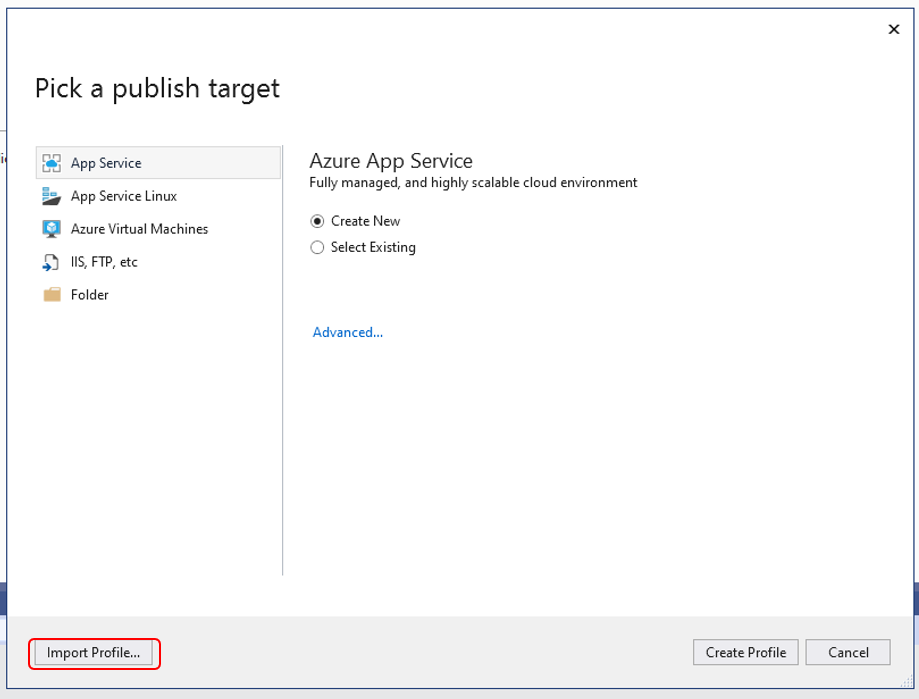
Select Import Profile.
-
Pick the Publish profile you downloaded in step 4.
-
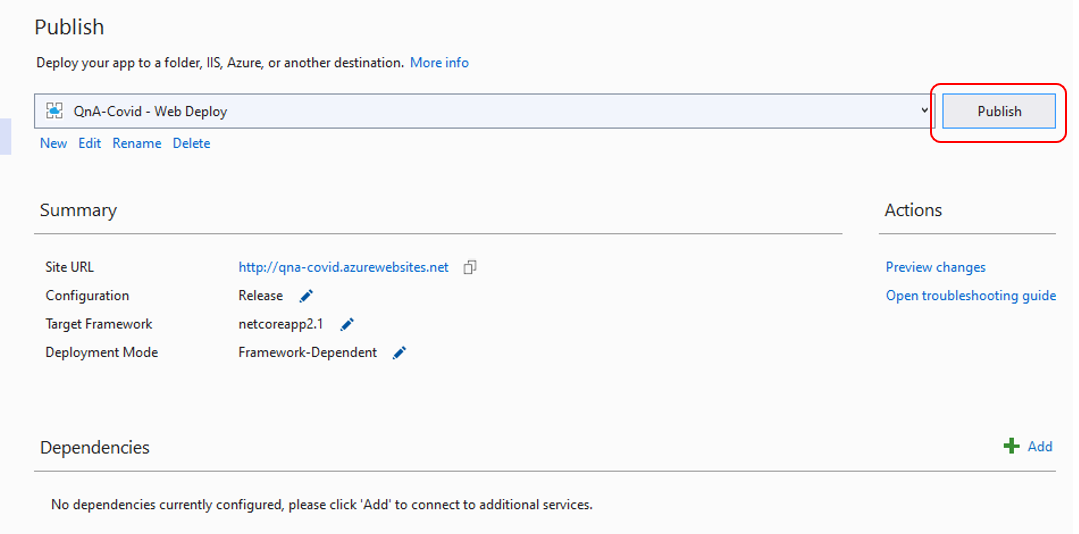
Click Publish.
-
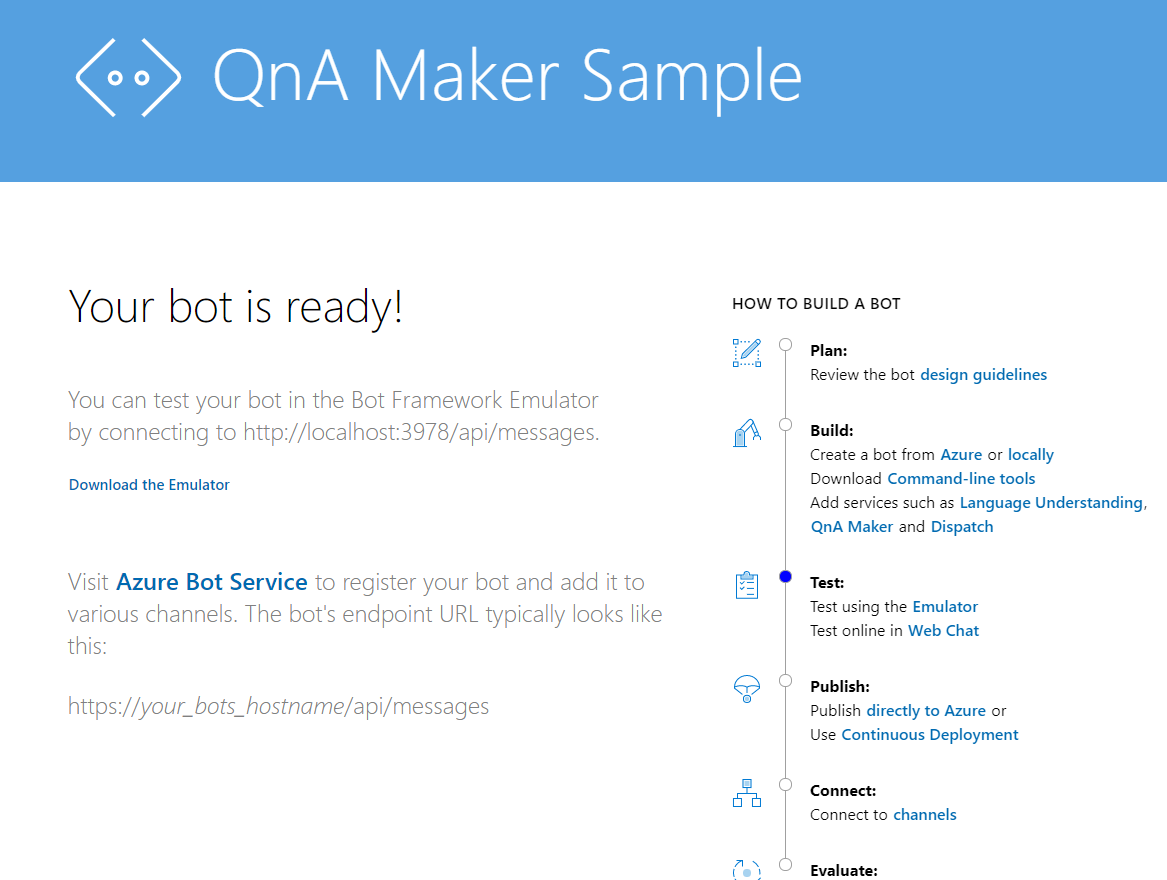
When your bot is successfully built and deployed, you will see this page.
-
Close all browsers, save your Visual Studio project and exit Visual Studio.