Azure QnA Maker Bot
Summary
Government agencies are finding that their call centers and email inboxes are being flooded with questions from concerned citizens about the COVID-19 pandemic. Microsoft is suggesting that by deploying a simple QnA Maker Bot on your public facing websites you can potentially reduce these volumes while ensuring accurate information is being shared with the citizens.
Standard FAQ websites are a great start, but it can sometimes be difficult for a person to find the information that they need. Even standard web site search boxes are inefficient. By using a bot backed with AI citizens will more quickly find the relevant information they require.
Time Required
To deploy a standard QnA Maker Bot will take less than 1 hour. Additional time will be needed in order to add the necessary HTML to your public facing website and to import the necessary questions and answers.
Requirements
To get started building a QnA Maker Bot you will need an Azure Commercial or Government subscription. If you do not already have a subscription, please reach out to your Microsoft account team immediately and they can assist. For the basic QnA Maker you do not need to have developer experience. You will need basic HTML experience to add the necessary HTML snippet to the public facing website.
To get started, ensure you have contributor rights on your Azurezz Subscription and then follow the instructions below.
Provisioning the QnA Maker Knowledgebase
-
Go to https://qnamaker.ai for Azure Commercial or https://www.qnamaker.azure.us/ for Azure Government
-
Sign in with your Microsoft Azure Subscription login name and password.
-
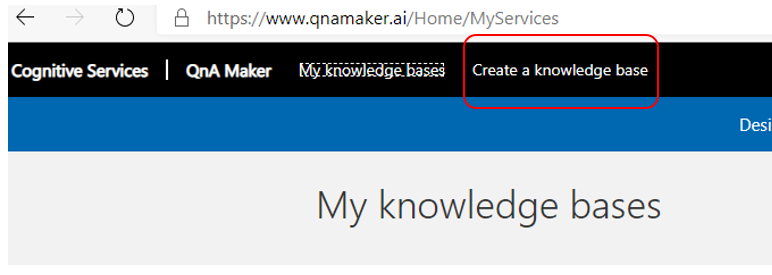
Click Create a knowledge base
-
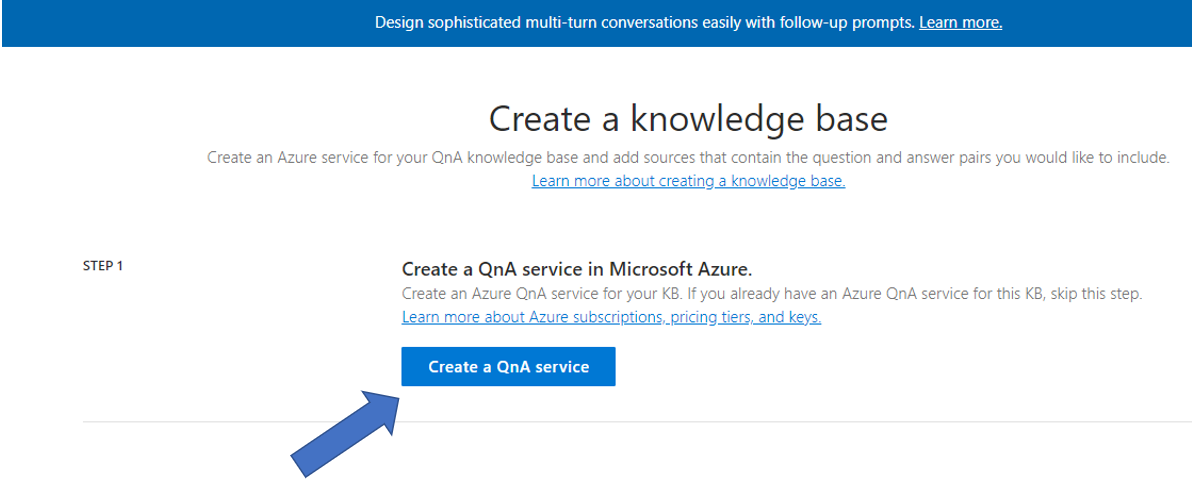
Click Create a QnA service
-
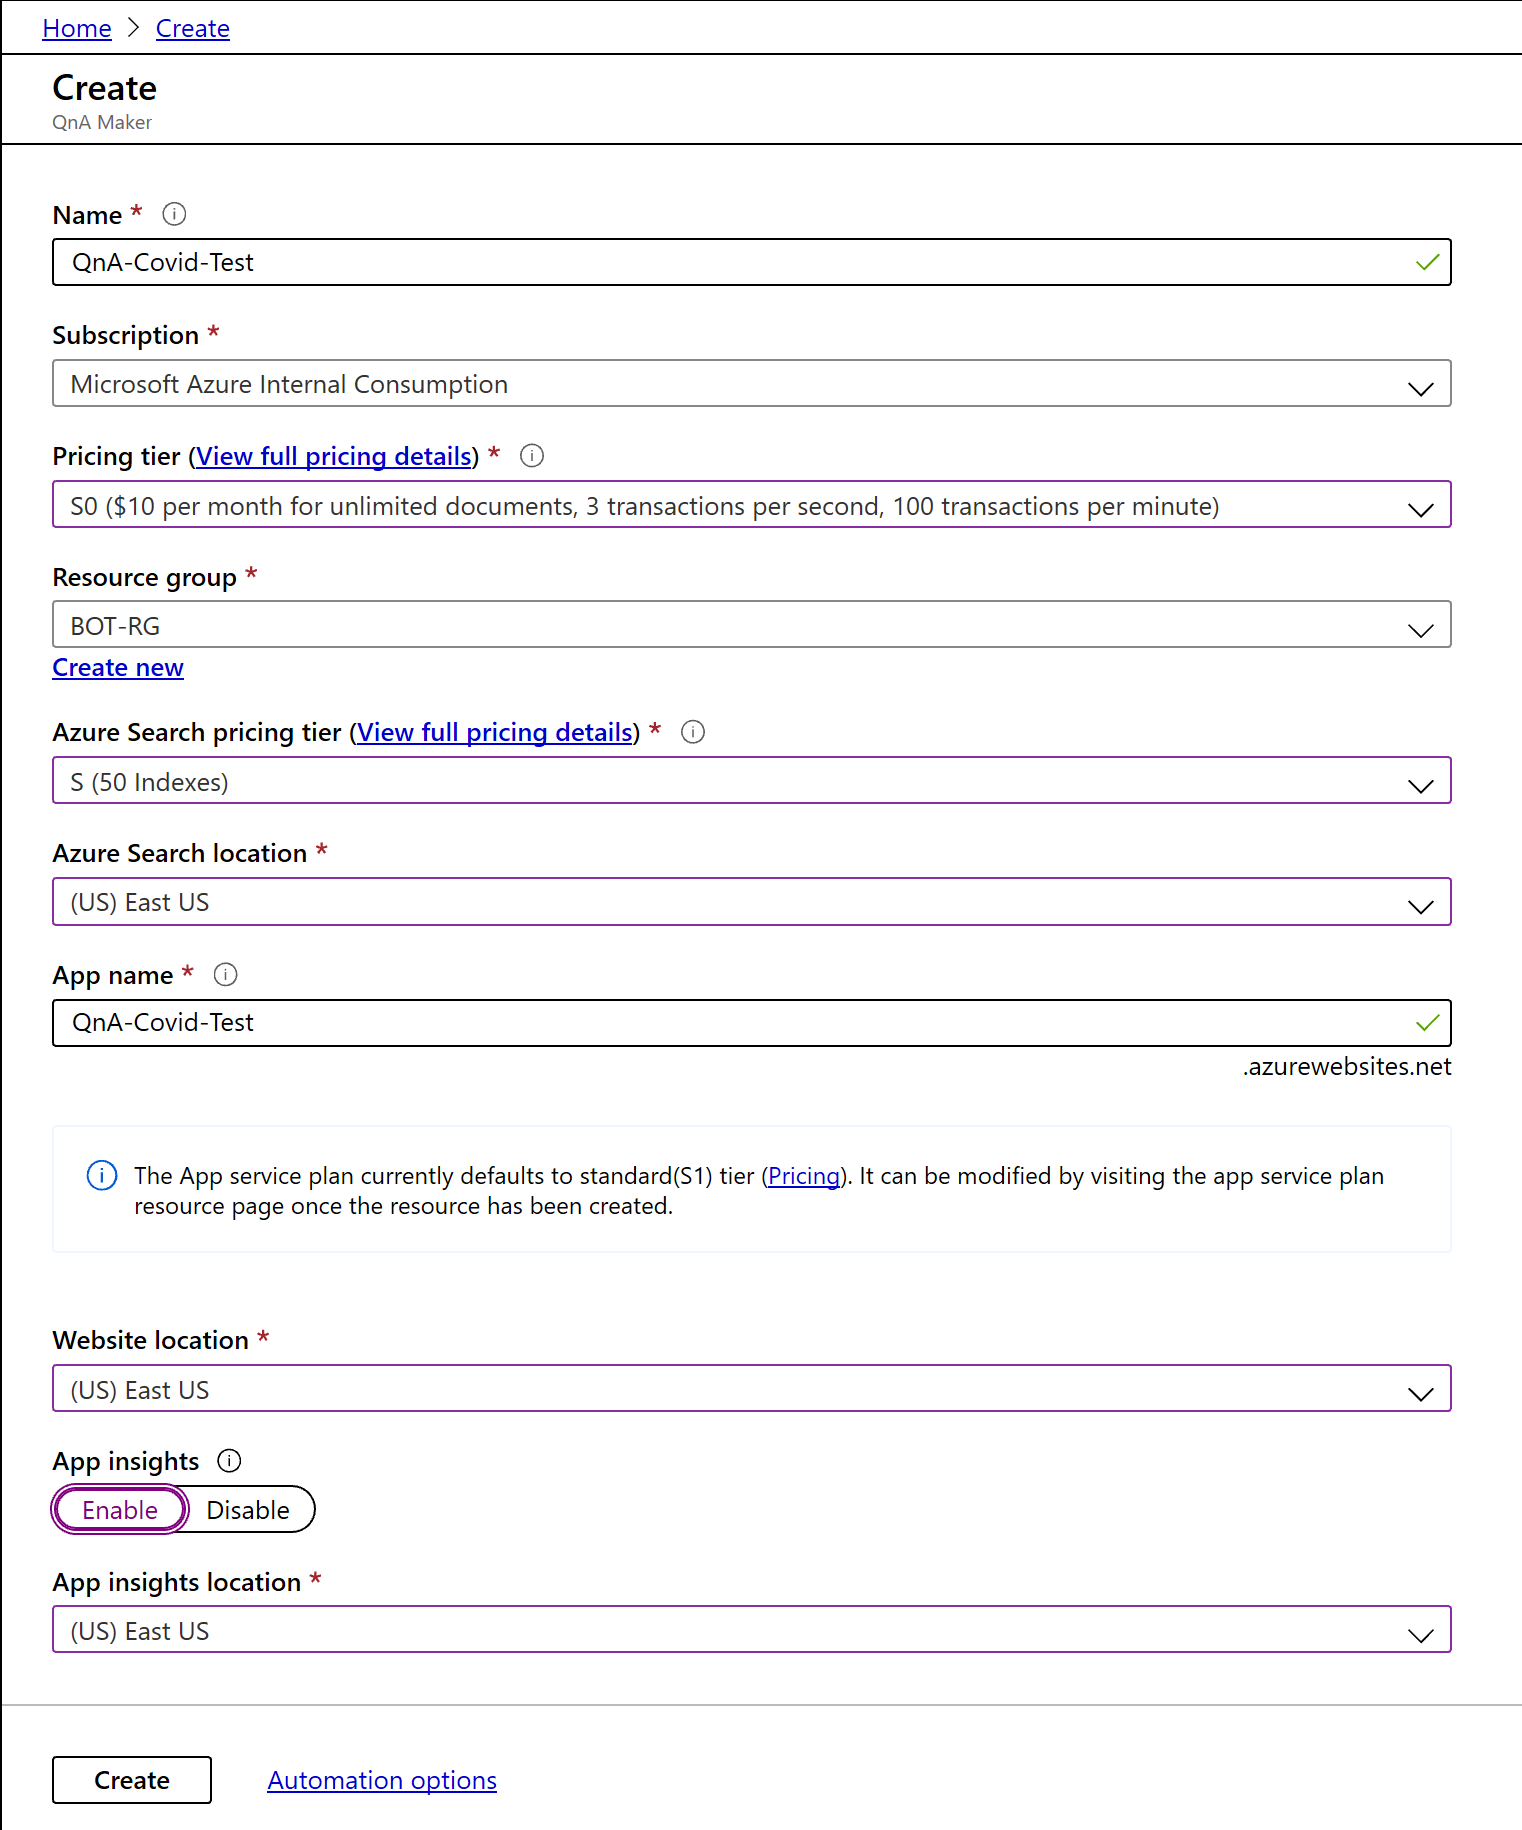
A new browser tab will open, and you will be directed to it. Fill out the information to create the QnA service in your Azure subscription. A sample is shown below. You should create a new resource group for the QnA Bot. Click Create when done.
-
Wait until deployment is done.

-
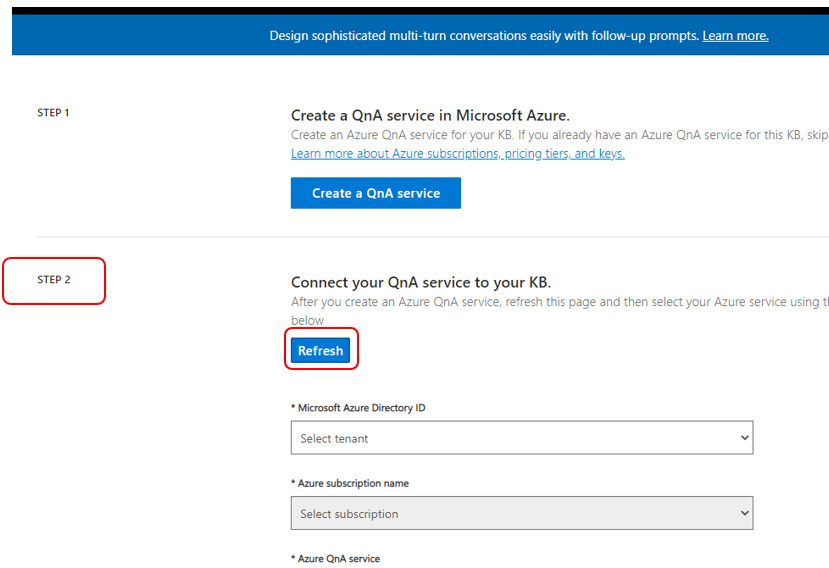
Go back to the QnA Maker browser tab and click Refresh in Step 2.
-
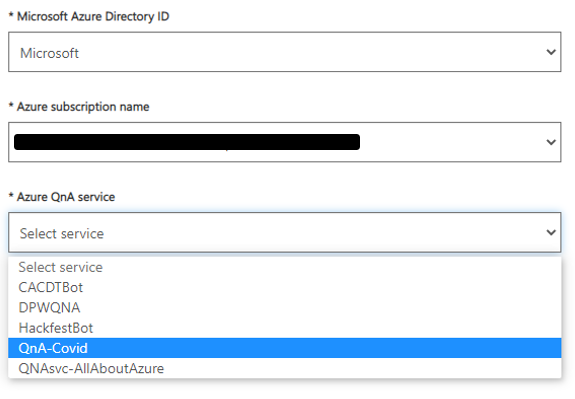
Select your Azure Active Directory ID and Subscription name. Then select the new QnA service you created in step 5. It should show up in the dropdown.
-
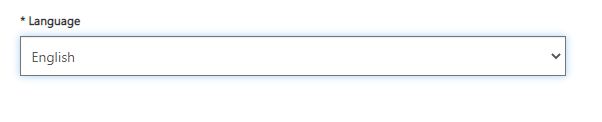
Select Language.
-
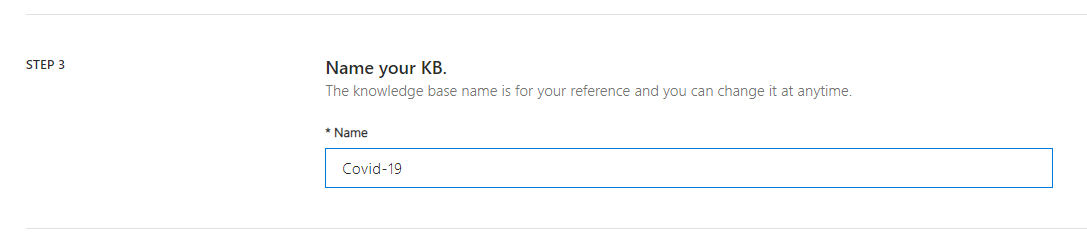
Name you KB in step 3.
-
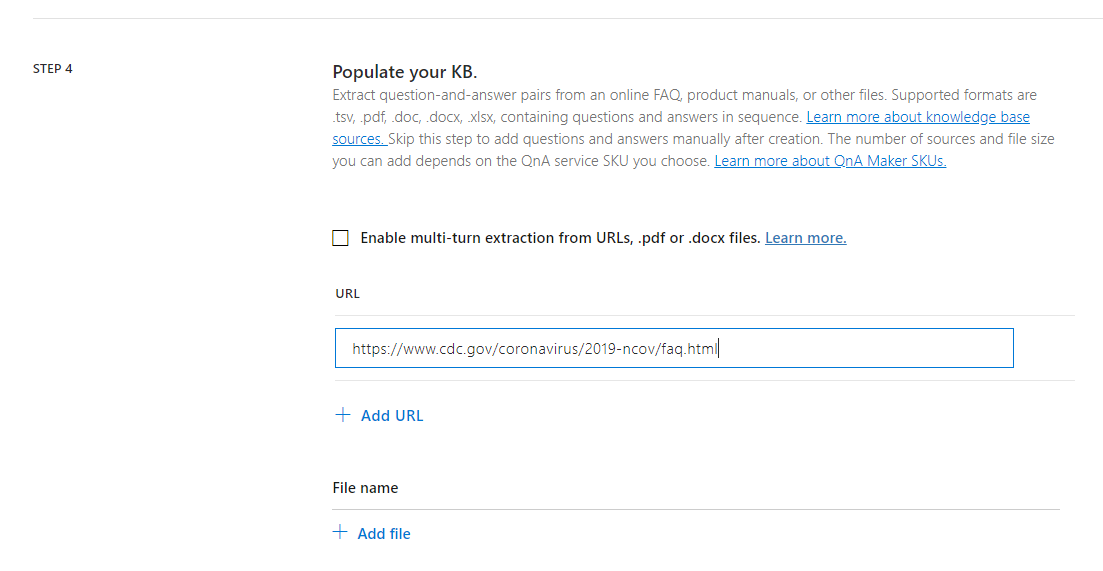
Populate your KB in step 4 (optional). Enter a URL from your website with Covid FAQ or use CDC’s URL, which is - https://www.cdc.gov/coronavirus/2019-ncov/faq.html. You can skip this step if you will be manually entering your questions and answers instead of importing them from a file or URL.
-
Add additional URLs or Files (optional)
-
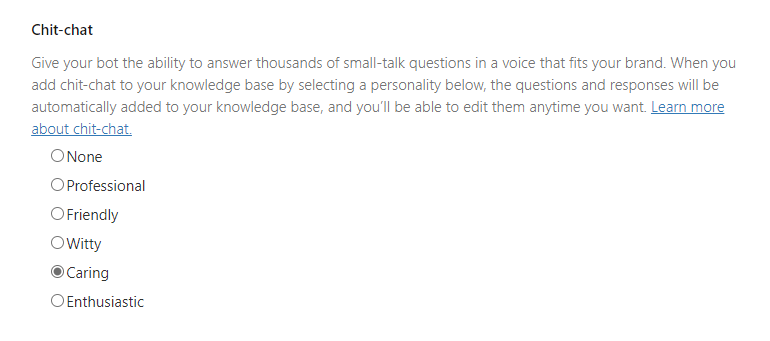
Add personality of Bot (optional and NOT recommended). This will add some basic responses when folks greet the bot, however, it may also intefere with question and answer pairs you supply.
-
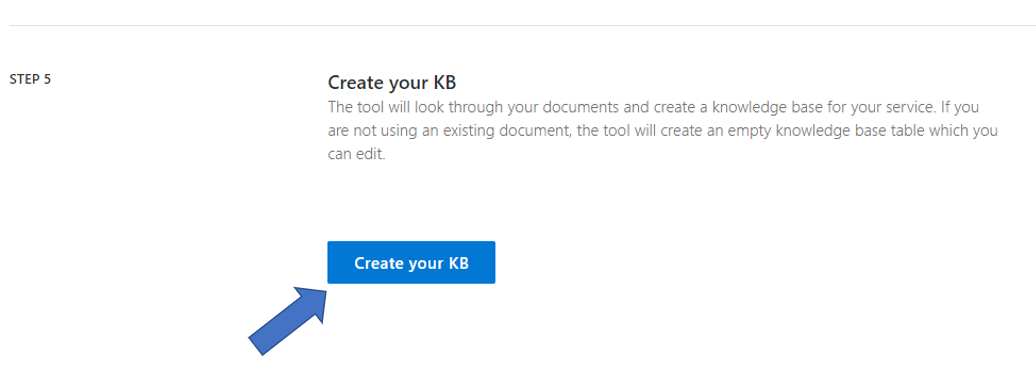
Click Create your KB in step 5. If you get a message about “no endpoints” after clicking create your KB, go back up to step 2 in the form and click the refresh buttons and re-select the proper items. It can take a few moments after the resources are created for the endpoints to be live.
-
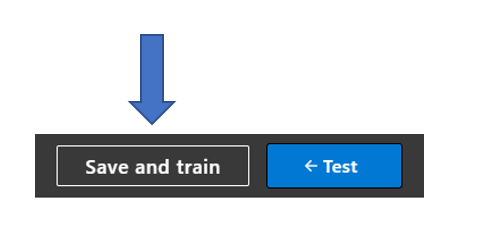
Click Save and train in the top menu if you made changes to the Q&A pairs. Otherwise, skip to step 16.
-
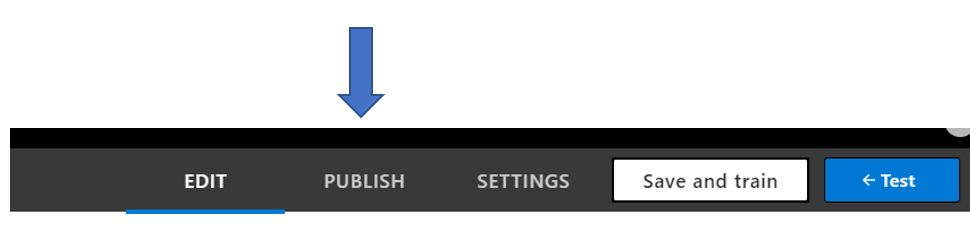
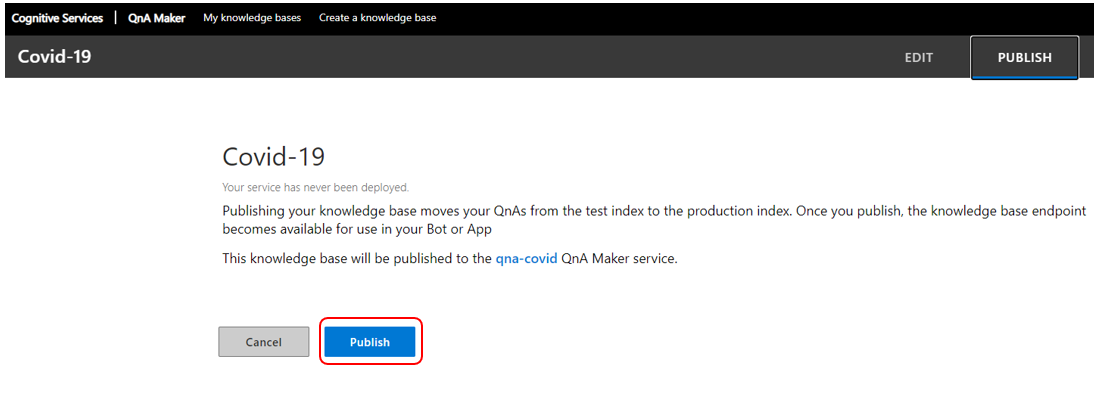
Click Publish in the top menu.
-
Click the Publish button located in the upper right of the page.
-
Click Create Bot.

-
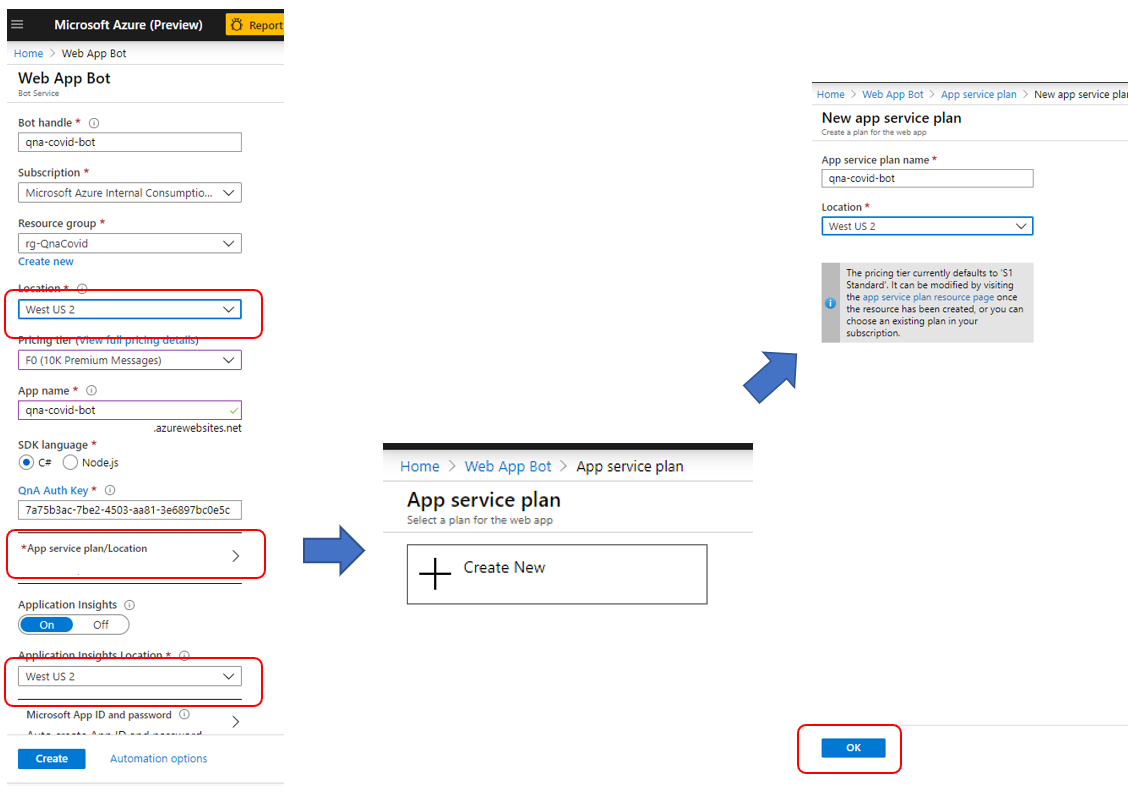
A new tab with the Azure Portal will open. Accept all defaults but create the Bot and its resources in a region closest to you. Create an App service plan closest to you as well. Click OK.
-
Click the create button at the bottom of the page.
-
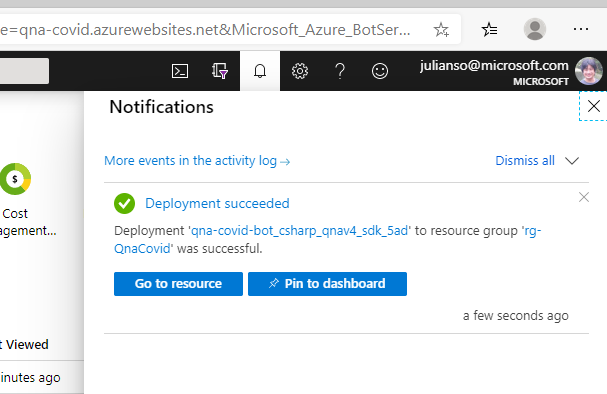
Monitor the Bot creation. (use the bell icon at the top right corner). When it is done, click Go to resource.
-
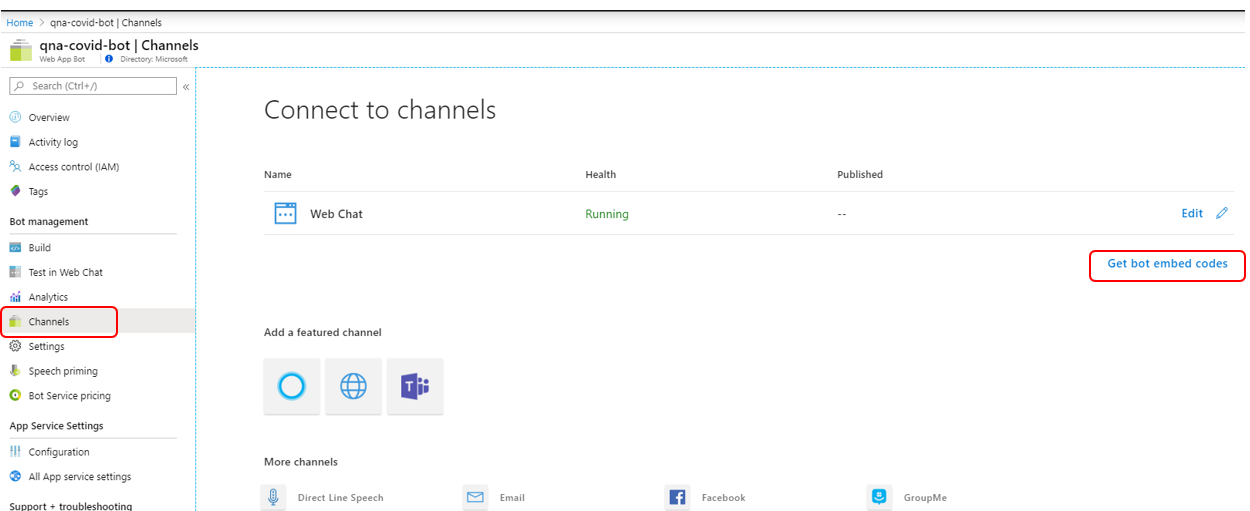
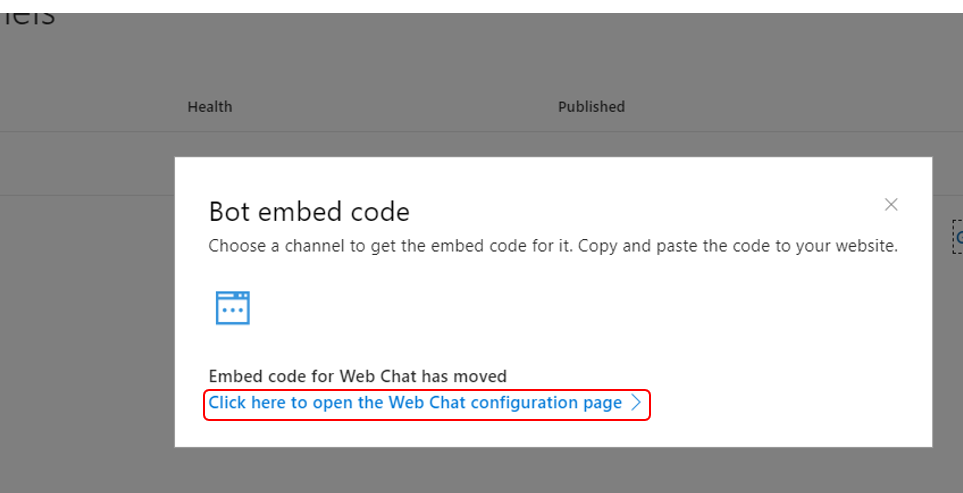
Click Channels and then click Get bot embed codes.
-
Click “Click here to open the Web Chat configuration page >”
-
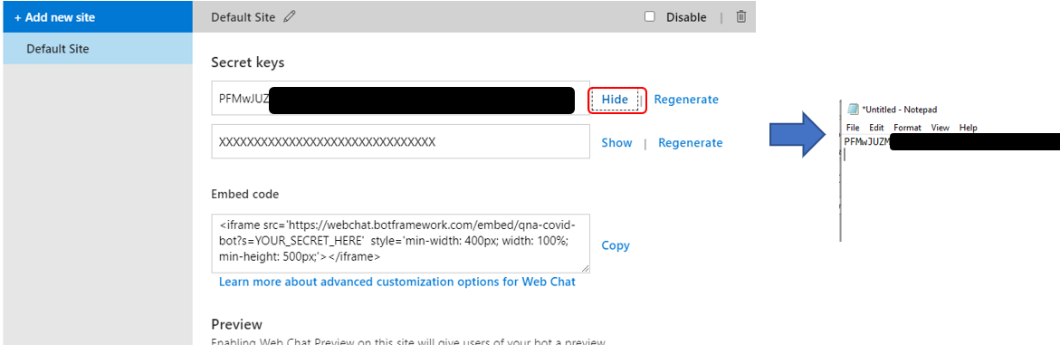
Click Show to get the Secret keys, copy it to notepad.
-
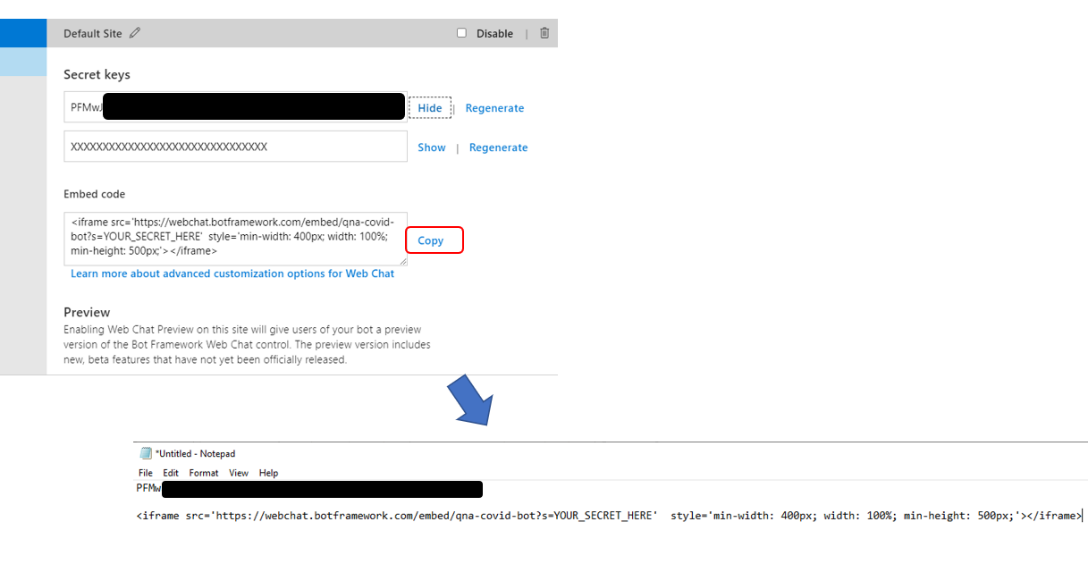
Click Copy for the Embed code, and copy it to notepad as well.
-
Take the key and put it into the embed code where it says YOUR_SECRET_HERE. (ps: this is a fake key for illustration purposes).

-
Final embed code should look like this.

-
The <iframe> embed code is what you will insert in your web page source (or master page). Save it for now.
-
Click Done.