Introduction to GitHub with GitHub.dev
Module Source
Goals
In this workshop, you will learn how to use GitHub.dev to manage basic tasks on GitHub.
| Goal | Description |
|---|---|
| What will you learn | How to use GitHub.dev to make changes in GitHub |
| What you’ll need | A GitHub account |
| Duration | 20 minutes |
| Slides | slides |
Video
🎥 Click this image to watch Jen walk you through the workshop starting at at 0:04:15
Pre-Learning
Read this introduction to GitHub.
Read this explanation of GitHub’s workflow.
Prerequisites
-
Make sure to have a GitHub account and sign in.
-
Navigate to the Workshop Library repository.
-
Fork the repository by clicking on the Fork button at the top right of the page. This will create a new repository in your account for practice.
What you will learn
Imagine you find an awesome GitHub repository and you feel like you could add some parts to it that are missing. How would you do that? In this workshop, you’ll learn how to:
- Open a repo using GitHub.dev
- Create a branch
- Commit changes to the branch
- Create a pull request
- Merge the pull request
- Delete the branch
Open the forked repository in GitHub.dev
Navigate to your copy of the Workshops repository in your account.
Type . in the browser window to open it in GitHub.dev.
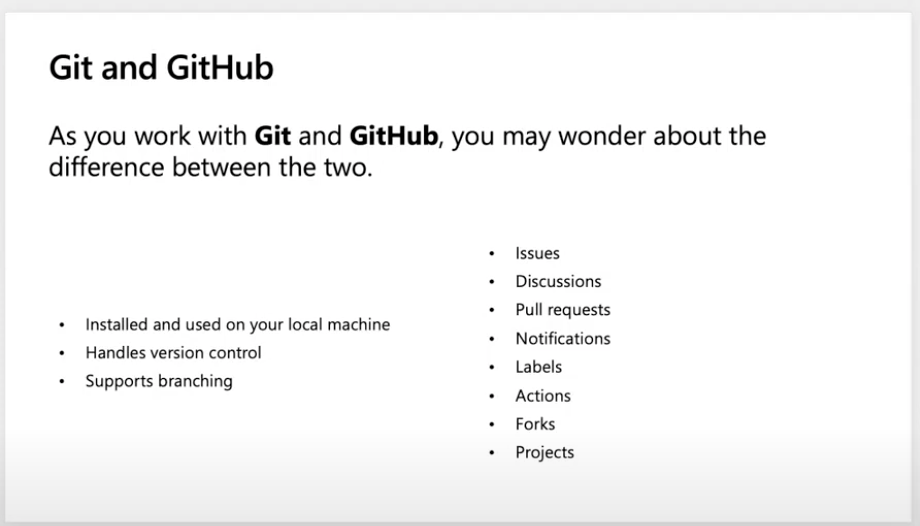
GitHub.dev is a web-based version of GitHub.
Create a branch
In GitHub.dev, click the ‘Source Control’ icon in the left panel and then the ... button in the upper right corner of the files panel.
Create a new branch by selecting Branch > Create new Branch.
Give the branch a name and switch to this branch.
Commit your changes
Make a small change in the workshop-suggestions.md file - what workshop would you like to see in this library?
Push your changes to your branch by adding a meaningful message into the textbox in the source panel and clicking the ‘check’ button.
‘Pushing’ code means that you’ll add your changes to a branched copy of the repository.
Your change now appears in your copy of the repository.
Create a pull request
Read about best practices for creating a pull request.
Now you need to move your changes from your branch to the main branch.
In the left panel, click the ‘Source Control’ icon and then the ‘…’ button.
Choose ‘Pull Request>Create Pull Request’ from the dropdown menu or use the Pull Request icon in the files panel.
Merge your change from the branch into the main branch in your repository.
Merge the pull request and delete the branch
Check that the branch has no conflicts with the base branch, and merge the Pull Request by creating a Merge Commit.
On the last screen, follow the prompts to delete the remote branch where you made your changes.
What just happened? The small change you made to your branch was copied into the main branch of your repository. You can use this technique to contribute to an open source project that accepts pull requests. Check the repo’s issues tab to see if anything is marked as open for contribution.
Test your knowledge!
Next steps
If you want to suggest the change you made to the original repository that you forked, repeat the PR process back to the original repository.
Read more about how to extend your knowledge of GitHub and its workflows.
Practice
Now you know how to create branches and pull requests, find an open source repository that is seeking contributions. Is there a way you can contribute to this project?
Feedback
Be sure to give feedback about this workshop!