Sentinel Monitoring
The Active Directory Tier Model now has out-of-the-box Microsoft Sentinel monitoring — available today from the Azure Content Hub. Install once, enable the analytic rules, deploy the automation rules, and save the workbook. Tier Model incidents are tagged, triaged, and visualized automatically.
Why Tier Model monitoring
We are excited to finally offer out-of-the-box monitoring of the Tier Model as soon as it has been deployed. This has been a long-standing gap and is now filled with a Microsoft Sentinel solution available directly in the Content Hub.
This is by no means all possible monitoring. The design principle was deliberately simple and out-of-the-box: monitor the Tier Model with Microsoft Sentinel without requiring advanced or complex configuration. There are no custom playbooks or Logic Apps to build, no watchlists to populate and maintain.
The non-negotiable requirement
Every Domain Controller's Security event log must reach your Sentinel workspace. Each DC keeps its own unique Security log. If even one DC is not onboarded, that DC is a blind spot — alerts that depend on events from that DC will never fire. Complete security insight requires every Domain Controller sending its Security logs to Sentinel (Windows Security Events via AMA, with a Data Collection Rule targeting the workspace).
What this pack does NOT cover
This solution is Tier Model–specific. Operational monitoring — Domain Controller heartbeat, verifying that DCs are actually shipping their logs, AD replication health, AD service health — is not part of the Tier Model monitoring pack. Those are operational-monitoring concerns and should be addressed separately with dedicated tools.
This matters directly: a DC that stops sending logs silently undermines the "every DC must be covered" requirement above. Operational log-delivery monitoring is therefore a healthy companion to this pack, not a replacement for it.
Before you begin
The following must be in place before installing the solution.
- Tier Model deployed — The Active Directory Tier Model must already be deployed and audited. See the Detailed Deployment Guide and Drift Detection.
- AD object auditing configured — Two interdependent pieces enable Tier Model monitoring in Sentinel (both are required):
- Domain-root SACL audit rule (v1.3.0+): Run
Deploy-TierModel.ps1 -EnableAuditing -ConfirmApplyto configure the SACL on the domain root. This selects what to audit: Everyone, Success, All-inheritance, 9 rights (Property Read, Property Write, Delete Child, List Child, Extended Right, Delete, Delete Tree, Change Owner, Change Permission). The SACL replicates via normal AD replication; allow 15 minutes for convergence. - DC Advanced Audit Policy GPO (pre-deployed, linked by default): The GPO
*- Tier 0 DCs Advanced Audit Policy - Computerinconfig/tiermodel-gpos.jsonis linked by default to the Tier 0 DCs OU and enables event generation on each DC. Both the GPO and its link must be enabled for Sentinel to receive events.
⚠️ Understand the impact before you increase auditing. Additional auditing increases the volume of events written to each Domain Controller's Security event log. That log has a fixed size limit — if it fills faster than events are collected, the oldest events are overwritten and permanently lost. Before enabling extra auditing, make sure every Domain Controller's Security log is sized appropriately and is being forwarded to Sentinel promptly, so events are captured before they roll over. Overwritten events become exactly the blind spot described in The non-negotiable requirement above.
- All DCs onboarded to Sentinel — Every Domain Controller's Security logs must be flowing into the Sentinel workspace. Follow Microsoft's guidance for Windows Security Events via AMA.
⚠️ Do not rename the rules.
The analytic rules, automation rules, and workbook are tied together by rule names. Each analytic rule stamps its alert title with a
(TMxxx.1)tag that the automation rules and workbook key off of. Renaming or modifying the default rule names breaks the automation rules and the workbook. Accept the shipped defaults.
Step-by-step installation
Step 1 — Install the solution from the Content Hub
Open Microsoft Sentinel, navigate to Content Hub, and search for "Microsoft Active Directory Tier Model".
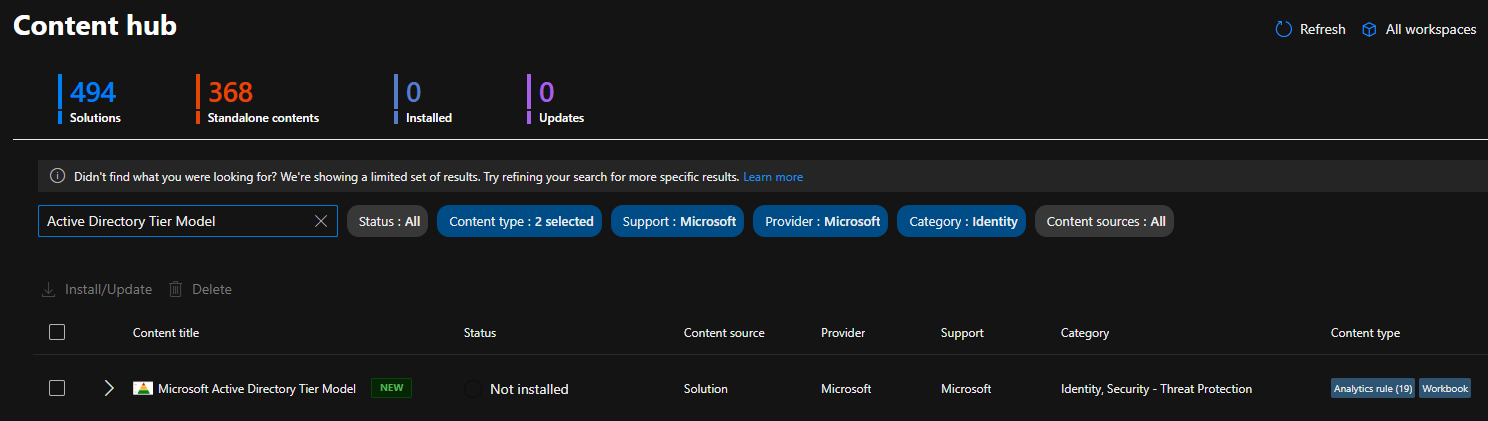
Open the solution to review its details.
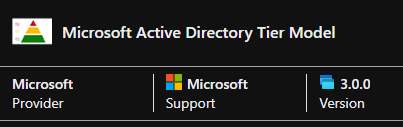
Click Install.

Wait for the installation to complete.
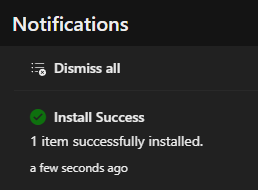
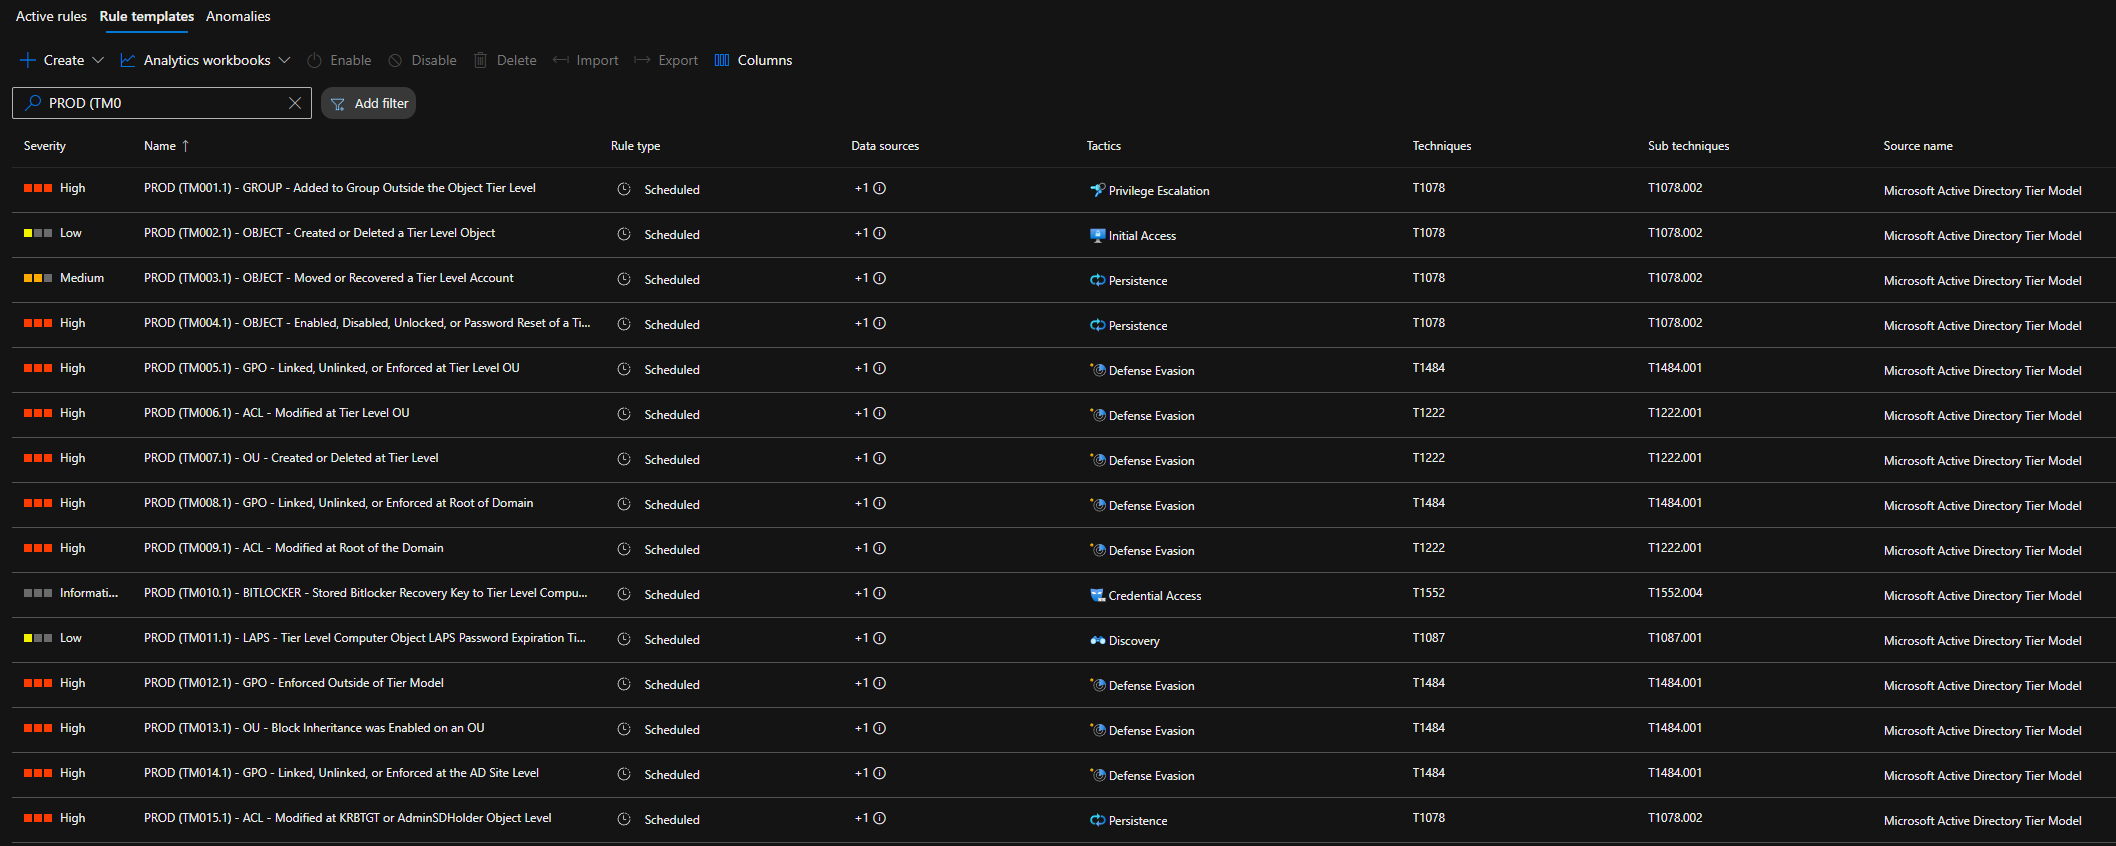
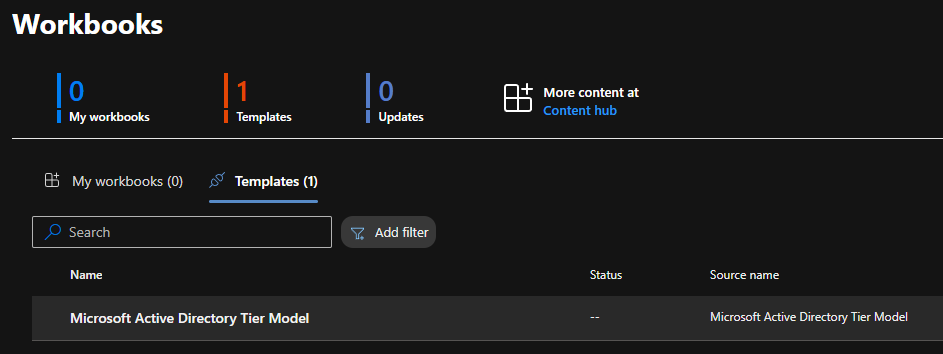
Optional — confirm the templates landed:
- Analytic rule templates: Analytics → Rule templates
- Workbook template: Workbooks → Templates
Step 2 — Enable the analytic rules
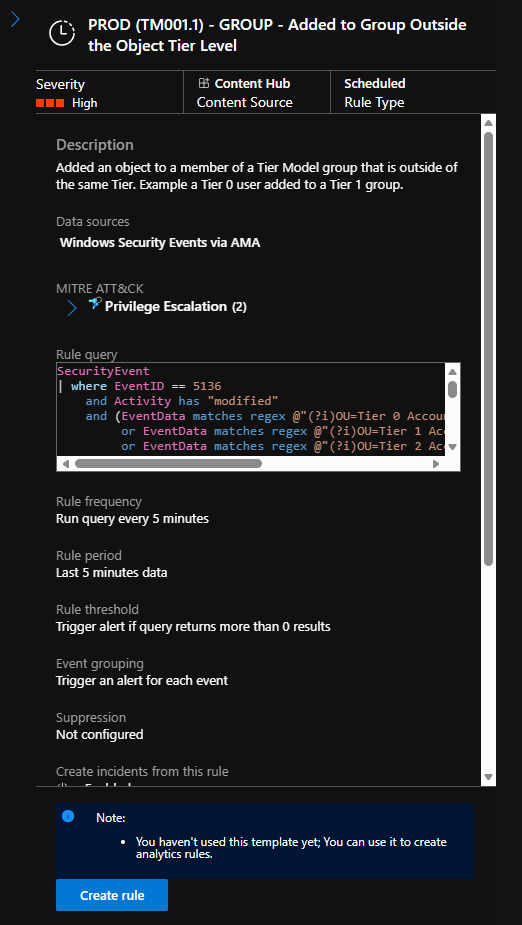
This is the least automated step: each analytic rule must be created from its template, one at a time. There is no bulk-enable.
From a rule template, click Create rule.
Walk the creation wizard, accepting the shipped defaults at each step:
General

Set rule logic

Incident settings

Automated response

Review + create
Click Save to create the rule.

Reminder: Keep the default rule name exactly as shipped. The
(TMxxx.1)tag in the name is what the automation rules and workbook use to identify and route Tier Model incidents. Changing the name breaks that chain.
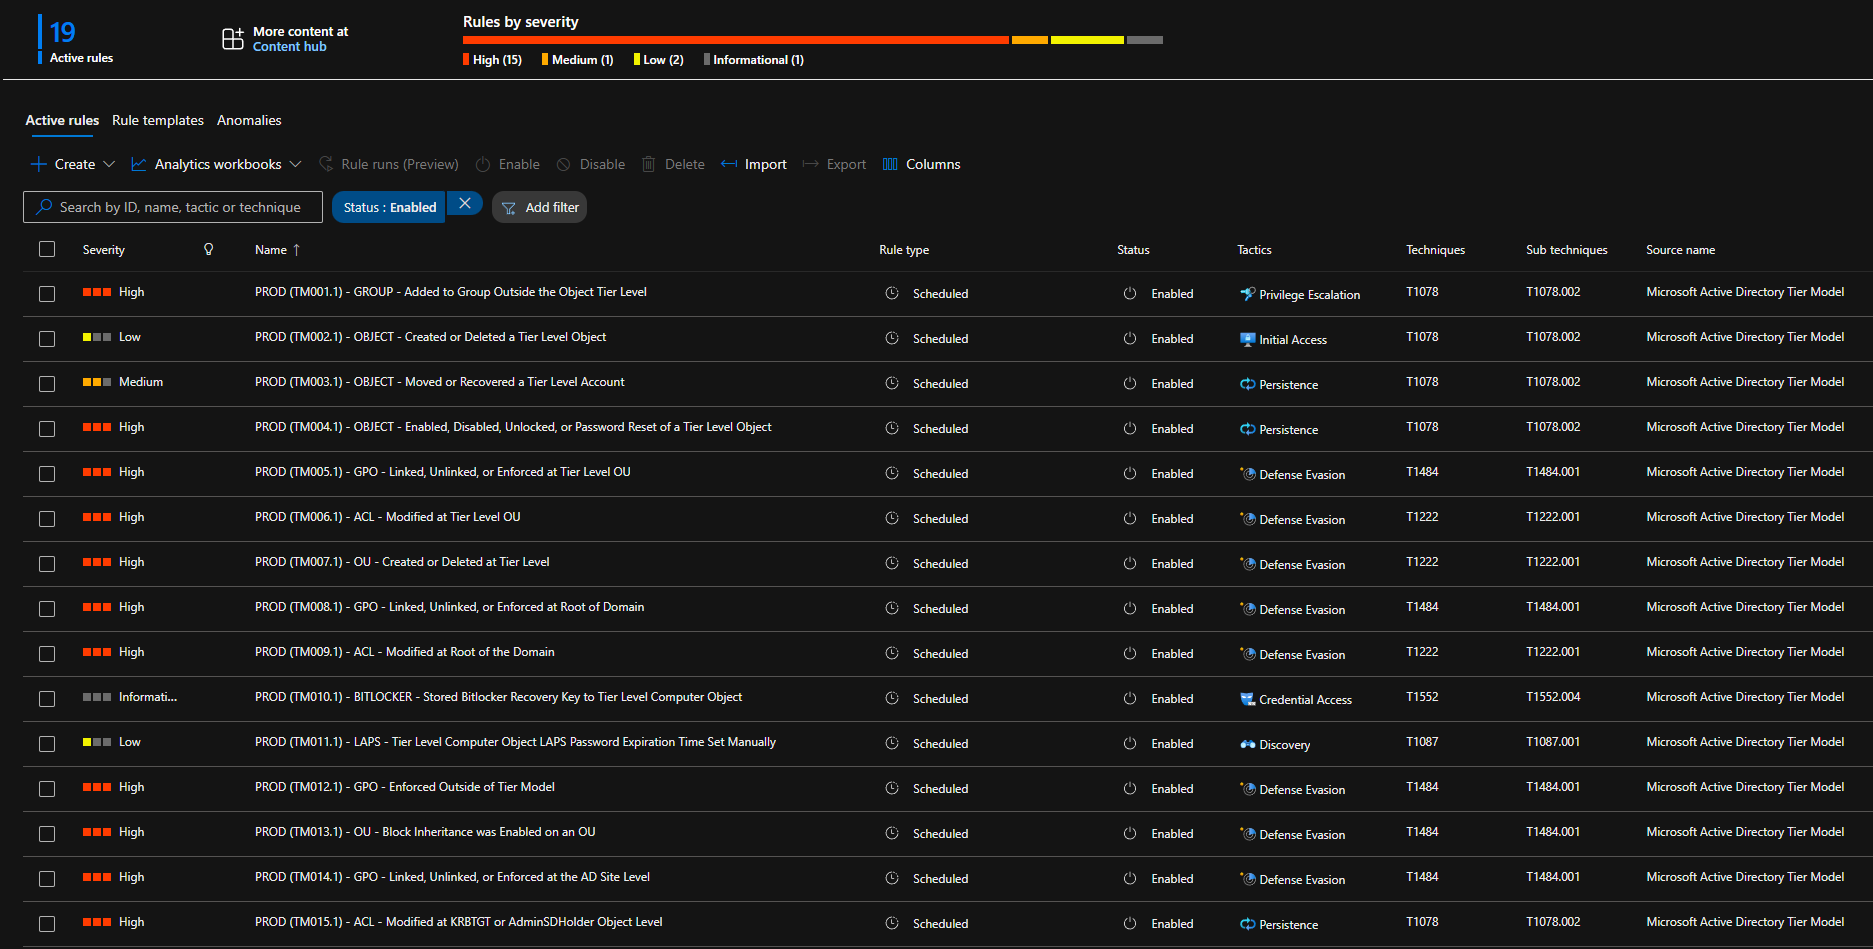
The rule appears under Active rules.

Repeat for every analytic rule template until all Tier Model analytic rules are enabled.
Step 3 — Deploy the automation rules
The automation rules are not auto-created by the Content Hub install. They ship as a separate one-click ARM template that requires a small amount of input. Deploy them into the same region and the same resource group as your Microsoft Sentinel workspace to keep everything aligned.
Open the automation rules readme and locate the Deploy to Azure button.
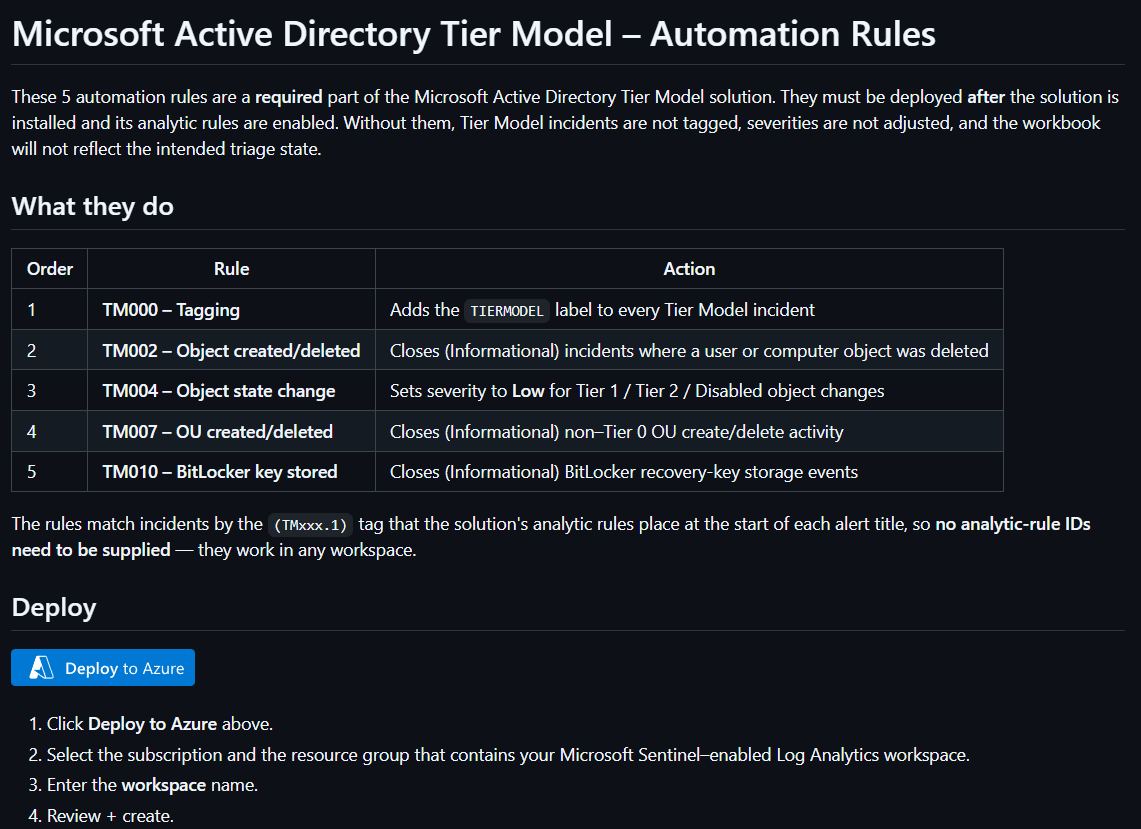
Click Deploy to Azure.

On the Custom deployment form, choose:
- Subscription — the subscription that contains your Sentinel workspace
- Resource group — the resource group that holds your Sentinel workspace
- Region — match the region of your Sentinel workspace
- Workspace name — the name of your Sentinel workspace
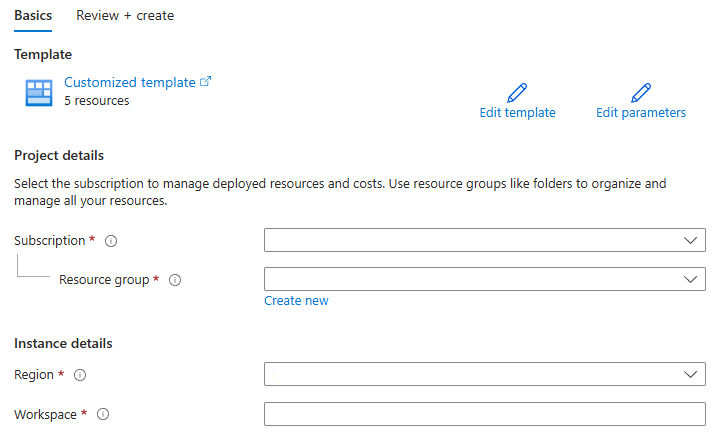
Click Review + create, then Create.

Wait for the deployment to succeed.

The automation rules now appear under Microsoft Sentinel → Automation.
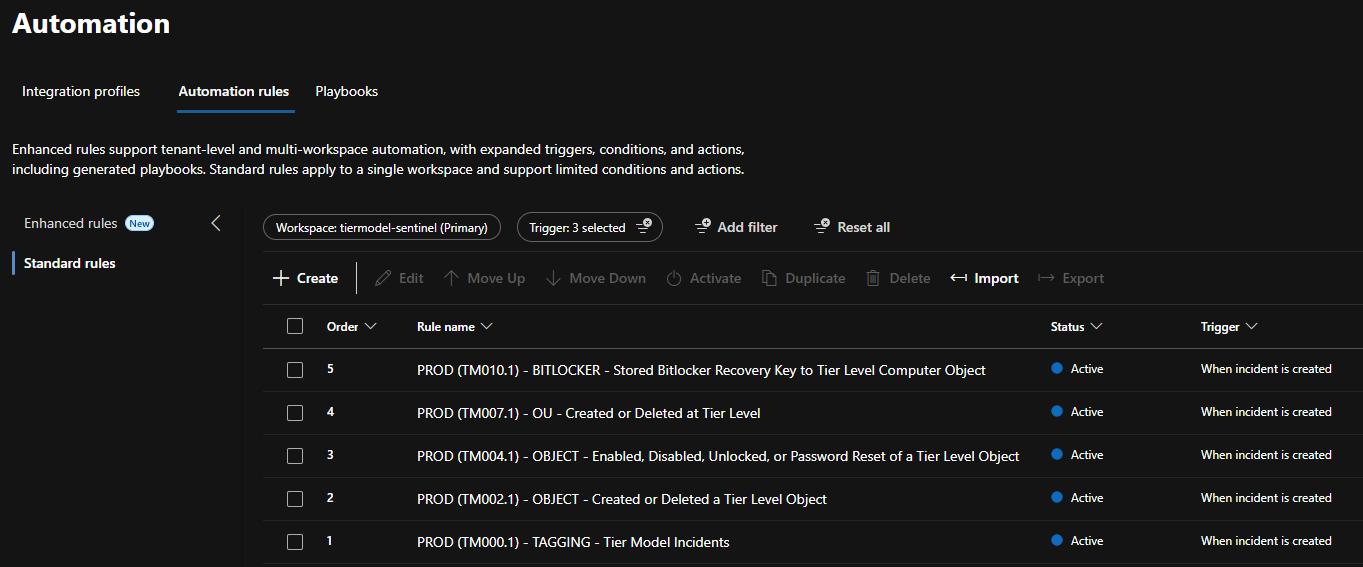
Step 4 — Save the workbook
From Workbooks → Templates, open the Tier Model workbook and click Save.

Choose the region to save the workbook into (match your Sentinel workspace region).
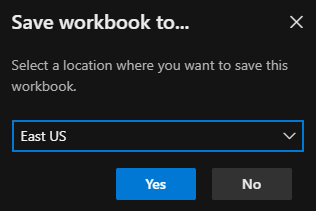
The workbook is saved.

It now appears under My workbooks.
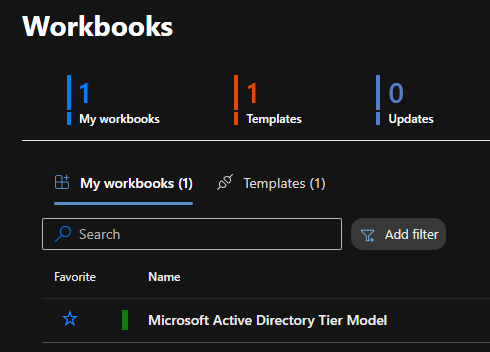
Once the analytic rules are enabled, the automation rules are deployed, and the workbook is saved, Tier Model incidents will be tagged, triaged, and visualized automatically.
Contribute & links
Source — where the KQL and definitions live
The solution content (KQL analytic rules, automation rules ARM template, workbook) is maintained in the public Azure/Azure-Sentinel repository:
- Solution folder: Azure/Azure-Sentinel — Solutions/Microsoft Active Directory Tier Model
- Automation rules (Deploy to Azure + details): MicrosoftADTierModelAutomationRules readme
Install source
In Microsoft Sentinel → Content Hub, search for "Microsoft Active Directory Tier Model" to find and install the solution.
This project
- Repository: github.com/microsoft/ActiveDirectoryTierModel
- Documentation: microsoft.github.io/ActiveDirectoryTierModel
Event IDs & SIEM schema
For detailed information on the Windows Event Log schema that powers this monitoring, including Event ID definitions and KQL query patterns, see the Event ID Schema documentation.
Contributing
To propose a change or report an issue with the monitoring solution, raise a GitHub issue in both repositories:
- Azure/Azure-Sentinel — where the solution content is maintained
- microsoft/ActiveDirectoryTierModel — so the Tier Model team has visibility
Open issues in both repositories before opening any pull request. This mirrors our issue-first policy and keeps both teams aligned.