
Quick Start
Install Huabu, connect an agent you already use, and start working together in your first Space.
1. Download and install Huabu
Download the latest version from GitHub Releases. Choose the .dmg package on macOS or the .exe package on Windows, then install and launch Huabu.
2. Choose a Home Folder
On first launch, select a local folder and open it as your Home. Huabu stores your Spaces and their materials in this folder so you can choose where your work lives.
3. Connect your agent
Huabu is a visual workspace for the agents you already use. Install a supported ACP-compatible agent or adapter and complete its sign-in on the device where it will run. Open Settings () from the app header (or press Ctrl+,), then select Agent. Check Connected devices and External agents: supported agents discovered on a connected device receive ready-to-select Profiles automatically.
Use Add device to follow the connection instructions for another device, or Add agent to create a Profile with your own working directory or ACP command. See External Agents for supported agents and setup details. The agent keeps its own model access, tools, permissions, and provider account.
4. Create a Space
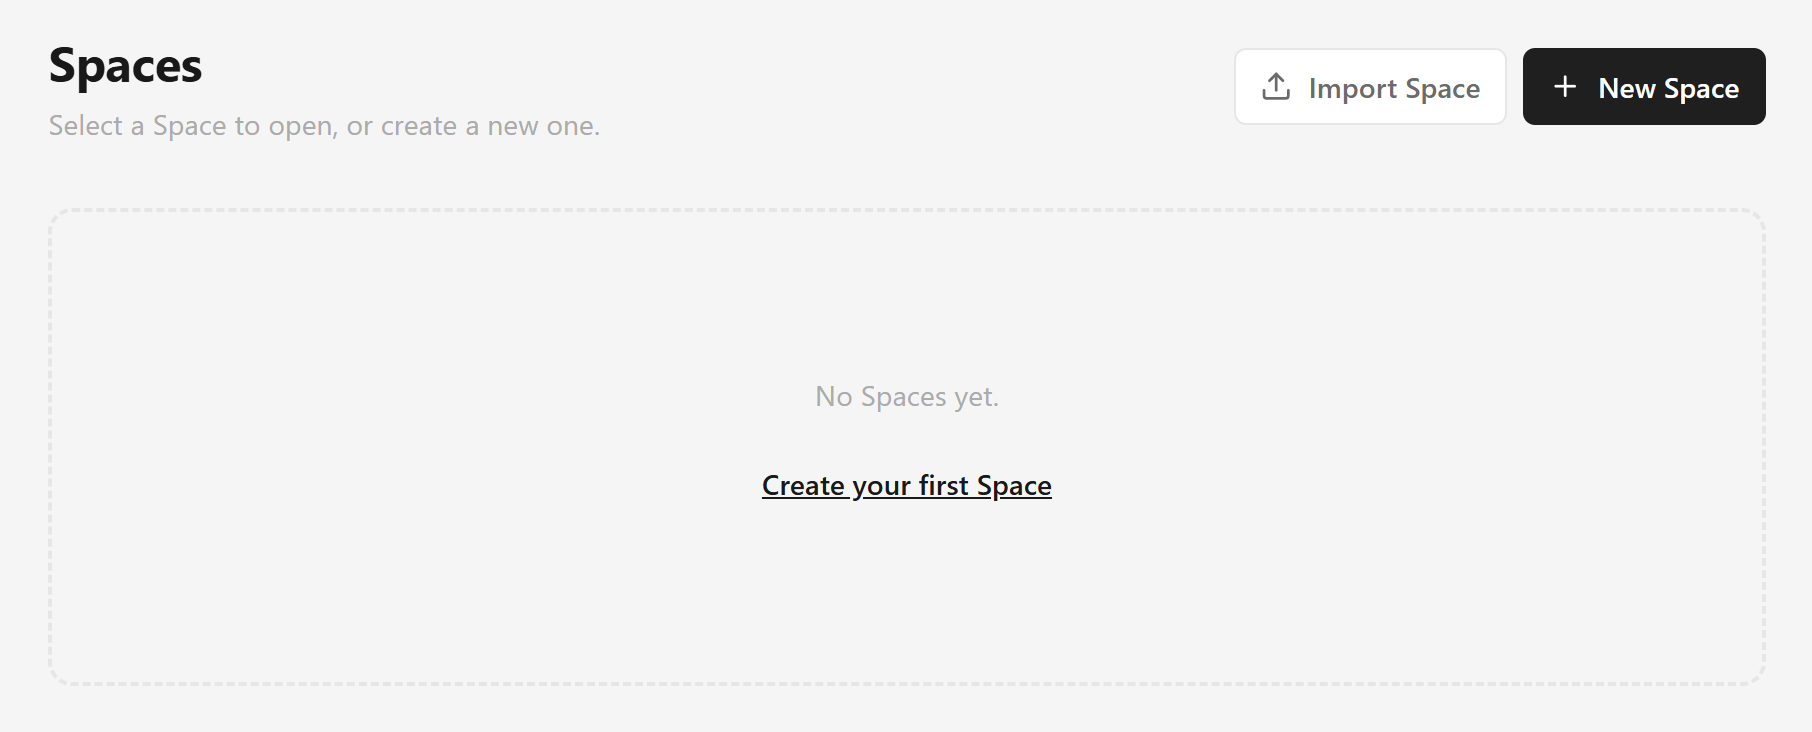
A Space is an independent place to think and work on a topic, question, or project. Inside your Home, select New Space to create a Space and open it immediately.
5. Add content to your Space
There are several ways to bring content into a Space:
- Paste — copy text or an image anywhere and paste it straight into your Space.
- Drag and drop — drop files from your computer into your Space.
- Keep useful AI results — drag a useful block from a Chat reply into your Space, where it becomes its own node. See Drag content into the Space.
- Upload or Link — from the toolbar, choose Upload Files to add a PDF or image, or Add Links to bring in a web page.
- Create a node — start from scratch with a Note, Text, Frame, or Sketch from the toolbar.

6. Think and work with AI
Every conversation lives in the Chat Panel. Open it with the top-right button (), start a new conversation, and select your connected Agent Profile. You can:
- Discuss your materials — select the nodes you want as context, ask questions, and drag useful parts of a reply back into your Space to keep organizing your thinking.
- Work on the Space — ask the agent to create, edit, arrange, or connect materials, then review its changes and keep or revert them.
Start a new conversation to work with another Profile. Each agent brings the tools and capabilities of its own harness; supported model, mode, and permission controls appear when the agent exposes them.
Prefer to ask right beside your material? Add an Agent Node in your Space to start a conversation in place, so it stays in context with the ideas and sources around it.