This tutorial will help you setup PwR Studio on your local computer to create Jugalbandi Apps.
QuickStart Guide for Setting up PwR-Studio 🎉
Prerequisites
-
Setup WSL2 on Windows. Follow the instructions here to install WSL2 on Windows. Note: PowerShell/Windows Terminal will not work for this setup.
-
OpenAI or Azure OpenAI Keys: Obtain from OpenAI or Azure. Remember to comment out AZURE keys if you are not using them.
OPENAI_API_KEY=

# use the keys below instead if using Azure OpenAI
# AZURE_OPENAI_API_KEY=
# AZURE_OPENAI_ENDPOINT=
# AZURE_OPENAI_API_VERSION=
# AZURE_OPENAI_DEPLOYMENT_NAME=
-
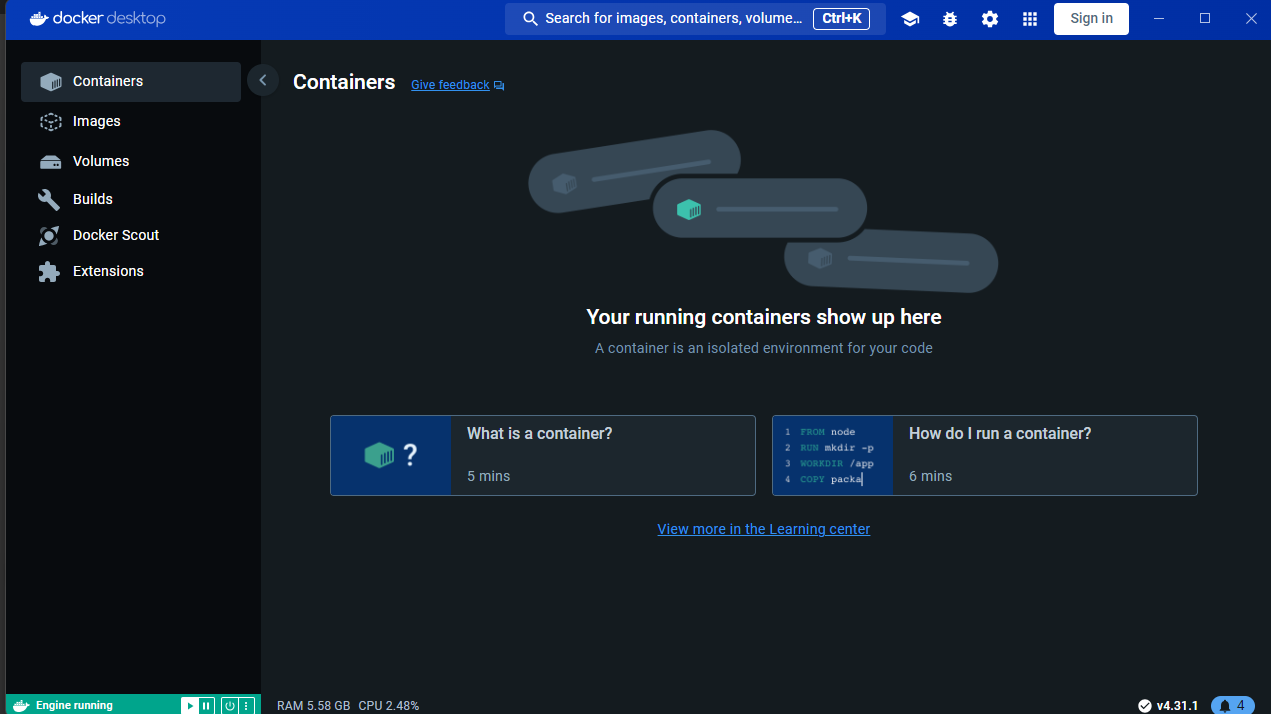
Docker: Install Docker Desktop for Windows and Mac or Docker Engine for Linux.
-
Microsoft Authentication Library (MSAL) Keys: Read the instructions on this subsection, Register the application and record identifiers and get the following keys:
AAD_APP_CLIENT_ID=<uuid>
AAD_APP_TENANT_ID=<uuid>
AAD_APP_REDIRECT_URI="http://localhost:3000"
ADD_APP_SCOPE_URI="api://<uuid>/Users.Create"
ISSUER="https://sts.windows.net/<uuid>/"
- Python 3.10.0 or higher installed on your system.
- Poetry installed on your system. Poetry’s official documentation suggest to install it using
pipx:- Install
pipxusing the following commands:sudo apt update sudo apt install pipx pipx ensurepath sudo pipx ensurepath --global - Install Poetry using
pipx:pipx install poetry
- Install
Instructions
- Start Docker:
- Ensure Docker Desktop is running.
- Open Bash Terminal:
- For Windows, use WSL2. Note: PowerShell will not work.
You need to setup 3 repositories to start the PwR Studio. Follow the instructions below to clone the repositories. Keep the repositories in the same directory as siblings. Note: Do not clone in your Windows directory as that will change the line endings.
- Clone PwR-Studio Repository:
git clone git@github.com:microsoft/PwR-Studio.git-
Note: If you encounter the following error, your SSH setup is incorrect. Follow the instructions here.
Permission denied (publickey).
fatal: Could not read from remote repository.

Please make sure you have the correct access rights
and the repository exists.
-
- Clone JB-Studio-Engine Repository:
git clone git@github.com:OpenNyAI/Jugalbandi-Studio-Engine.git - Clone PwR-NL2DSL Repository:
git clone git@github.com:microsoft/PwR-NL2DSL.git
Great job! You have successfully cloned the repositories. 🎉
Your directory structure should look like this:
   ├── Jugalbandi-Studio-Engine
   ├── PwR-NL2DSL
   └── PwR-Studio
- Setup Local Environment Variables:
- Go into
PwR-Studiorepository
cd PwR-Studio- Copy
env-dev.templateto.env-dev:cp .env-dev.template .env-dev -
Enter your OpenAI or Azure OpenAI credentials in the
.env-devfile. Remember to comment out AZURE keys if you are not using them.OPENAI_API_KEY= # use the keys below instead if using Azure OpenAI # AZURE_OPENAI_API_KEY= # AZURE_OPENAI_ENDPOINT= # AZURE_OPENAI_API_VERSION= # AZURE_OPENAI_DEPLOYMENT_NAME= -
Enter your MSAL Auth keys.
AAD_APP_CLIENT_ID=<uuid> AAD_APP_TENANT_ID=<uuid> AAD_APP_REDIRECT_URI="http://localhost:3000" ADD_APP_SCOPE_URI="api://<uuid>/Users.Create" ISSUER="https://sts.windows.net/<uuid>/" -
Set the
KAFKA_ENGINE_TOPICtojbKAFKA_ENGINE_TOPIC=jb
- Go into
Steps to Setup PwR Studio – (First Time Setup)🚀
We have script files to start the PwR Studio. You can use the following commands to start the PwR Studio.
- Create a dump file to import:
Create dump file
cat ./scripts/backup.sql > dump.sql cat ../Jugalbandi-Studio-Engine/backup.sql >> dump.sql - Setup the queues (Kafka):
- First start a Kafka container using the following command:
./scripts/run.sh kafkaNote: Keep the kafka container running in the background. Until you run the next command, do not stop the kafka container.
- Next, create a kafka topic
jbusing the following command:./scripts/create-topic.sh jbNote: If you encounter any error then delete all the images, containers and volumes from Docker and try again from start.
- First start a Kafka container using the following command:
- Start the PwR Studio:
./scripts/run.sh server studio engine- Note: You need to run the above command twice to start both the PwR Studio and the engine. First time, let the server start completely and then stop (
Ctrl + C) it. Then run the command again to start the engine.
- Note: You need to run the above command twice to start both the PwR Studio and the engine. First time, let the server start completely and then stop (
Start PwR Studio 🚀
Make sure that you have done the first time setup before starting the PwR Studio.
- Start PwR Studio:
- Run the following command to start the PwR Studio:
./scripts/run.sh server studio engine
- Run the following command to start the PwR Studio:
- Open PwR Studio in Browser:
- Go to
http://localhost:4173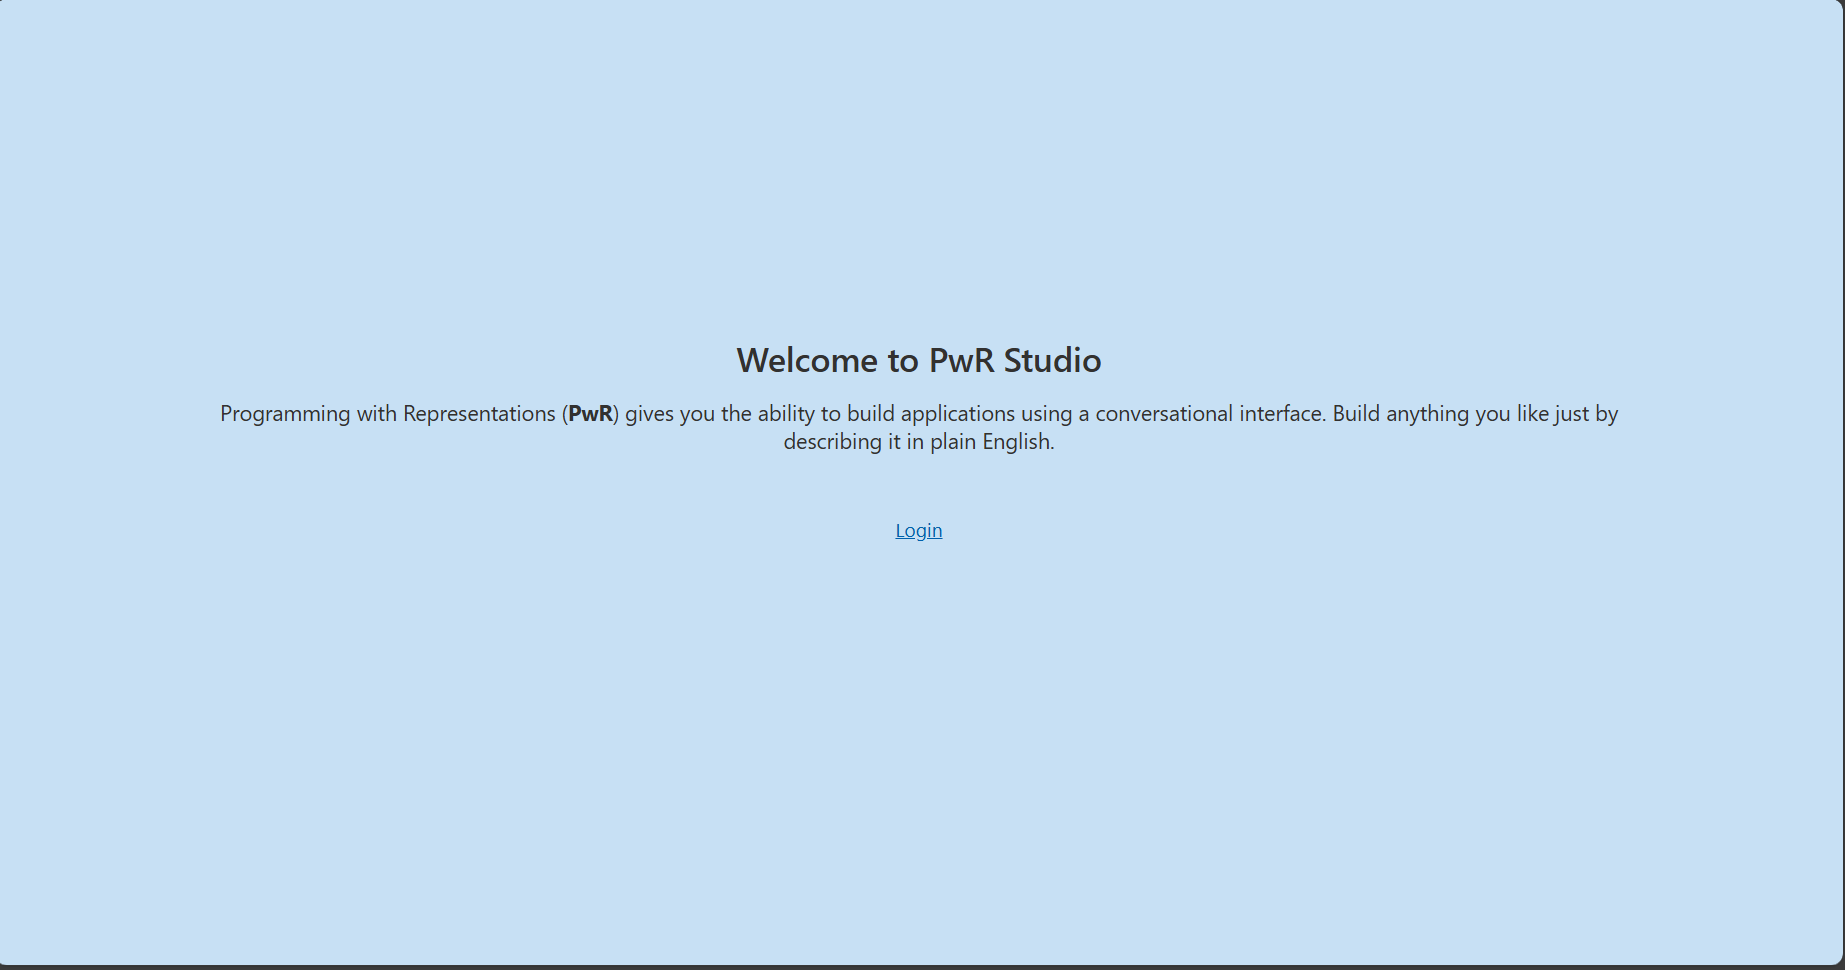 You are all set now for the next step on building Jugalbandi Apps! 🎉
—
You are all set now for the next step on building Jugalbandi Apps! 🎉
—
- Go to
Building Jugalbandi Apps
- Login to PwR Studio:
- Click on the
Log Inbutton on the home page.
- Click on the
- Create a New Project:
- Click on the
Create New Projectbutton on the home page. - Enter the project
NameandDescriptionand click onCreate. 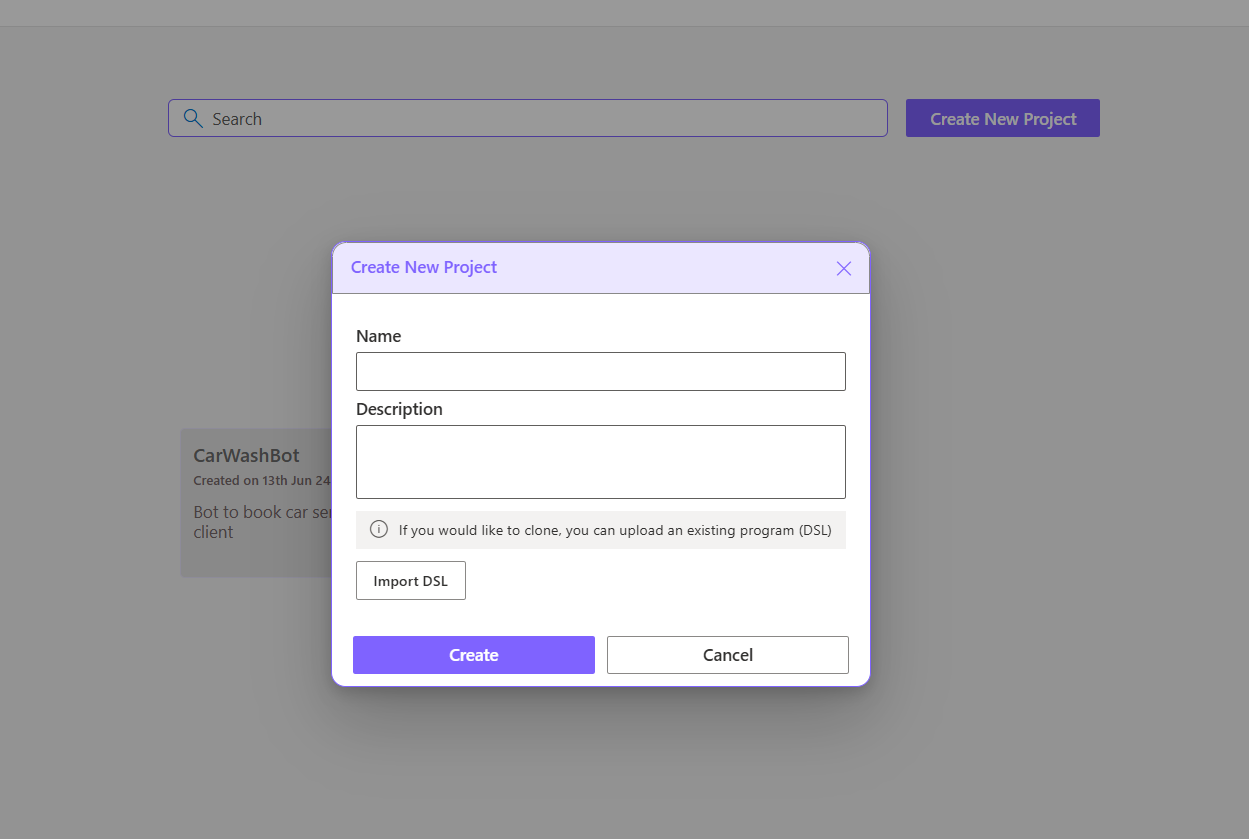
- Click on the
- Start Page for Project:
- You will be redirected to the project page.
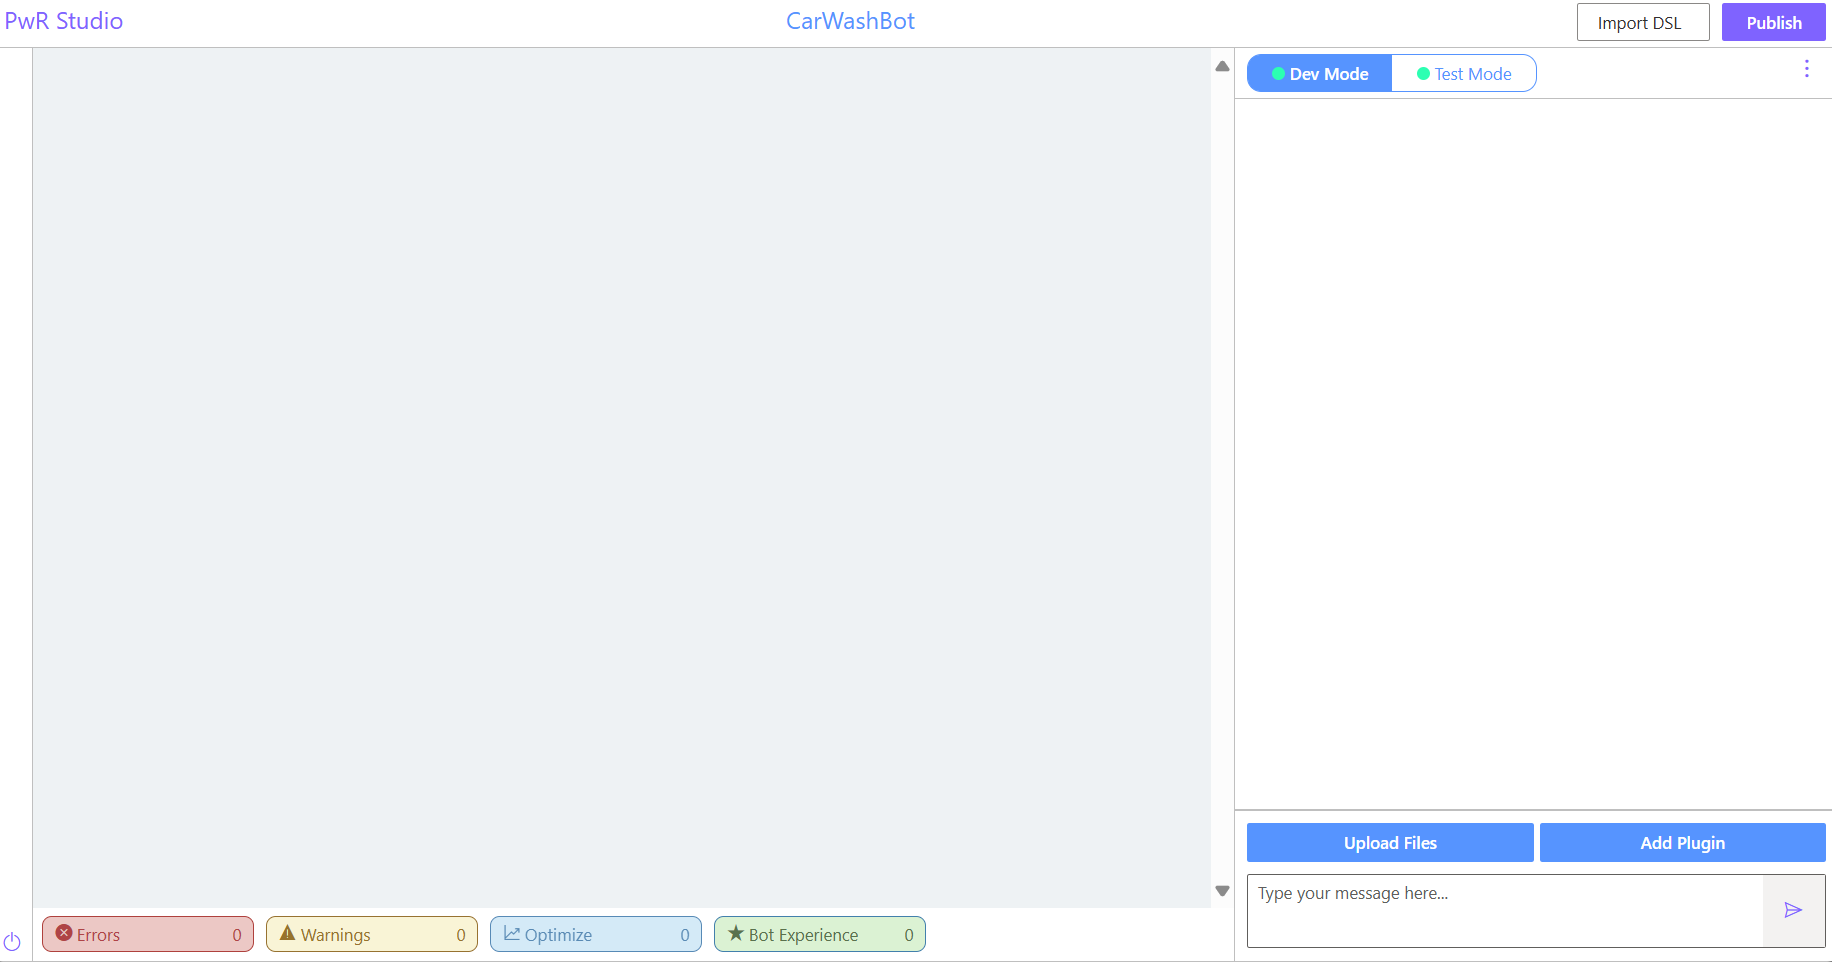
- You can use text box in the right side to enter the steps/text to build your bot.
- Outputs
- You can see the outputs of the bot in the right side of the page.
-
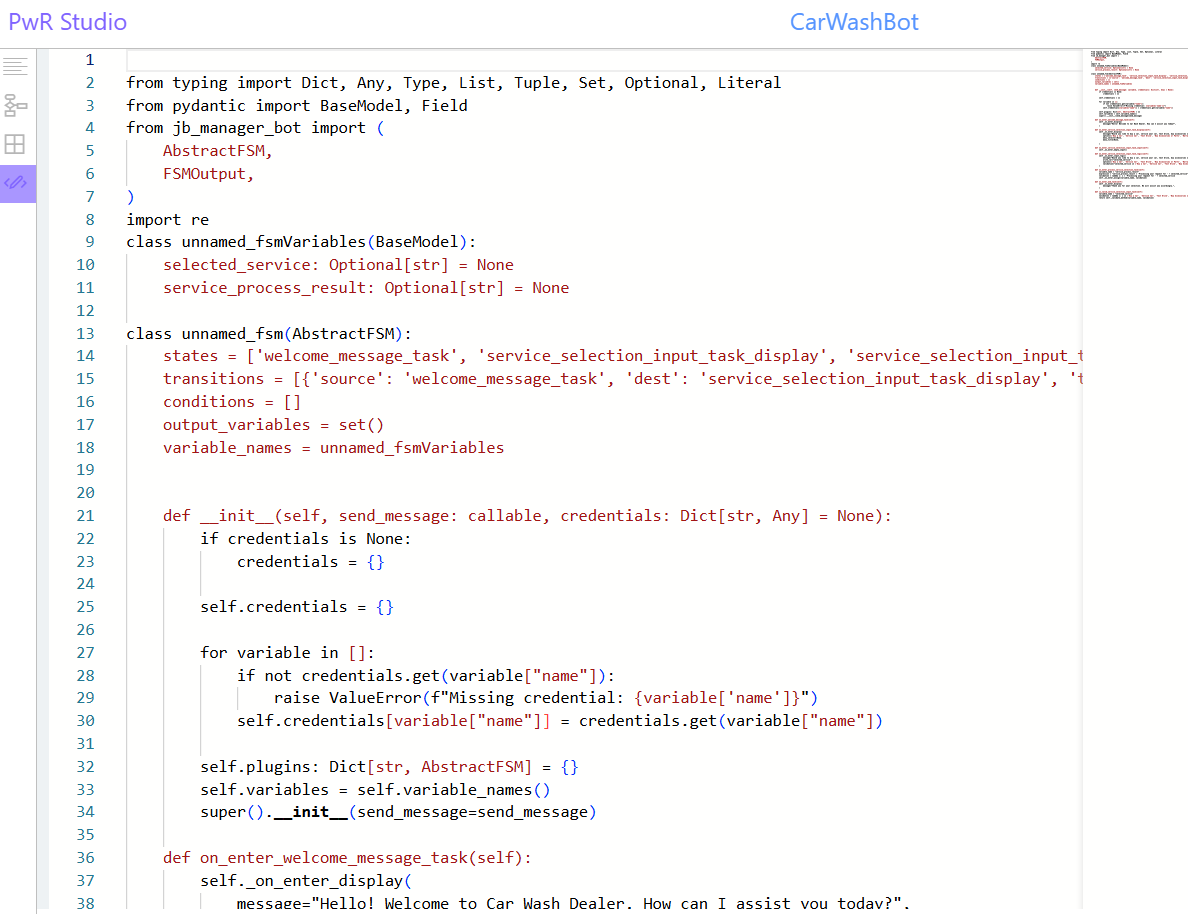
There are 4 tabs in the left top section:
Natural Language Representation- You can see the description of the steps in natural language.
Flow- You can see the flow of the steps in the form of JSON.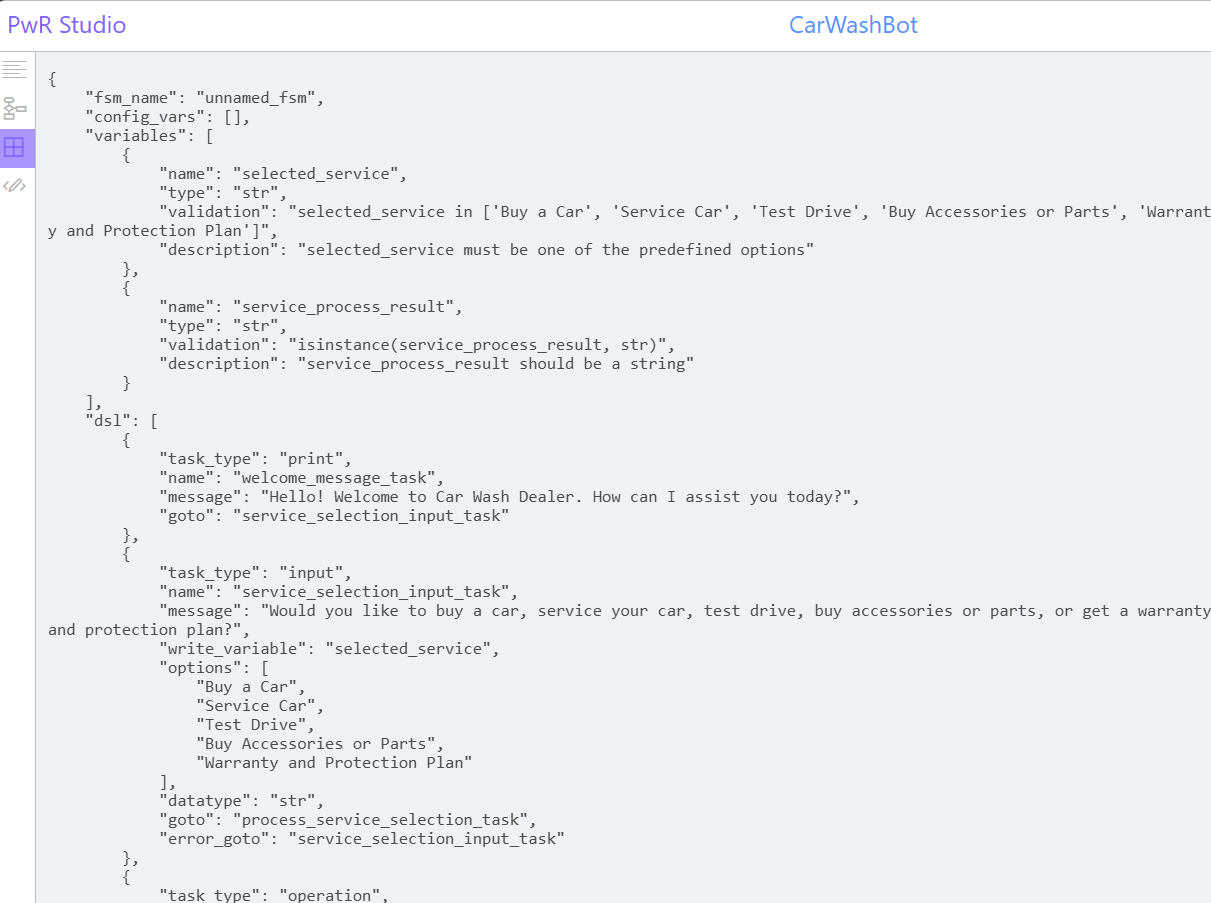
Chart- You can see the flow of the steps in the form of a flow-chart.Code- The final code generated based on the flow.