🚨 Mission 01: Get started with the Hiring Agent
🕵️♂️ CODENAME: OPERATION TALENT SCOUT
⏱️ Operation Time Window:
~45 minutes
🎥 Watch the Walkthrough
🎯 Mission Brief
Welcome, Agent. Your first assignment is Operation Talent Scout - establishing the foundational infrastructure for an AI-powered recruitment system that will transform how organizations identify and hire top talent.
Your mission, should you choose to accept it, is to deploy and configure a comprehensive hiring management system using Microsoft Copilot Studio. You'll import a pre-built solution containing all the necessary data structures, then create your first AI agent - the Hiring Agent - which will serve as the central orchestrator for all future recruitment operations.
This initial deployment establishes the solution that you'll enhance throughout the Agent Academy Operative course. Consider this your base of operations - the foundation upon which you'll build an entire network of specialized agents in subsequent missions.
🔎 Objectives
In this mission, you'll learn:
- About the scenario and gain comprehensive knowledge of hiring automation challenges and solutions
- How to successfully import and configure the fundamentals of a hiring management system
- How to build a hiring agent that is the start of the scenario you're going to build as an Agent Academy Operative
🔍 Prerequisites
Before embarking on this mission, ensure you have:
- Copilot Studio license
- Access to a Microsoft Power Platform environment that is not a managed environment
- Administrative permissions to create solutions and agents
Prerequisites help:
If you need help getting a Copilot Studio license, please reference the Recruit Course Setup lab which walks you through setting up a Power Platform environment with a Copilot Studio trial.
🏢 Understanding the Hiring Automation Scenario
This scenario demonstrates how a company can use Microsoft Copilot Studio full to improve and automate its hiring process. It introduces a system of agents that work together to handle tasks like reviewing resumes, recommending job roles, preparing interview materials, and evaluating candidates.
Business Value
The solution helps HR teams save time and make better decisions by:
- Automatically processing resumes received via email.
- Suggesting suitable job roles based on candidate profiles.
- Creating job applications and interview guides tailored to each candidate.
- Ensuring fair and compliant hiring practices through built-in safety and moderation features.
- Collecting feedback to improve the solution.
How It Works
- A central Hiring Agent coordinates the process and stores data in Microsoft Dataverse.
- An Application Intake Agent reads resumes and creates job applications.
- An Interview Prep Agent generates interview questions and documents based on the candidate's background.
- The system can be published to a demo website, allowing stakeholders to interact with it.
This scenario is ideal for organizations looking to modernize their recruitment workflows using AI-powered automation, while maintaining transparency, fairness, and efficiency.
🧪 Lab 1: Setup the Hiring Agent
In this hands-on lab, you'll establish the foundation for your hiring automation system. You'll begin by importing a pre-configured solution that contains all the necessary Dataverse tables and data structure for managing candidates, job positions, and hiring workflows. Next, you'll populate these tables with sample data that will support your learning throughout this module and provide realistic scenarios for testing. Finally, you'll create the Hiring Agent in Copilot Studio, setting up the basic conversational interface that will serve as the cornerstone for all the other features you'll add in future missions.
🧪 Lab 1.1: Import solution
Go to Copilot Studio
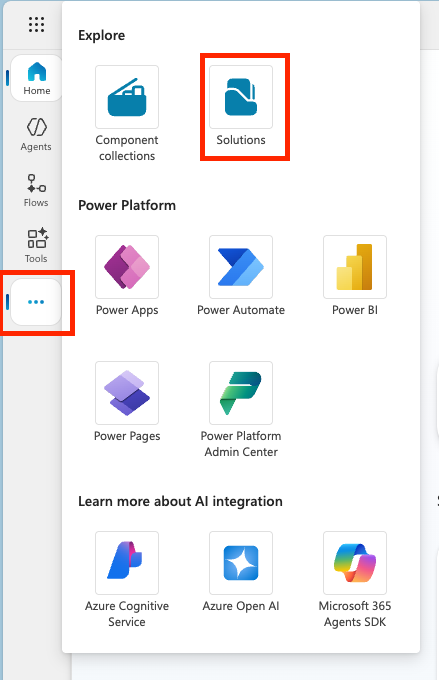
Select the ... in the left navigation and select Solutions
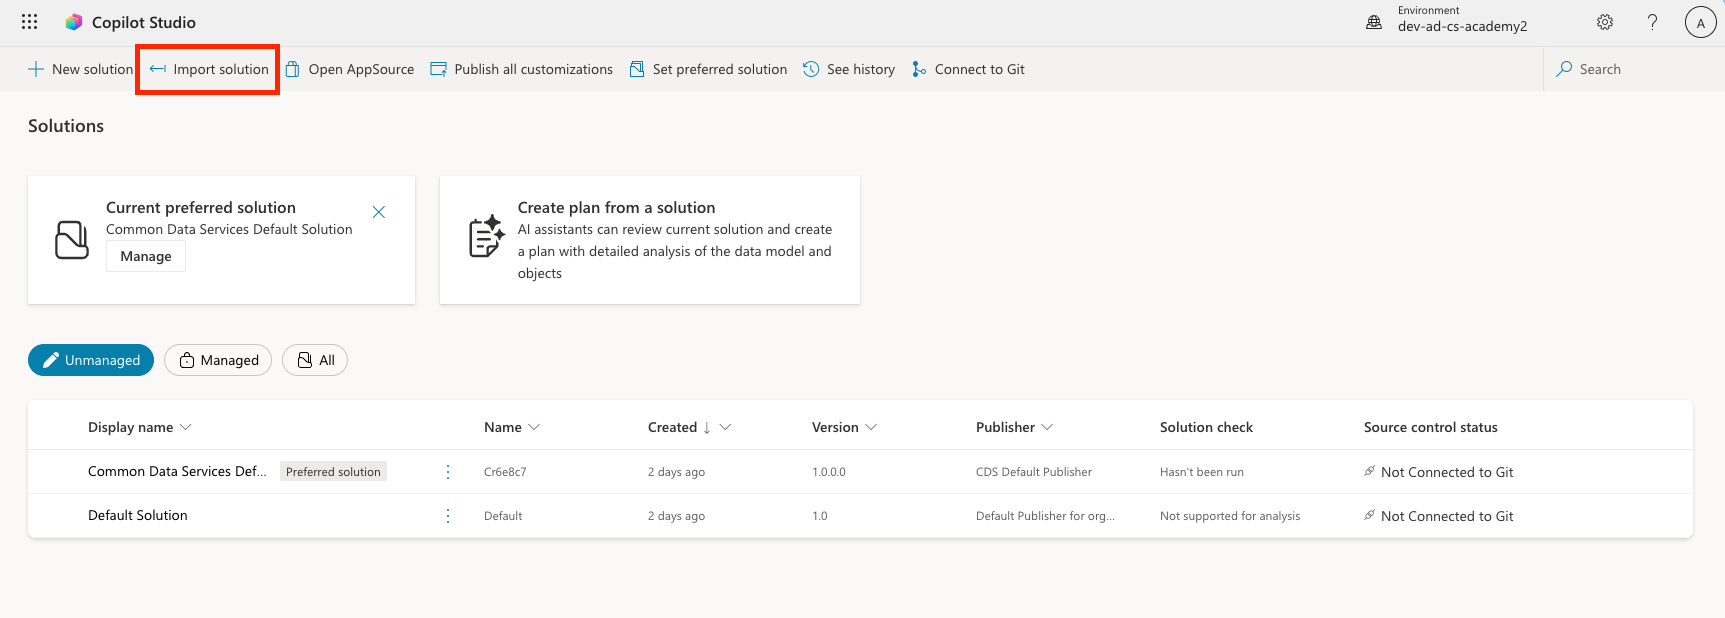
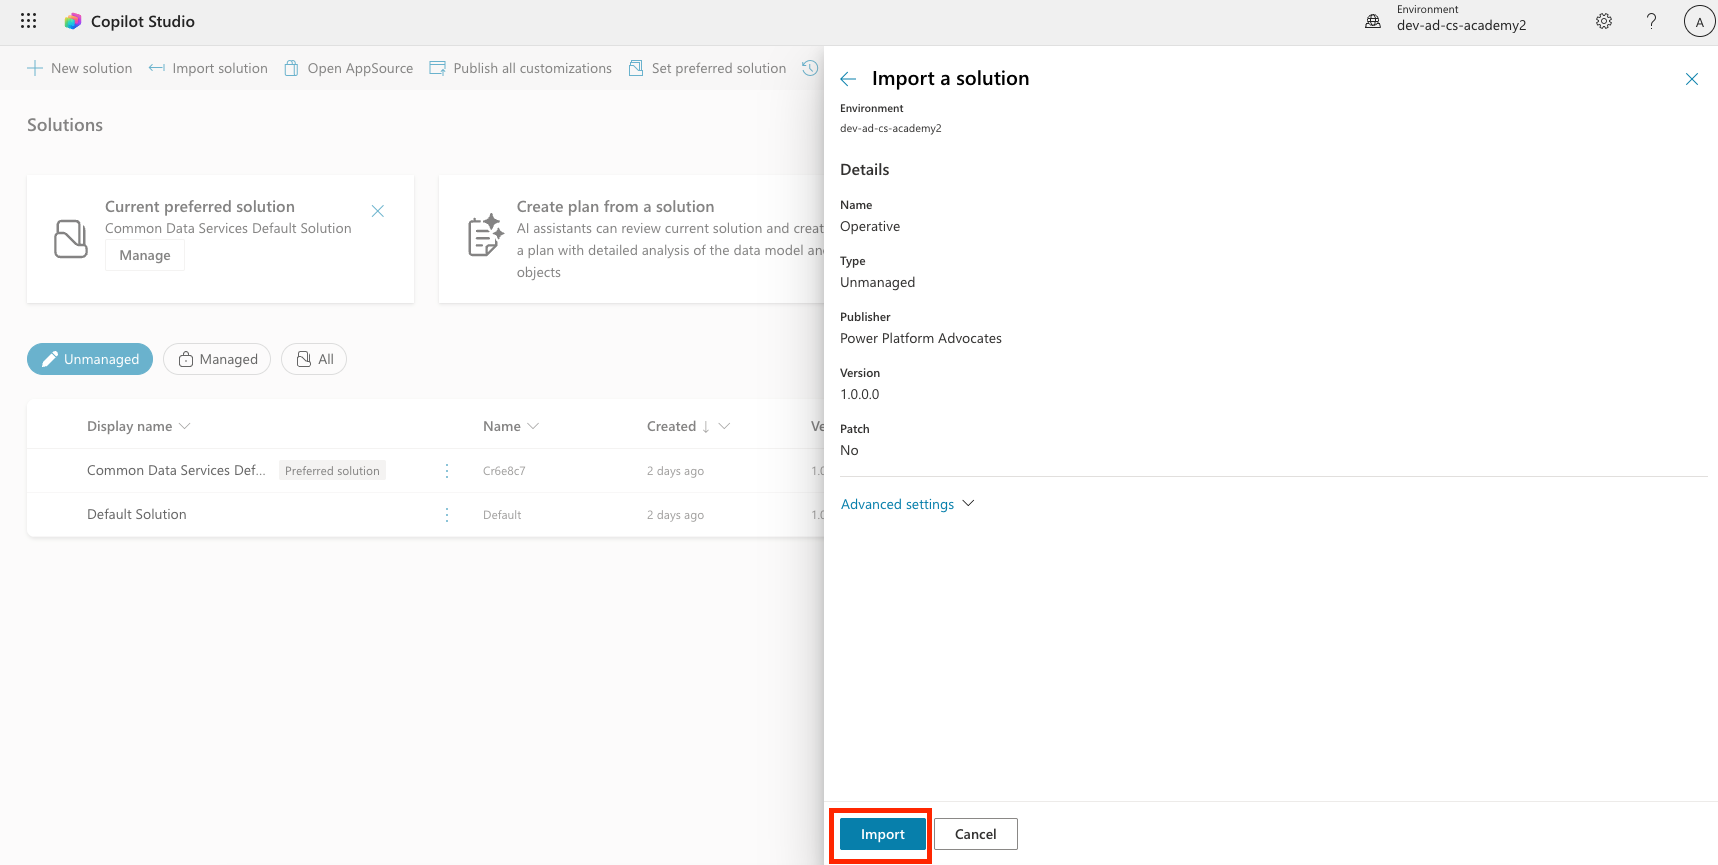
Select the Import Solution button on the top
Download the prepared solution
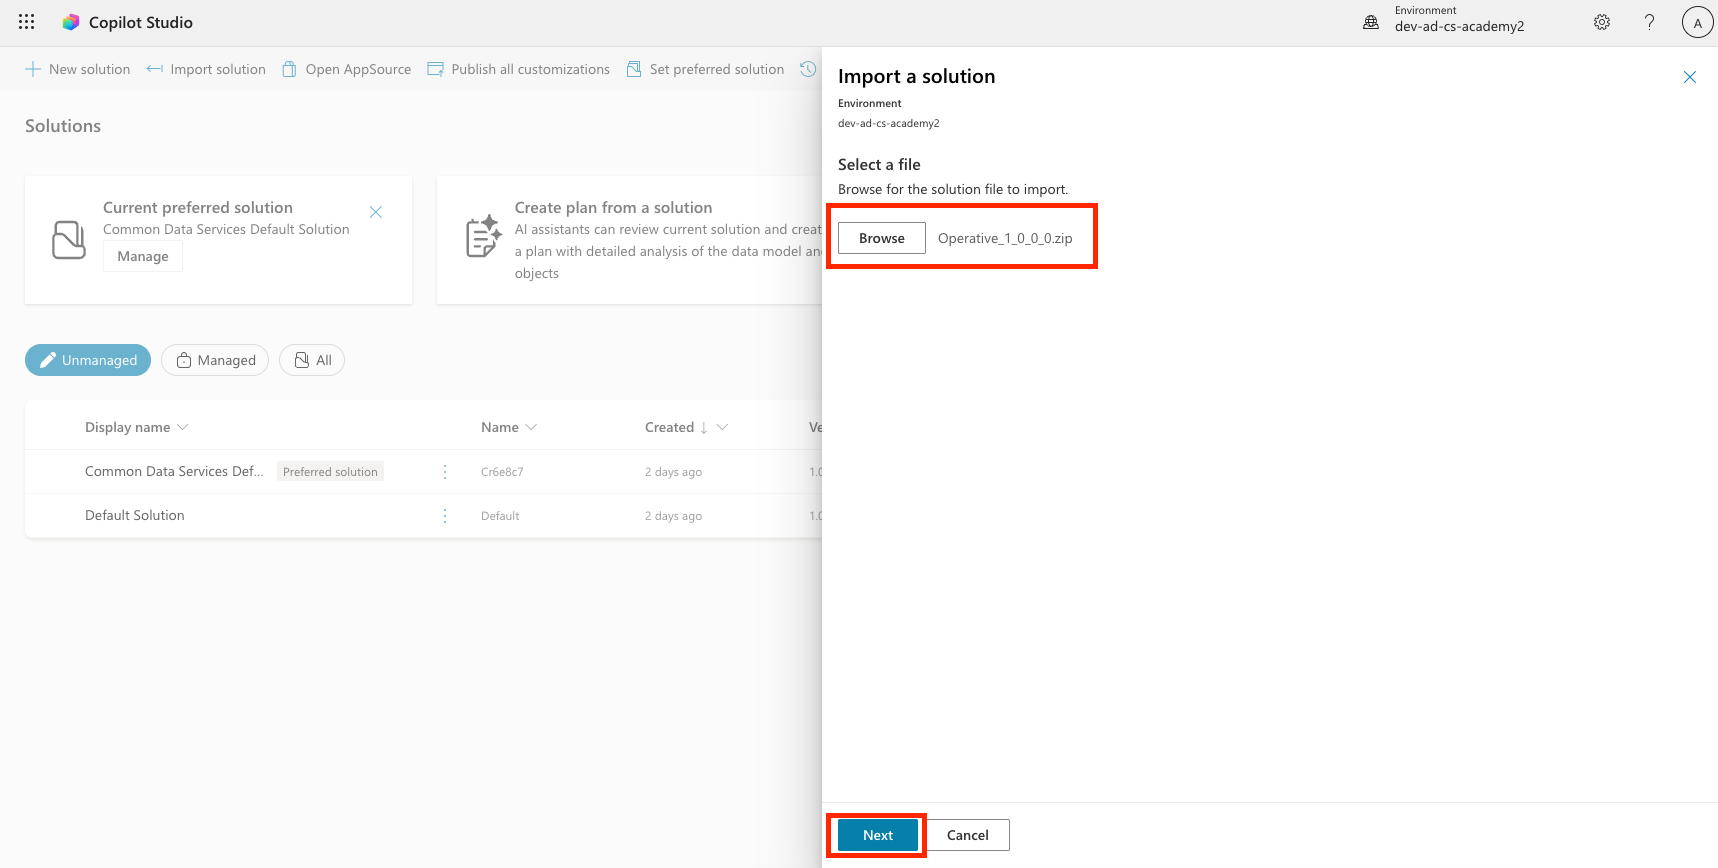
Select Browse and select the downloaded solution from the previous step
Select Next
Select Import
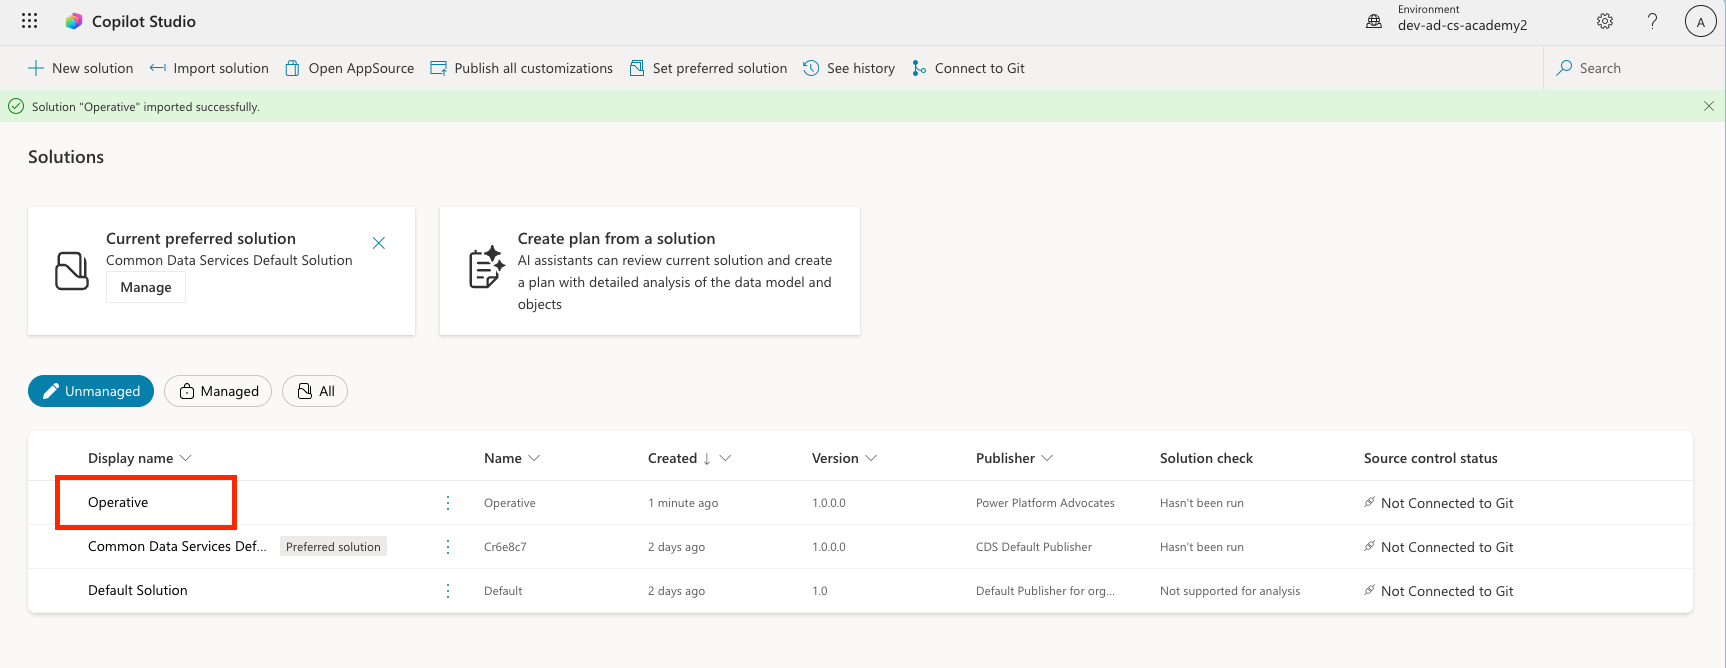
NOTE
On success, you will see a green notification bar with the following message when it's done: "Solution "Operative" imported successfully."
Once you see the "imported successfully" message, take a look at what you imported by selecting the display name of the solution (
Operative) in the solutions list.
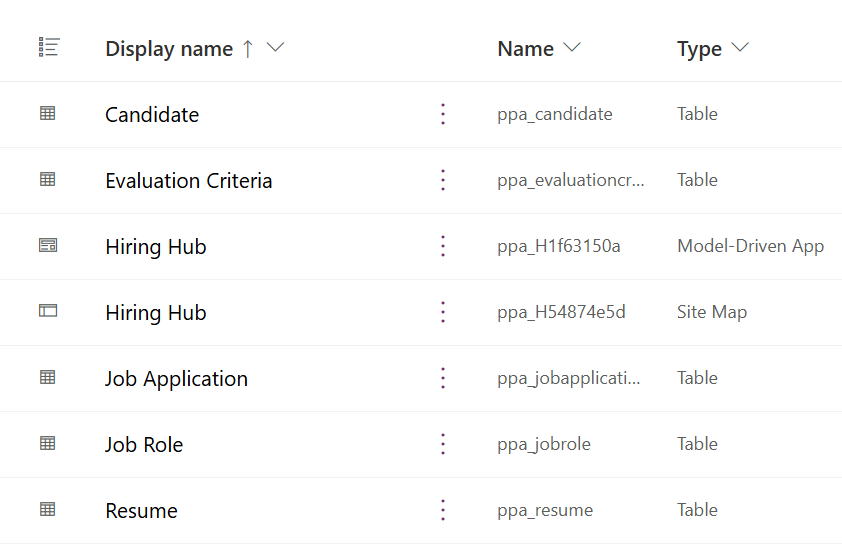
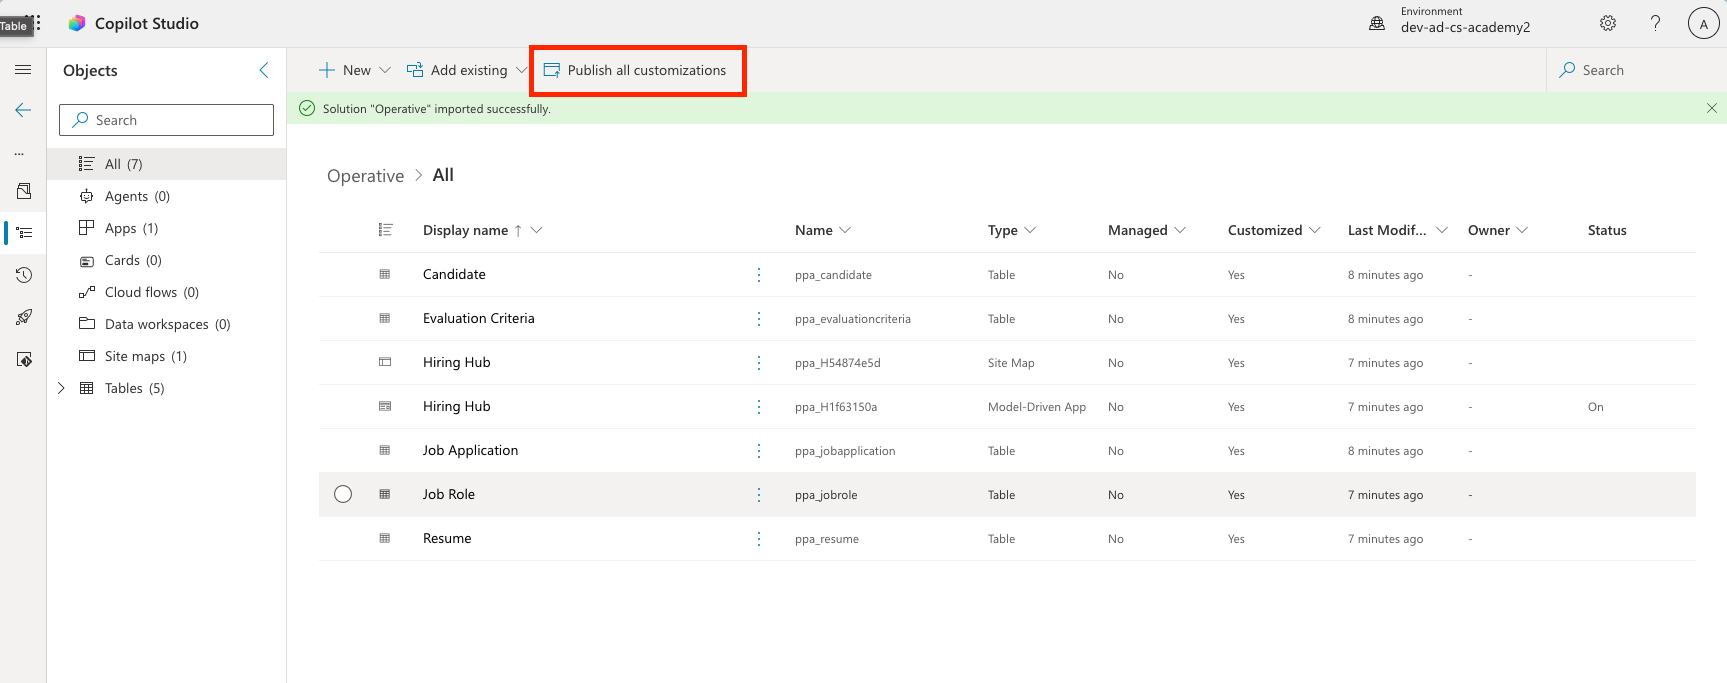
Review the solution and ensure that the following components are imported:
| Display Name | Type | Description |
|---|---|---|
| Candidate | Table | Candidate information |
| Evaluation Criteria | Table | Evaluation criteria for the role |
| Hiring Hub | Model-Driven App | Application for managing the hiring process |
| Hiring Hub | Site Map | Navigation structure for the Hiring Hub app |
| Job Application | Table | Job applications |
| Job Role | Table | Job roles |
| Resume | Table | Resumes of the candidates |
As the last task for this lab, Select the Publish all customizations button at the top of the page.
🧪 Lab 1.2: Import sample data
In this lab, you will add sample data to some of the tables that you imported in lab 1.1.
Download the files to import
Import the Job Role sample data
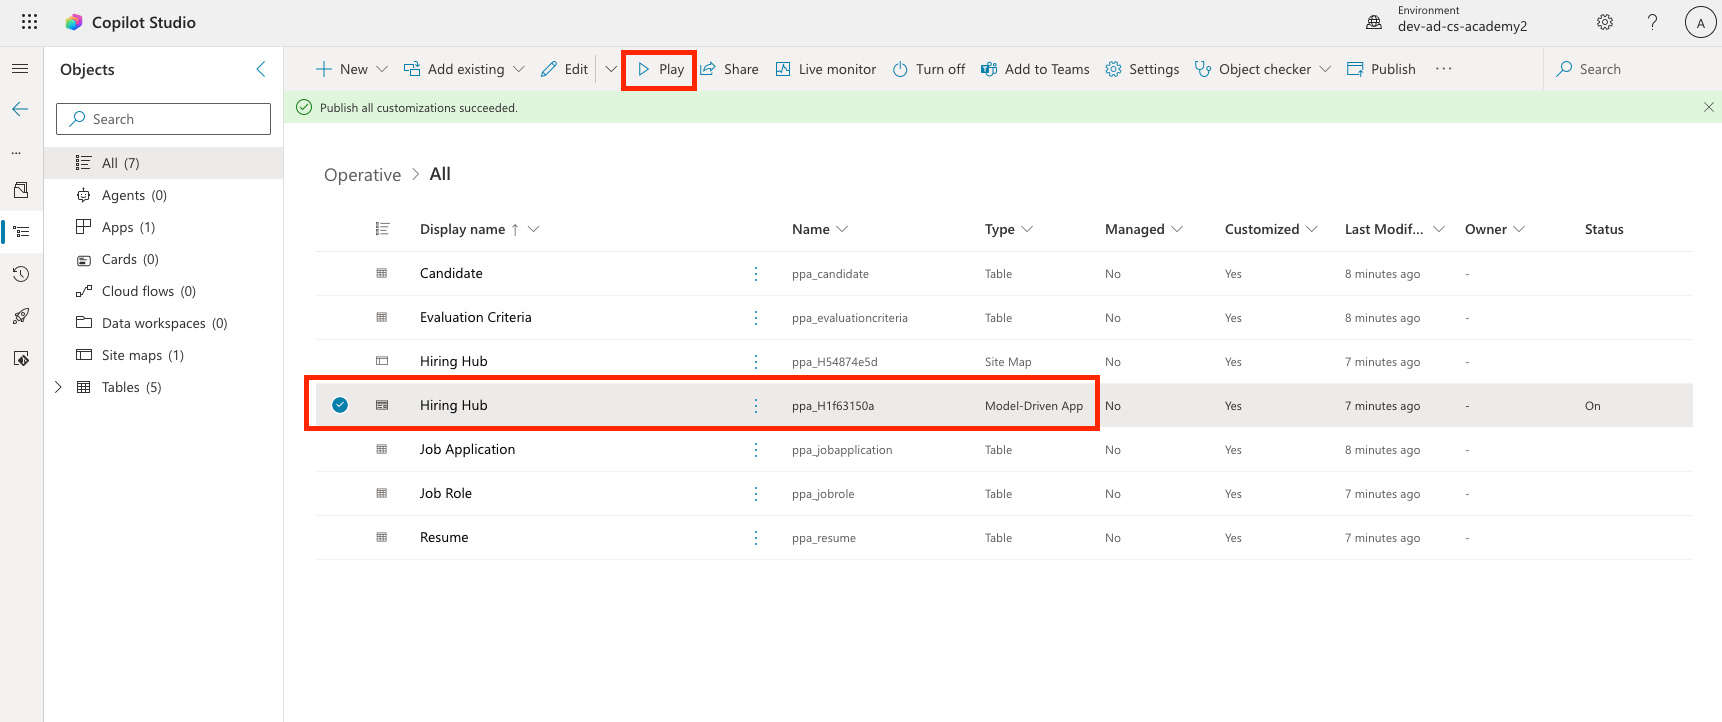
Go back to the solution you just imported in the last lab
Select the Hiring Hub Model-Driven App by selecting the checkmark in front of the row
Select the Play button at the top
WARNING
You might be prompted to login again. Make sure to do that. After doing that, you should see the Hiring Hub app.
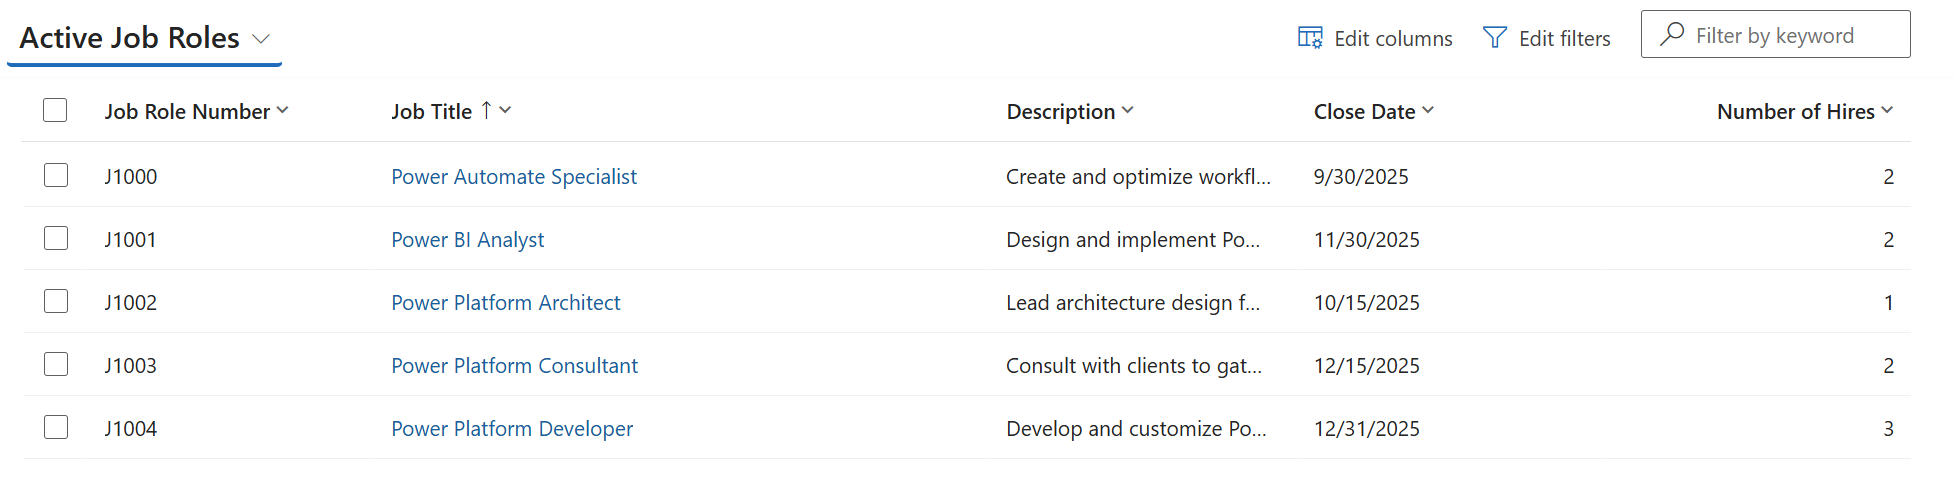
Select Job Roles in the left navigation
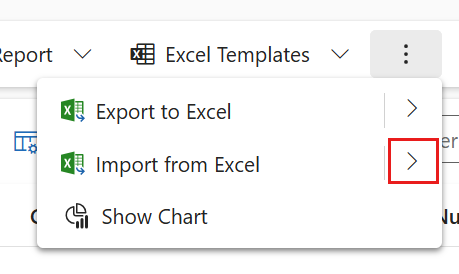
Select the More icon (three dots below each other) in the command bar
Select the right arrow next to Import from Excel
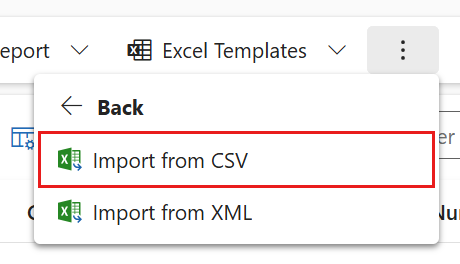
Select Import from CSV
Select the Choose File button, select the job-roles.csv file you just downloaded and then select Open
Select Next
Leave the next step as is and select Review Mapping
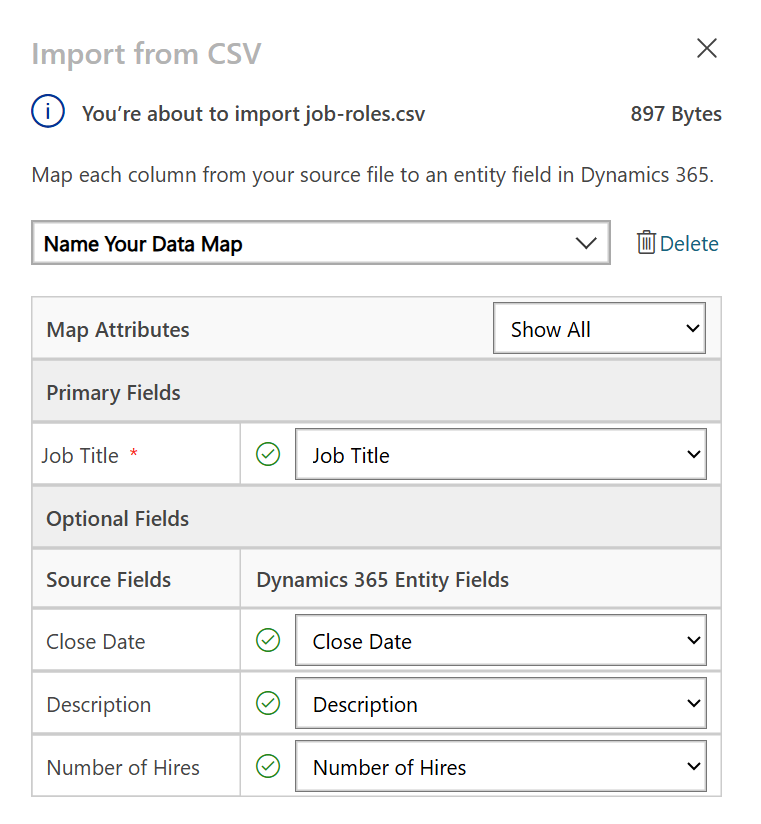
Make sure the mapping is correct and select Finish Import
NOTE
This will start an import and you will be able to track progress or finish the process immediately by selecting Done
Select Done
This can take a little while, but you can hit the Refresh button to see if the import has succeeded.
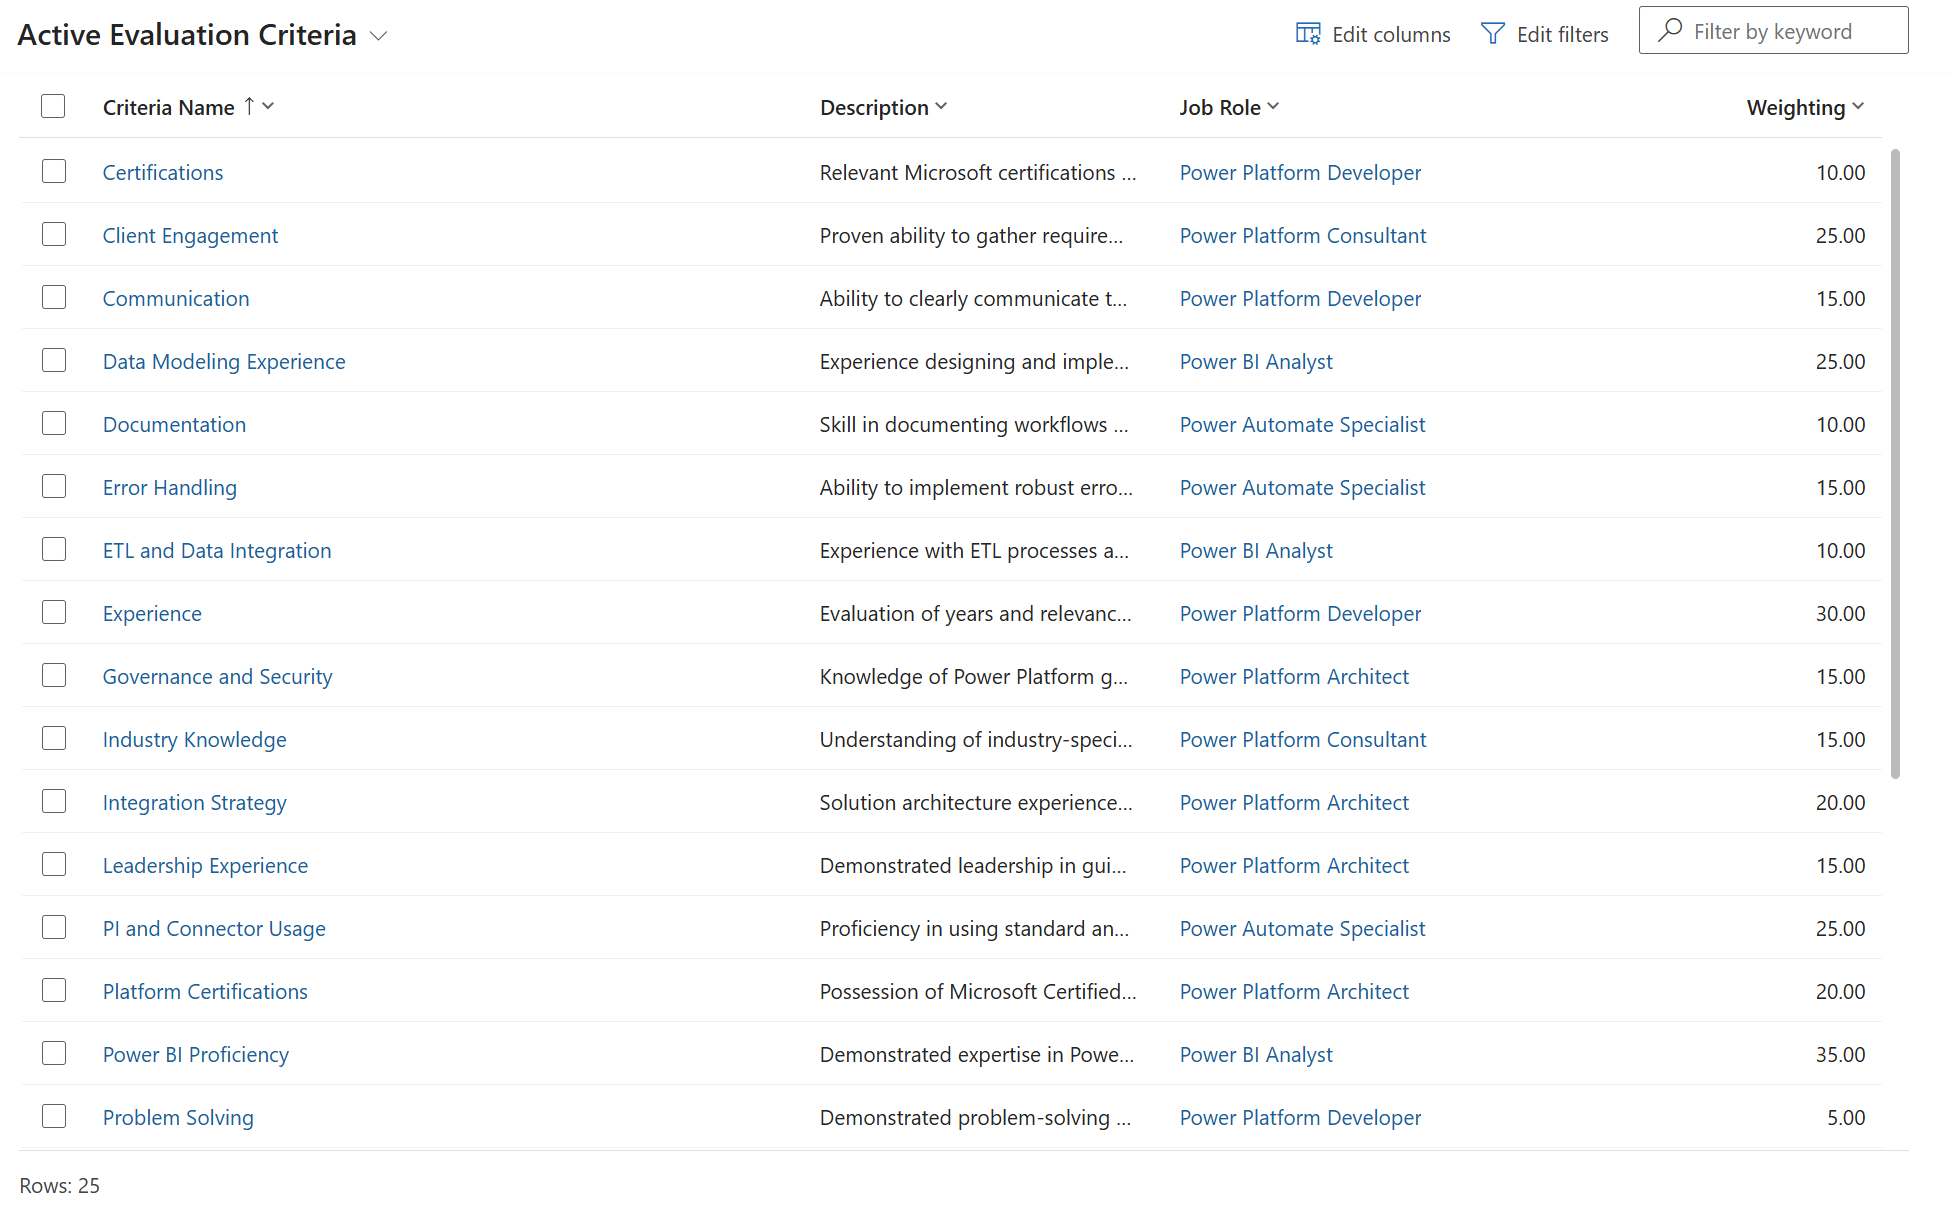
Import the Evaluation Criteria sample data
Select Evaluation Criteria in the left navigation
Select the More icon (three dots below each other) in the command bar
Select the right arrow next to Import from Excel
Select Import from CSV
Select the Choose File button, select the evaluation-criteria.csv file you just downloaded and then select Open
Select Next
Leave the next step as is and select Review Mapping
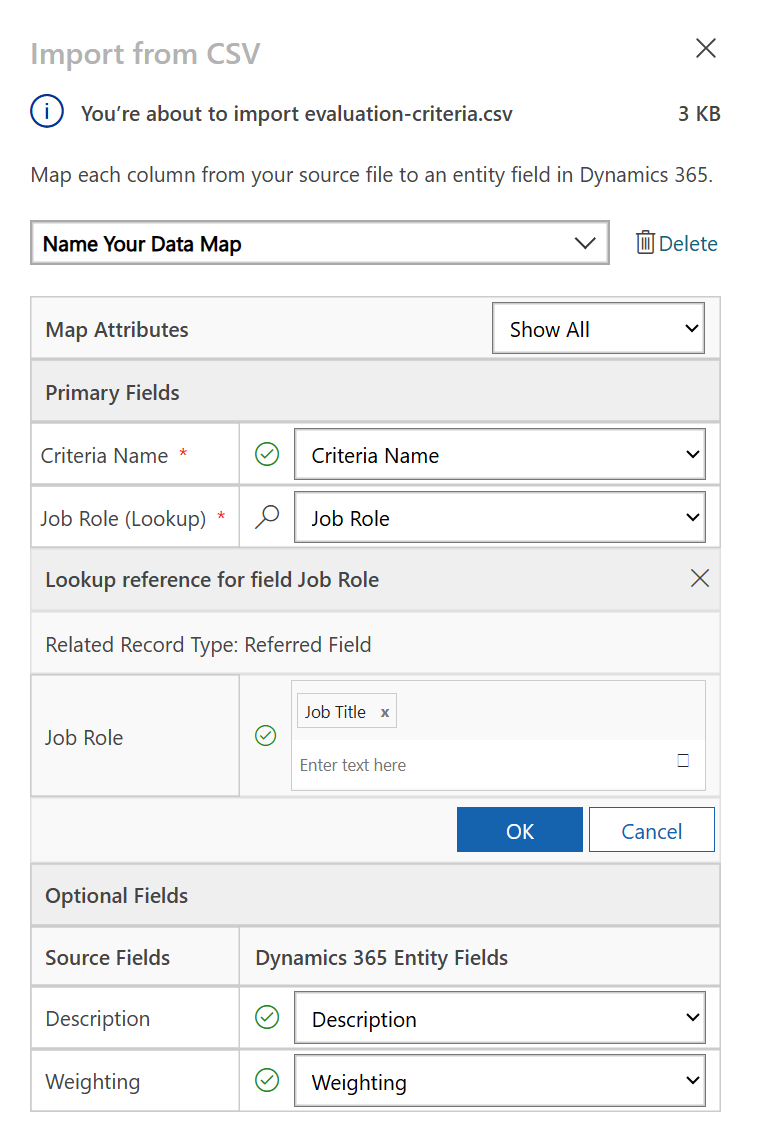
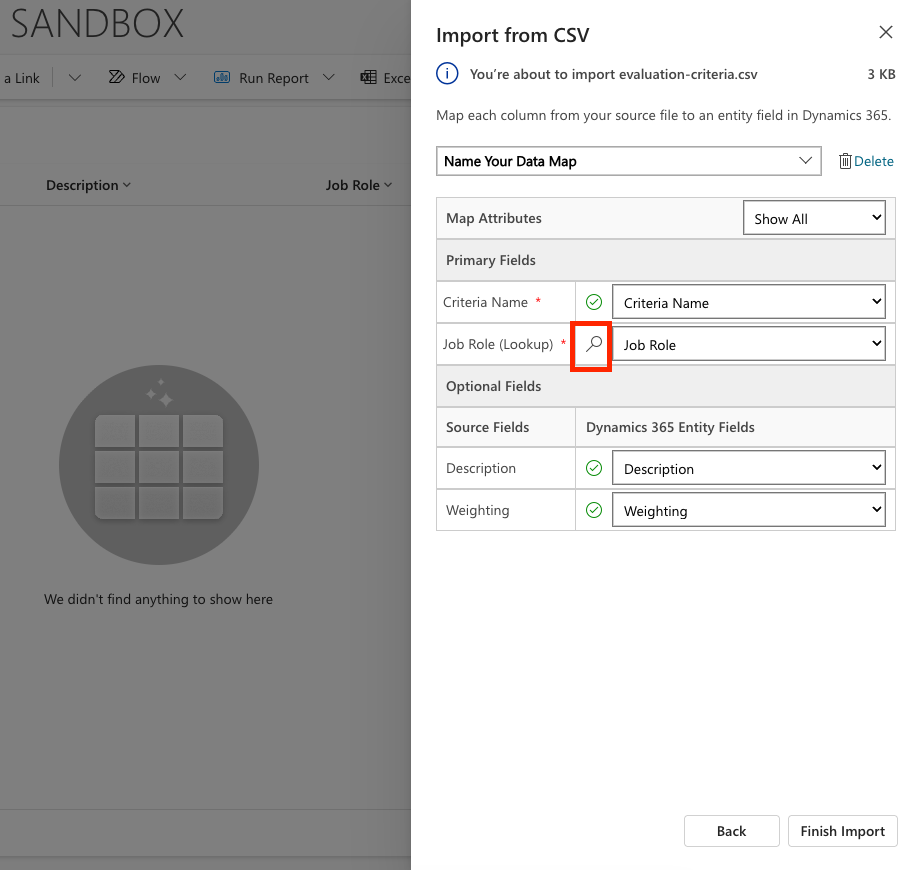
Now we have to do a bit more work for the mapping. Select the magnifying glass(🔎 icon) next to the Job Role field
Make sure Job Title is selected here, and if not - add it
Select OK
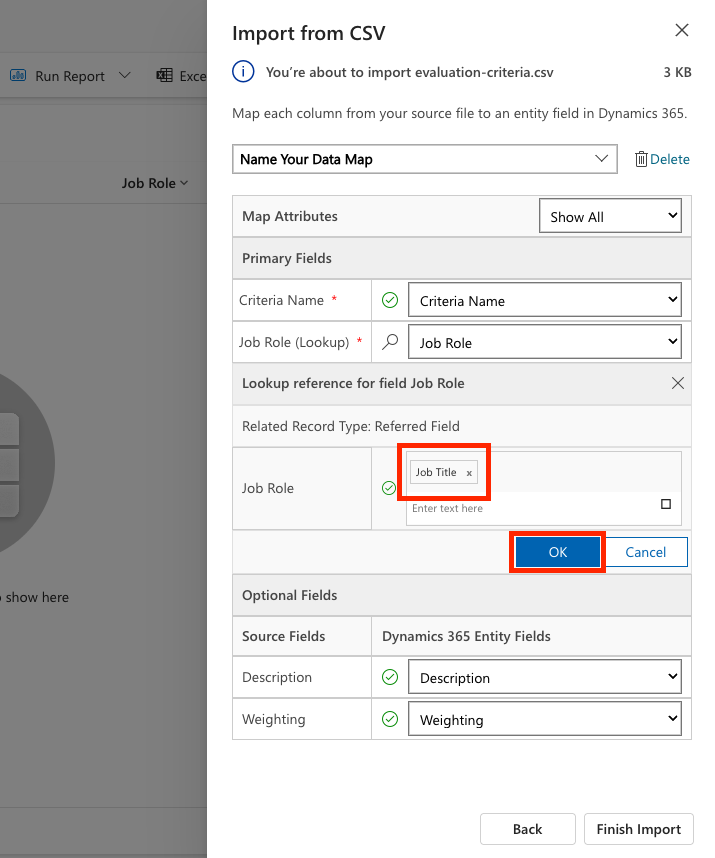
Make sure the rest of the mapping is correct too and select Finish Import
NOTE
This will start an import again and you will be able to track progress or finish the process immediately by selecting Done
Select Done
This can take a little while, but you can hit the Refresh button to see if the import has succeeded.
🧪 Lab 1.3: Create the hiring agent
Now you are done with the setup of the prerequisites, it's time for the actual work! Let's add our Hiring Agent first!
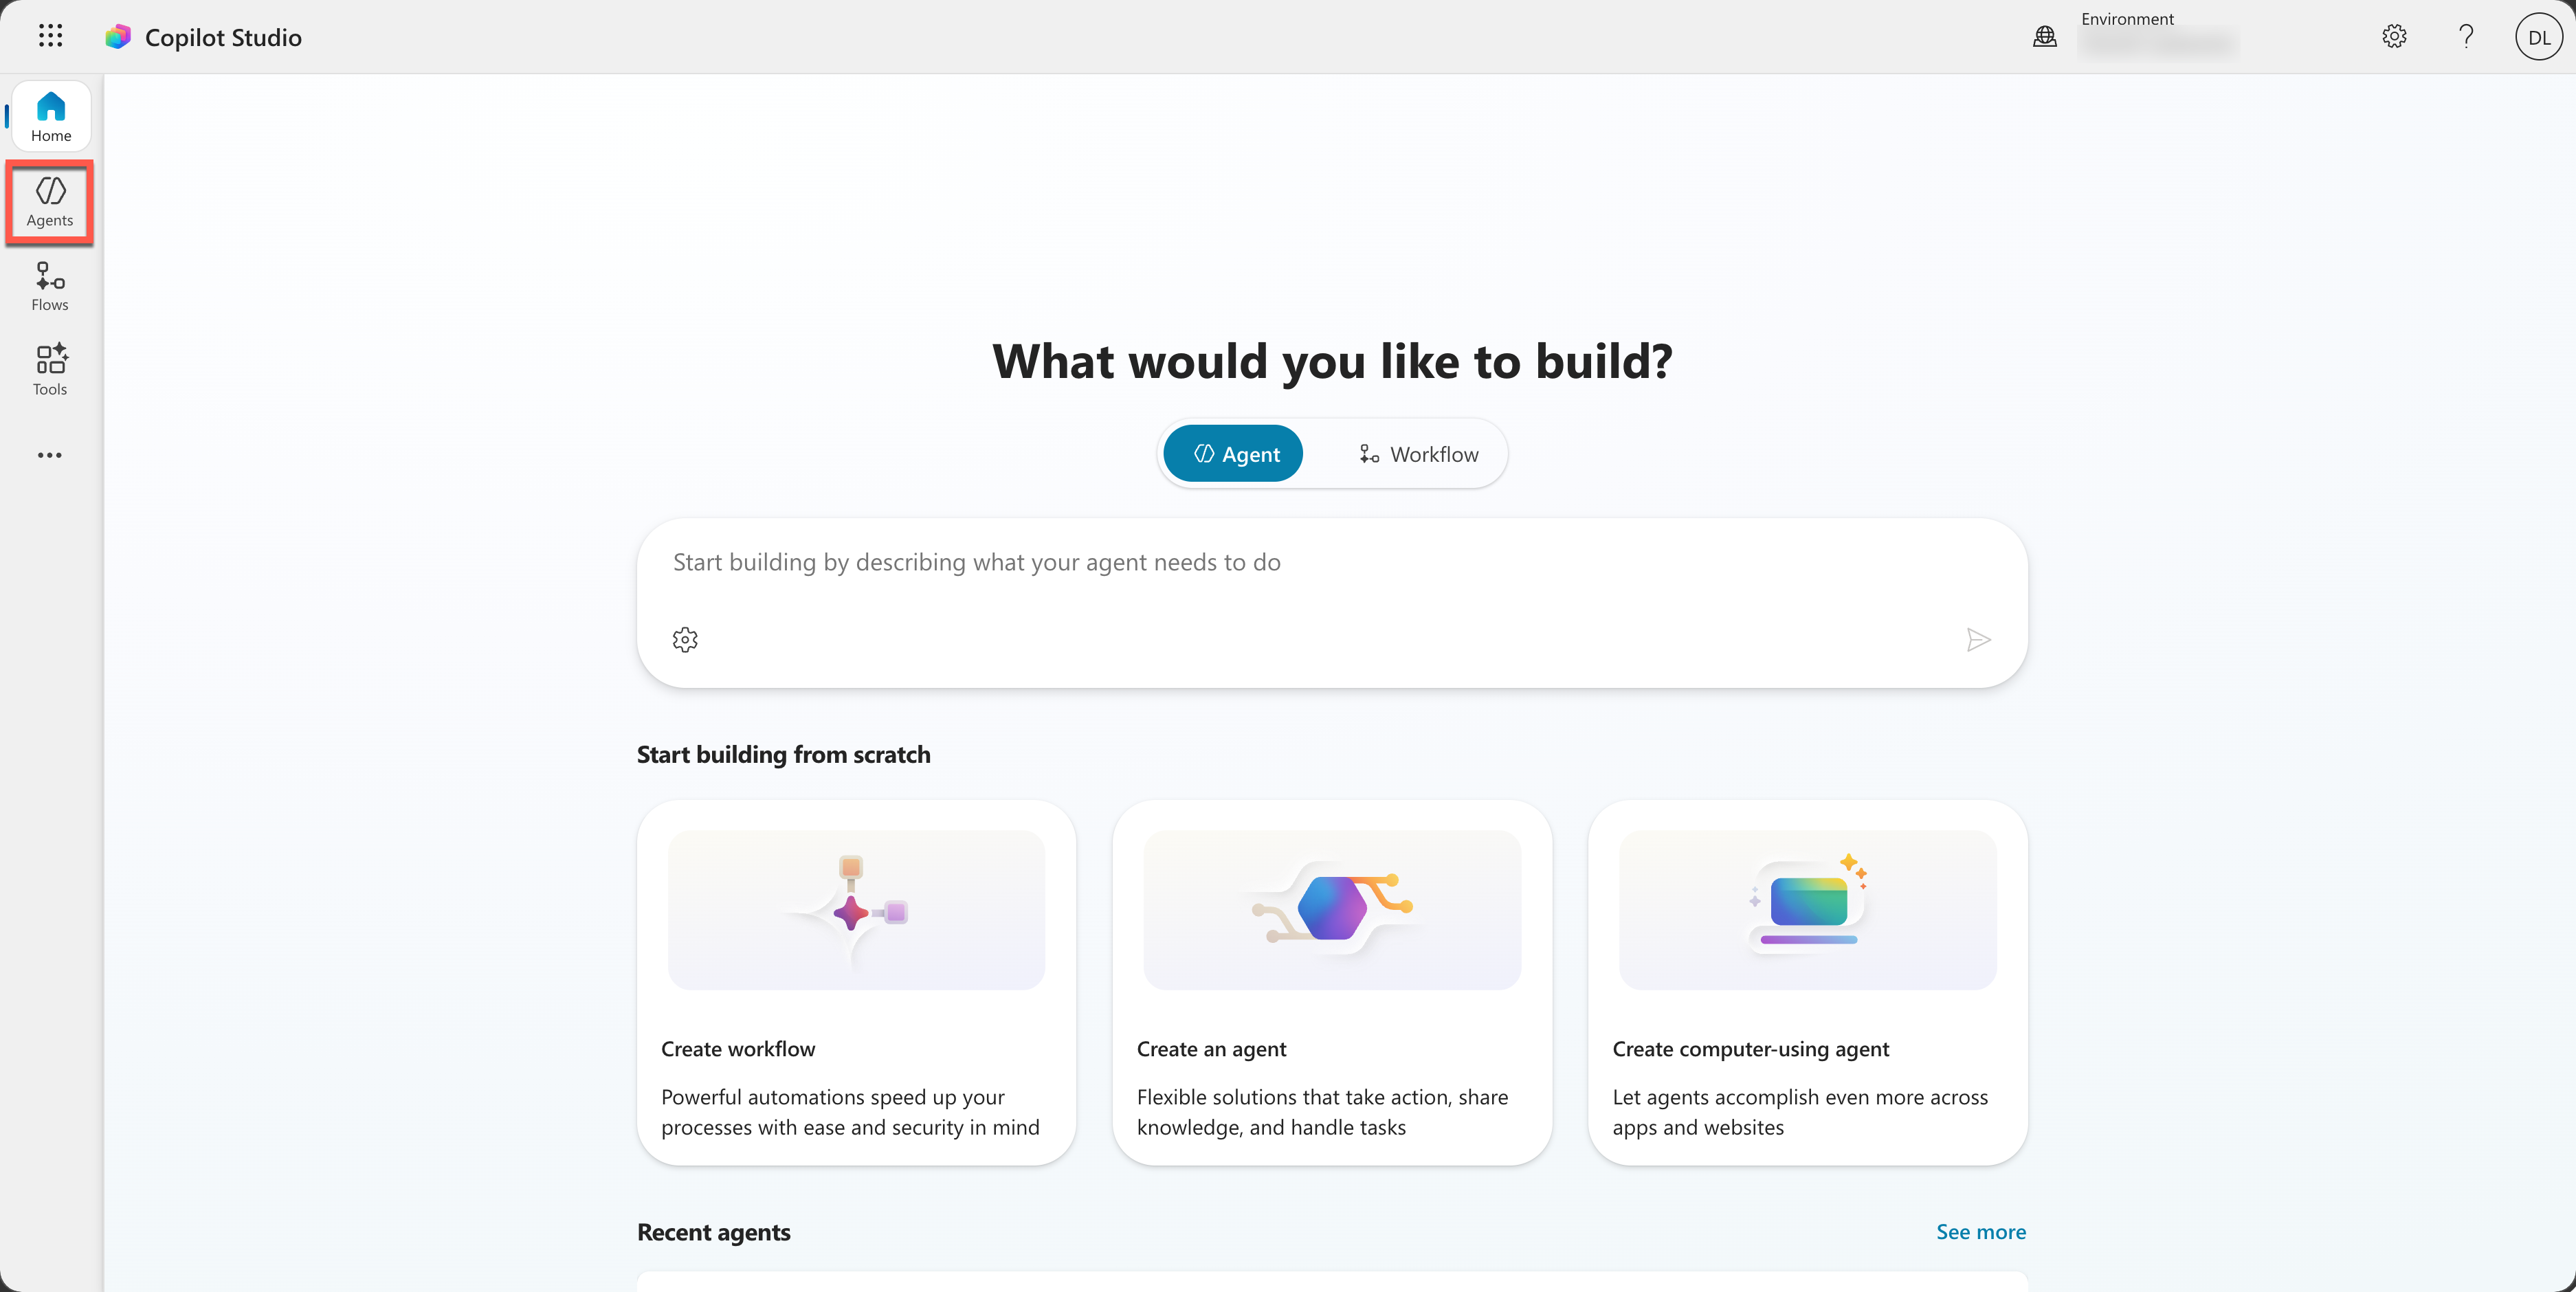
Go to Copilot Studio and make sure you are in the same environment as where you imported the solution and the data
Select Agents in the left navigation
Select the chevron down icon (arrow down) next to Create blank agent and select Advanced create

For solution, select Operative (this is the solution you just imported)
For schema name, enter hiringagent behind the ppa_ prefix

Select Confirm and create
This should create your agent in the Operative solution. It will create an agent named Agent 1. This is not a very useful name, so let's change that!
In the Details card at the top, select Edit
For Name, enter:
textHiring AgentFor Description, enter:
textCentral orchestrator for all hiring activities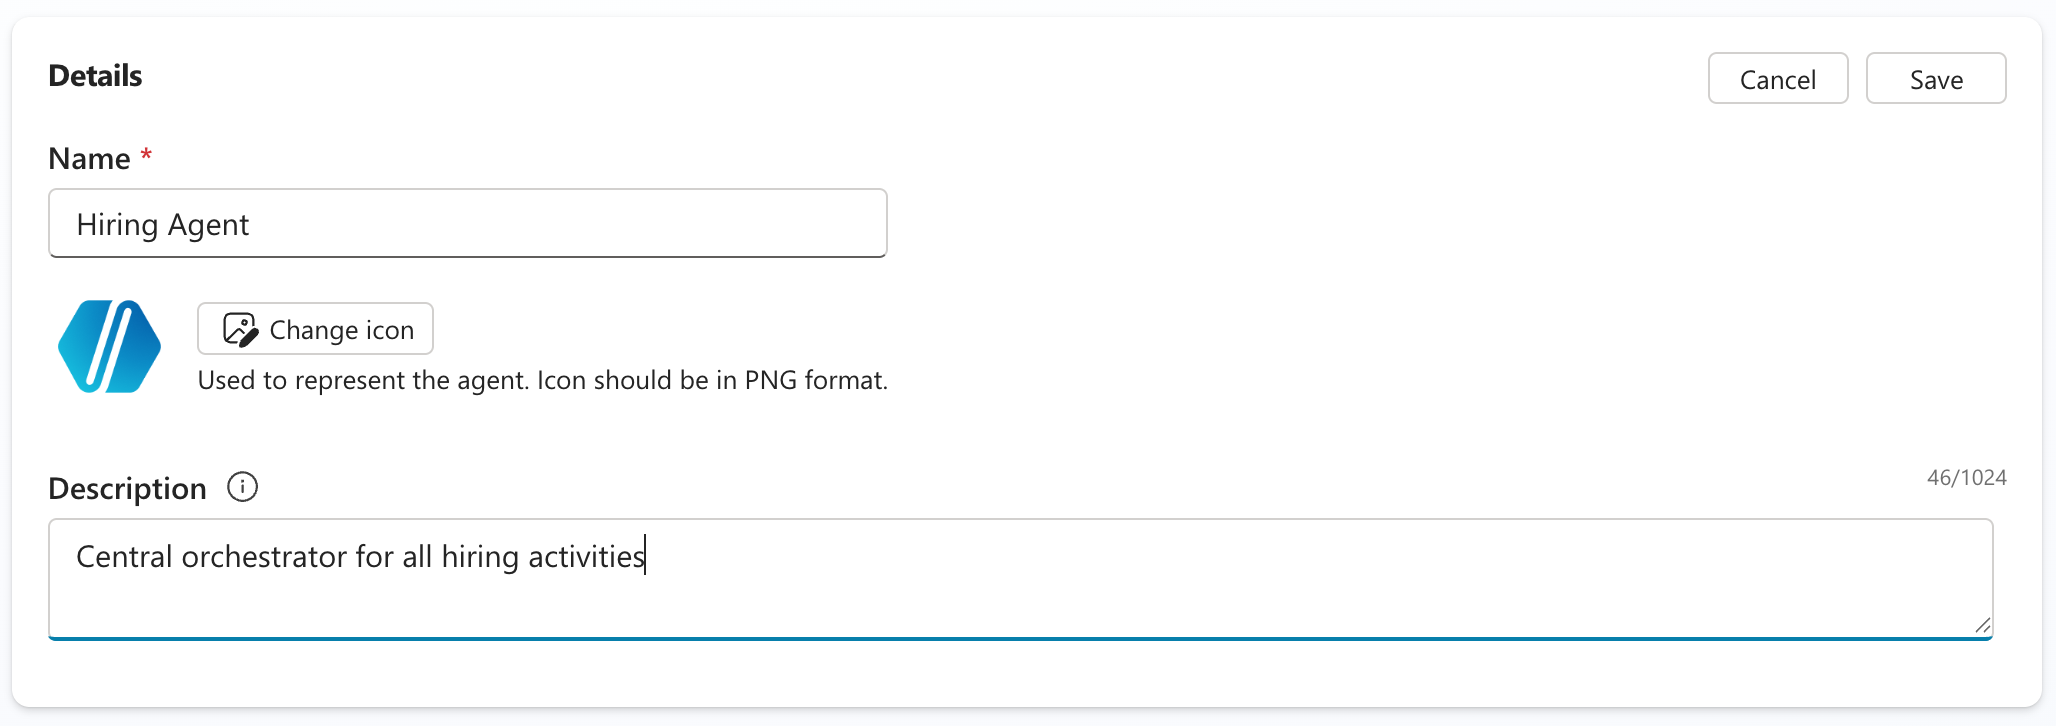
Select Save to save the agent (it might take a while before the changes are visible)
This agent you will use in other missions in the Operative course!
🎉 Mission Complete
Mission 01 is completed! You now have mastered the following skills:
✅ Scenario Understanding: Comprehensive knowledge of hiring automation challenges and the solution you will be building
✅ Solution Deployment: Successfully imported and configured the building blocks of the hiring management system
✅ Agent Creation: Built an hiring agent that is the start of the scenario you're going to build as an Agent Academy Operative
Next up is Mission 02: Agent Instructions
📚 Tactical Resources
📖 Microsoft Copilot Studio - Create an agent
📖 Microsoft Dataverse Documentation