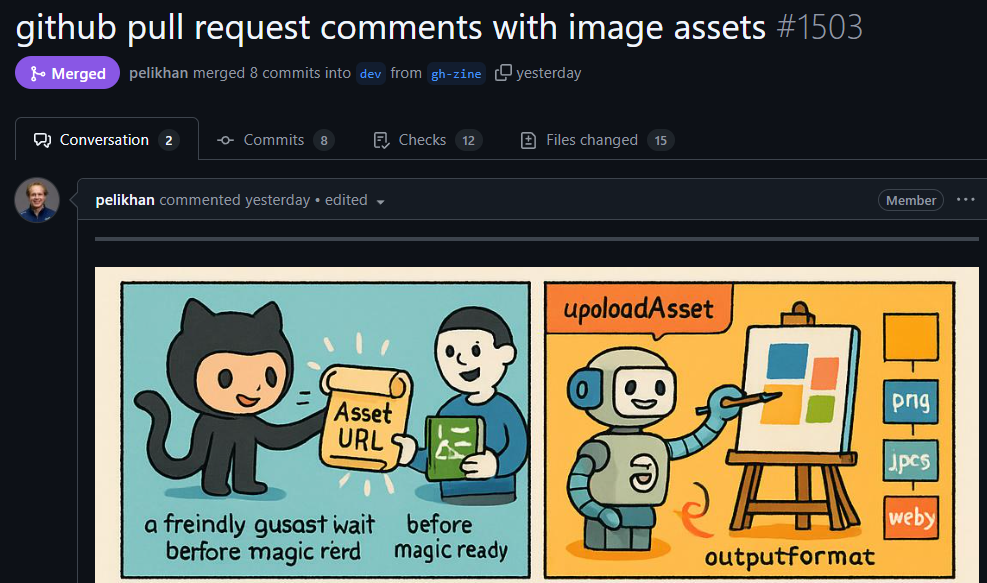
Agentic is a standard library of TypeScript AI tools are optimized for both TS-usage as well as LLM-based usage, which is really important for testing and debugging.
Agentic brings support for a variety of online APIs, like Bing, Wolfram Alpha, Wikipedia, and more.You can register any Agentic tool in your script using defTool. Here’s an example of how to use the Weather tool:
Bringing a new version of a product into the world is always exciting! But alongside the thrill comes the duty of informing users about what’s changed. That’s where generating crisp, engaging release notes comes into play. ✨
Today, we’re going to explore a script that automates the creation of release notes for GenAI. The script is part of the GenAIScript ecosystem, which harnesses the power of AI to bring efficiency to software development processes. 🚀
If you want to dive straight into the script, it’s available on GitHub right here.
The script is a .genai.mjs file, meaning it’s a JavaScript file designed to be run with the GenAIScript CLI. The code within orchestrates the creation of release notes by leveraging Git commands and GenAI’s capabilities.
Let’s walk through the script, step by step:
Step 1: Initializing the Script
The script starts by initializing with a script function. We’re setting it up to access system commands and specifying the AI model to use. The temperature controls the creativity of the AI, with 0.5 being a balanced choice.
Step 2: Setting the Product Name
Here, we’re using an environment variable to set the product name, defaulting to “GenAIScript” if it’s not provided.
Step 3: Finding the Previous Tag
We are reading the current version from package.json and using Git to find the previous release tag in the repository.
Step 4: Gathering Commits
This block runs a Git command to retrieve the list of commits that will be included in the release notes, excluding any with ‘skip ci’ in the message.
Step 5: Obtaining the Diff
Next, we get the diff of changes since the last release, excluding certain files and directories that aren’t relevant to the user-facing release notes.
Step 6: Defining Placeholders
We define two placeholders, COMMITS and DIFF, which will be used to reference the commits and diff within the prompt.
Step 7: Writing the Prompt
Finally, the script ends with a prompt that instructs GenAI to generate the release notes. It details the task, guidelines for what to include, and the style to adhere to.
How to Run the Script with Genaiscript CLI
Once you’ve crafted your script, running it is a breeze with the Genaiscript CLI. If you haven’t installed the CLI yet, you can find the instructions here.
To execute the script, navigate to your project’s root directory in the terminal and run:
Remember, we use the script filename without the .genai.mjs extension when invoking it with the CLI.
And that’s it! The GenAIScript CLI will take care of the rest, combining the power of AI with your code to generate those sleek release notes for your project’s next big launch. 🌟
In the world of open source, a well-maintained README file acts as the front door to your project. It’s often the first thing potential users and contributors see, and as such, it should be both informative and inviting. Today, we’re diving into the GenAIScript that helps keep the README of the GenAI project as fresh as a daisy! 🌼 Check out the actual script file for the details.
The script we’re analyzing is a maintenance tool designed to import relevant information from documentation and samples into the README to enhance its appeal to users. It ensures that the README is not just a static file but a vibrant, updated document that accurately reflects the features and capabilities of GenAI.
Line-by-Line Explanation
Let’s walk through the script code as if we are crafting it from the ground up:
Here, we’re defining the script’s metadata, including a description of its purpose and the tools it will utilize. The fs tool indicates file system operations will be involved.
These lines declare two important files: the README itself and a FEATURES file that contains information to be imported into the README.
In this template literal, we’re outlining the tasks for the script, including guidelines for updating the README with features, samples, and documentation links while preserving certain sections unchanged.
Finally, we specify that the output of this script will be an updated README.md file.
How to Run the Script
To execute this maintenance script, you’ll need the GenAIScript CLI. If you haven’t installed it yet, head over to the official documentation for installation instructions. Once you have the CLI ready, run the following command in your terminal:
This command will kick off the script and apply the enhancements to your README file, ensuring it’s up-to-date and user-friendly.
Conclusion
A meticulous README is a hallmark of a well-maintained open source project. With this GenAIScript, the GenAI project sets an excellent example of automating the upkeep of project documentation. Embrace the power of automation to keep your project’s welcome mat clean and welcoming. Happy coding! 👨💻👩💻
Ever wondered how to leverage the power of AI and Large Language Models (LLMs) in your projects? Look no further!
This post will introduce you to GenAIScript, a tool designed to simplify the creation of prompts and interactions with LLMs. Let’s dive in! 🌊
What is GenAIScript?
GenAIScript uses a stylized version of JavaScript to generate prompts, which are then sent to an LLM.
Scripts are stored as files (genaisrc/*.genai.mjs), executed to produce the prompt text and structured results (files, diagnostics) are extracted automatically.
Getting Started
Here’s a simple example to get you started. Create a file named poem.genai.mjs in the genaisrc folder and add the following code:
When executed, this script will generate the following prompt:
👤 User🤖 Assistant
Adding Context
GenAIScript can also use context variables, allowing you to interact with files or other data sources. Let’s see an example where we define a context variable using env.files:
Execute this script to see the generated user message and the assistant’s response. The context variable FILES will contain the list of files in the environment.
👤 User🤖 Assistant
Metadata and Script Configuration
You can add metadata to your script using the script function. This helps in organizing and configuring the script, including specifying the model and other parameters. GenAIScript supports various LLM providers, such as OpenAI, Azure OpenAI,
GitHub Models, Ollama and more.
Next Steps
Getting started guide to configure and start using GenAIScript.