Goal 0: Set up your Pi
The goal here is to set up your Raspberry Pi ready to use as an IoT device.
⏱ This will take a while, but most of it is hands-off time waiting for SD cards to be imaged or updates to be installed, so it can be done concurrently with the other goals in this workshop.
Raspberry Pi
![]()
Flash an SD card
Raspberry Pi’s use SD cards for their file system, so before you can use a Pi you will need to flash the Raspberry Pi OS onto an SD Card.
💁 It is recommended to use a clean OS to ensure you don’t get errors caused by software issues
You will need to install either Raspberry Pi OS (which contains a full desktop environment), or Raspberry Pi OS Lite. The Lite version is preferred as you won’t need the desktop, and it installs and boots faster.
🐧 Raspberry Pi OS is a variant of Debian Linux
To install Raspberry Pi OS on an SD Card, you will need to use the Raspberry Pi imager. You can download the imager from the Raspberry Pi downloads page.
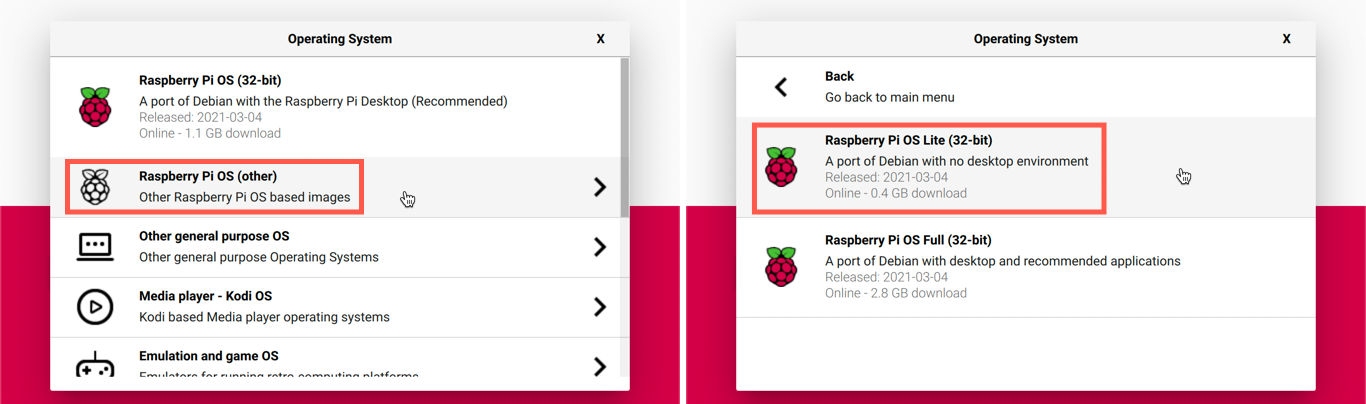
Run the imager, select the Raspberry Pi OS Lite OS, and select your SD card. Don’t select the write button yet!
💁 If the WiFi you will be using has a captive portal, or other restrictions beyond a simple SSID/password combination then you will need to install the full Raspberry Pi OS (not Lite) and connect your Pi to a keyboard/monitor/mouse to configure the WiFi.
Before you write the image, you will need to configure a few things such as the WiFi details that the Pi will use to connect. These need to be configured up front as you won’t be connecting your Pi to a keyboard/mouse/monitor, instead you will be running it headless. The Pi will need to be on the same WiFi network as at least on team members computer.
💁 If you have any issues with the hackathon WiFi, a popular fallback is to connect the Pi and one computer to a mobile hot-spot or tether to a phone.
Follow the instructions in the Raspberry Pi Imager blog post to launch the advanced settings. This setting dialog is launched by pressing Ctrl+Shift+x.
Set up the WiFi details on the Pi, ensure Enable SSH is set, set a password, and set a unique hostname. You will connect to the Pi via this hostname, so it will need to be unique - if other hackers sharing the same WiFi at this event have the same Pi name you won’t be able to log into your Pi by name and will need to connect via IP address, which adds complexity as you may need to connect your Pi to a keyboard/maouse/monitor to get this IP address. You can leave the username as pi.
💁 If the WiFi you are using has a captive portal, or other restrictions beyond a simple SSID/password combination then you will need to install the full Raspberry Pi OS (not Lite) and connect your Pi to a keyboard/monitor/mouse to configure the WiFi.
Once you have configured these options, write the image to the SD card.
⏱ This will take a few minutes, so you can work on the next goal whilst this is happening.
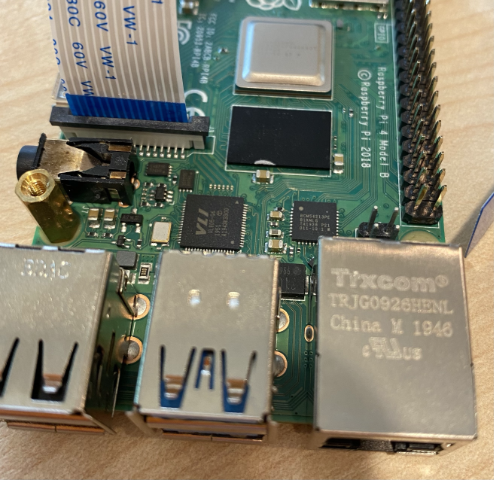
Hardware setup
When the write has completed, insert the SD card into your Pi.
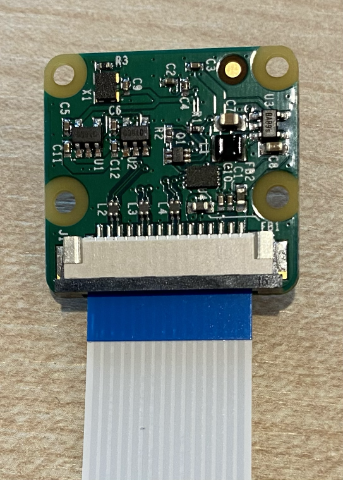
If you are using a Raspberry Pi Camera module, insert the camera into the camera socket using the ribbon cable. You can find instructions on doing this in the Raspberry Pi Getting started with the Camera Module documentation. If you are using a USB web cam, connect it to one of the USB ports on the Pi.
Connect your Pi to a power supply and turn the power on.
Configure the Pi OS
Once the Pi has booted, you should be able to SSH into the Pi using the following command:
ssh pi@<hostname>.local
Replace <hostname> with the hostname you chose for your Pi. When prompted for a password, enter the password you set in the imager.
💁 Most modern computers running a recent version of Linux or Windows should be able to find devices on your local network using the
<hostname>.localsyntax. macOS supports this out of the box. If you are using Linux or Windows and have issues, there are steps to make this work in this set of steps in IoT for beginners from Microsoft.
Once this is working, you will be able to use your Pi.
💁 If you have any issues connecting, you can install the full Raspberry Pi OS (not Lite) and connect your Pi to a keyboard/monitor/mouse to configure the WiFi, and get the IP address of the Pi, then connect using that.
You will need to update your Pi, and install some software that interacts with cameras, as well as some Python tools. Run the following code on the Pi:
sudo apt update && sudo apt full-upgrade --yes
sudo apt install --yes libatlas-base-dev libjasper-dev libhdf5-dev libhdf5-serial-dev libqtgui4 libqt4-test
sudo apt install --yes python-opencv python3-opencv
sudo apt install --yes python3-dev python3-pip
sudo raspi-config nonint do_camera 0
sudo reboot
These commands will update all the software on the Pi, install some libraries for interacting with images, turn the Pi’s camera port on, then reboot the Pi. Once the install is finished, your SSH session will end as the Pi reboots.
⏱ This will take a few minutes, so you can work on the next goal whilst this is happening.
Connect using VS Code
To make it easier to program the Pi, including copying source code onto the device, you can use VS Code. You can connect VS Code remotely to the Pi over SSH, and work as if you were running locally.
Follow the instructions in the VS Code remote development using SSH documentation to connect VS Code to your Pi.
Next challenge
Once your Pi is ready, it’s time to train the ML model.