Visualizing Results with PowerBI
This page explains how the data in PowerBI is filtered to show “today’s” patient population, and shows how to update the cached data with data from your SQL Server.
Dashboard Details
This dashboard uses data for the hospital over the course of a year. For planning purposes, there would be new data incoming each day from the production pipeline. We have simulated this in the current file by selecting a date in our static data to represent “today”. The variable ScoredData[Today] represents this arbitrary date: Today = DATEVALUE("4/1/2012"). If you were instead using live data, the calculation would use the TODAY() function: Today = TODAY().
Once Today has been created, a second variable is calculated. A patient is in the hospital today if they have been admitted and have not yet been discharged: HereToday = ([admitdt] < [Today] ) && ([dischargedt] > [Today]).
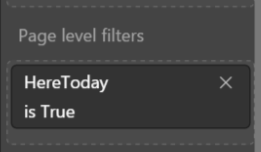
Finally, the dashboard pages are filtered to display only data for patients that are here today.
Configure PowerBI to Access Data
In order to replace the cached data with data from your SQL Server, follow the steps below.
First, try refreshing the data using the Refresh button on the toolbar.
Use your Windows credentials and allow an insecure connection if prompted.
If this does not work, you may need to modify the connection information by using the steps below.
-
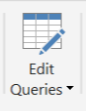
Open the
Hospital Dashboard.pbixfile in the Hospital folder. Click onEdit Queriesin the toolbar.
-
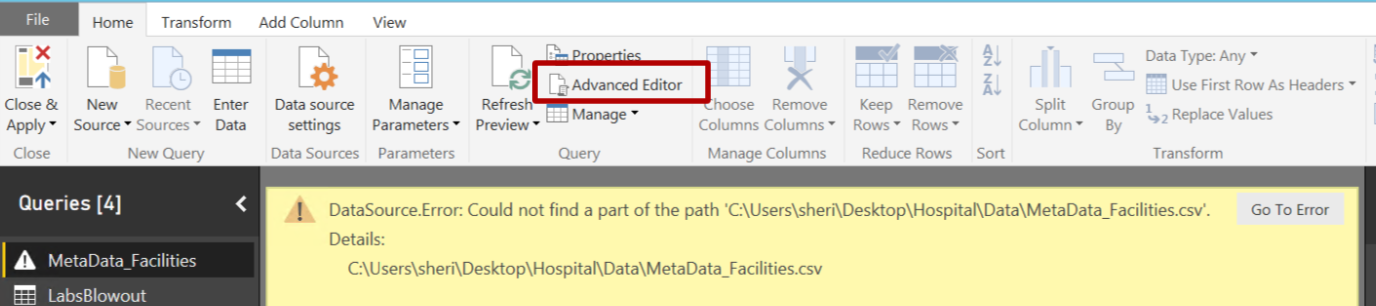
In the Query Editor, with the first Query selected (Metadata_Facilities), if the data table does not appear, click on the
Advanced Editor.
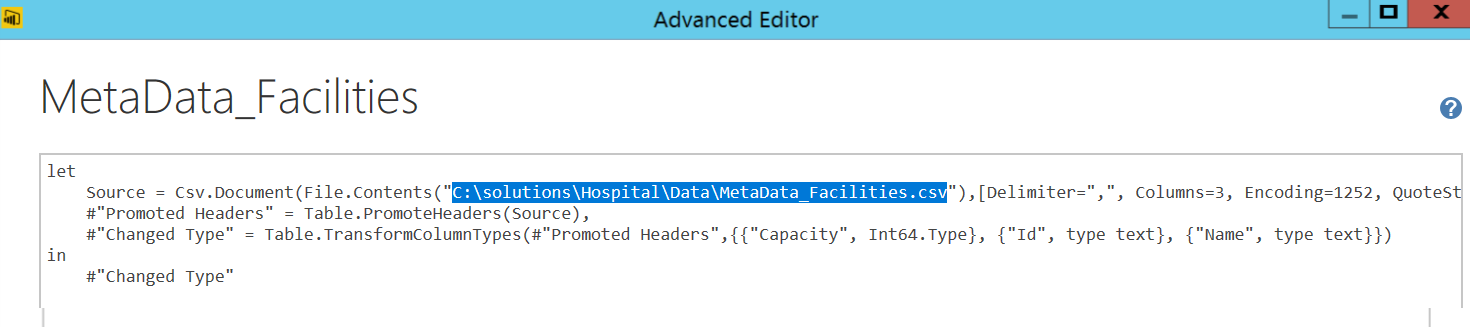
 In the dialog, replace the pathname with the the path from your computer. Click
 Doneon the dialog.
-
(Skip this step if your SQL Server is on the same machine as your PowerBI file.) If you are connecting to a SQL Server on a different machine, in the next three queries replace “localhost” with the SQL Server IP address. For now, ignore the permission alerts.

-
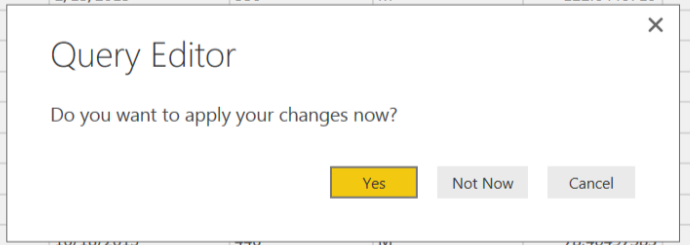
Next, click on
CloseandApply. If prompted, selectYes.
-
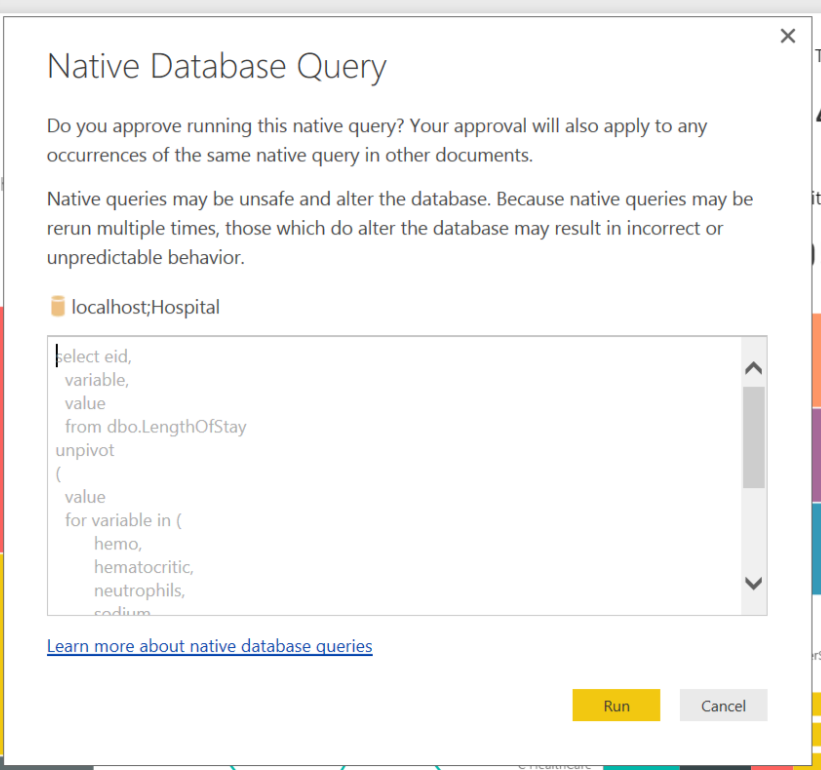
You may be prompted one or more times for permission to Run Native Database Queries. If you don’t see this, select
Refreshin the Dashboard window.

-
Once you see the Run Native Database Queries, select
Run.
-
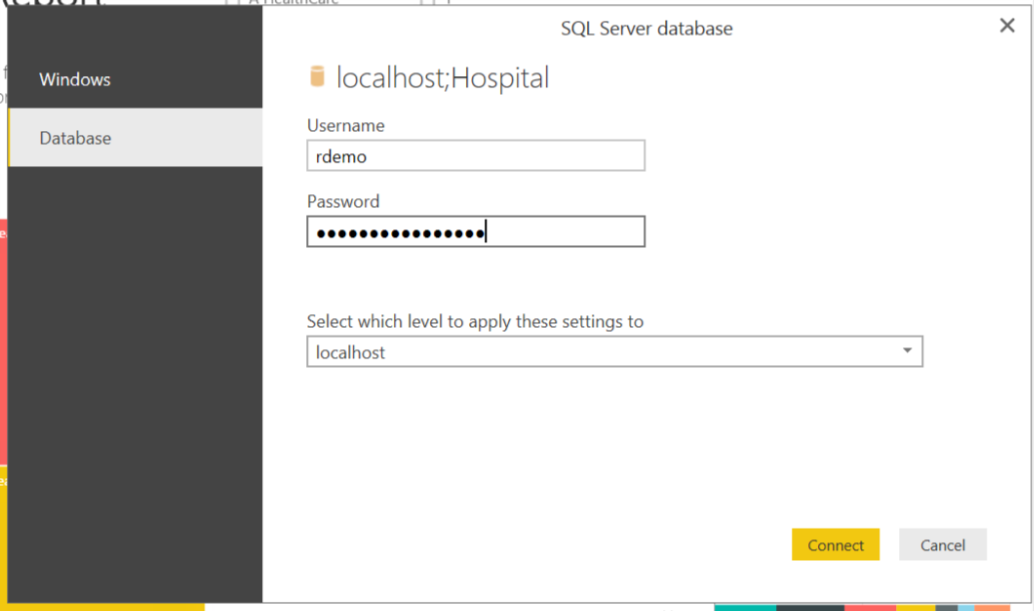
If prompted to login, select Database in the dialog and enter your login details.
-
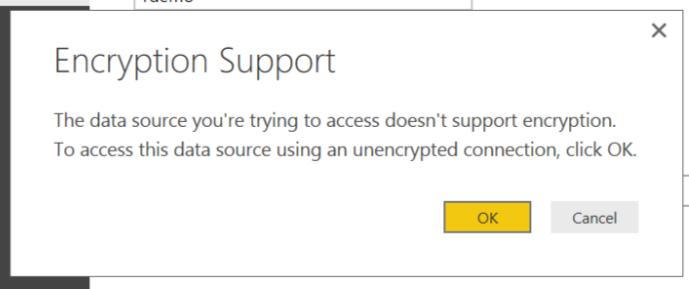
Finally select
OKto the encription alert.
-
You may see more than on of the Run Database Queries dialogs. Continue to select
Runon each; you will no longer have to supply login information. -
You are now viewing data from your SQL Database, rather than the imported data that was part of the initial solution package. Updates from the SQL Database will be reflected each time you hit
Refresh.