SSO Setup
This section describes how to configure the Azure Bot Service (ABS), the Entra App Registration and the Teams manifest to enable Single-Sign-On (SSO) for your Teams app.
Create the Entra App Registration
You need an Entra ID App Registration to configure the OAuth Connection in Azure Bot Service. This can be the same EntraId app registration you used to configure your ABS resource or a new App created just for this purpose. You can create the App Registration from the Azure portal, or the CLI, the next list summarizes the creation steps from the portal.
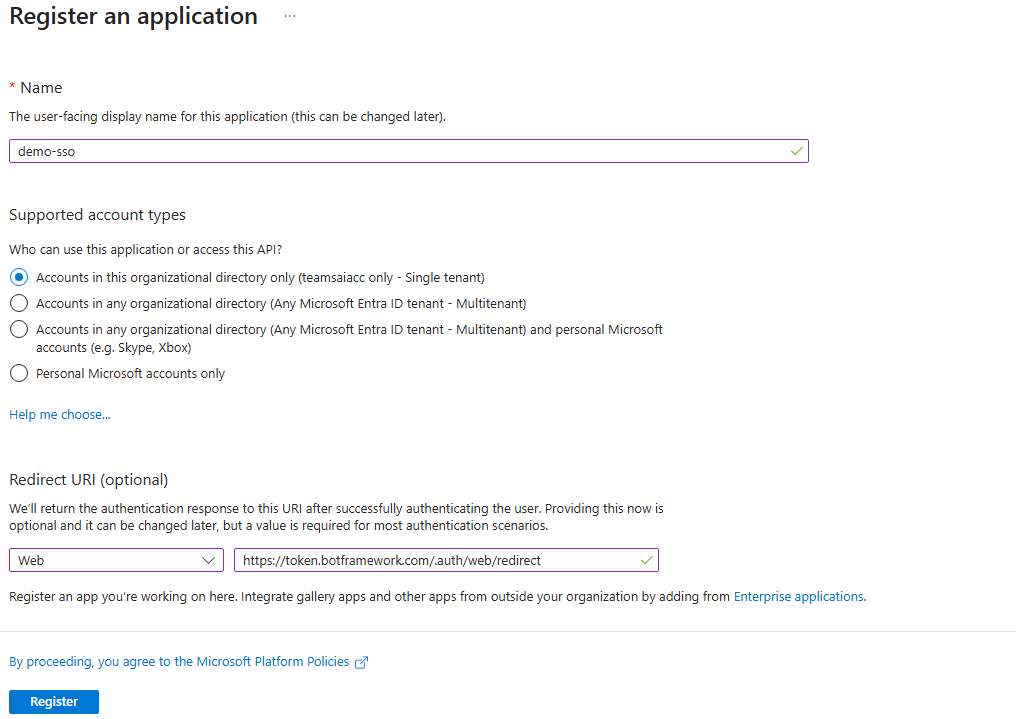
- Use the existing App registration, or Create a new App registration from the Entra Id section in the Azure portal. Now you have an Application Id (also known as Client ID) and a Tenant Id.
- Provide a name for the app registration, select SingleTenant, and for the Redirect URI select the platform Web and add the value
https://token.botframework.com/.auth/web/redirect
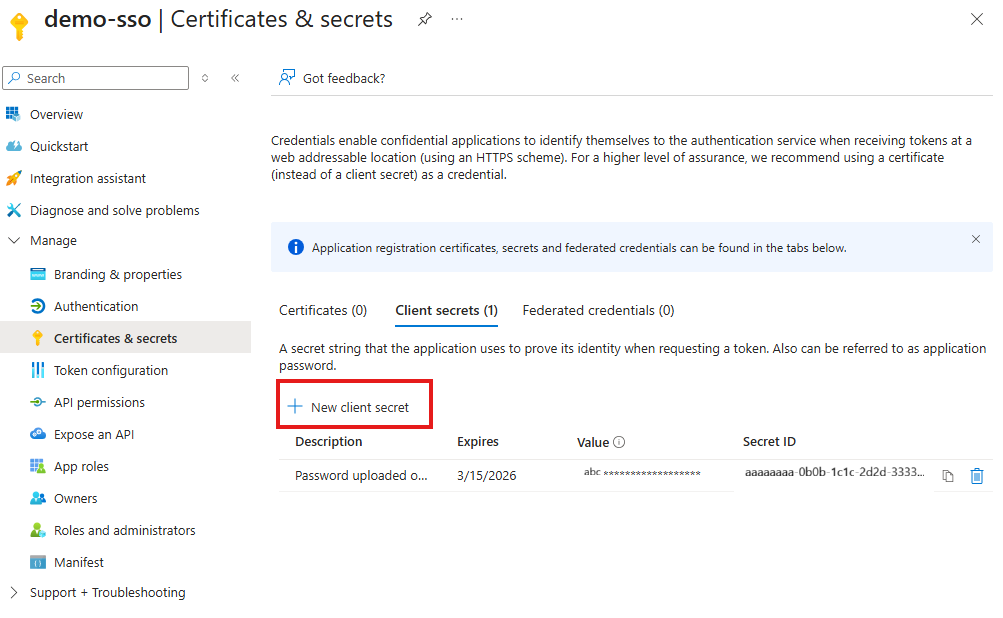
- Add a new client secret. From
Certificates & secrets, selectClient secretsand addNew client secret. Take note of the secret as you will need the value later on this guide.
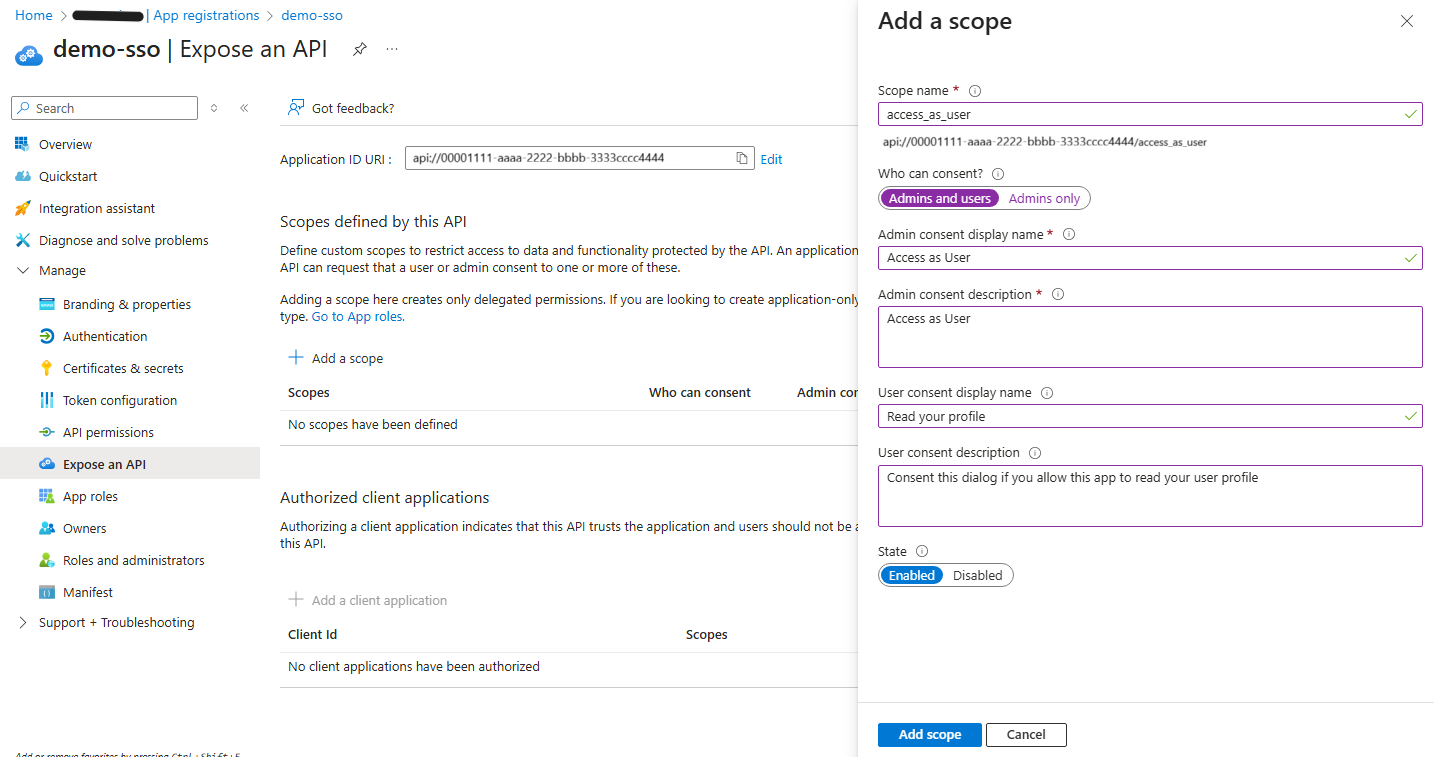
- Configure the API. From
Expose an API, ClickAddto Application ID URI and accept the default value that will look likeapi://<Your-Application-Id>. Add the scopeaccess_as_userand select who can consent.
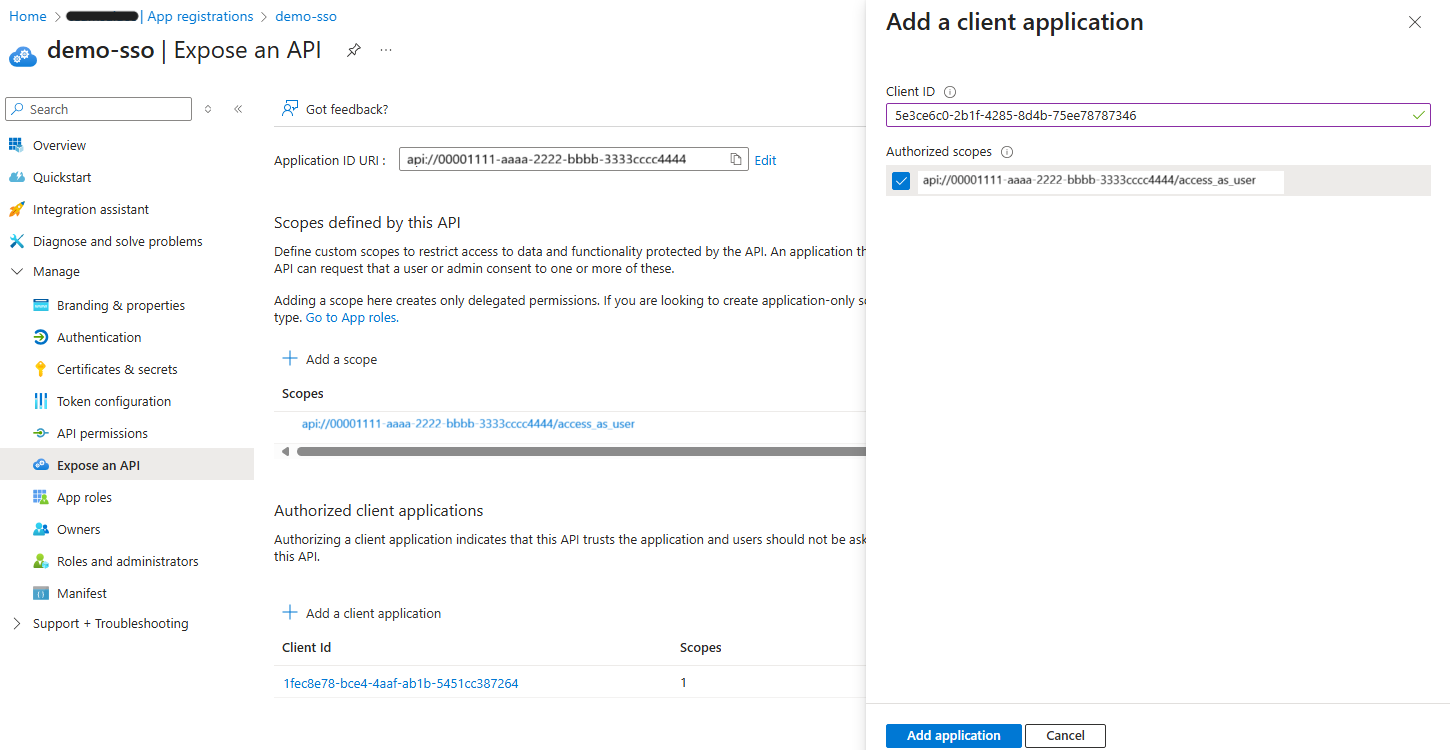
- Authorize the client applications for SSO. To enable the Teams clients, desktop and web, to perform the SSO flow you must add the next client applications to the scope defined before: Teams Desktop
1fec8e78-bce4-4aaf-ab1b-5451cc387264and Teams Web5e3ce6c0-2b1f-4285-8d4b-75ee78787346
Configure the Entra App Registration with the CLI
#!/bin/bash

az ad app update --id $appId --web-redirect-uris "https://token.botframework.com/.auth/web/redirect"
az ad app update --id $appId --identifier-uris "api://$appId"
# TODO: add oauthpermission settings and client applications.
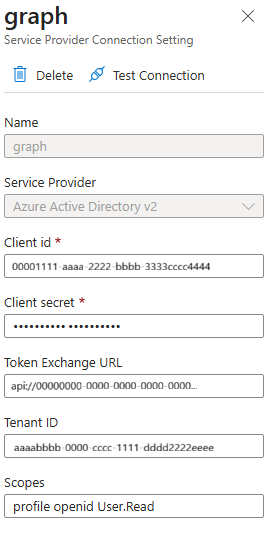
Create the OAuth connection in Azure Bot Service
You need to add a new OAuth connection to your Azure Bot Service resource.
- From the Bot service resource in the Azure Portal, navigate to
Settings/ConfigurationandAdd OAuth Connection settings. - Provide a name for your connection e.g.
graph, and select the Service ProviderAzure Active Directory v2 - Populate the
TenantId/ClientId/ClientSecretfrom the values obtained in the previous section steps 2 and 3. Configure the Token Exchange URL with the Application ID URI configured in step 4, and add the Scopes you need e.g.User.Read
Create the OAuth connection using the Azure CLI
#!/bin/bash

az bot authsetting create \
  --resource-group $resourceGroup \
  --name $botName \
  -c "graph" \
  --client-id $appId \
  --client-secret $clientSecret \
  --provider-scope-string "User.Read" \
  --service "Aadv2" \
  --parameters "clientId=$appId" "clientSecret=$clientSecret" "tenantId=$tenantId" "tokenExchangeUrl=api://$appId"
Configure the App Manifest
The Teams application manifest needs to be updated to reflect the settings configure above, with the Application Id and Application ID URI, if not using devtunnels, replace the valid domain with the domain hosting your application.
"validDomains": [
    "*.devtunnels.ms",
    "*.botframework.com",
 ],
 "webApplicationInfo": {
    "id": "<Your-Application-Id>",
    "resource": "api://<Your-Application-Id>"
  }