Human-in-the-Loop Custom Connector
A custom connector that pauses a Copilot Studio agent or Power Automate flow and waits for a human to respond via a web console. When the human submits their response, the agent or flow resumes with the data.
Overview
This sample shows how to build a custom connector that uses the webhook action pattern — the same pattern used by the Teams “Post adaptive card and wait for a response” action. When a flow or agent calls this connector, execution pauses until a human responds through the web console.
The solution includes:
- Custom Connector — a Power Platform solution with the connector and an environment variable for the host URL
- Node.js Backend — receives requests from the connector, presents them in a web console, and calls back when a human responds
sequenceDiagram
    participant Agent as Copilot Studio / Power Automate
    participant PP as Power Platform
    participant Server as HITL Backend
    participant Human as Human (Browser)

    Agent->>PP: Call "Request human input"
    PP->>Server: POST /api/requests/$subscriptions<br/>(with notificationUrl)
    Server-->>PP: 201 Created
    PP-->>Agent: Paused — waiting for callback

    Server->>Human: Show request in web console
    Human->>Server: Fill in form + Submit
    Server->>PP: POST notificationUrl<br/>(response data)
    PP->>Agent: Resume with human's response
Prerequisites
- Node.js 18+
- devtunnel CLI — Install instructions
- A Power Platform environment with Copilot Studio
Setup
Step 1: Start the backend
node setup.js
The script installs dependencies, creates a public dev tunnel, starts the server, and prints the tunnel host URL. Keep it running.
Step 2: Import the solution
- Go to make.powerapps.com → Solutions → Import
- Upload
solution/customHIL_1_0_0_3.zip - When prompted, set the HitlHostUrl environment variable to the tunnel host URL printed by the script (e.g.
hitl-sample-3978.uks1.devtunnels.ms)
Step 3: Create a flow using the connector
- In Copilot Studio, create a new topic
- Add the Human-in-the-Loop connector as an action
- Configure the action with a title, message, and optionally assign it to someone

Step 4: Test it
- Trigger the agent or flow — it will pause at the “Request human input” step
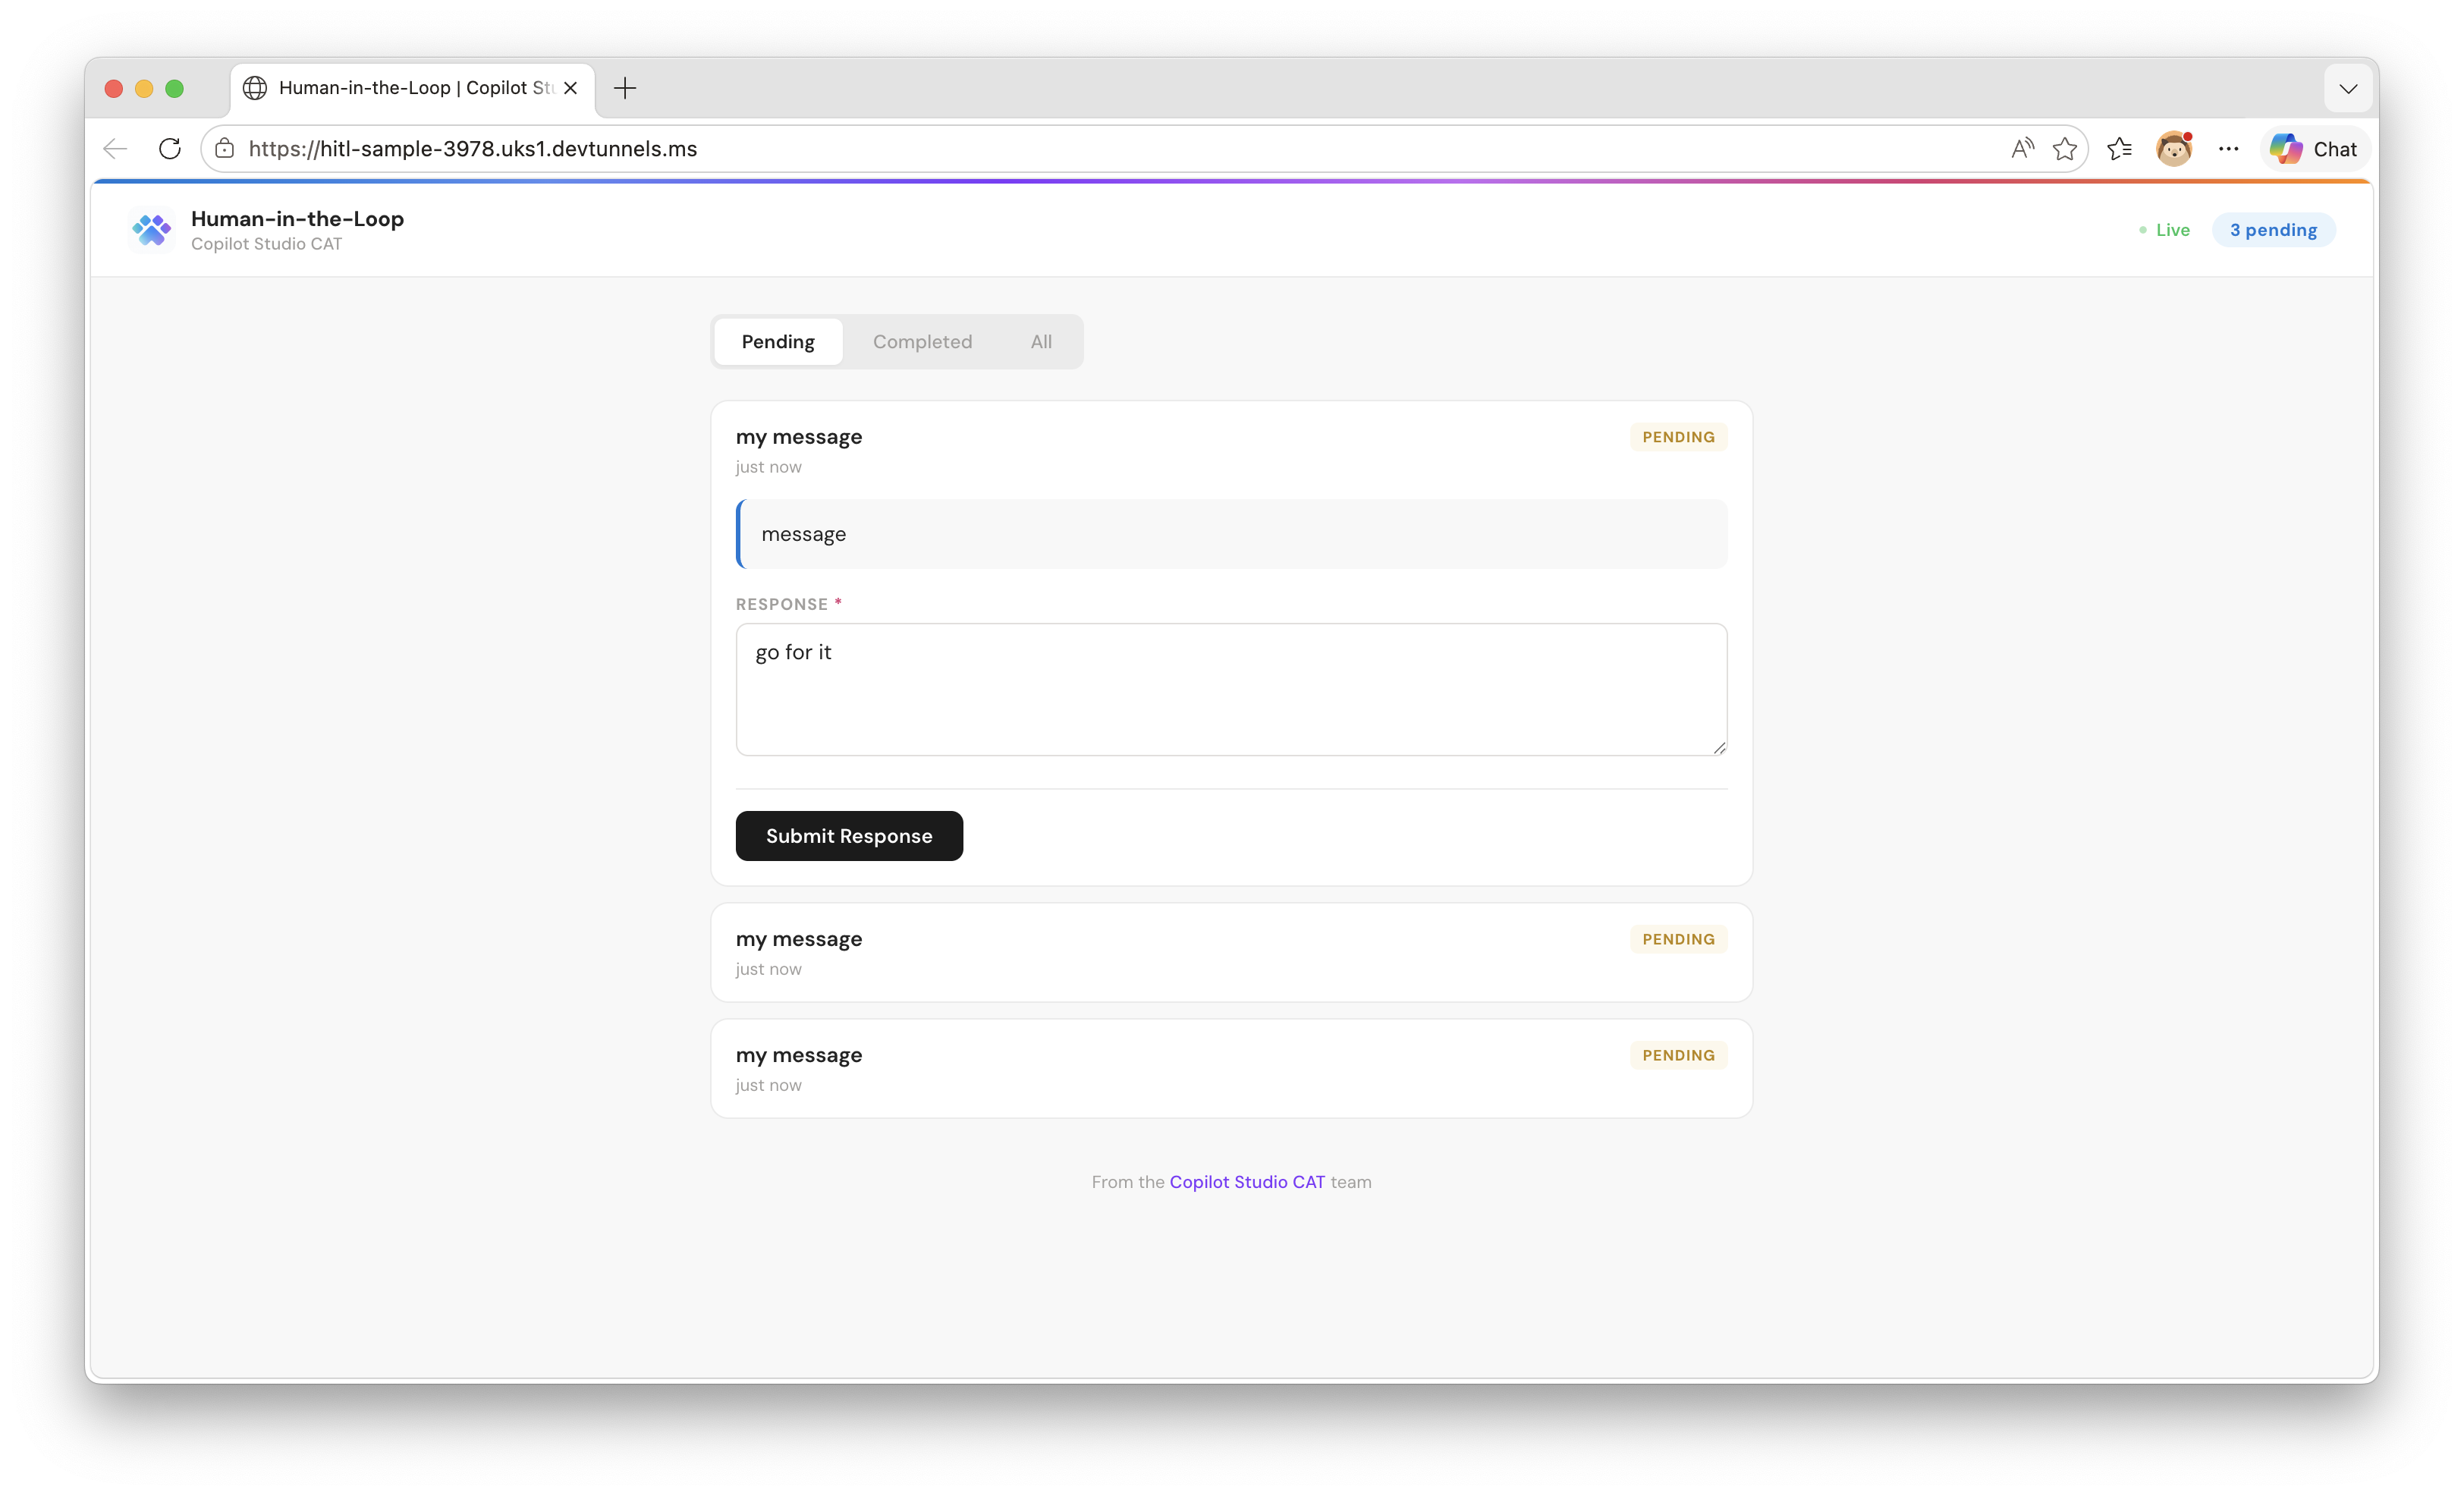
- Open the tunnel URL in a browser to see the web console
- The request appears in the console — fill in the form and click Submit Response
- The agent or flow resumes with the human’s response
How the Webhook Action Pattern Works
The connector uses x-ms-notification-url in its OpenAPI definition to create a webhook action. When Power Platform calls the connector:
- The platform generates a callback URL and injects it into the
notificationUrlfield - The backend stores the request and returns 201 Created
- The flow pauses — it dehydrates and consumes no resources while waiting
- When the human responds, the backend POSTs to
notificationUrl - The flow resumes with the response data from
x-ms-notification-content
The key part of the OpenAPI definition:
/api/requests/$subscriptions:
  x-ms-notification-content:
    description: Human's response
    schema:
      type: object
      properties:
        responseText:
          type: string
  post:
    operationId: RequestHumanInput
    parameters:
      - name: body
        schema:
          properties:
            notificationUrl:
              type: string
              x-ms-notification-url: true
              x-ms-visibility: internal
            body:
              # ... user-visible fields (title, message, inputs)
    responses:
      '201':
        description: Created
The DELETE /api/requests/{id} endpoint handles webhook unsubscribe when a flow is cancelled.
Project Structure
human-in-the-loop/
├── server.js                      # Express backend
├── public/index.html              # Web console UI
├── connector/
│   ├── apiDefinition.swagger.json # OpenAPI definition
│   └── apiProperties.json         # Connector metadata
├── solution/
│   ├── customHIL_1_0_0_3.zip     # Importable Power Platform solution
│   └── unpacked/                  # Unpacked with pac solution unpack
├── setup.js                       # Setup script (cross-platform)
├── test-local.js                  # Local test harness
└── docs/
    ├── console.png                # Console screenshot
    └── flow.png                   # Flow screenshot
Local Testing (No Power Platform Required)
# Terminal 1: Start the backend
npm install && npm start

# Terminal 2: Simulate a connector call
node test-local.js

# Browser: Open http://localhost:3978
The test script starts a mock callback server, sends a sample request, and waits for you to respond in the browser.
Production Considerations
This is a sample. For production use, consider:
- Persistent storage — replace the in-memory Map with a database
- Authentication — add OAuth or API key to the connector and web console
- Authorization — validate that the person responding is authorized
- Notifications — push alerts when new requests arrive
- HTTPS hosting — deploy to Azure App Service, Container Apps, etc.