Quickstart
Get started with Teams SDK quickly using the Teams Developer CLI.
Set up a new project
Prerequisites
- .NET v8 or higher. Install or upgrade from dotnet.microsoft.com.
Instructions
Install the Teams Developer CLI
Install teams globally:
npm install -g @microsoft/teams.cli
teams --version
The Teams Developer CLI is the command-line tool for scaffolding, registering, and managing Teams apps.
Creating Your First Agent
Let's begin by creating a simple echo agent that responds to messages. Run:
teams project new csharp quote-agent --template echo
This command:
- Creates a new directory called
QuoteAgent. - Bootstraps the echo agent template files into your project directory.
The
echotemplate creates a basic agent that repeats back any message it receives - perfect for learning the fundamentals.
Running your agent
- Navigate to your new agent's directory:
cd QuoteAgent/QuoteAgent
- Install the dependencies:
dotnet restore
- Start the development server:
dotnet run
- In the console, you should see a similar output:
info: Microsoft.Hosting.Lifetime[14]
      Now listening on: http://localhost:3978
info: Microsoft.Hosting.Lifetime[0]
      Application started. Press Ctrl+C to shut down.
The HTTP server is now listening on port 3978. To test your agent locally without sideloading it into Teams, use the Microsoft 365 Agents Playground.
- SDK 2.0 (Legacy)
- SDK 2.1 (current)
The playground sends unauthenticated requests, which a default builder.AddTeams() rejects when no credentials are configured. For local testing, enable skipAuth so your agent accepts them:
builder.AddTeams(skipAuth: true);
Only use skipAuth for local development — never in production, as it disables inbound request authentication.
The playground sends unauthenticated requests, and SDK 2.1 rejects them by default. For local testing, enable DangerouslyAllowUnauthenticatedRequests in your launch settings:
{
  "profiles": {
    "https": {
      "environmentVariables": {
        "AzureAd__DangerouslyAllowUnauthenticatedRequests": "true"
      }
    }
  }
}
Only use DangerouslyAllowUnauthenticatedRequests for local development — never in production, as it disables inbound request authentication.
Install the playground globally:
npm install -g @microsoft/m365agentsplayground
Then, with your agent still running, open a second terminal and launch the playground pointed at your agent:
agentsplayground -e http://localhost:3978/api/messages -c emulator
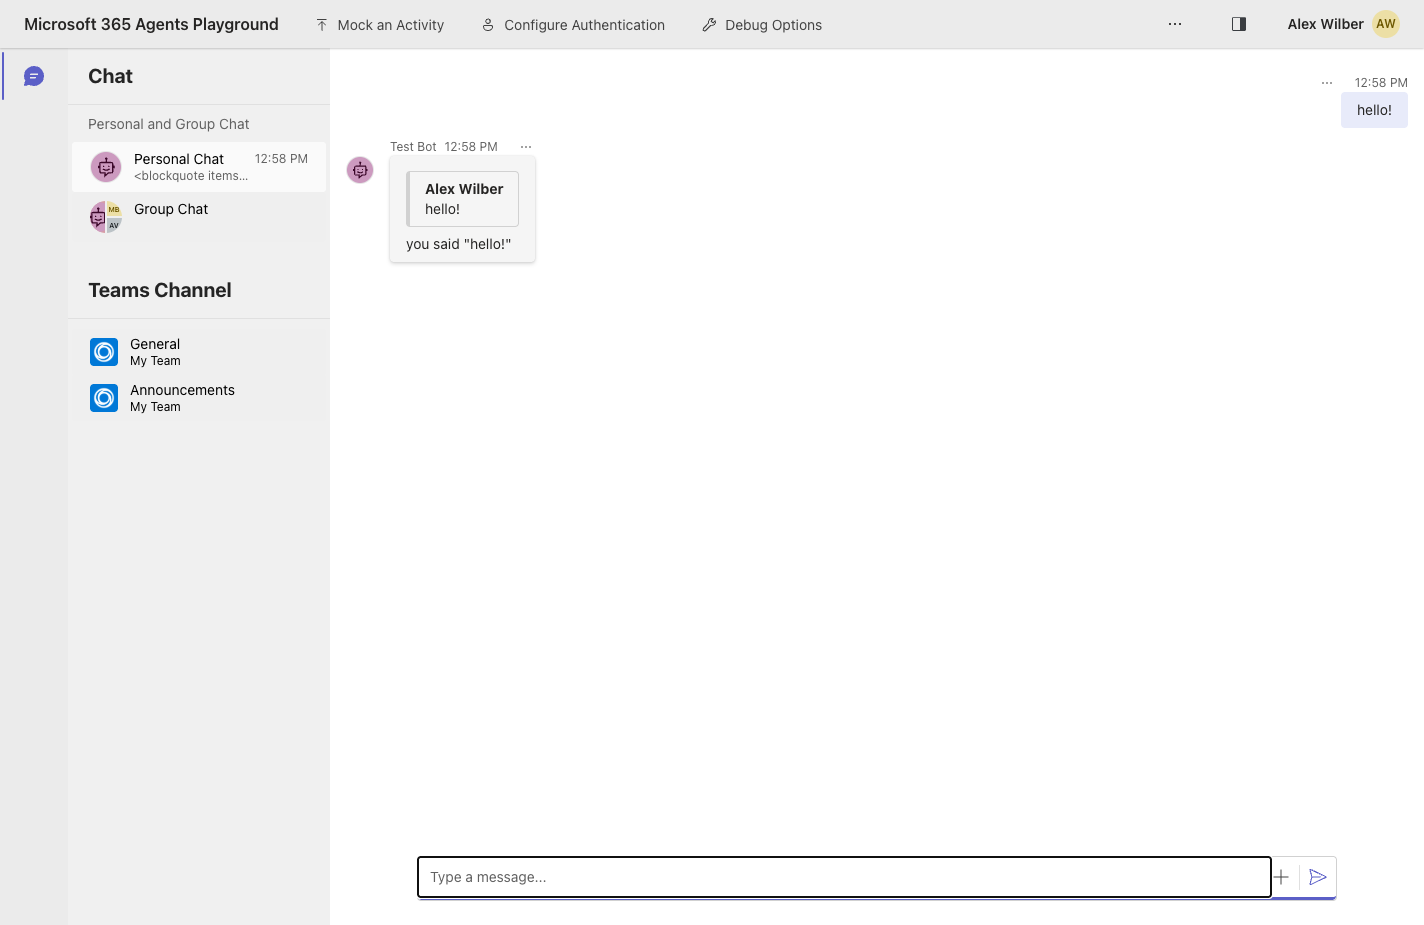
The playground opens at http://localhost:56150. Send a message in the compose box and your agent's reply renders inline.
Add to an Existing Project
If you already have a project and want to add Teams support, install the SDK directly:
dotnet add package Microsoft.Teams.Apps
// Then register the Teams services on your existing app.
using Microsoft.Teams.Apps;

var builder = WebApplication.CreateBuilder(args);
builder.Services.AddTeamsBotApplication();
var app = builder.Build();

// Maps POST /api/messages onto your existing ASP.NET Core app
TeamsBotApplication teams = app.UseTeamsBotApplication();

teams.OnMessage(async (context, cancellationToken) =>
{
    await context.SendAsync($"you said: {context.Activity.Text}", cancellationToken);
});

app.Run();
app.UseTeamsBotApplication() registers the Teams endpoint onto your existing ASP.NET Core app.
Next steps
After creating and running your first agent, read about the code basics to better understand its components and structure.
Otherwise, if you want to run your agent in Teams, you can check out the Running in Teams guide.