1. Build Custom Connector
Working as part of the PrioritZ fusion team you will be configuring a custom connector for an existing API. The team would like to add badging to the PrioritZ application to give credit to users when they have completed ranking an item. The team identified an existing API, but it doesn't have a Power Platform connector.
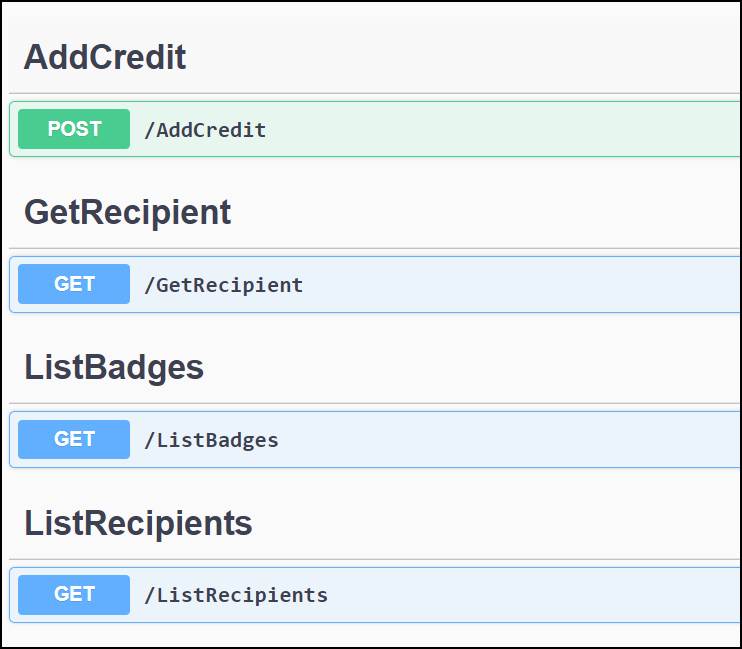
When you review the API, you see that it has four operations and uses API key authentication.
In Exercise 1 you will download open API definition, create a solution for Contoso Badges custom connector. Currently, custom connectors must be in a separate solution from the apps and flows that use them, and then create the custom connector.
1.1 Download open API definition and create solution
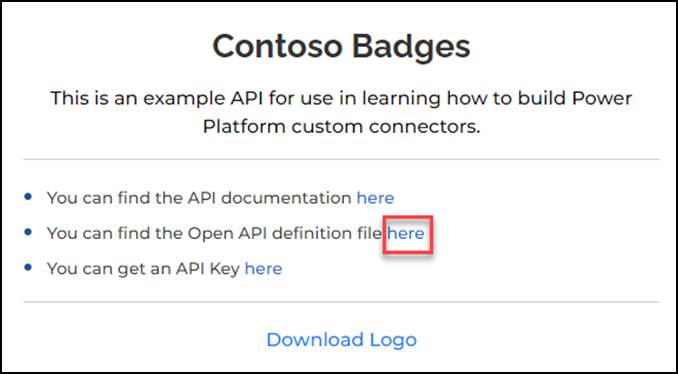
Navigate to Contoso Coffee Badges
Click on open the Open API definition file link.
- Do a quick review of the Open API definition.
- Right click on the page and select Save as.
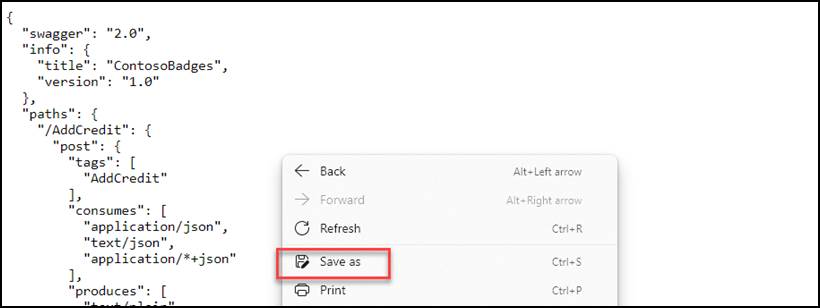
- Save the
swagger.jsonfile on your local computer.
1.2 Create custom connector
- Navigate to Power Apps maker portal and make sure you are in your dev environment.
- Select Solutions and click + New solution.
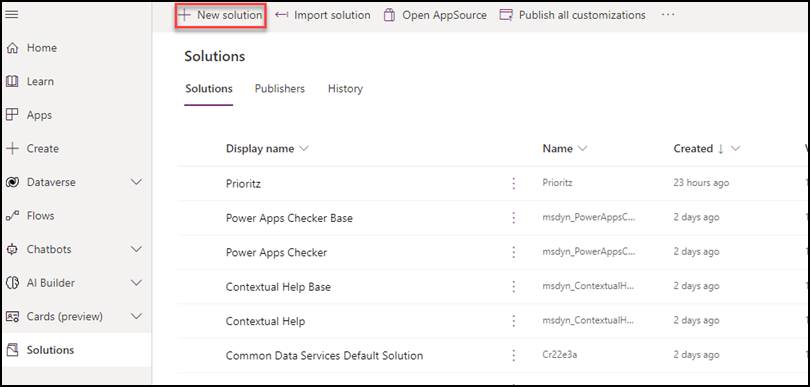
Enter Contoso Badges connector for Display name, select Contoso Coffee for Publisher, and click Create.
Open the Contoso Badges connector solution you created.
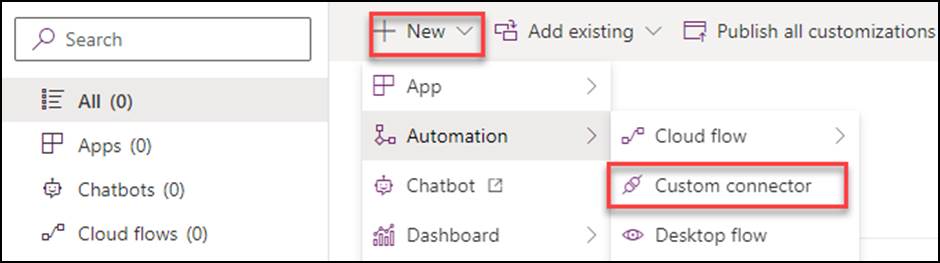
Click + New | Automation and select Custom connector.
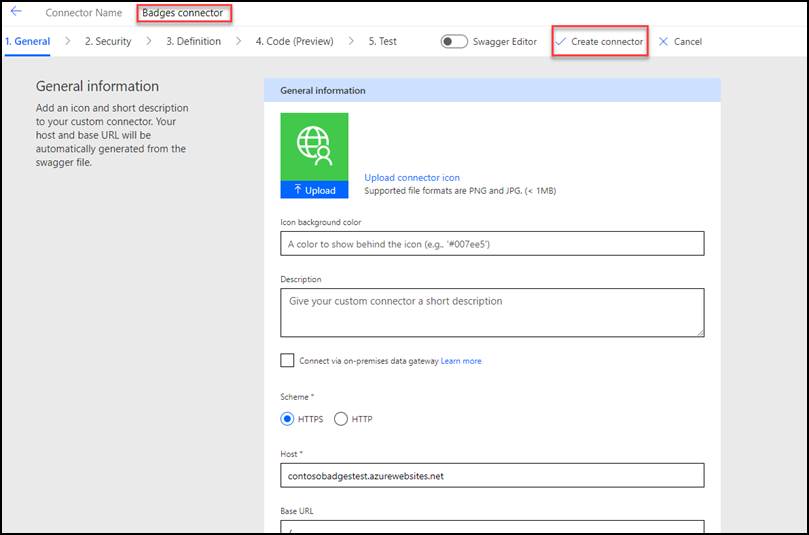
- Enter Badges connector for Connector name,
contosobadgestest.azurewebsites.netfor Host, and click Create connector.
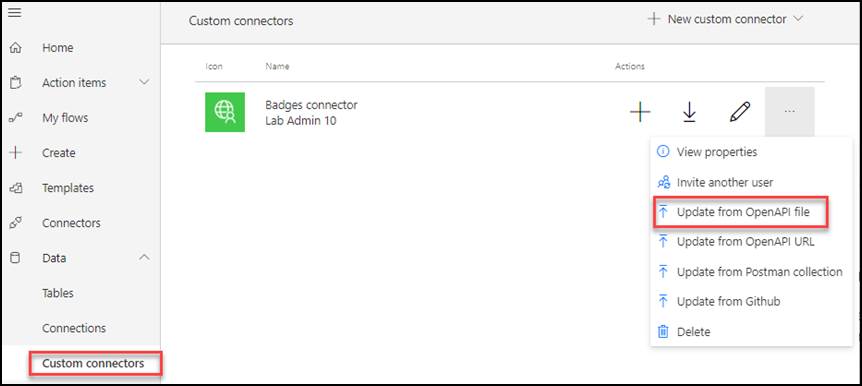
- Select Custom connectors from the sitemap.
- Click on the … More actions button of the custom connector you created and select Update from Open API file.
Click Import.
Select the
swagger.jsonfile you saved to your machine and click Open.Click Continue.
Enter Connector for badges for Description,
contosobadgestest.azurewebsites.netfor Host, and advance to Security.
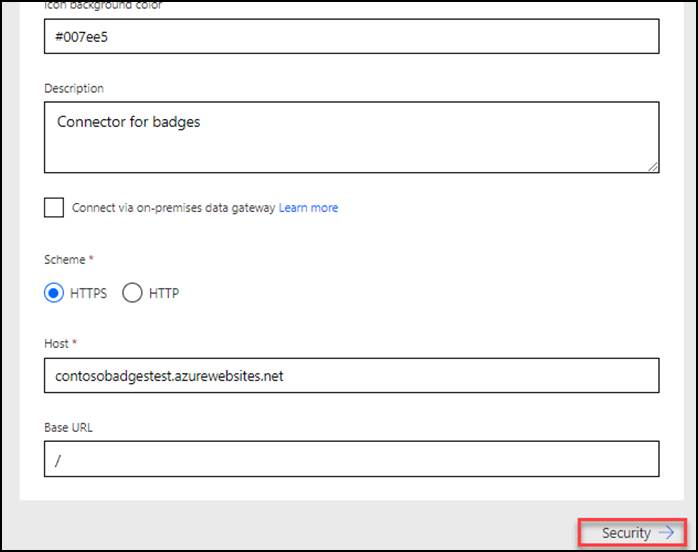
- Review the security configuration and advance to Definition.
Do not navigate away from this page.
1.3 Modify the definition
- Select the AddCredit action.
- Select Important for Visibility.

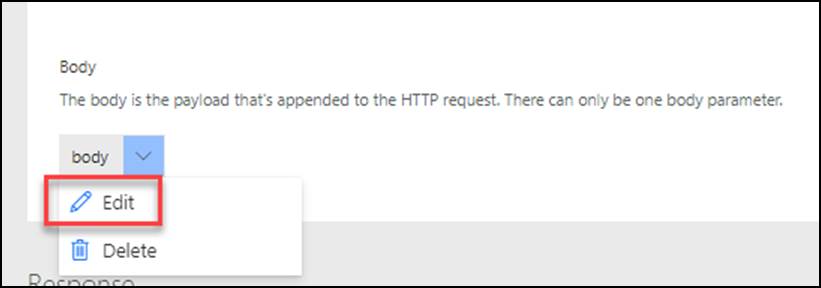
- Scroll down to the Request section, click on the chevron button of the body and select Edit.
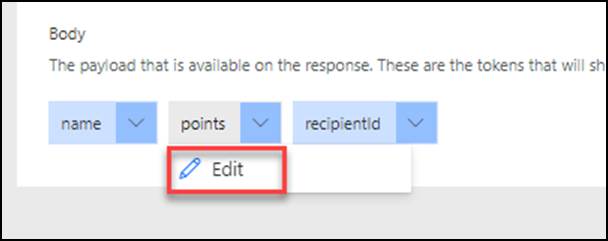
- Click on the chevron button of points and select Edit.
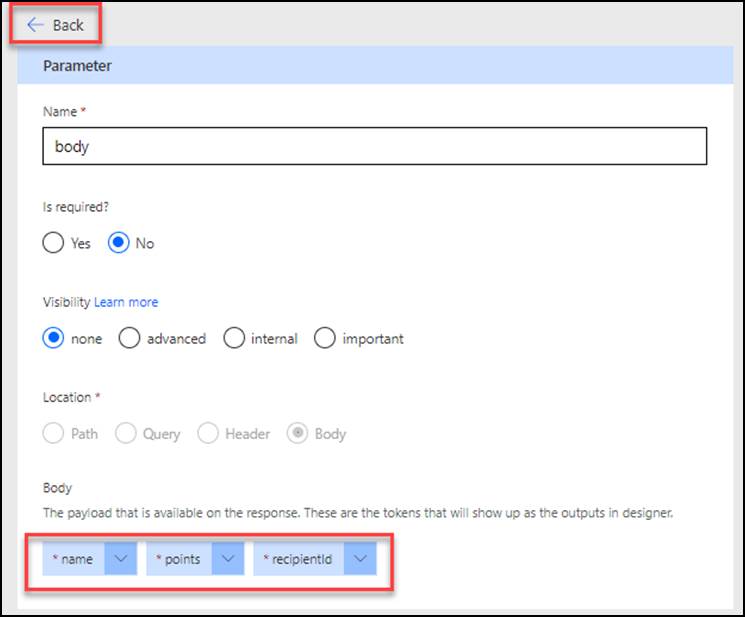
- Select Yes for Is required and click on the Back button.

- Click on the chevron button of recipientid and select Edit.
- Select Yes for Is required and click on the Back button.
- Click on the chevron button of name and select Edit.
- Select Yes for Is required and click on the Back button.
- Click on the Back button again.
- Advance to Code.
- Review the code and advance to Test.
- Click Update connector and wait for the connector to be updated
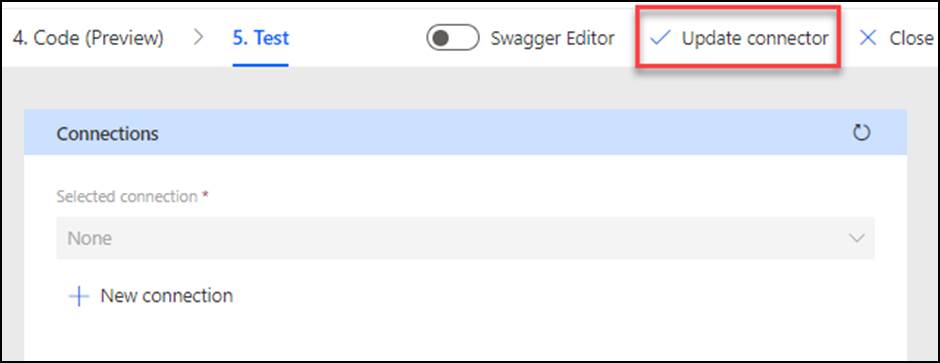
Do not navigate away from this page.
1.4 Test connector
Open a new browser tab or window and navigate to Contoso Coffee Badges
Click on open the API Key link
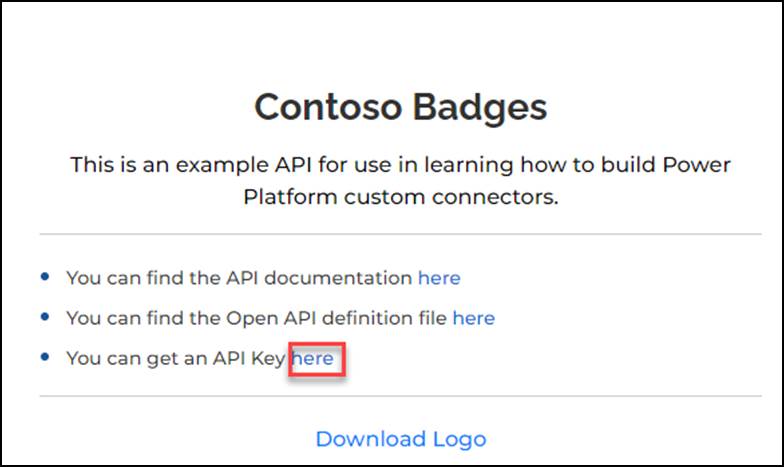
Copy the API Key. Save this key you will use it multiple times.
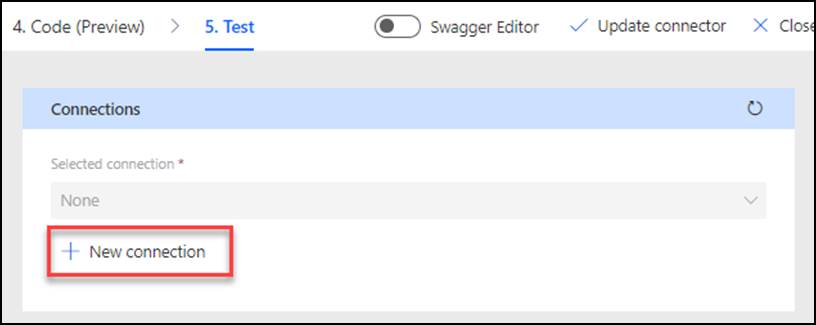
Go back to the connector test page and click + New Connection.
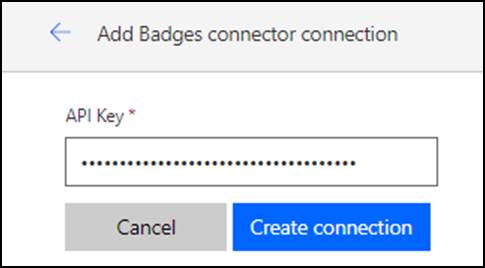
- Paste the API Key you copied and click Create connection.
- Click on the Refresh connections button.
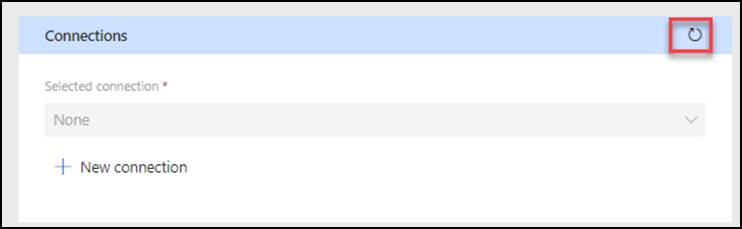
- The connection you created should get selected.
- Go to the AddCredit operation.
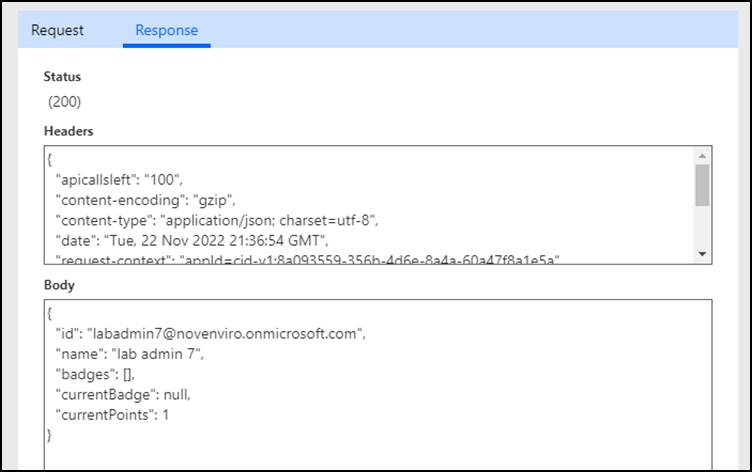
- Enter your email address for recipientid, enter your name for name, enter 1 for points, and click Test operation.
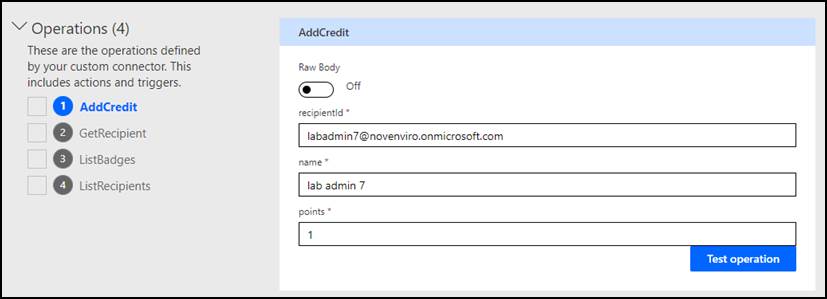
- The test should succeed, and the response should look like the image below.