3. Use Custom Connector
Working as part of the PrioritZ fusion team you will be configuring a custom connector for an existing API. The team would like to add badging to the PrioritZ application to give credit to users when they have completed ranking an item. The team identified an existing API, but it doesn't have a Power Platform connector.
When you review the API, you see that it has four operations and uses API key authentication.
In Exercise 3 you will test the custom connector you created using a flow and a canvas application.
3.1 Test connector from canvas app
In this task, you will use the custom connector you created to show the user’s current badge on the PrioritZ Ask canvas application.
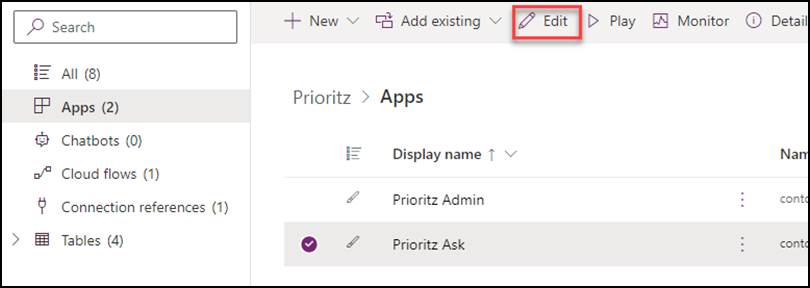
- Navigate to Power Apps maker portal and make sure you are in your dev environment.
- Expand Solutions and open the PrioritZ solution.
- Select Apps, select the PrioritZ Ask application, and click Edit.
- Select Data from the left and click + Add data.
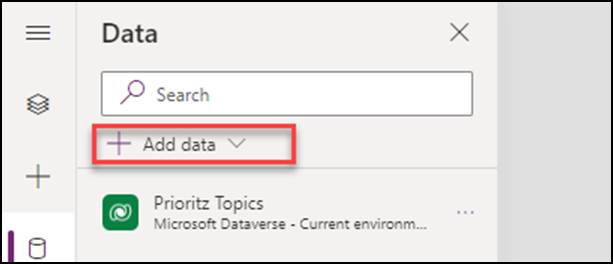
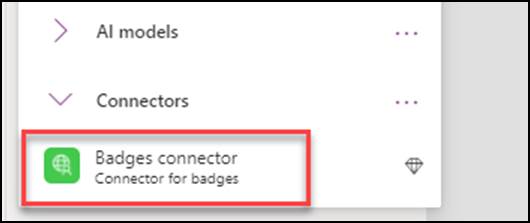
- Expand Connectors and select the Badges connector you created.
Click + Add a connection.
Open a new browser tab or window and navigate to Contoso Coffee Badges
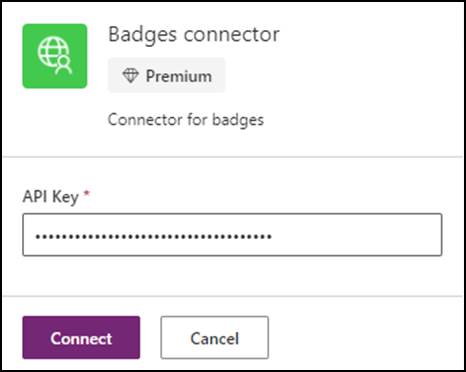
Click on open the API Key link
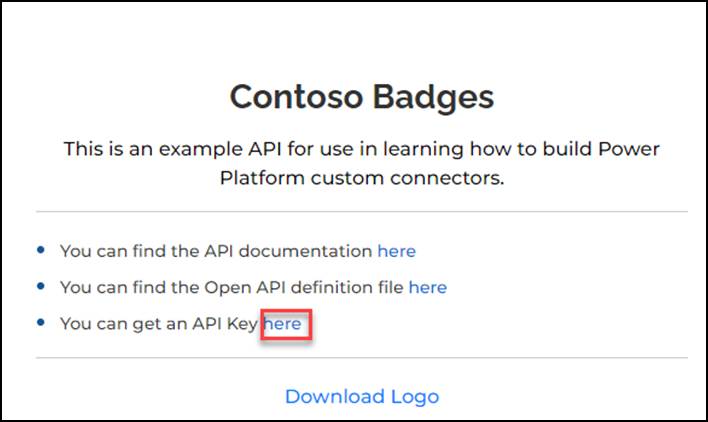
- Copy the API Key. Keep this API Key in a notepad, you will need it again.
- Go back to the app designer, paste the API Key you copied, and click Connect.
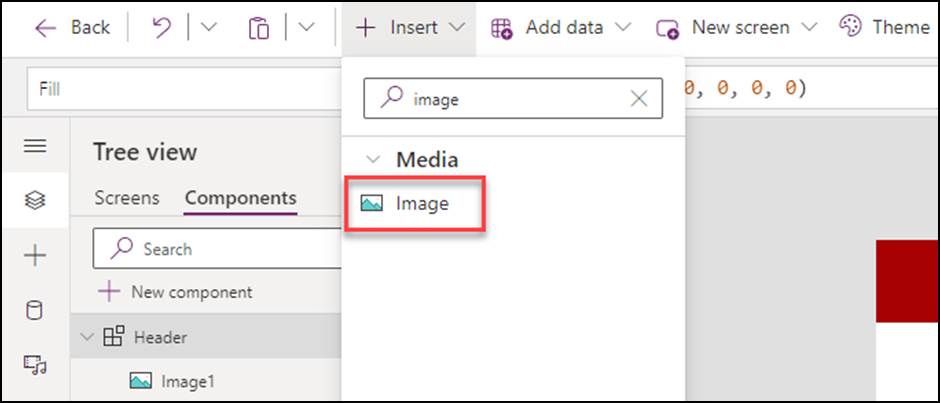
Select the Tree view.
Select the Components tab, click + Insert tab, search for image and select Image.
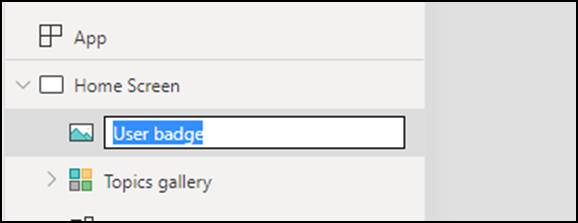
- Change the Image name to User badge.
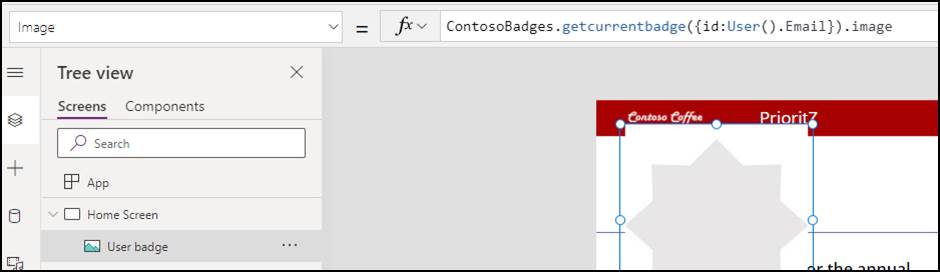
- Set the User badge Image value to the formula below.
ContosoBadges.getcurrentbadge({id:User().Email}).image
- Set the Tooltip value of the User badge to the formula below.
ContosoBadges.getcurrentbadge({id:User().Email}).name
- Make the image smaller and move it to top right corner of the screen.
- The User badge should now look like the image below.
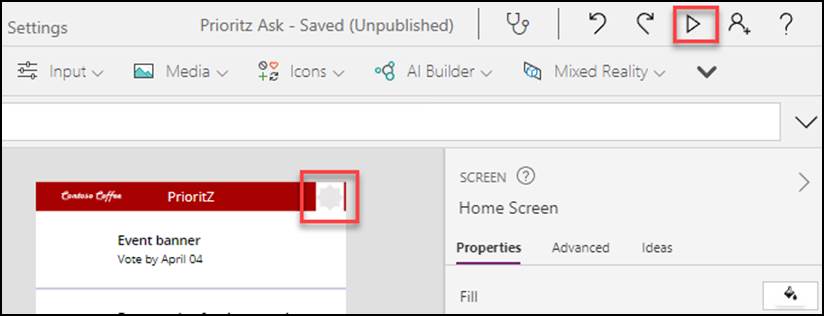
- Select Screens tab in the Tree view. Click Play button.
- Hover over the badge to see the badge name.

- Close the preview.
3.2 Publish the connector
- Click Publish.
- Select Publish this version.
- Go back to the solution by clicking on the Back button.

Do not navigate away from this page.
3.3 Test connector from flow (optional)
- Make sure you are still in the PrioritZ solution.
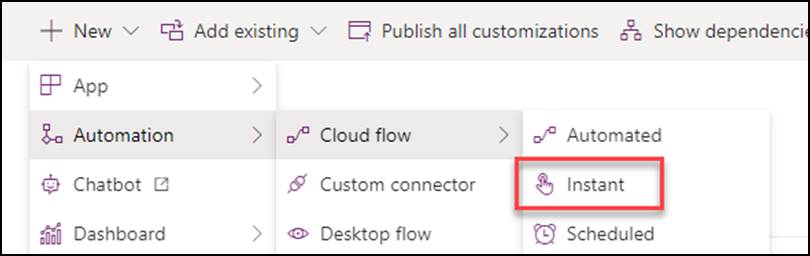
- Click + New and select Automation | Cloud flow | Instant.
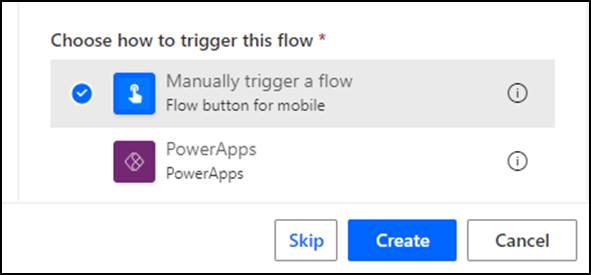
- Enter Test add credit for flow name, select Manually trigger a flow, and click Create.
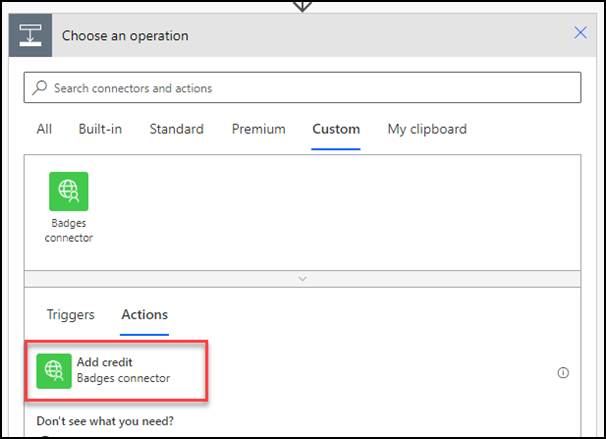
Click + New step.
Select the Custom tab and then select the Add credit action.
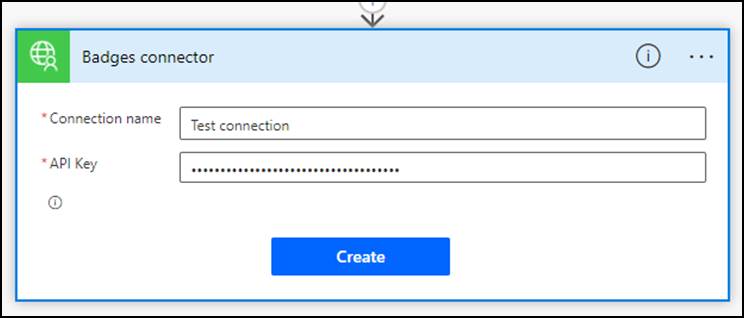
- Enter Test connection, paste the API Key you copied earlier, and click Create.
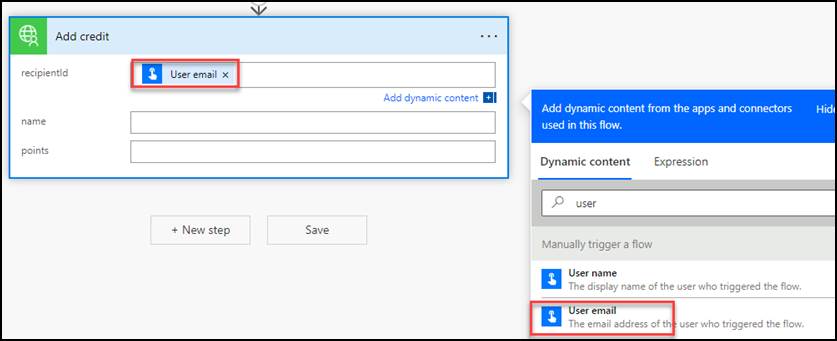
- Click on the recipientId field, go to the Dynamic content pane, and select User email.
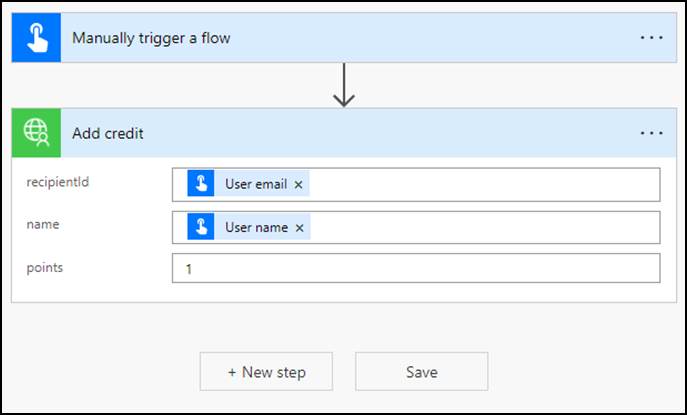
Click on the name field, go to the Dynamic content pane, and select User name.
Enter 1 for points and click Save. Wait for the flow to be saved.
Hit Test to test the flow 👉 Select Manually and click Test again.
Click Continue 👉 Run flow 👉 Done.
The flow run should succeed.
3.4 Run the flow (optional)
- Click on the back button.

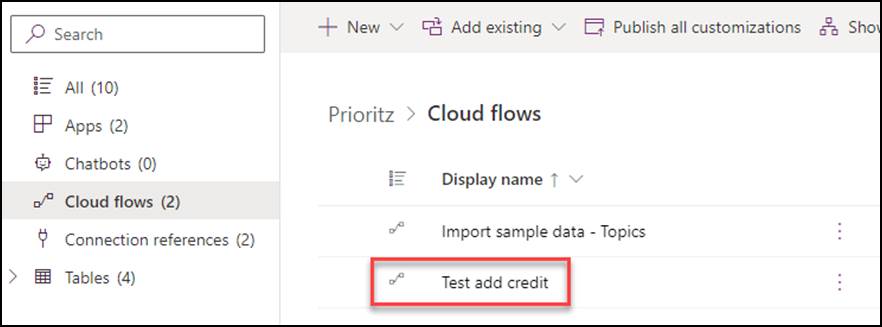
- Select Cloud flows and open the flow you created.
- Start a new browser window and navigate to Power Apps maker portal.
Make sure you are in the correct environment.
- Select Apps and launch the PrioritZ Ask application.

- Go back to flow and run it couple more times.
- Go back to the PrioritZ Ask application and refresh the page.

- Go to the flow and run it two more times.
- Go back to the PrioritZ Ask application and refresh the page.
