

This page covers information about a Windows MIDI Services feature and application that will be released to consumers in 2027. It’s currently available for developers.
Windows MIDI Monitor shows you the MIDI messages arriving from a keyboard, controller, synth, or any other MIDI device on your PC. It’s the tool to reach for when you want to answer questions like “is this knob actually sending anything?”, “which channel is my keyboard on?”, or “what exactly does my synth send when I press that button?”.
Everything appears as it arrives, so you can play a note or move a control and watch it show up straight away.
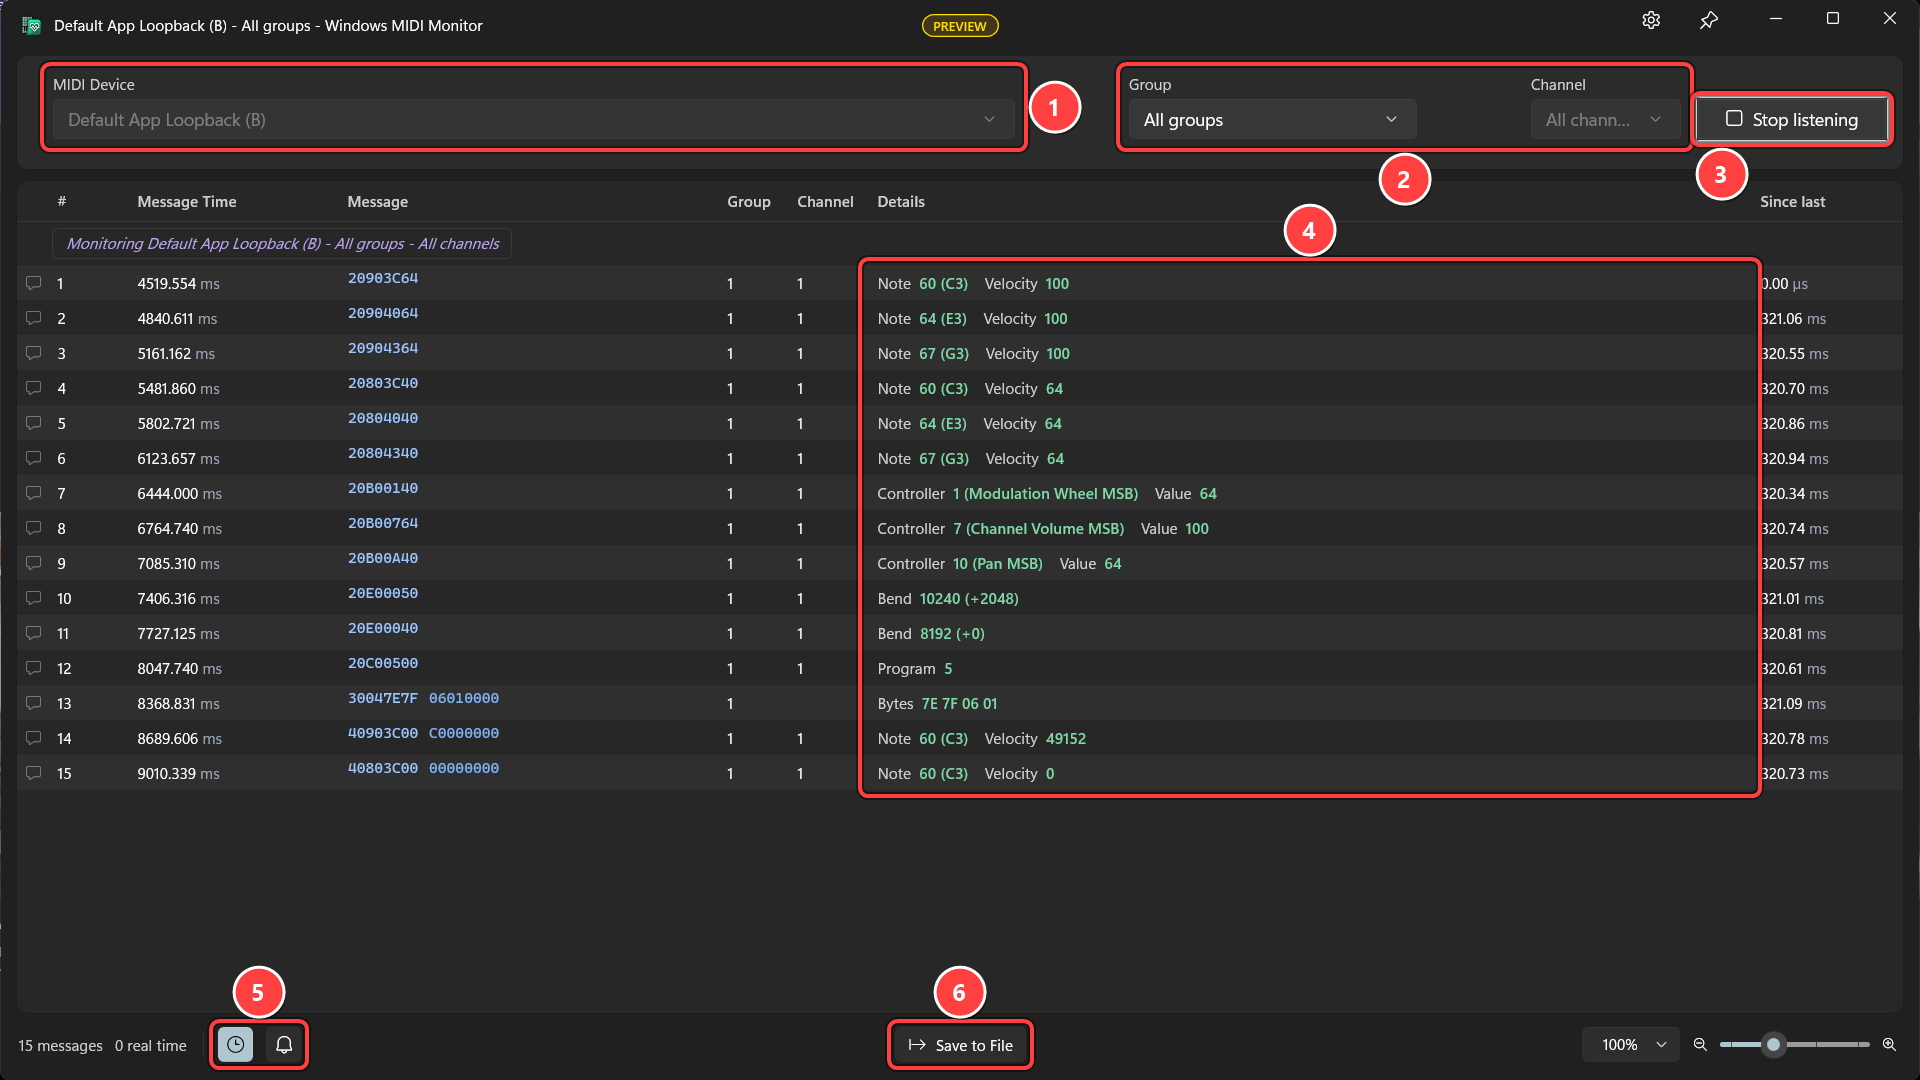
You can open more than one copy of Windows MIDI Monitor at a time if you want to watch two instruments side by side.
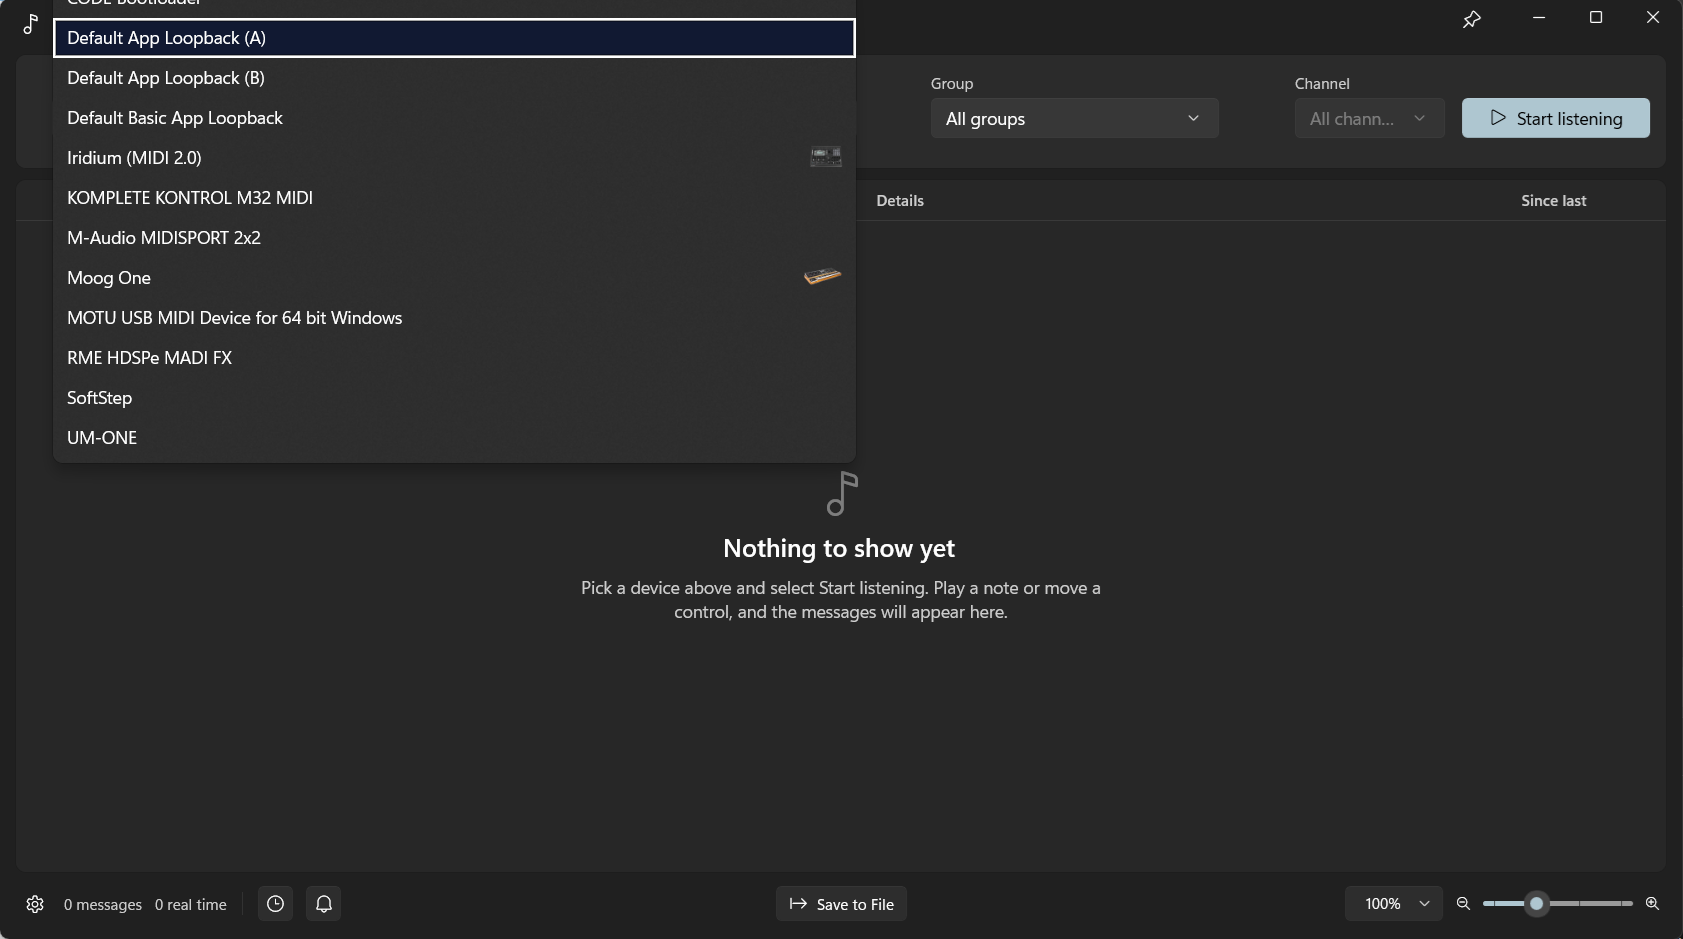
The device list shows everything currently connected, along with a picture of the instrument where one is available.
Each row is one MIDI message.
| Column | What it tells you |
|---|---|
| # | A running count of messages received |
| Message Time | When the message arrived |
| Message | The raw message data, with a colored label naming the message underneath |
| Group | Which group the message came in on |
| Channel | Which of the 16 MIDI channels the message is for |
| Details | The message translated into plain terms, such as the note, velocity, or controller |
| Since last | How long it had been since the previous message |
The Details column is usually the one you want. Rather than working out that 20904050 means a note, it simply tells you Note 64 (E3) Velocity 80. Note numbers are shown with their musical names, and well-known controllers are named too, so controller 10 appears as Pan MSB.
The colored label under each message is a quick visual cue. Notes, controllers, SysEx, and MIDI 2.0 messages each get their own color, so a glance is often enough to see what kind of traffic an instrument is sending.
Busy instruments can send a lot. There are a few ways to cut the list down to what matters.
Group and Channel. Use the Group and Channel lists at the top to watch just one part of a device. Choose a group first, and the channel list becomes available. Most MIDI 1.0 gear uses a single group, so you’ll usually be choosing a channel.
Clock and Active Sense. Many instruments send timing clock and “I’m still here” messages constantly, which drowns out everything else. These are hidden by default. The two small buttons next to the message counts at the bottom left switch them back on if you need to see them.
Right-click anywhere in the list for the message commands.
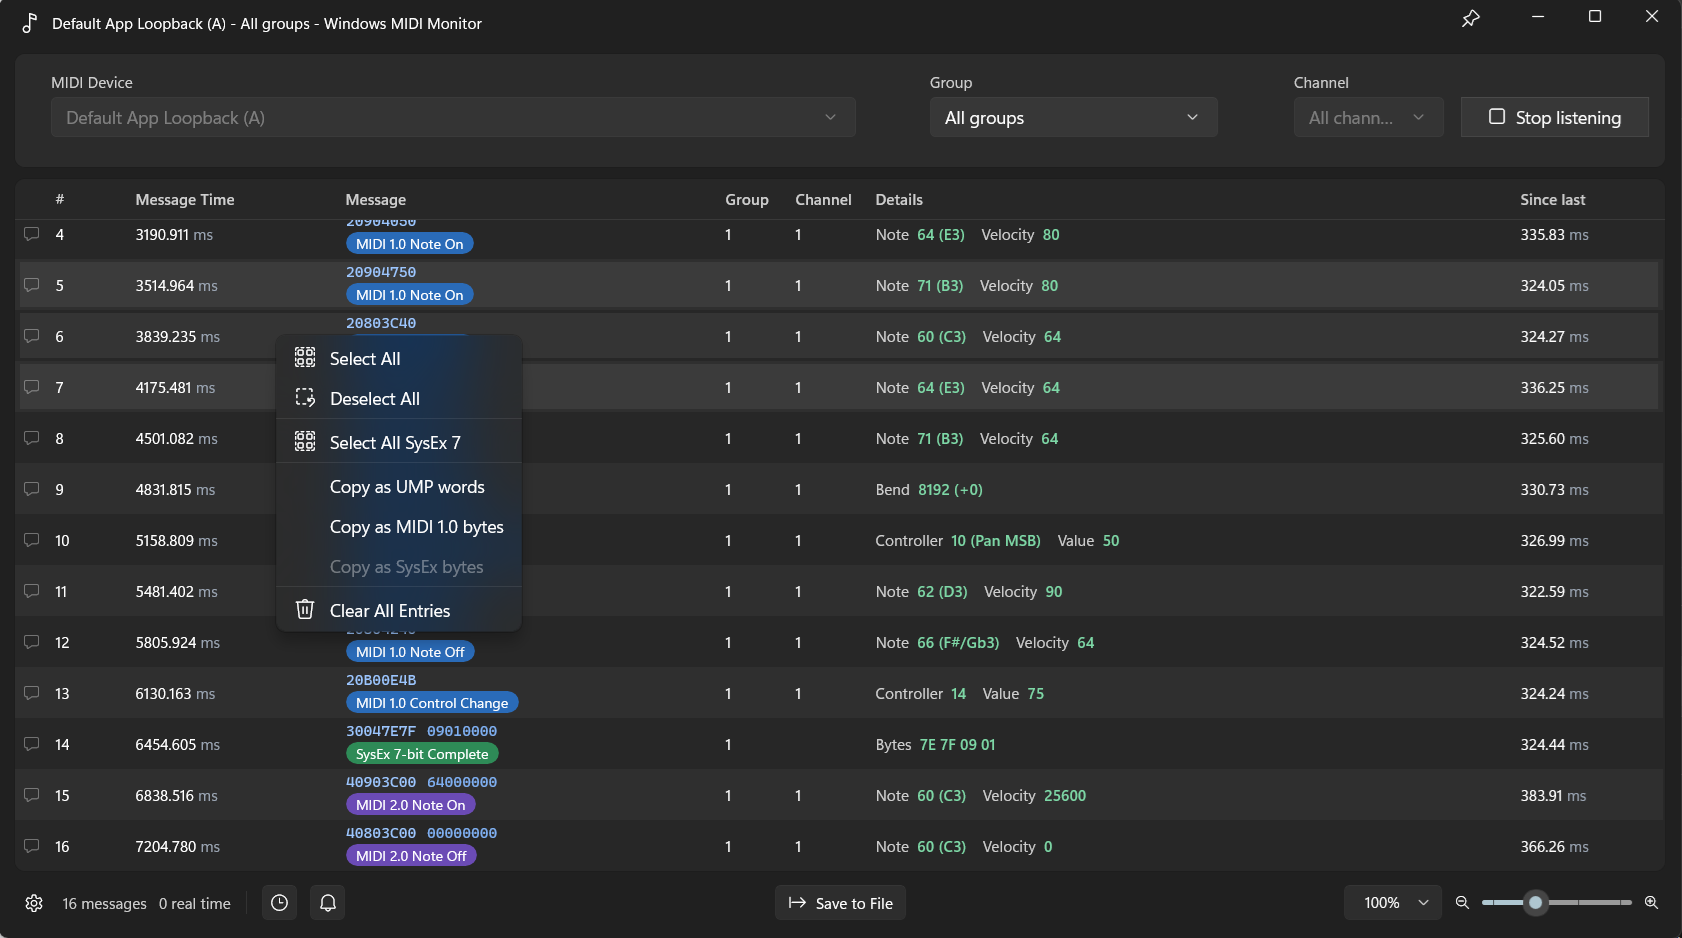
You can select messages with the mouse in the usual way, then copy them to the clipboard in whichever form is most useful:
Commands that don’t apply to what you’ve selected are grayed out, so if Copy as SysEx bytes is unavailable, there’s no SysEx in your selection.
Select All SysEx 7 picks out every SysEx message in the capture in one go. If you’ve just asked a synth to dump a patch and want only that, this saves a lot of scrolling.
Clear All Entries empties the list so you can start a fresh observation.
Every row has a small speech-bubble button on the left. Select it to attach a comment to that message, such as “this is the one the pedal sends”. Rows with a comment show a marker on the button, and hovering over it shows what you wrote. Comments are included when you save the capture to a file, which makes them useful for handing findings to someone else.
Right-click any column heading to reach the display options.
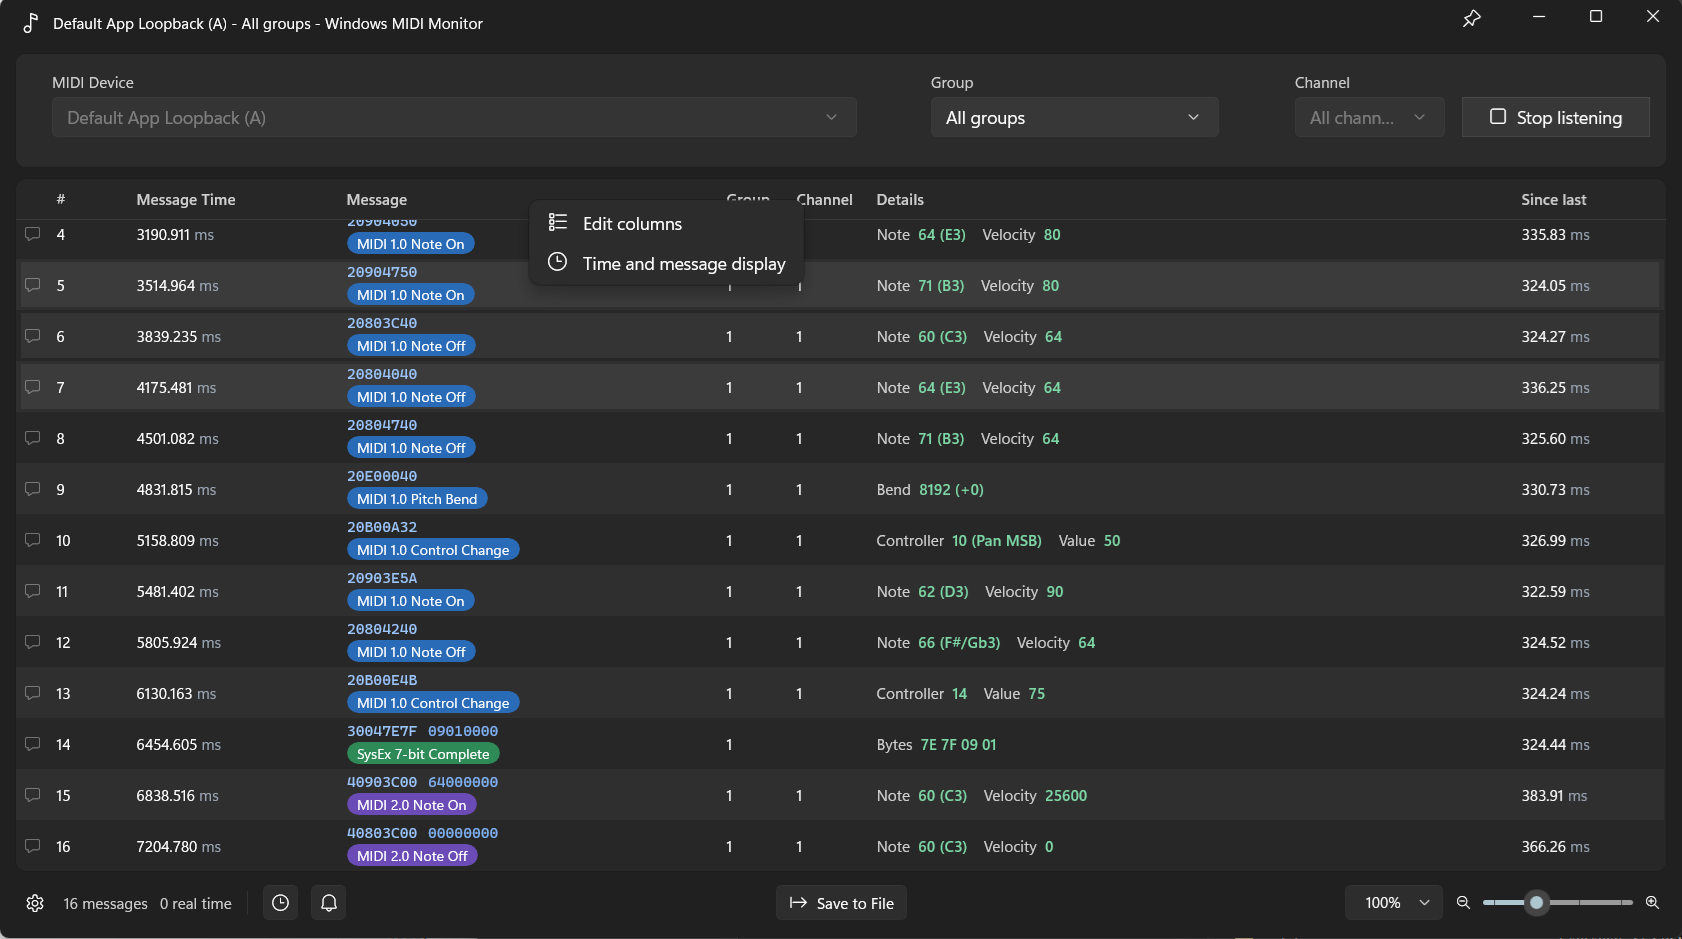
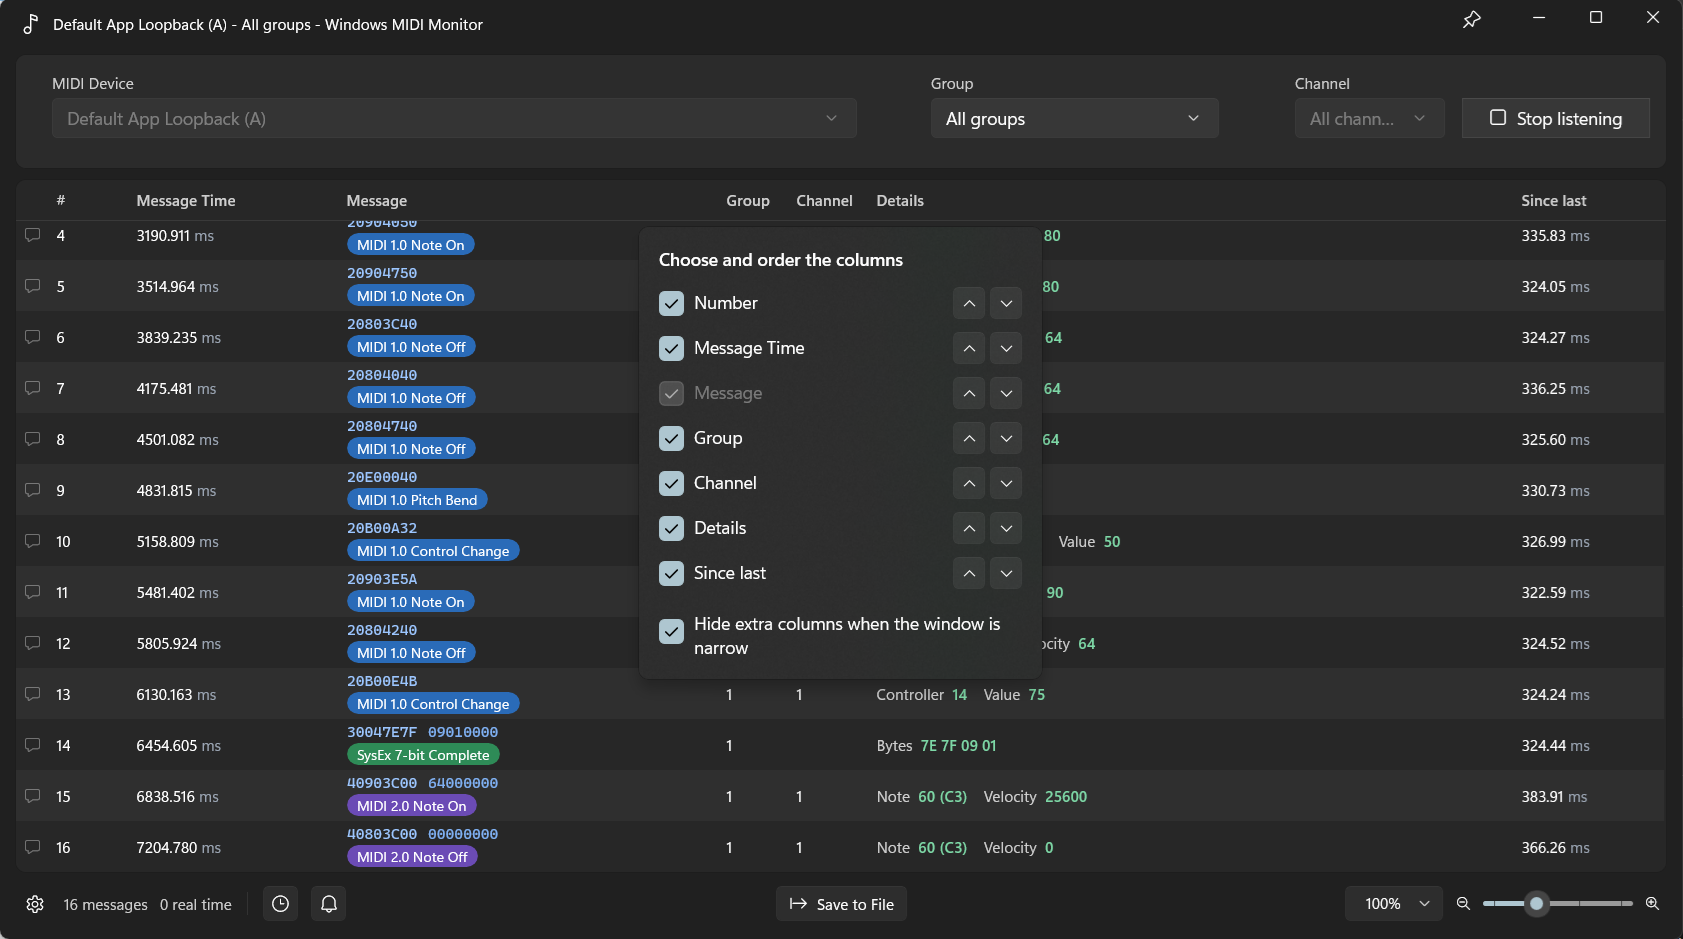
Edit columns lets you turn columns on or off and change their order. If you never look at the group number, switch it off and give the space to something you do use.
Time and message display controls how the message time is shown, and whether the message name appears under the raw data.
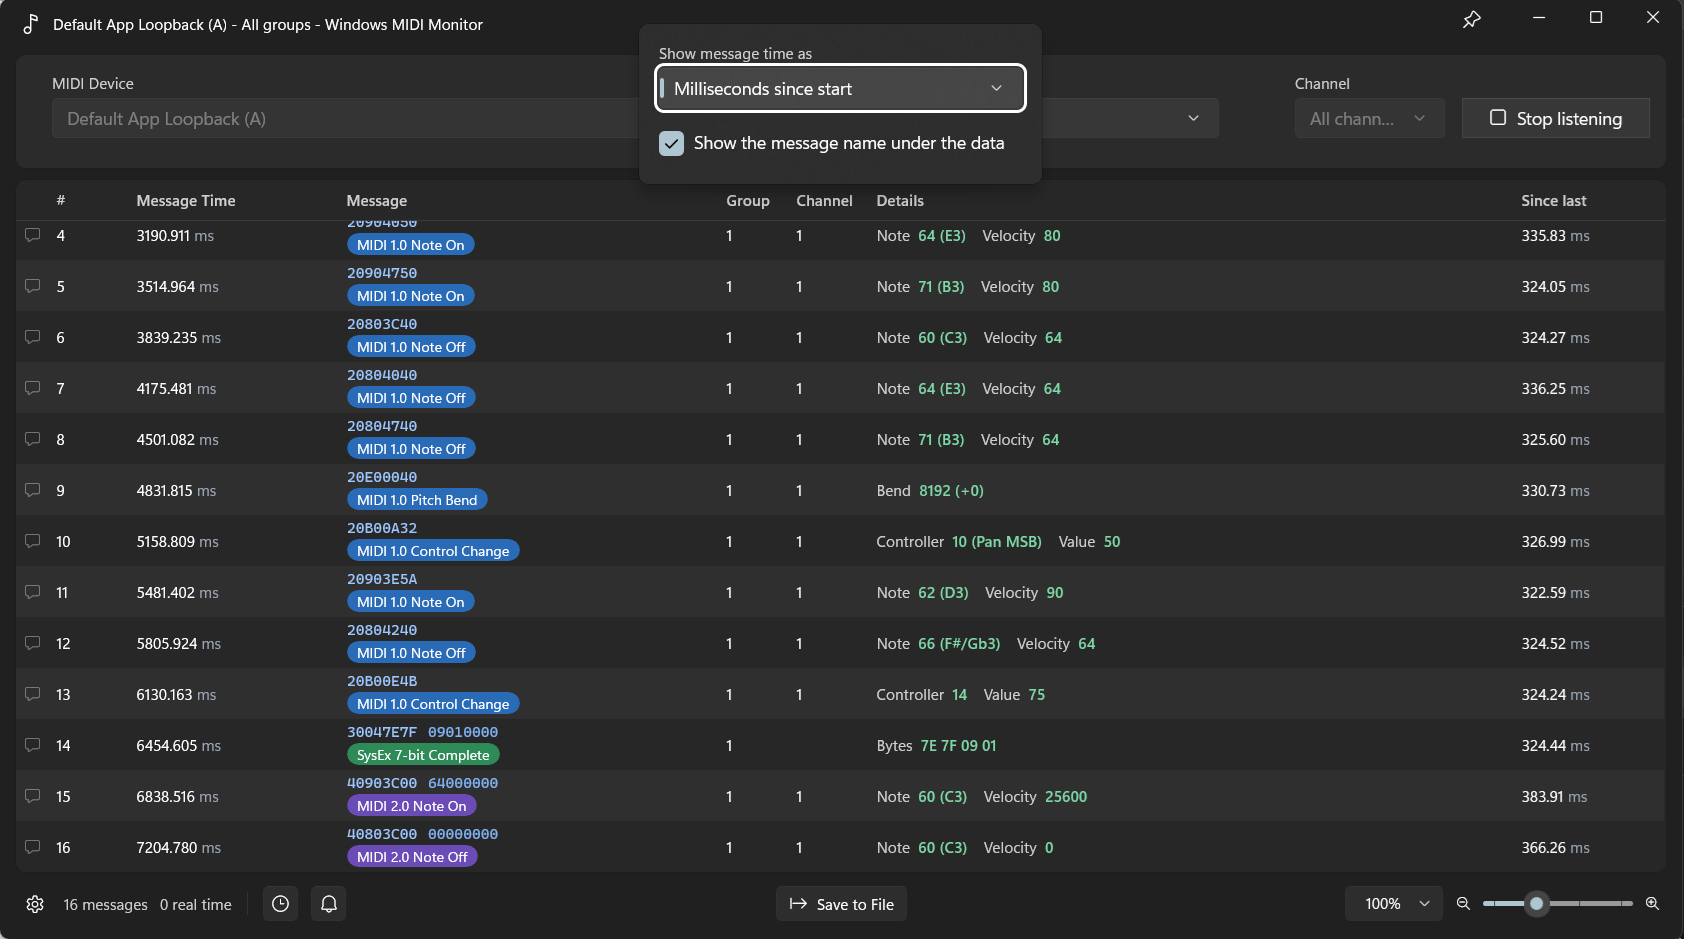
Message time can be shown as absolute clock ticks from the time the PC booted up, or as microseconds, milliseconds, or seconds counted from the moment you started listening. Seconds or milliseconds are usually the friendliest choice.
Along the bottom right there’s a zoom control for making the table text larger or smaller, which is handy if the monitor is sitting on a second screen across the room.
The pin button next to the window’s minimize button keeps MIDI Monitor above your other windows, so it stays visible while you work in your DAW.
Save to File writes everything currently in the list, including any comments you added and the messages the display filters hid. Pick one of four kinds of file in the save box:
Text file (.txt) is for reading, and for sending to somebody who is helping you troubleshoot. It has one line per message with the same columns the window shows, separated by tabs.
Comma separated values (.csv) is for a script or a spreadsheet. It has a heading row, the raw Universal MIDI Packet words in hex, and the times as plain numbers of microseconds, so you can chart the gap between messages or search for a particular word. The column names are always in English, whatever language Windows is set to, so a script that reads the file keeps working on any machine.
Standard MIDI File (.mid) is for a sequencer. The capture becomes a playable file at 120 beats per minute, with one track per group, so you can drop it into a DAW and hear it back. Standard MIDI Files are a MIDI 1.0 format, so MIDI 2.0 messages are converted where MIDI 1.0 has an equivalent and left out where it does not. If you want to study the exact timing, save the comma separated file instead: it carries the real microsecond figures, and a MIDI file rounds them to its own musical grid.
Binary UMP words (.bin) is for a hex editor. It holds nothing but the Universal MIDI Packet words, one after another, with no times, comments or headings. Each 32-bit word is stored the way Windows PCs store numbers, lowest byte first (this is called little-endian), so the word 20903C64 shows up in a hex editor as 64 3C 90 20.
The gear button in the title bar opens the settings.
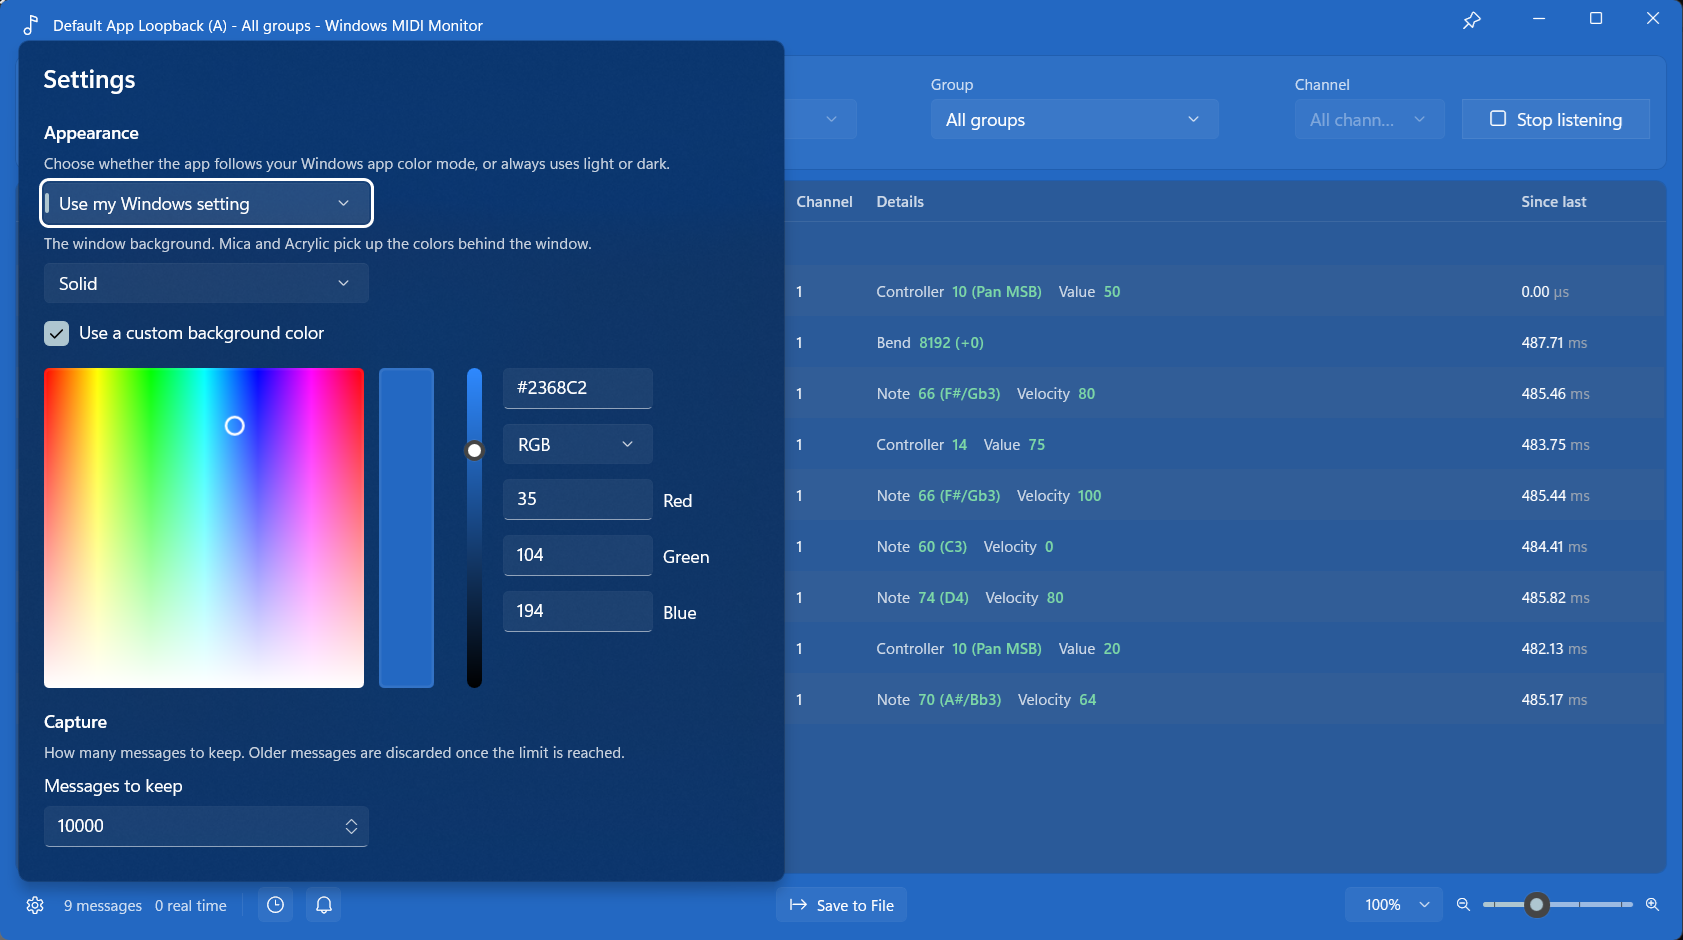
Appearance sets whether the app follows your Windows light or dark mode, and which window background to use. Mica and Acrylic pick up colors from your desktop; Acrylic is the one that lets what’s behind the window show through, which some people like when the monitor sits on top of a DAW.
Tick Use a custom background color to pick your own color for the window. It works with all three backgrounds, though each treats it a little differently: Solid uses exactly the color you choose, Mica blends it with your desktop wallpaper, and Acrylic gives the gentlest tint of the three because it is still letting what’s behind the window through. If you keep more than one monitor window open at a time, giving each one its own color makes it easy to tell at a glance which instrument you’re looking at.
Messages to keep sets how many messages are held before the oldest start being discarded. The default of 10,000 is plenty for normal use. Raise it if you’re capturing a long session, and bear in mind that a larger number uses more memory.
Reset the columns to their defaults puts the message list back the way it started.
If you always monitor the same instrument, MIDI Monitor can open and start listening to it straight away. Pass the endpoint device id, and optionally a group and channel:
midi2monitor.exe [endpoint device id] [options]

  [endpoint device id]   Optional. The full endpoint device id of the device to
                         monitor.

  --group, -g  number    Optional. The group number, 1 through 16, to monitor.
                         Only valid when an endpoint device id is supplied.

  --channel, -c number   Optional. The channel number, 1 through 16, to monitor.
                         Only valid when a group is also supplied.

  --help, -h, -?         Show this help.
For example:
midi2monitor.exe "\\?\swd#midisrv#midiu_bloop_basic_def#{e7cce071-3c03-423f-88d3-f1045d02552b}" --group 1 --channel 10
You can find the endpoint device id for a device using the MIDI Console or the MIDI Settings app.
When you supply a device id this way, MIDI Monitor selects that device, applies the group and channel you asked for, and begins listening on its own. That makes it a convenient thing to launch straight from another app when you want to watch a particular instrument.
Windows MIDI Services is an open source project with all source available on GitHub. We have a great community on Discord as well. Between GitHub and Discord, you should find the information you are looking for.
