4. Defining AAD Provider in Next.js
Before we start creating the pages, we need to define the AAD provider in NextAuth.
But what is AAD? AAD stands for Azure Active Directory. It is a cloud-based identity and access management service that helps you manage access to your applications and services.
For this, inside the pages/api folder create a new folder called auth. Inside in this folder, create the file [...nextauth].ts and add the following code:
pages/api/auth/[...nextauth].ts
pages/api/auth/[...nextauth].ts
import NextAuth, { NextAuthOptions } from "next-auth";
import AzureADProvider from 'next-auth/providers/azure-ad';

export const authOptions: NextAuthOptions = {
  providers: [
    AzureADProvider({
      clientId: process.env.AZURE_AD_CLIENT_ID,
      clientSecret: process.env.AZURE_AD_CLIENT_SECRET,
      tenantId: process.env.AZURE_AD_TENANT_ID,
    })
  ]
}

export default NextAuth(authOptions);
Now we need to use the environment variables that we created before in Azure Portal in AAD. So let's create the .env.local file in the root of the project and add the following code:
.env.local
AZURE_AD_CLIENT_ID=xxxxxxxx-xxxx-xxxx-xxxx-xxxxxxxxxxxx
AZURE_AD_CLIENT_SECRET=xxxxxxxxxxxxxxxxxxxxxxxxxxxxxxxxxxxxxxxxxxxx
AZURE_AD_TENANT_ID=xxxxxxxx-xxxx-xxxx-xxxx-xxxxxxxxxxxx
NEXTAUTH_SECRET=123
If you want, I created a file called .env.local.template as sample. You can use as a reference.
Now we need to configure the main project in the project. So let's do it! Open the pages/_app.tsx file and add the following code:
pages/_app.tsx
pages/_app.tsx
import { SessionProvider } from 'next-auth/react';

import type { AppProps } from 'next/app';
import type { Session } from 'next-auth';

export default function App({
  Component,
  pageProps: { session, ...pageProps },
}: AppProps<{ session: Session }>) {
  return (
    <SessionProvider session={session}>
      <Component {...pageProps} />
    </SessionProvider>
  );
}
We are here defining the SessionProvider from the NextAuth.js. It is responsible for managing the session of the user.
Now let's run the application again e then open the browser and access the following URL: http://localhost:3000. If you see the following screen, it means that everything is working fine:
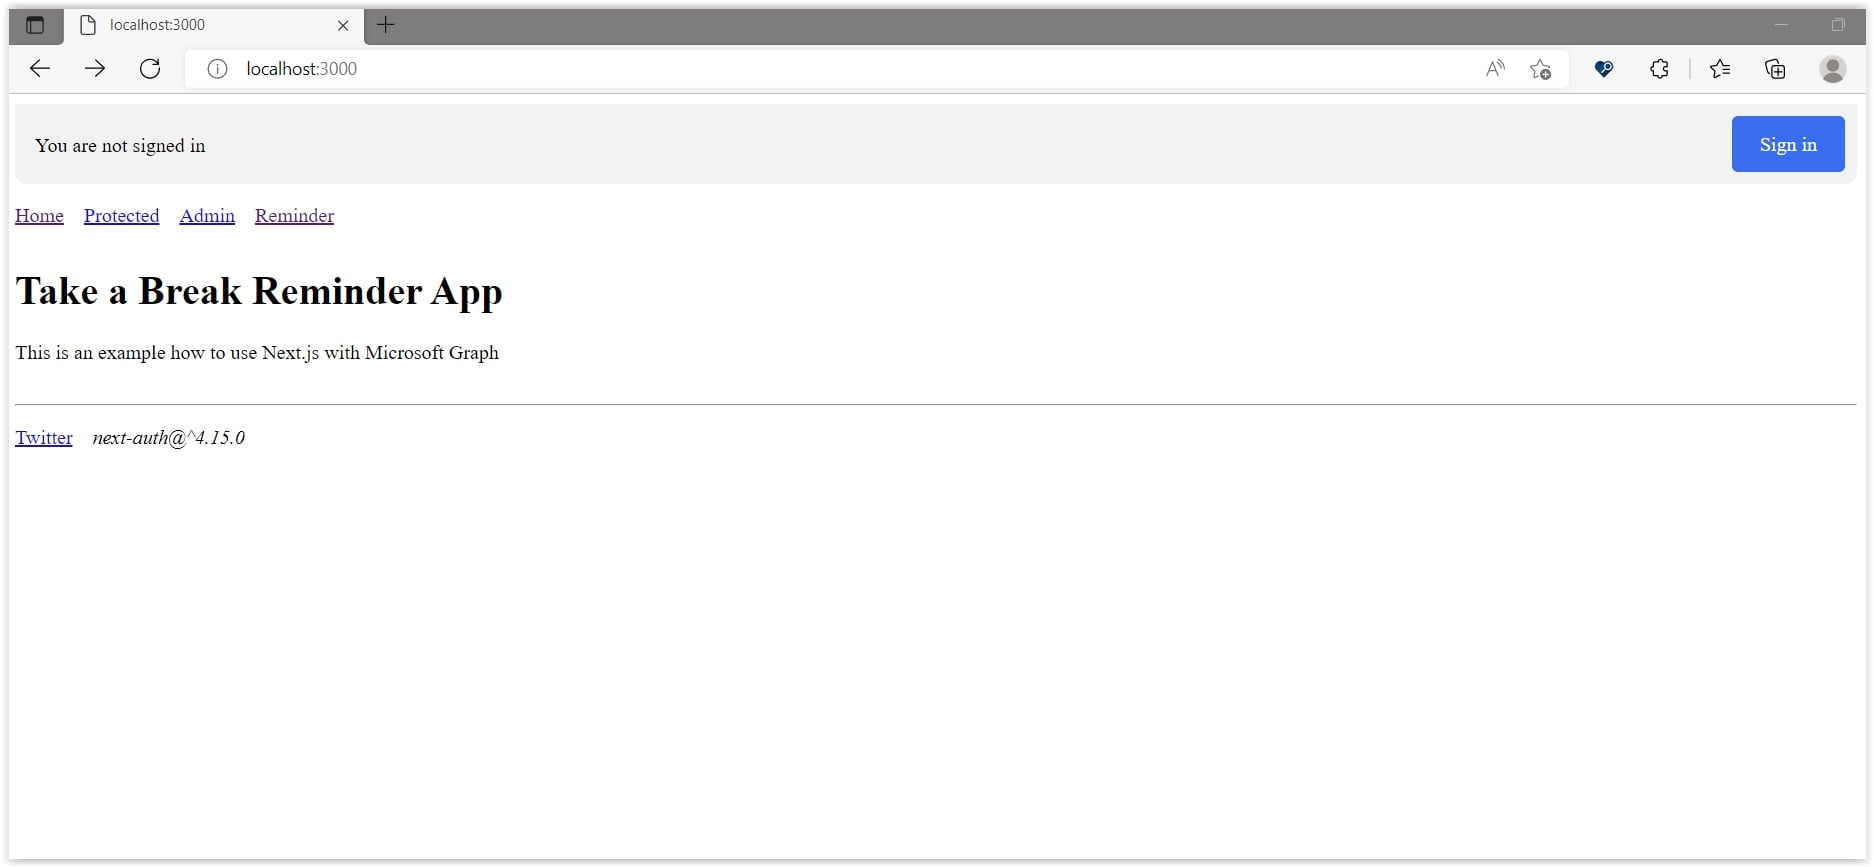
Page links are still not working. But we will fix it in the next section. Let's create these pages in the next section.