Exercise 1
Install the Azure Functions Extension for VS Code
In this exercise you'll create an empty project, install the Azure Functions extension for VS Code, and create a new function.
To get started, perform the following tasks:
Create an empty folder on your desktop and open it in VS Code.
Install the Azure Functions extension if it's not already installed.
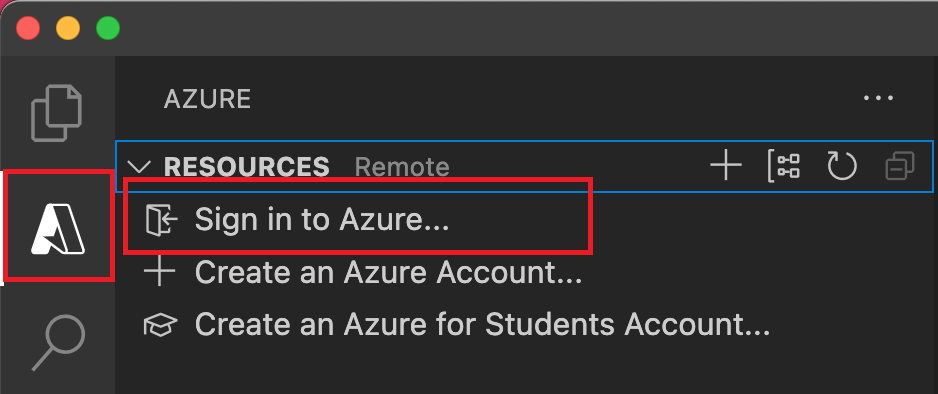
Click on the Azure icon in the VS Code sidebar.
noteIf you don't see the Azure icon after installing the Azure Functions extension, right-click on the VS Code sidebar and select Azure from the menu.
Sign in to Azure if you're not already signed in.

Locate the Workspace section and click the + icon.
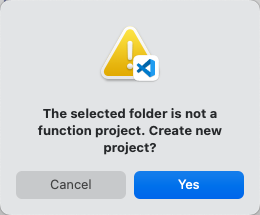
Select Create Function and then select Yes.

Select the following:
- Language : TypeScript
- Trigger : HTTP trigger
- Function Name : getGitHubRepoStats
- Authorization level : Anonymous
noteIf you opened an existing project folder instead of an empty one, you may be prompted to overwrite the .gitignore and package.json files.
You will see the following folder and files added to your project: