Task 03 - Backup on-premises SQL database
Introduction
Tailspin Toys wants to migrate their on-premises SQL Server database to Azure SQL Managed Instance. In this third task you will backup the on-prem database and upload it to an Azure Storage Account.
Description
In this task, you will backup the on-prem database and upload it to an Azure Storage Account.
The key tasks are as follows:
- Install the Azure SQL Migration extension on Azure Data Studio.
- Backup the on-prem database using a Full backup type.
- Store the backup on an Azure Storage Account
Success Criteria
- Perform a Full backup on the on-prem database
- Store the backup on an Azure Storage Account.
Solution
Expand this section to view the solution
-
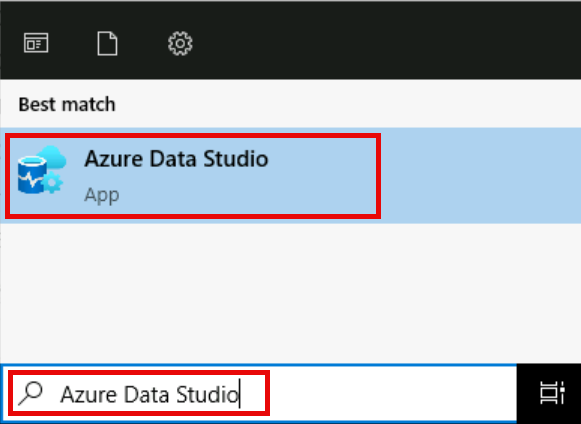
In the tailspin-onprem-sql-vm virtual machine, open the Start menu, then type Azure Data Studio to search the application, then select it to run Azure Data Studio.
-
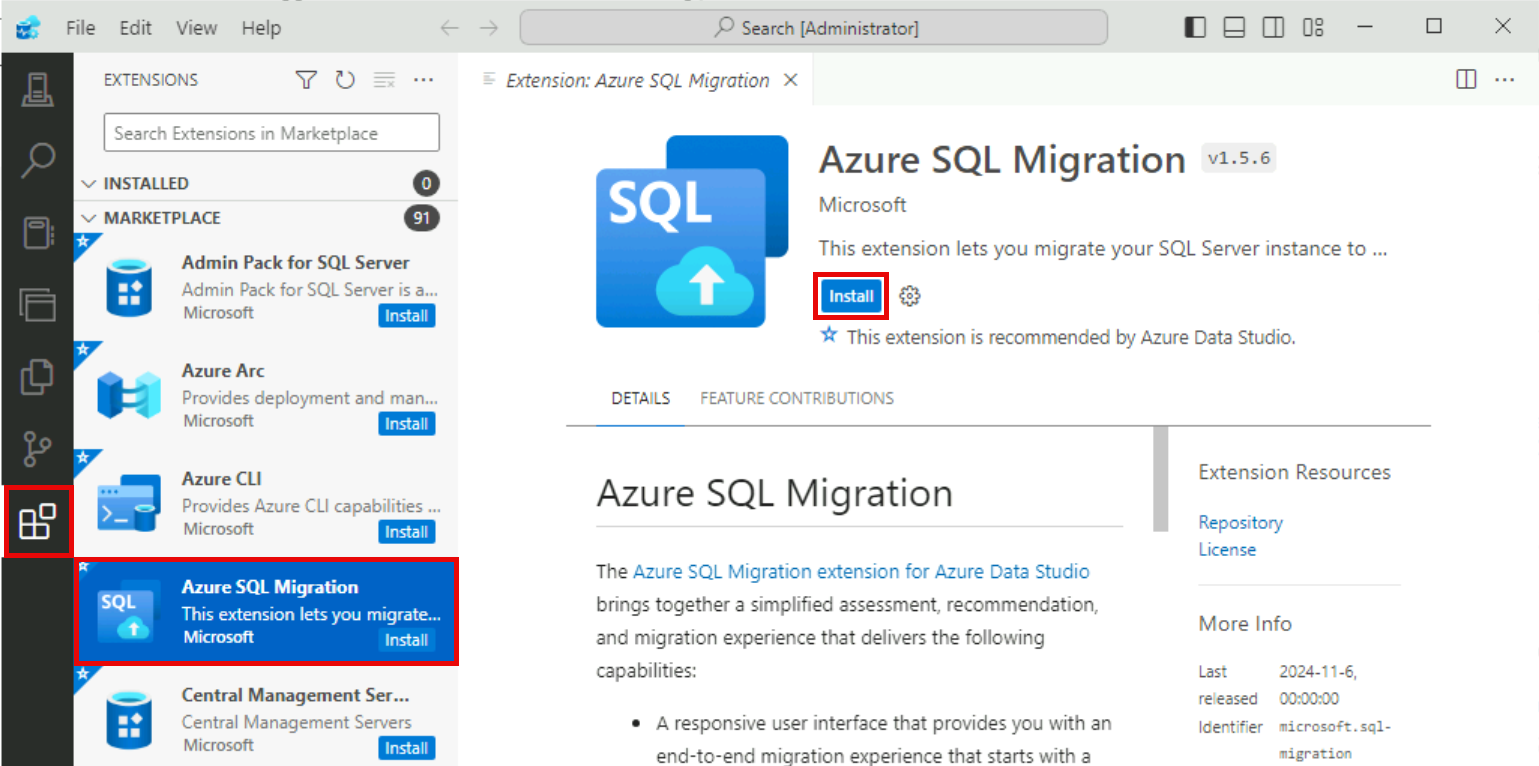
On the left, select the Extensions tab, then select the Azure SQL Migration extension and install it.
-
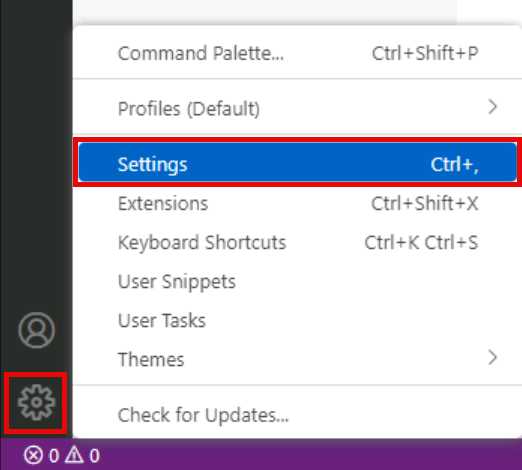
Next, you need to enable Preview Features within Azure Data Studio. Select the Manage icon (shown as the Gear in the lower left corner of Azure Data Studio) and select Settings.
-
On the Settings pane, type Enable Preview Features in the search box at the top, then check the Enable unreleased preview features box for the Workbench: Enable Preview Features option that shows in the search results. This will autosave.

-
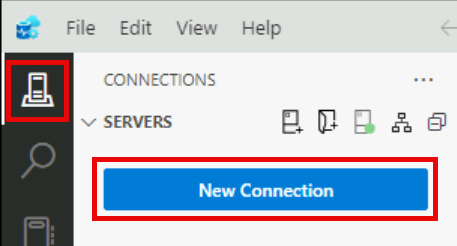
Next, let’s connect to the on-premises SQL Server. Select the Connections tab on the left side of Azure Data Studio, then select New Connection.
-
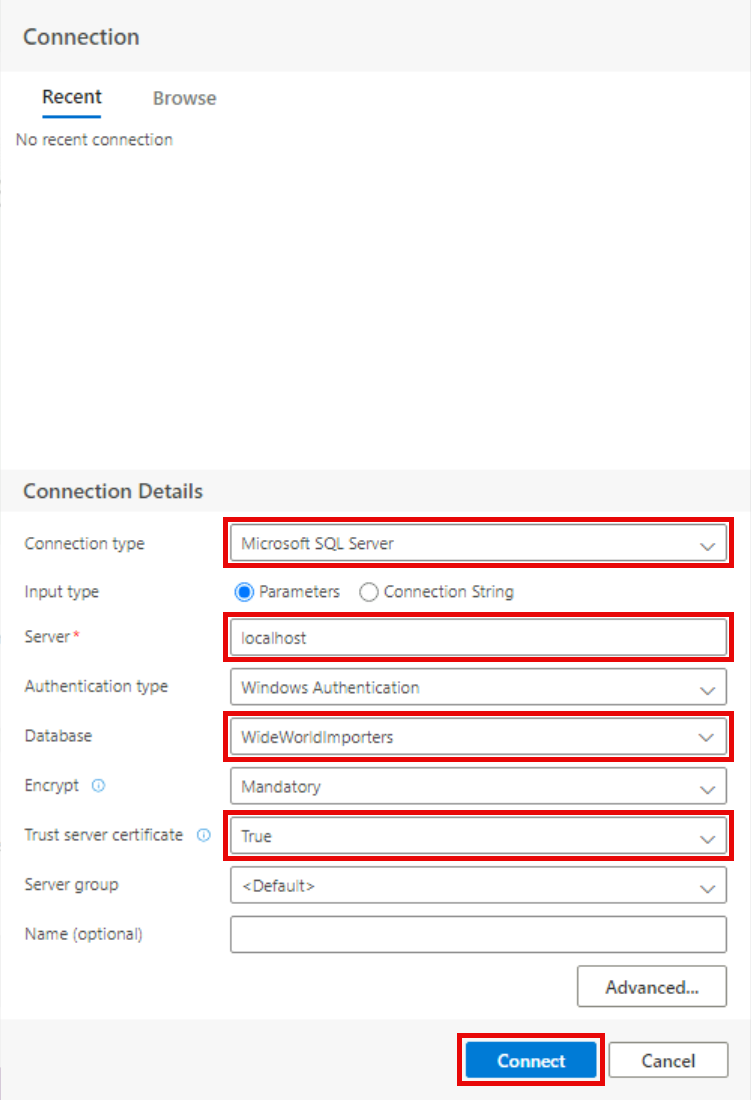
On the Connection pane, enter the following values to connect to the on-premises SQL database, then select Connect:
- Connection type: Microsoft SQL Server
- Server:
localhost - Authentication type: Windows Authentication
- Database:
WideWorldImporters - Trust server certificate:
True
If you encounter a
Connection error, always select Enable Trust server certificate.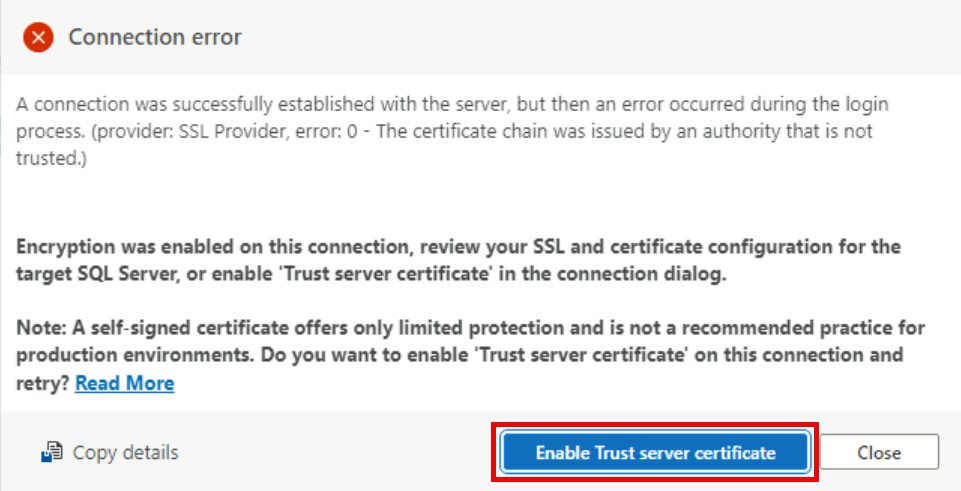
-
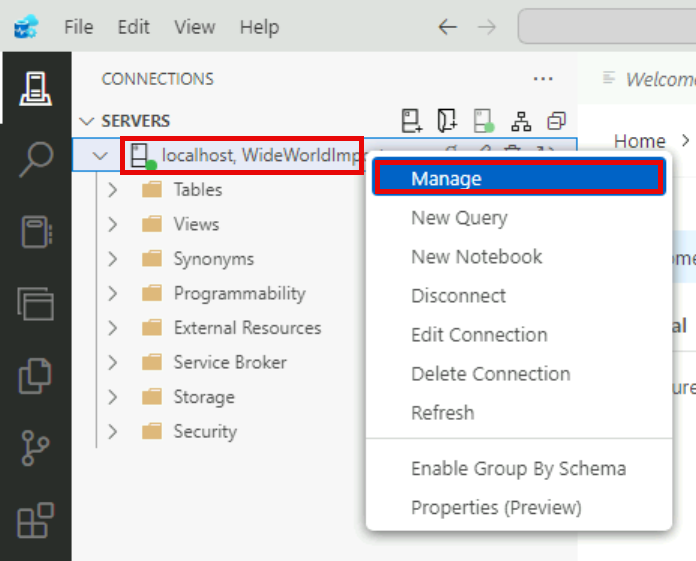
In the list of servers, right-click the localhost, WideWorldImporters server, then select Manage.
-
Select Backup Database (Preview).

-
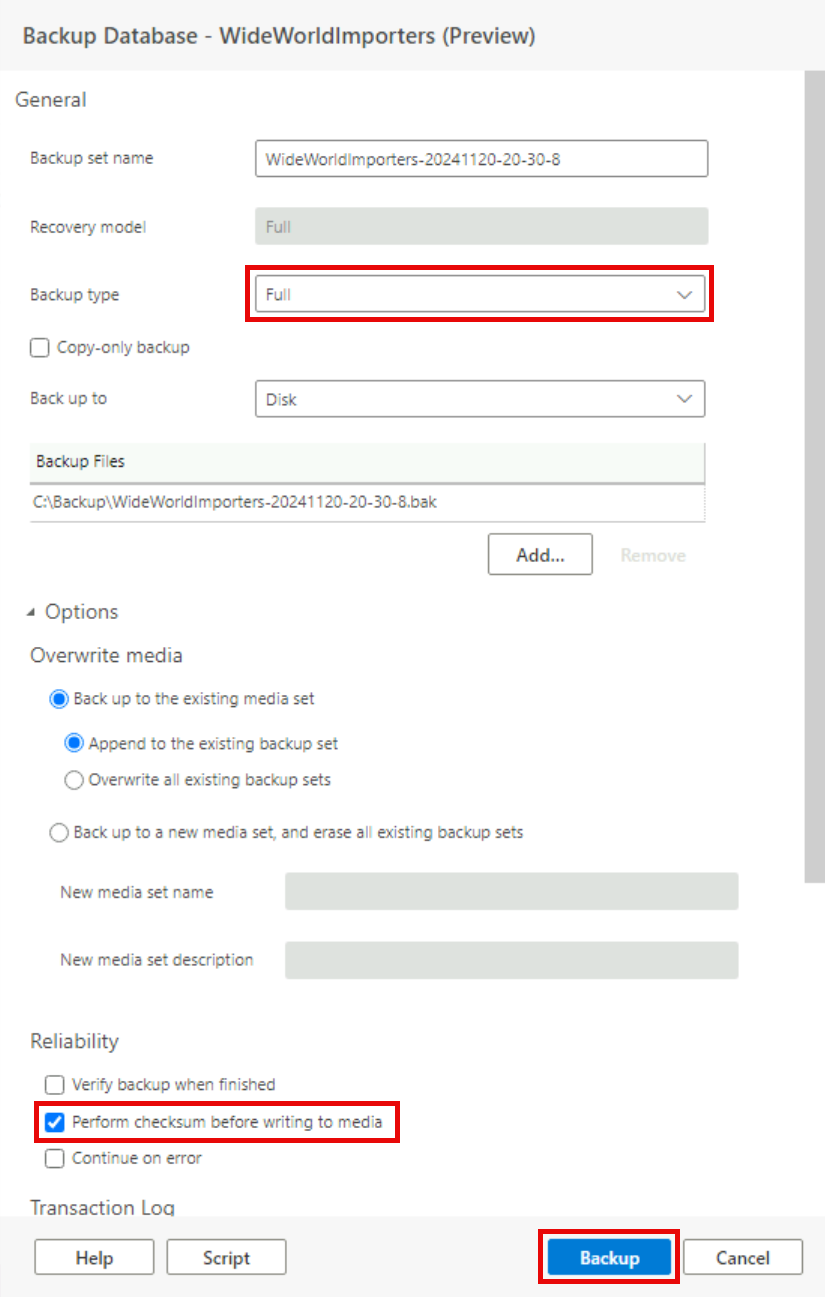
On the Backup Database pane, make sure the Backup type is set to Full, select the Reliability option to Perform checksum before writing to media, then make a note of the location of the Backup files, and select Backup.
-
Open Microsoft Edge, go to the following link and download the Microsoft Azure Storage Explorer.
-
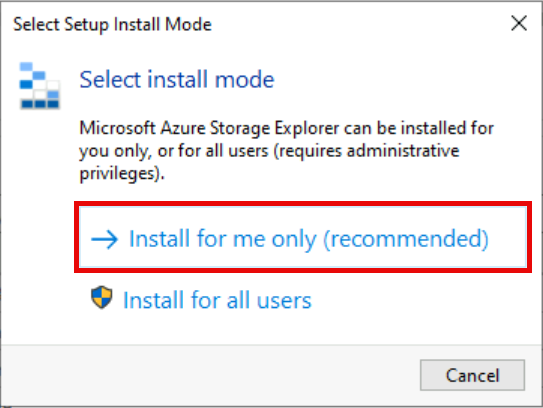
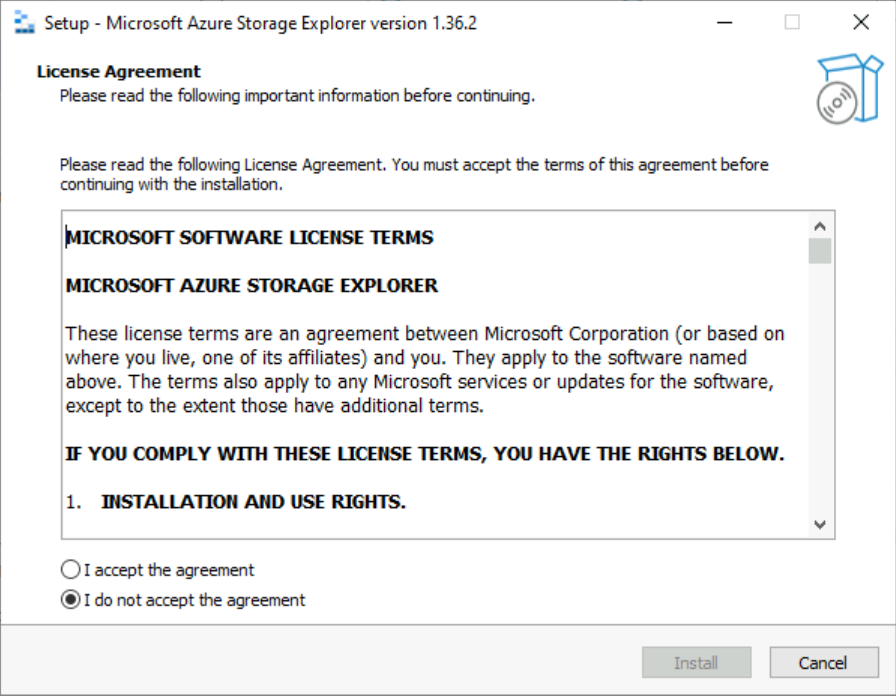
Select Open file to run the Microsoft Azure Storage Explorer installer once it’s finished downloading and follow the prompts to install the tool.
-
Launch Microsoft Azure Storage Explorer.
-
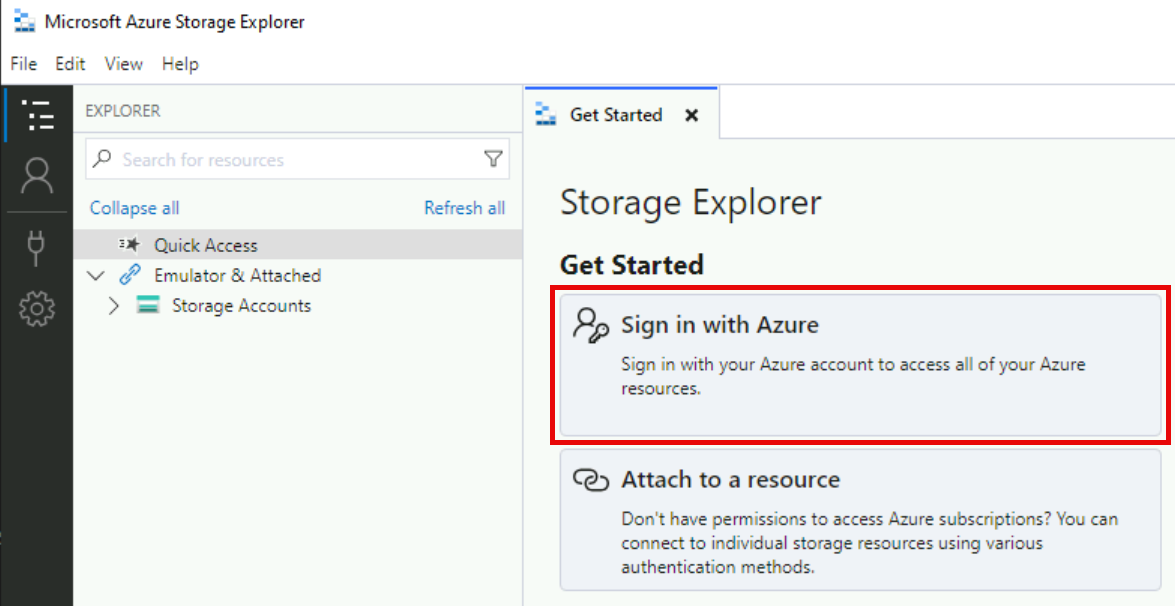
Select Sign in with Azure.
-
Sign in with your Microsoft Account.
If you encounter an error signing in with your account, please follow the following steps before proceeding the the next step.
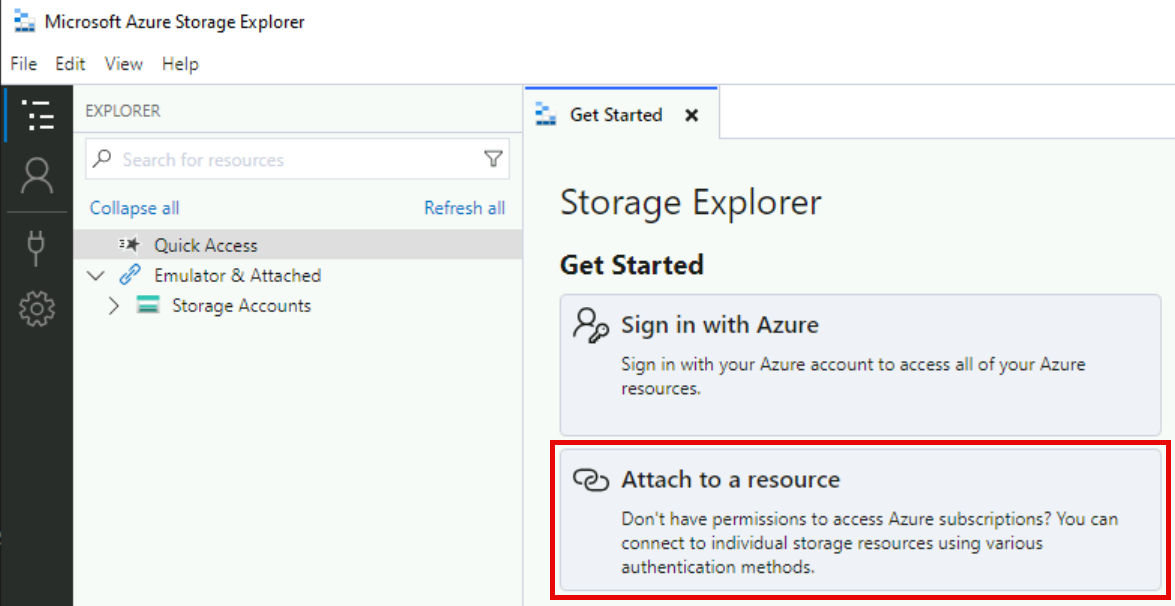
- Select Attach to a resource.
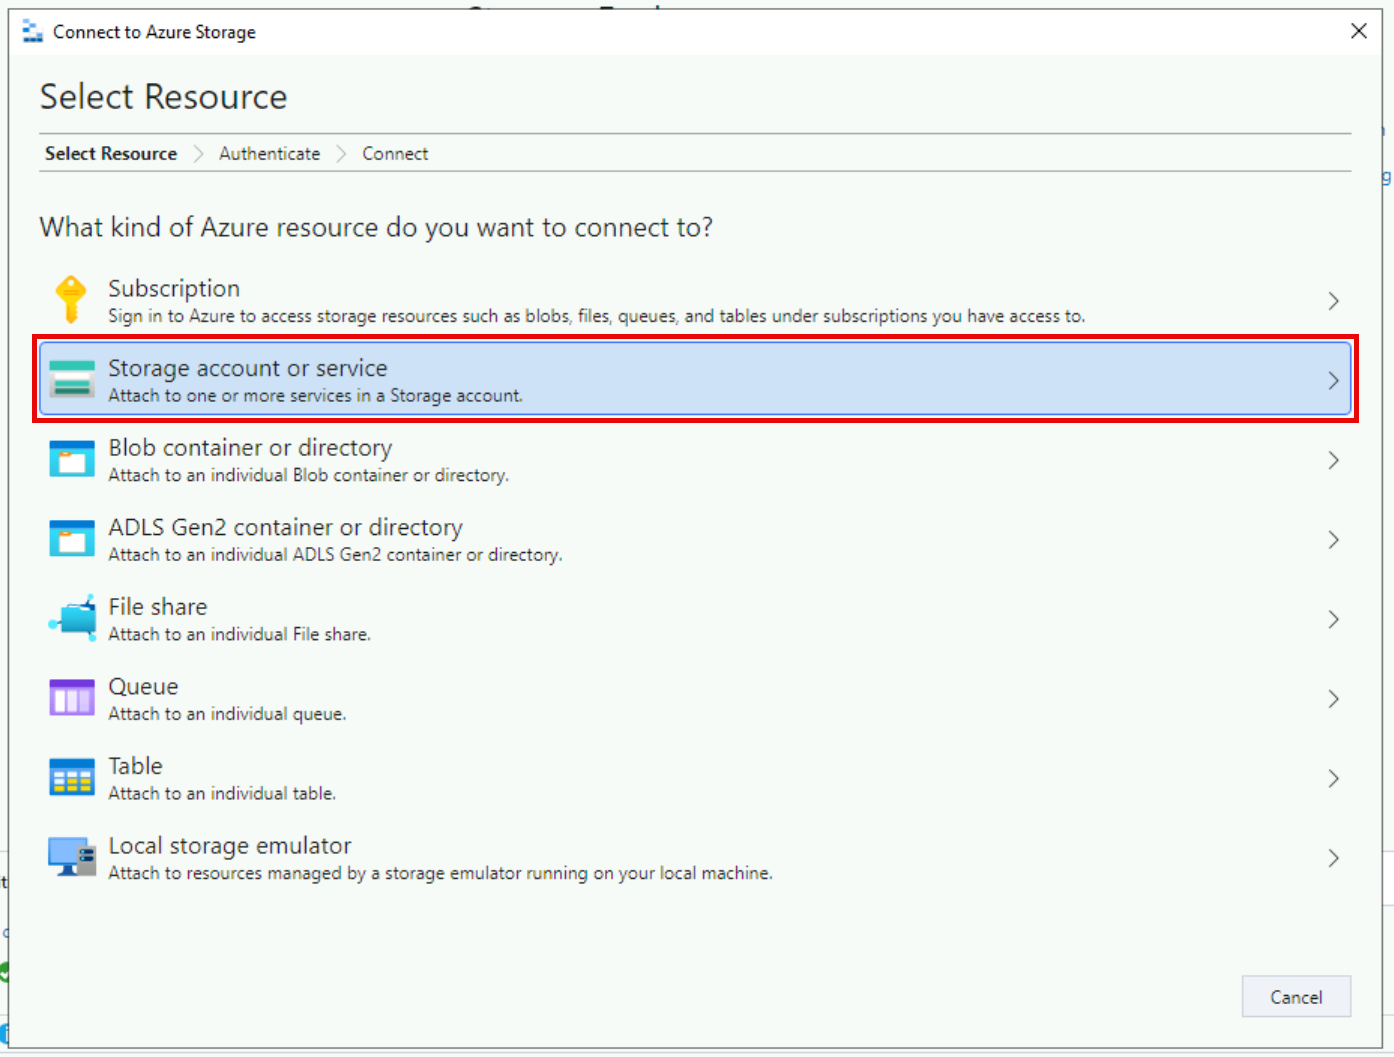
- Select Storage account or service.
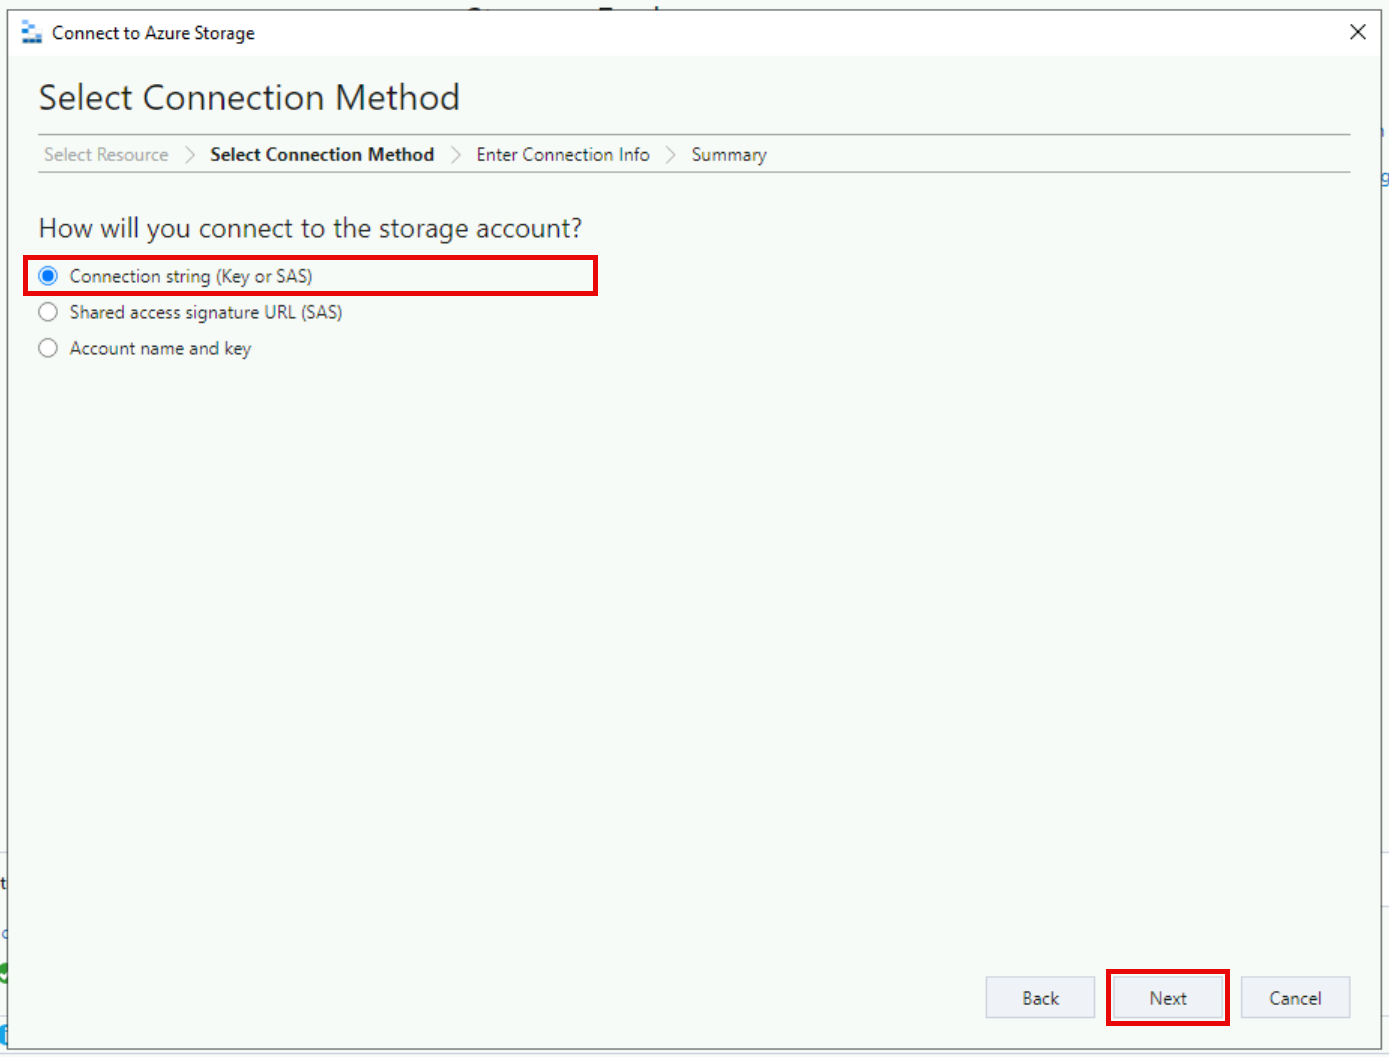
- Select Connection string (Key or SAS) and then select Next.
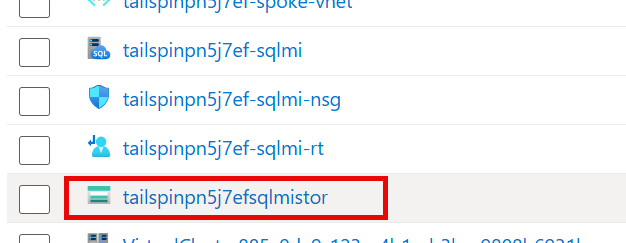
- In the Azure Portal, navigate to the Resource Group for the lab, then navigate to the
tailspinsqlmistorstorage account.
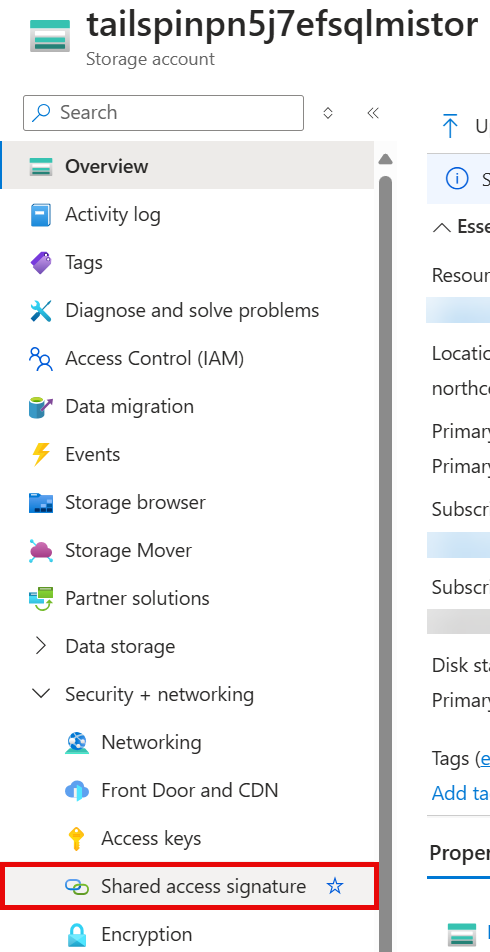
- On the left, select Shared access signature under Security + networking.
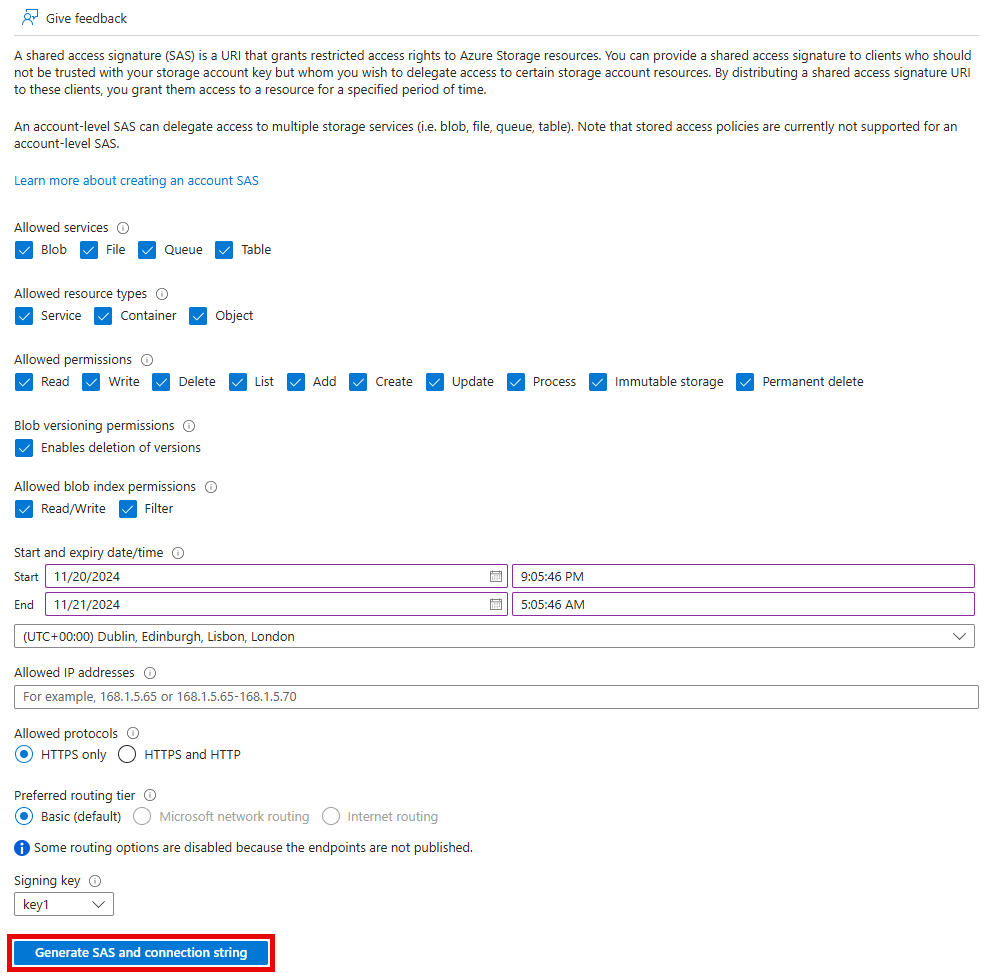
- Select all the needed options and then select Generate SAS and connection string.
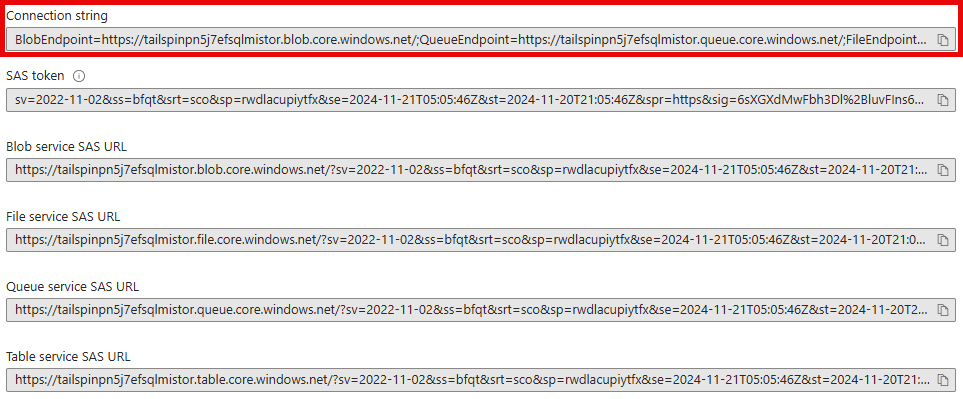
- Copy the Connection string value.
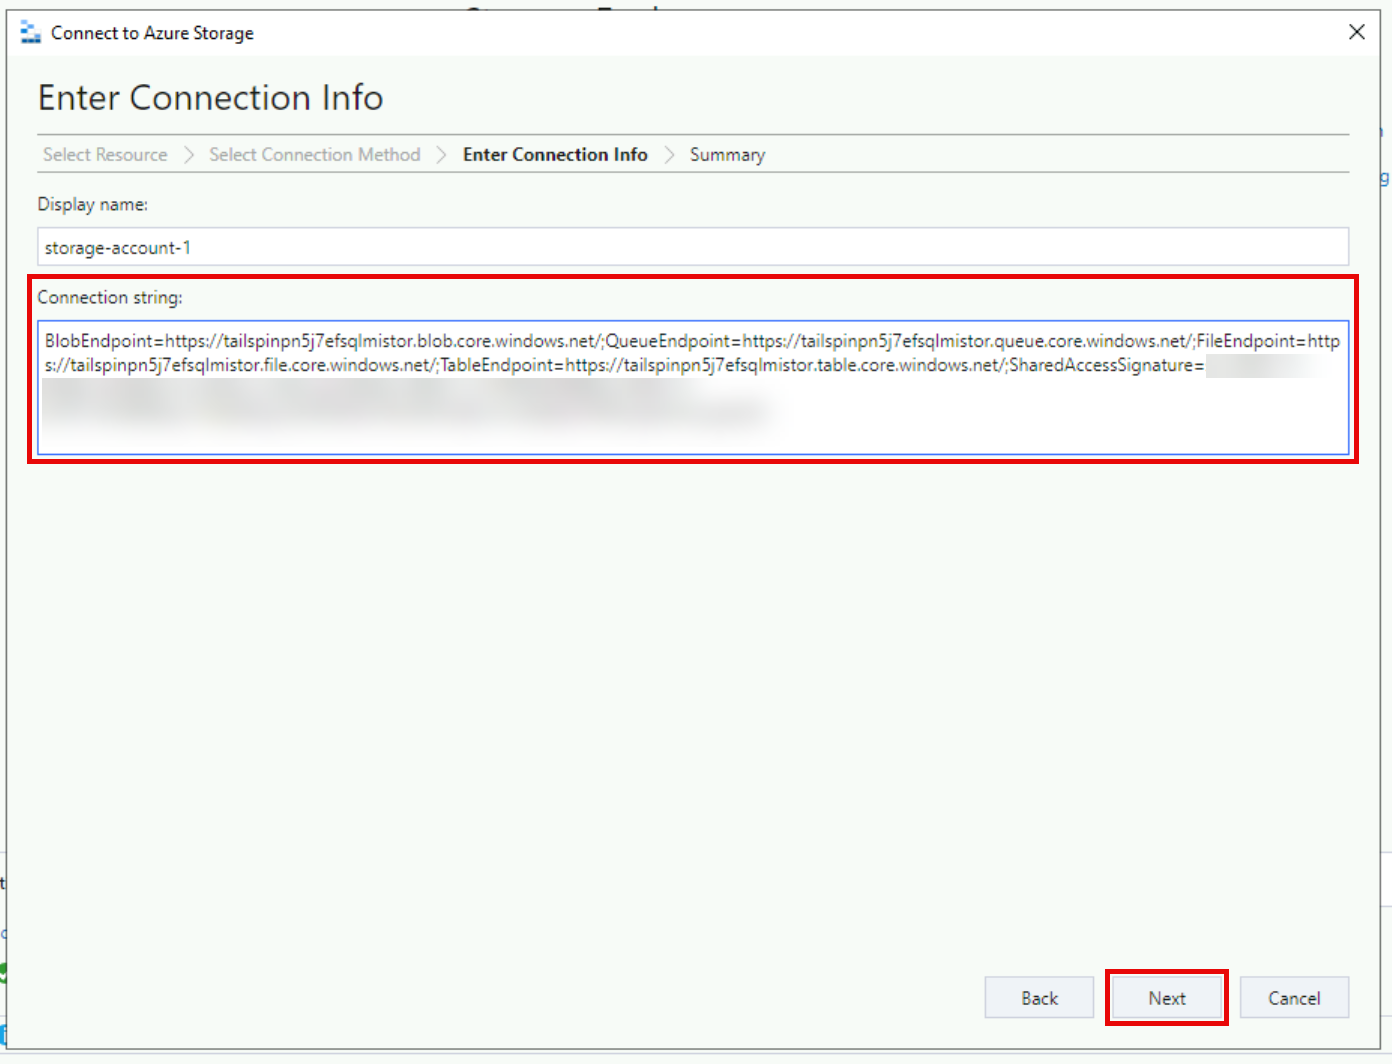
- Paste the copied value into the Connection string: field and then select Next.
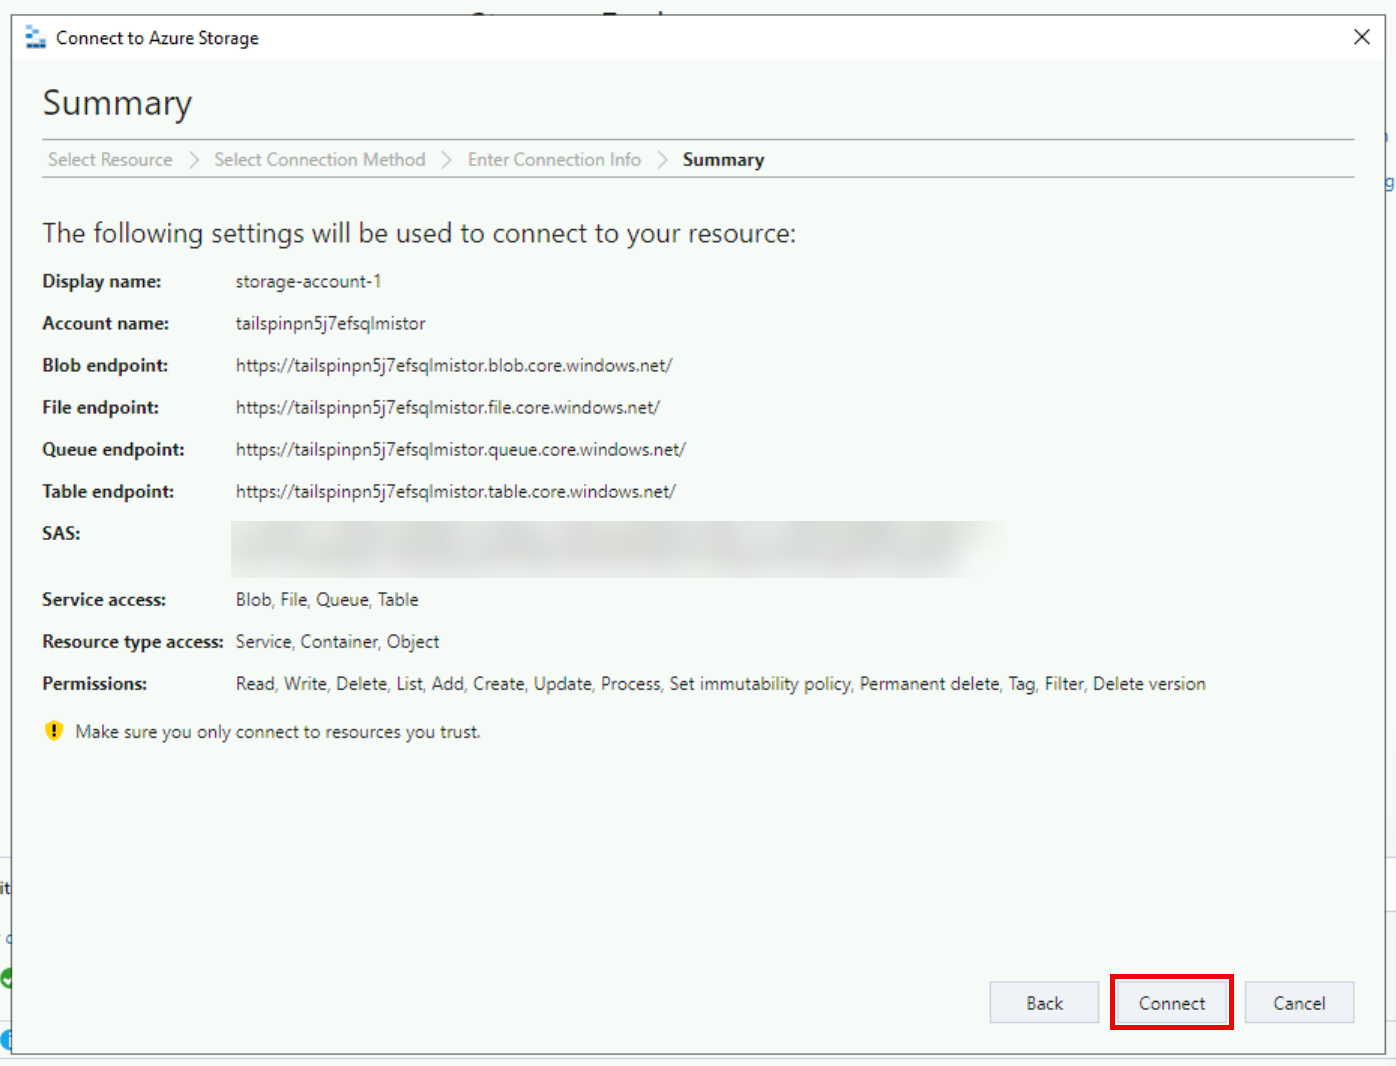
- Review the details and then select Connect.
-
In the Explorer pane, expand the Azure Subscription, locate the previously created Storage Account (named similar to
tailspinsqlmistor), then expand Blob Containers and select the sql-backup container.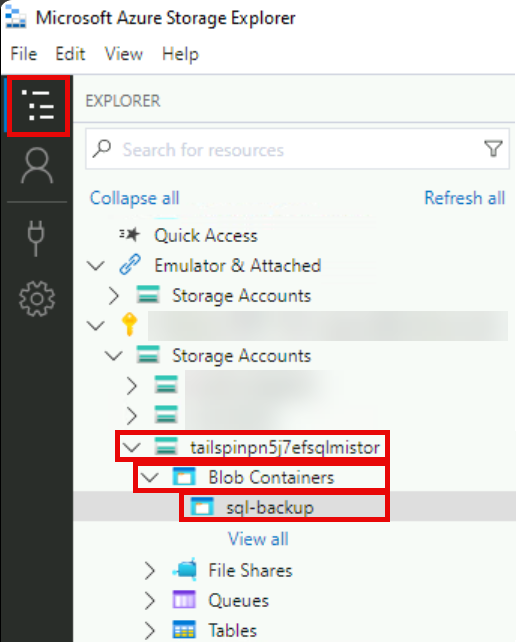
-
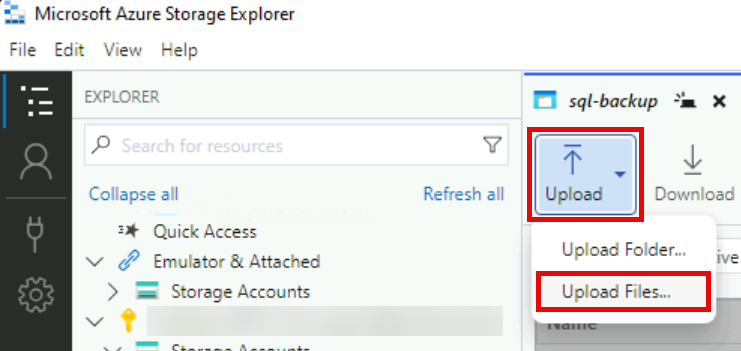
In the sql-backup container pane, select Upload, then select Upload Files….
-
In the Upload Files dialog, in the Selected files field, select the Database Backup File (
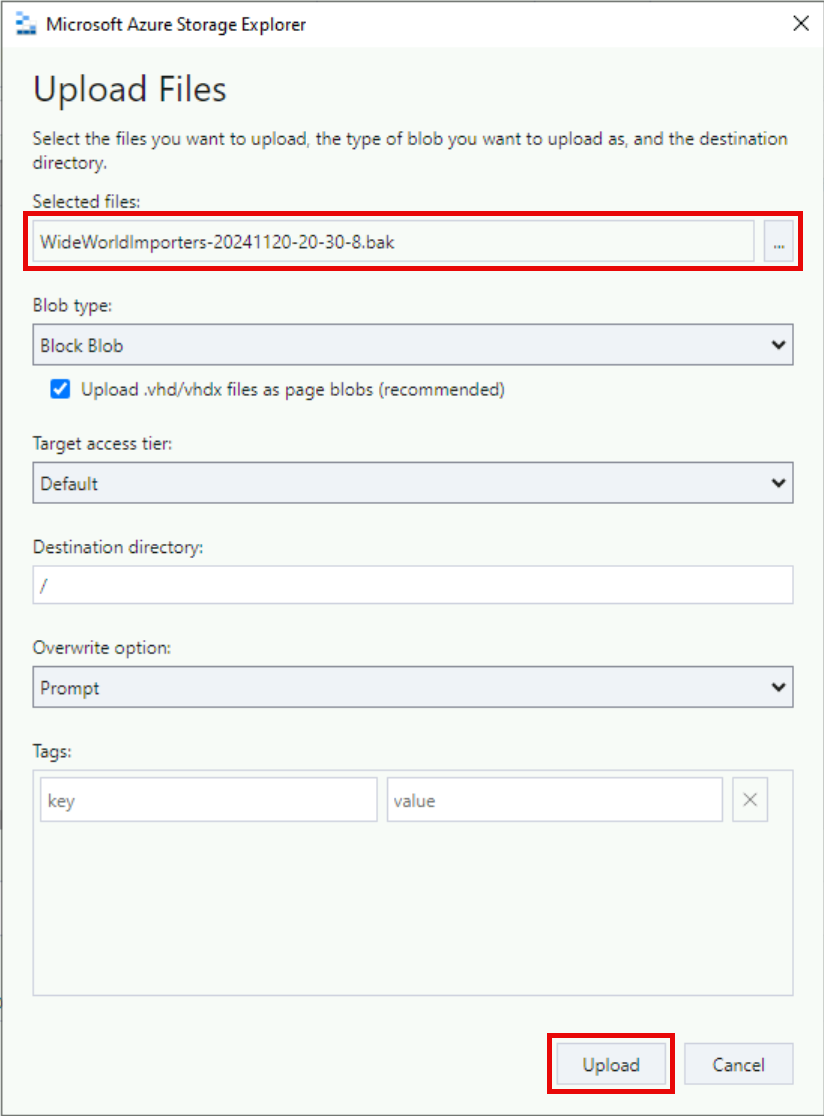
.bak) for the WideWorldImporters database you created earlier, then select Upload.