Customize the App
In this walkthrough, let’s review the changes you should consider making to the sample before using it for your own event. As an example, we are going to create an app for a Birthday party we hosting for someone who is turning 3! We will take you thru the steps required to submit the app to the Windows Store and send a link to the app to your friends to download the app to their Windows 10 device with a single click.
Updating the Code
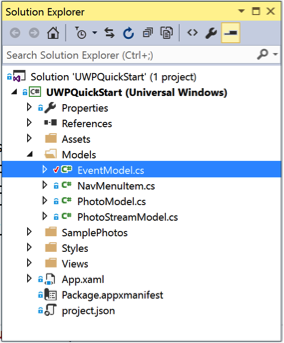
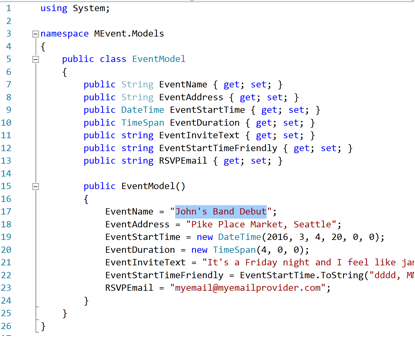
The first thing we will do is to update the data models that the app is using. Open EventModel.cs, located in the Models folder of the project.
Because we have centralized all of the data in one location, making a change ripples thru various parts of the UI that uses the same data bindings. For example, the EventName property is used in the home page of the application (EventMainPage.xaml), and in the code that sends out RSVPs (RSVP.xaml.cs).
Change the various properties to the specifics for your event. In this case, we are going to change the EventName from “John’s Band Debut” to “Trisha turns 3!”.
In EventDetails.xaml, you will see a Map control we are using<maps:MapControl/>. If you run the application and navigate to the Event Details page, you will see an invalid token message over the map control. This is expected, and let’s fix that.

To use the Map control for your own app, you will need to visit the Bing Maps developer portal and request a free token at Bing Maps Portal – all you need is a Microsoft account.
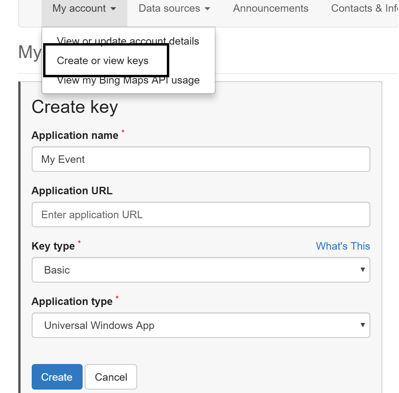
Once you acquire a token, you can update the XAML in EventDetailsPage.xaml to use it.
<maps:MapControl x:Name="mapControl" MapServiceToken="<Token acquired from the Bing Maps portal>" Grid.Row="1"/>
Testing the application should now get rid of the warning that you previously saw.
You might want to change the default set of images that the app is using to be specific to your event.
In our case, we are going to replace the heroimage.jpg in the Assets folder with something more appropriate for a birthday party.
We also going to add some static images for the event (hopefully that will get us more RSVPs!). Later, we will take a look at how to make it a lot more dynamic and fetch the images from some service in the Cloud. One final step you will need to do if you change the set of images is to update the InitializePhotoCollection() method in PhotoStreamModel.cs to something more appropriate.
public void InitializePhotoCollection()
{

    StreamItems.Clear();
    StreamItems.Add(new PhotoModel(new Uri("ms-appx:///SamplePhotos/Cake.jpg")));
    StreamItems.Add(new PhotoModel(new Uri("ms-appx:///SamplePhotos/Balloons.jpg")));
    StreamItems.Add(new PhotoModel(new Uri("ms-appx:///SamplePhotos/Party.jpg")));
}Once we have made this changes, our app is almost ready for submission to the Windows Store. Let’s test it to make sure it looks and works great!

Getting the app ready for the Windows Store
To submit your app to the Windows Store, the first step is to register for a Developer account if you don’t already have one. Visit https://dev.windows.com/programs/join to sign up for a new account.
Once you register for a Developer account, you will be able to see your Dashboard that lists all of the apps that you might have ever published before.
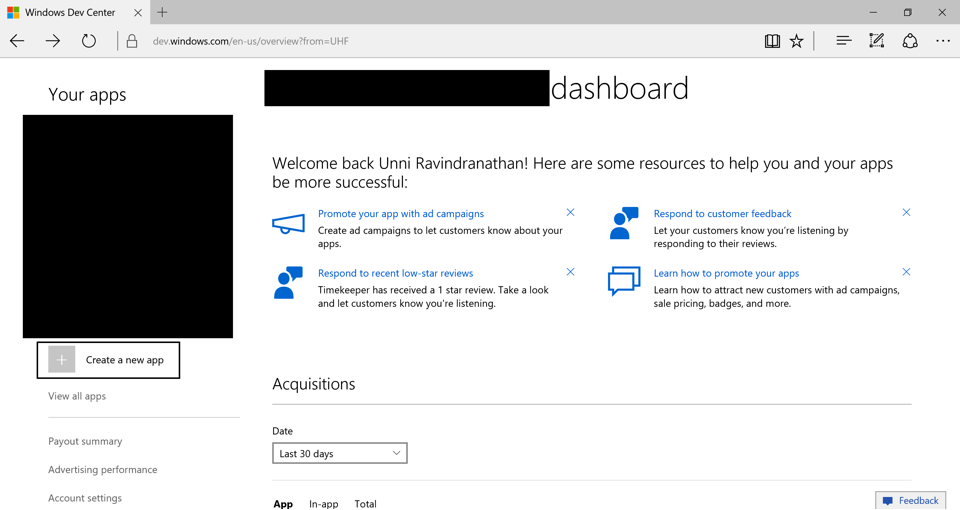
Tip: You can start your submission process by creating a new app right away, or you can come back to this later after you have built your app packages for the Store.
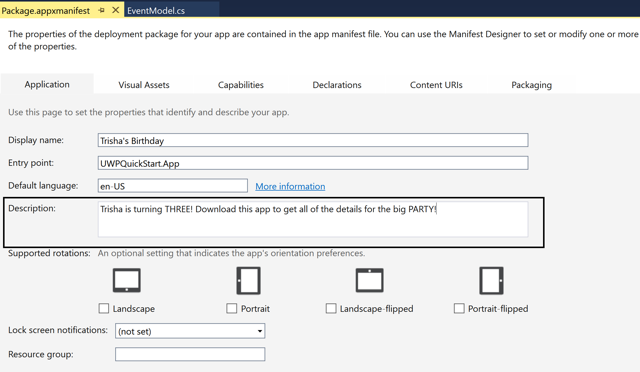
Back in Visual Studio, open Package.appxmanifest from the Solution explorer and consider updating the Display Name and Description of the app. You may also choose to update the various assets used including the Splash screen shown to the user when the app is starting up, the Tile for the app in the Start menu, etc. – you will find all of these in the Assets folder of project in the Solution explorer.
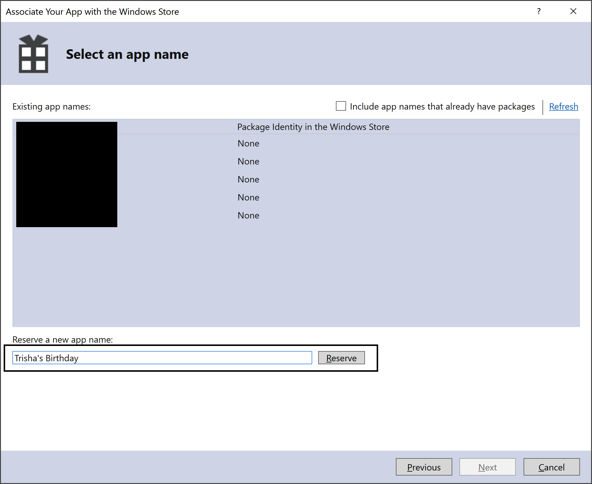
Use Visual Studio to associate your app with the Windows Store and reserve a name for it. Go to the Project menu -> Store -> Associate App with Store. You will be prompted for the credentials that you used to setup your Developer account, followed by you reserving a name for your app.
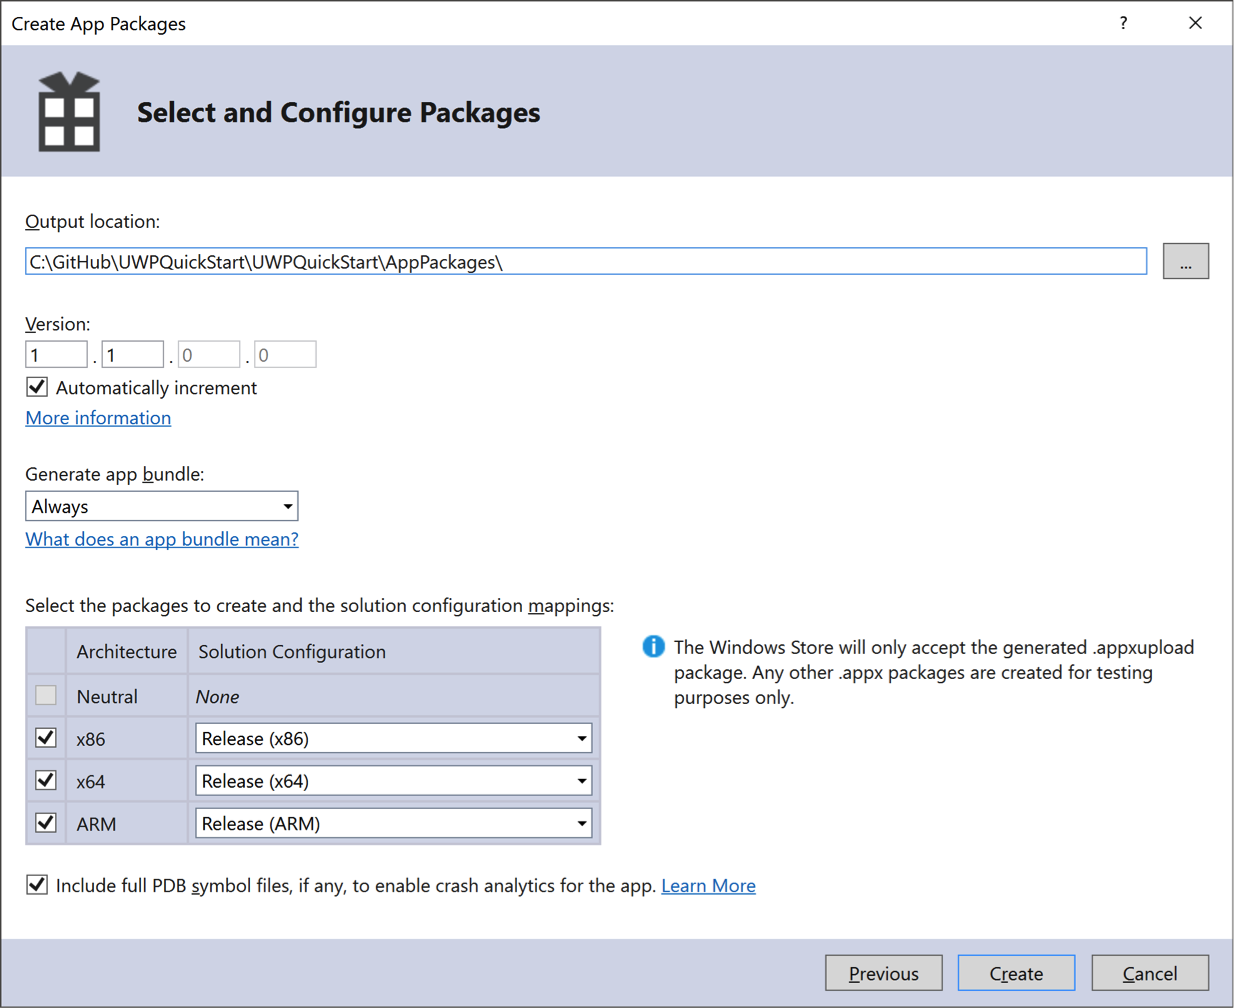
You are now ready to building and submit your app packages to the Store. Go to the Project menu -> Store -> Create App Packages, and use the default choices. At the end of the process in a couple of minutes, you will have everything you need to submit the app to the Store.
Submitting your application to the Windows Store
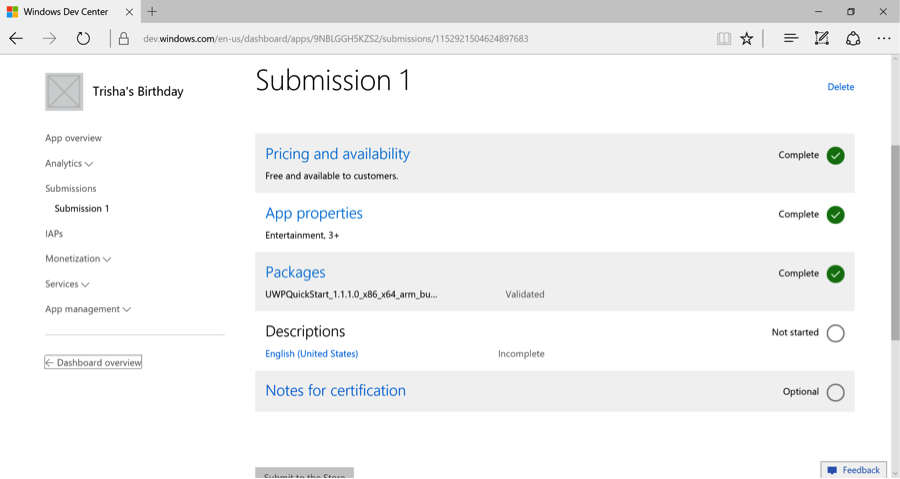
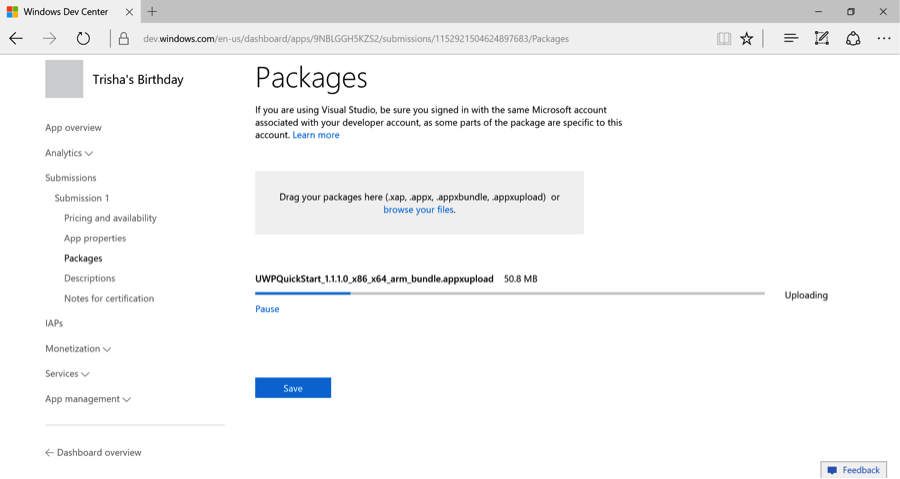
Start a new submission by specifying metadata for the app including a description so users can find it in the Store, images, what to charge for the app (or Free!), etc.
Tip: Nobody likes uninvited guests! If you want to have an app in Store and want it to be not discoverable, you can choose to specify this when you configure Pricing and availability -> Distribution -> Hide this app from the Store. You can then send a direct download link to the app to only your Friends (covered in the next section).
For the Packages, navigate to the folder where you decided to create them a few steps above, and select the singular .appxupload file – that particular package contains all of the artifacts required to have a functional app in the Store.
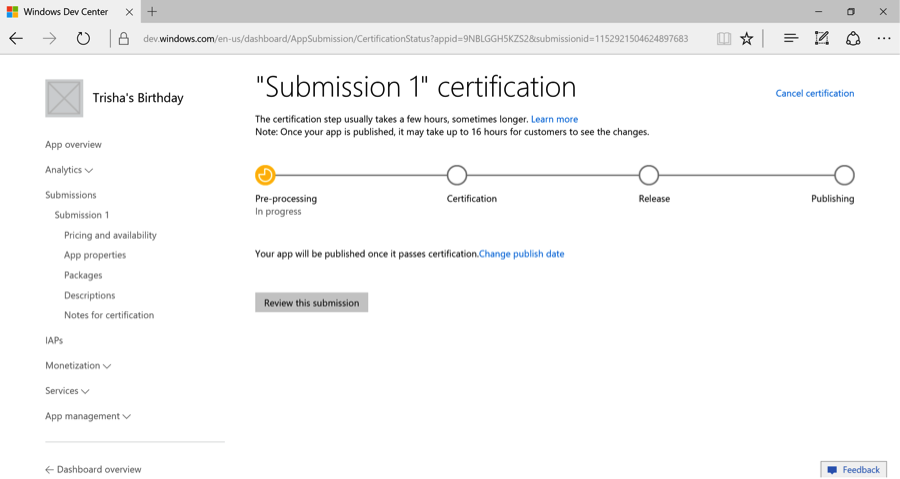
Finally, hit Submit! Now it is your turn to wait for a few hours as the app undergoes certification for compliance with the Windows Store policies. You will get an e-mail at the end of the process to whatever e-mail address you chose to receive communications at the time of setting up your Developer account. You can also go back to your Dashboard and check the status of your active submissions at any point.
Sending app link to your friends
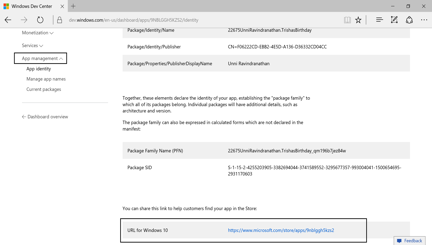
Congratulations! Your app is now live in the Store. You can get a link to the app to send to your friends by e-mail on the Dashboard for your app.
Changing the UI styling for the app
Let’s change how the default Button controls look. You can always open Styles.xaml, look for ButtonBrush and change its HEX value in the XAML to something else. But we want to do this more visually this time around so we can get a sense of how the app looks like as we are changing things.
To do this, open RSVP.xaml and select the Send button by clicking in the Designer. Now, switch to the Properties windows (F4 if not already open and available), and expand the Brush category. Then, select the little green dot that will bring up a menu, and choose Edit Resource. You will now be able to visually change the Brush resource value and see the designer update.
