2. Task Instances
The following section will go into detail on how to manage and view task instances from a user perspective. It will also explain the other features that are available on the Task Instances page.
The Task Instances page can be accessed through the menu. As shown in figure 2-1 and 2-2, it is accessed through the View Menu button.
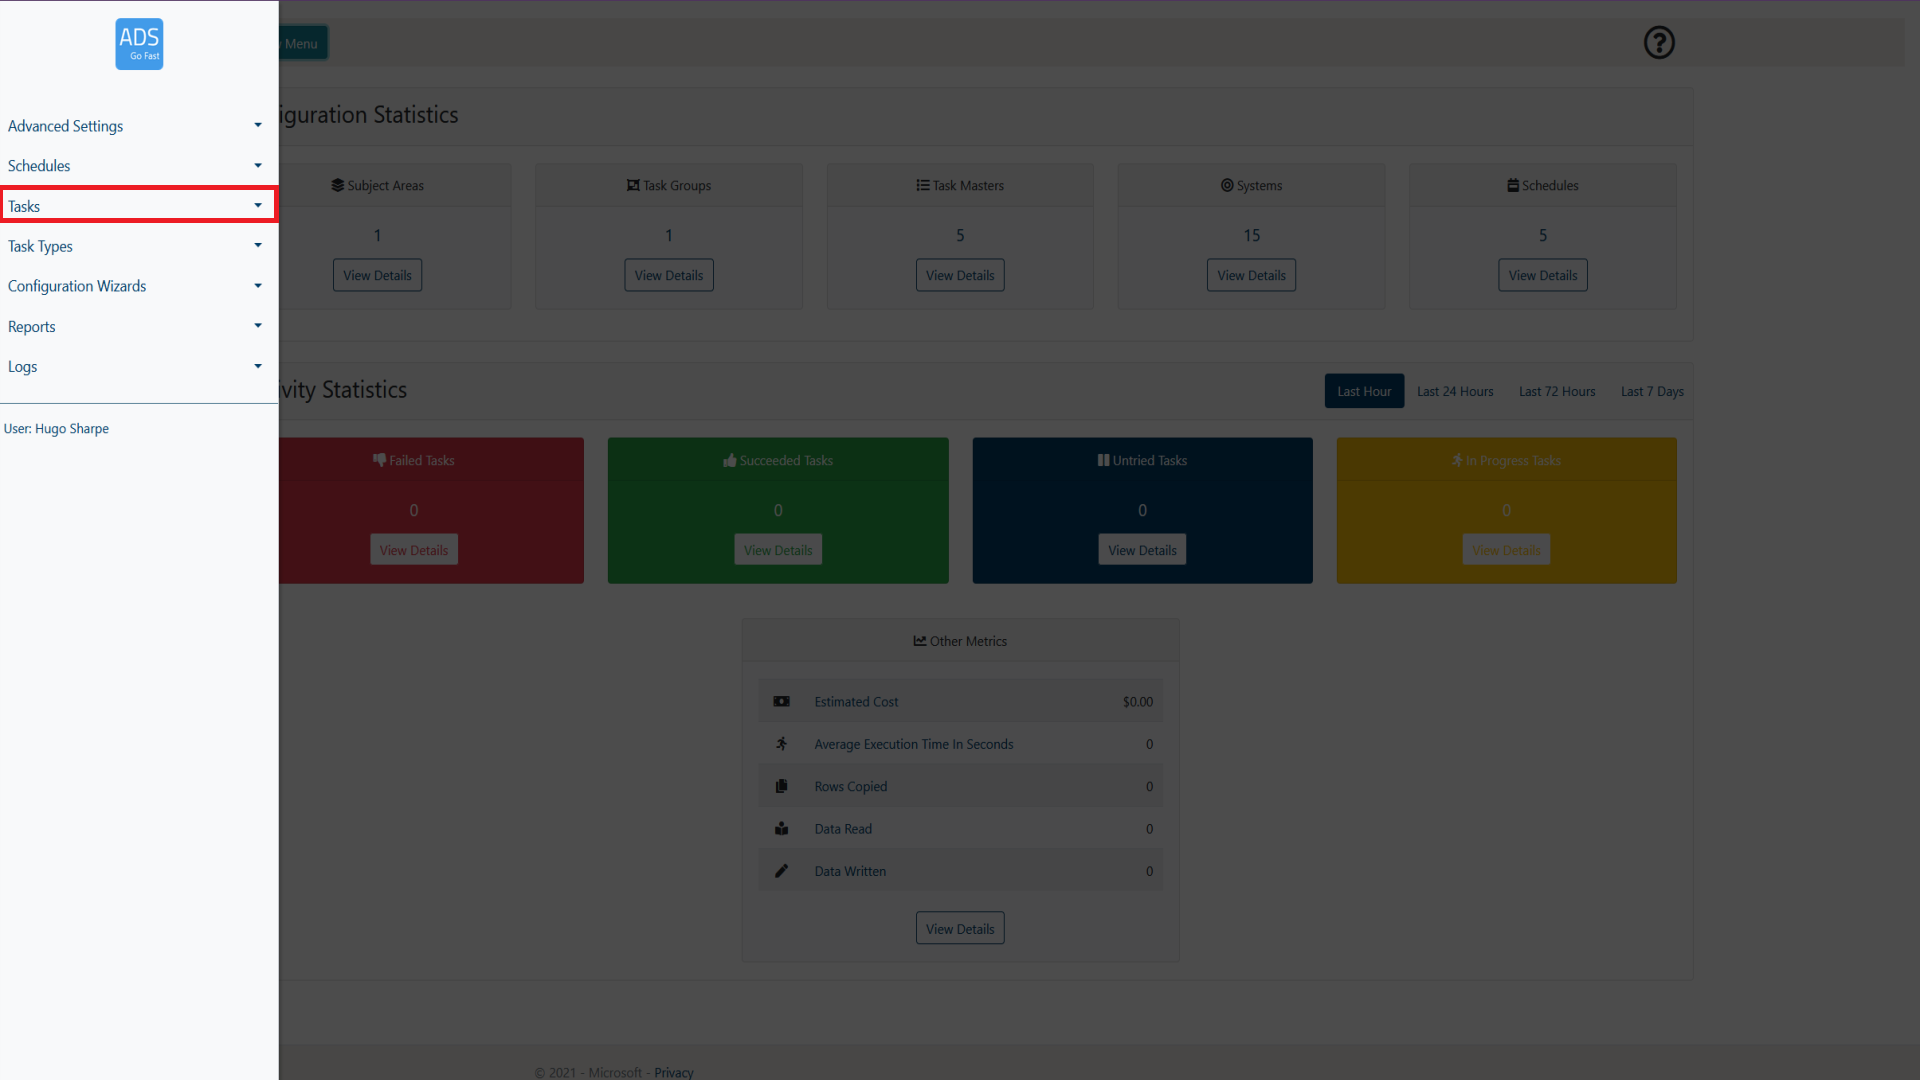
Figure 2-1: LockBox Menu Tasks selection
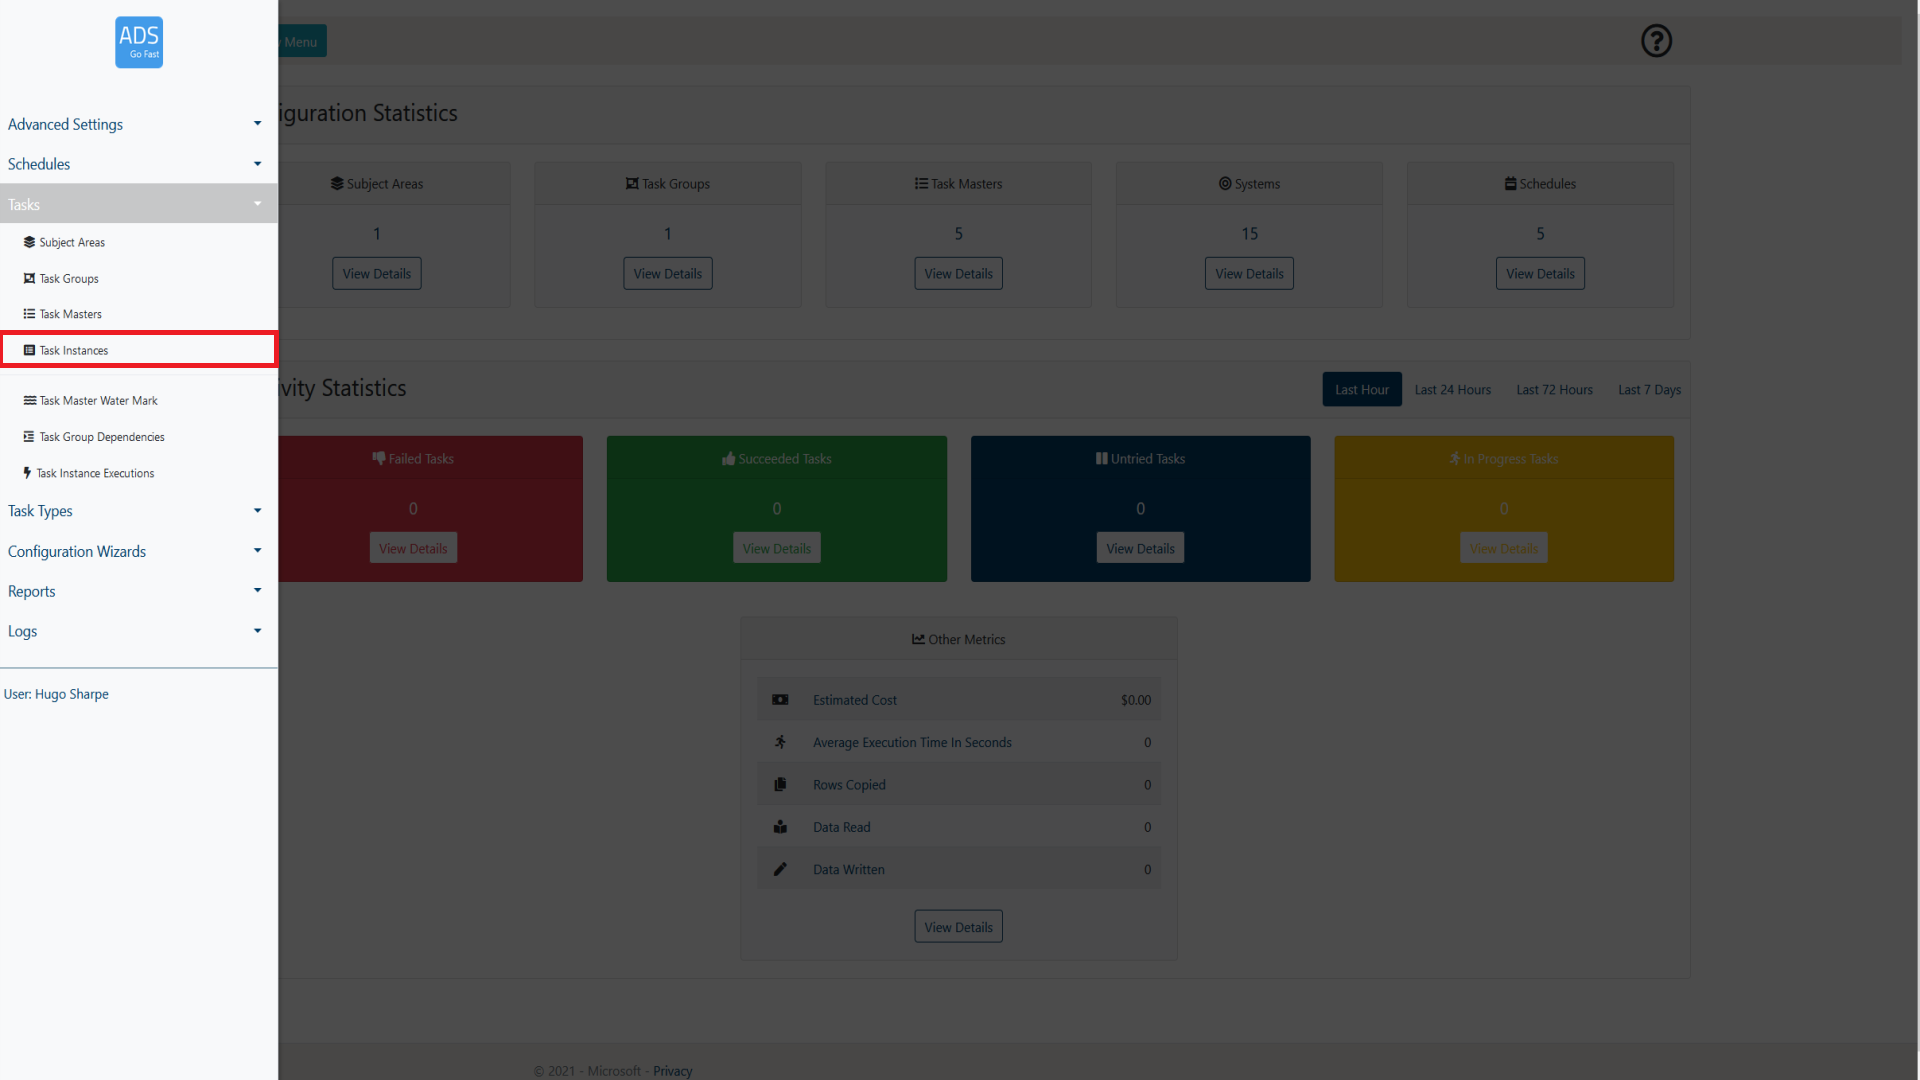
Figure 2-2: LockBox Menu Task Instances selection
What is a Task Instance?
A Task Instance can be thought of as a specific execution of a Task Master. It is the single ‘instance' in of its relative Task Master that is being executed in real time. It will show the progress of the execution and allow the user to understand if the Task has been completed, failed, or is in progress.
2.1 Page overview
When browsing the Task Instances page, a layout similar to figure 2.1-1 will be shown to you. Following the figure some more details will be provided on what each of these items represent.
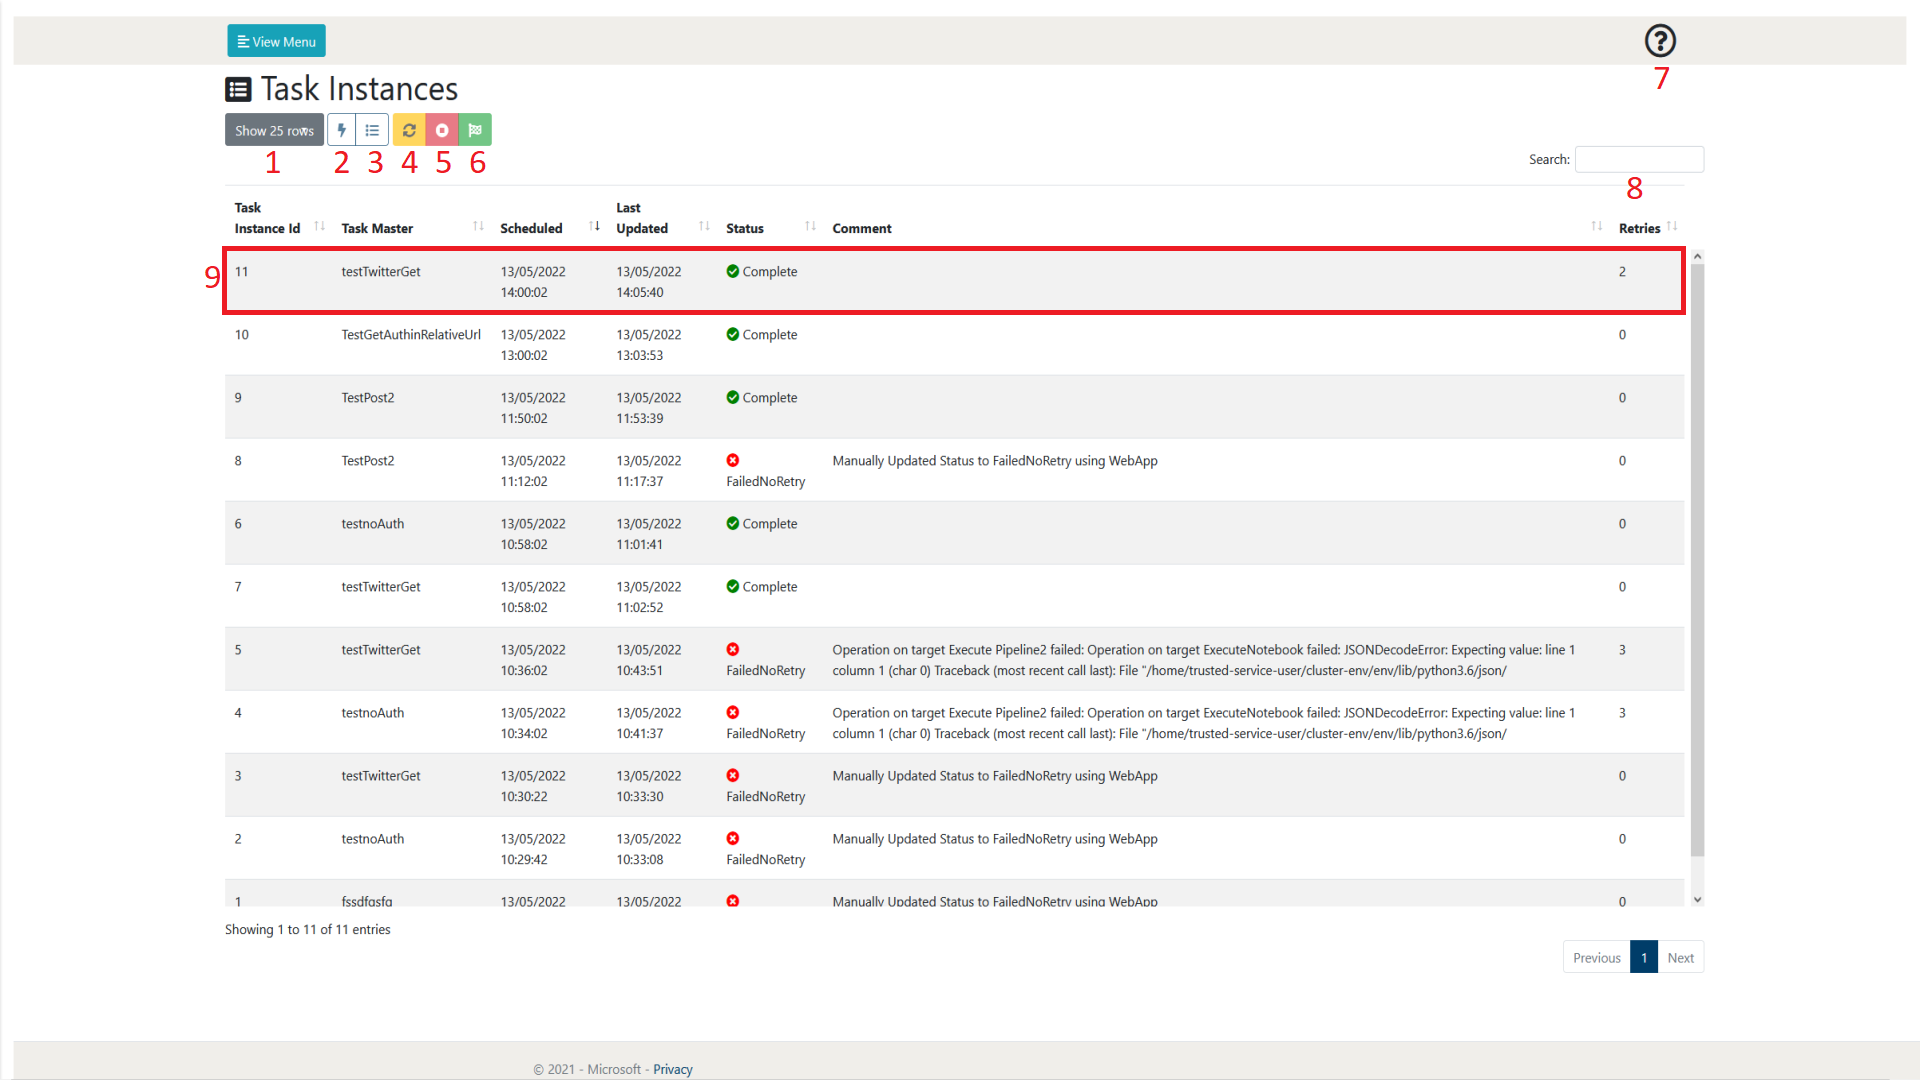
Figure 2.1-1: Task Instances page overview
| Number | Object Name | Description |
|---|---|---|
| 1 | Show rows selection | This allows the user to define how many rows of Task Masters they wish to view per page. At the time of writing, the selections available are 10, 25, 50 and 100. As can be seen in figure 2.1-1 at the bottom right of the page there is also a page selection to be able to browse through pages of created Task Masters |
| 2 | View Task Instance Executions | This allows the user to view the executions of the Task Instance. Each Task Instance may have multiple executions if the initial or subsequent execution has failed due to something such as an error. It may also have multiple executions if the user manually updates the instance. More information about Task Instance Executions can be found in section 2.2.
|
| 3 | View Task Master | This allows the user to view the Task Master of the Task Instance currently selected. More information about Task Masters can be found in section 1. |
| 4 | Mark as Untried | This allows the user to update the Task Instance as untried. This means that the Function app will attempt to create an execution of this task instance and complete this task as denoted by its relevant Task Master. It will be noted in the comment of the Task Instance that this was manually updated by the user.
|
| 5 | Mark as FailedNoRetry | This allows the user to update the Task as failed with no further retries being executed. This means that no further Task Instance Executions will be created for this Task Instance and it will be noted as a failure to complete its task. It will be noted in the comment of the Task Instance that this was manually updated by the user.
|
| 6 | Mark As Complete | This allows the user mark the Task Instance as complete. This means that no further executions will be attempted and it is viewed as successfully completing its task. It will be noted in the comment of the Task Instance that this was manually updated by the user. |
| 7 | Help | This allows the user to display some help text that gives a summary of the current web page. |
| 8 | Search | This allows the user to search for a Task Instance by name. The Task Instances displayed will only be related to the search term input by the user. |
| 9 | Task Instance | This is an example of a created Task Instance. A Task Instance will create Task Instance Executions of itself which can be viewed in the Task Instances Execution page or by selecting the View Task Instance Execution button (2). The Task Instance in this format contains an overview of the main parts of itself. Further information can be obtained by selecting the task and either viewing the Task Master (3) or viewing its executions (2). |
Table 2.1-1: Figure 2.1-1 descriptive details
2.2 Task Instance Executions
The following section will go into detail on how to manage and view task instances from a user perspective. It will also explain the other features that are available on the Task Instance Executions page.
The Task Instances page can be accessed through the menu. As shown in figure 2.2-1 and 2.2-2, it is accessible through the View Menu button.
Figure 2.2-1: LockBox Menu Tasks selection
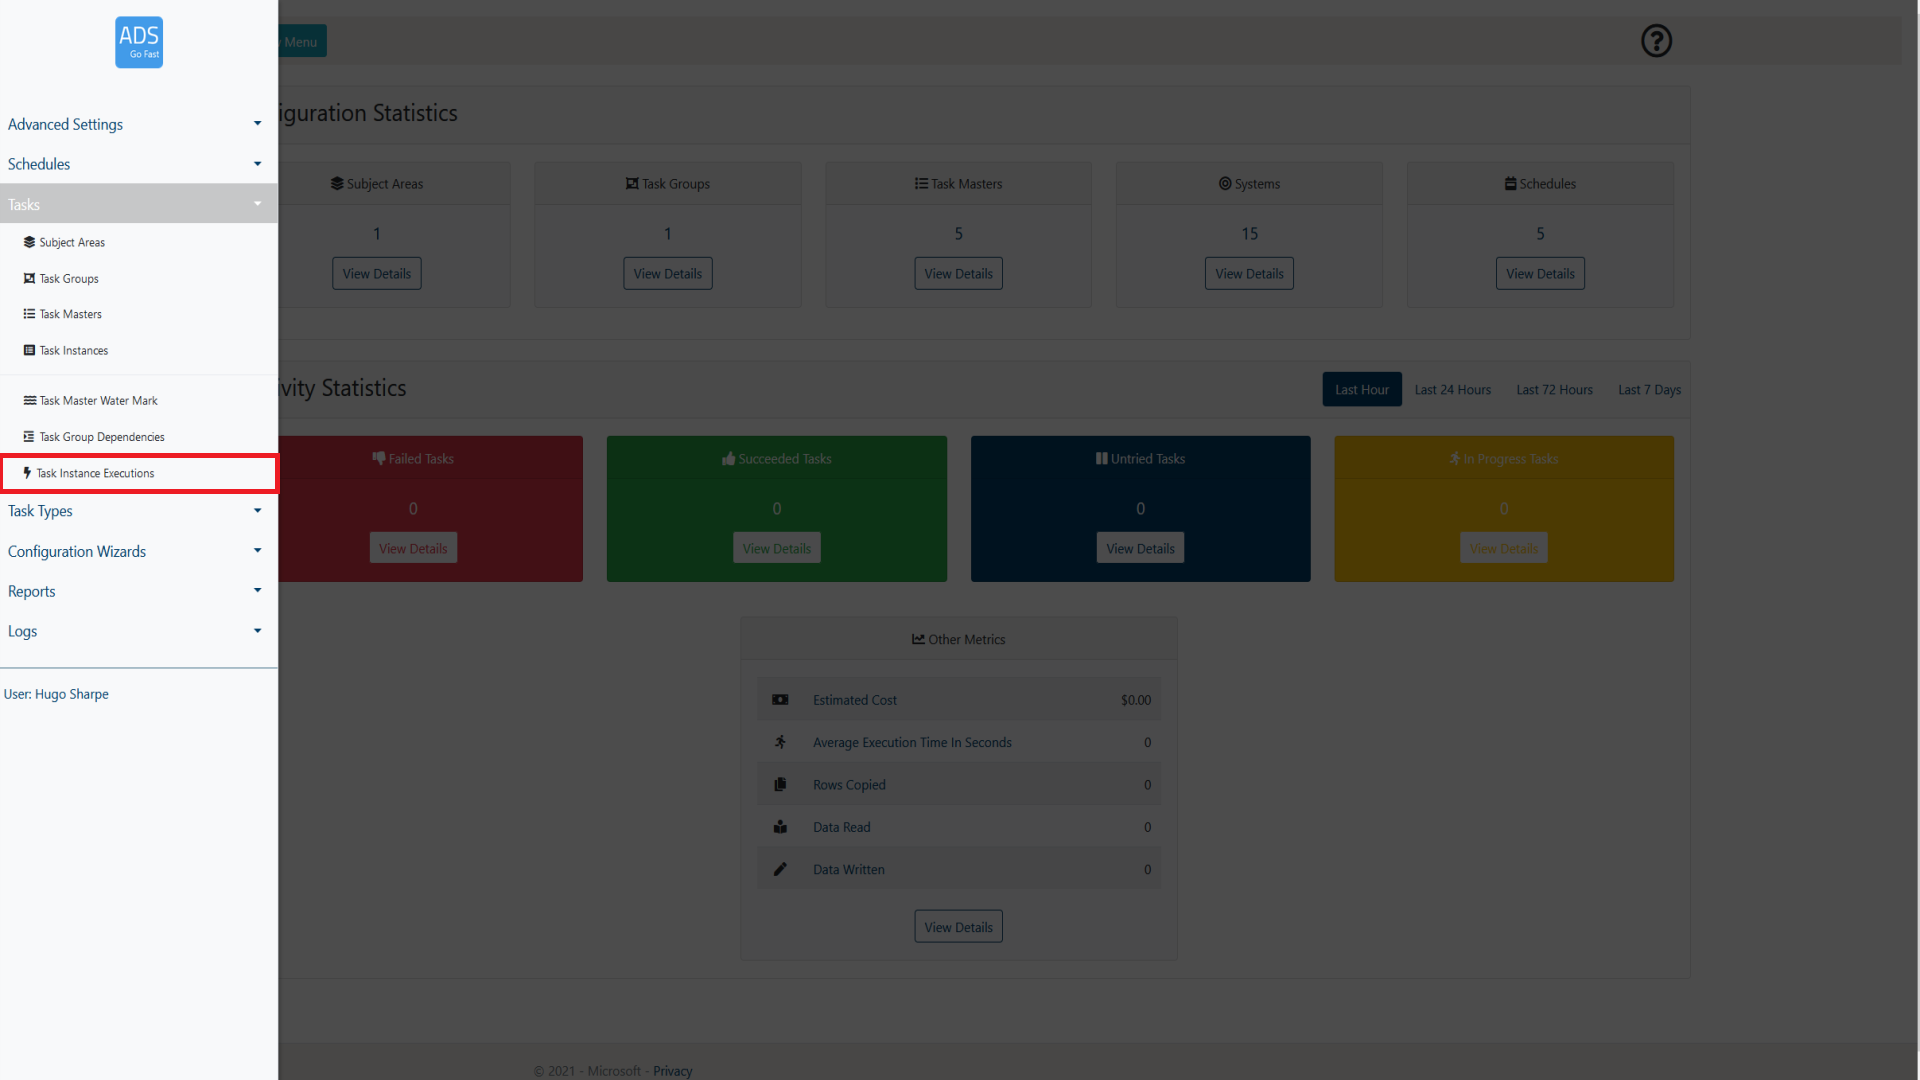
Figure 2.2-1: LockBox Menu Task Instance Execution selection
2.2.1 Page overview
When browsing the Task Instances page, a layout similar to figure 2.2.1-1 will be shown to you. Following the figure some more details will be provided on what each of these items represent.

Figure 2.2.1-1: Task Instance Executions page overview
| Number | Object Name | Description |
|---|---|---|
| 1 | Show rows selection | This allows the user to define how many rows of Task Masters they wish to view per page. At the time of writing, the selections available are 10, 25, 50 and 100. As can be seen in figure 2.1-1 at the bottom right of the page there is also a page selection to be able to browse through pages of created Task Masters |
| 2 | View Task Master | This allows the user to view the Task Master of the Task Instance Execution currently selected. More information about Task Masters can be found in section 1. |
| 3 | View ADF Activity Errors | This allows the user to view any errors associated with the currently selected Task Instance Execution. These will assist with any issues in the form of logs.
|
| 4 | Help | This allows the user to display some help text that gives a summary of the current web page. |
| 5 | Search | This allows the user to search for a Task Instance by name. The Task Instances displayed will only be related to the search term input by the user. |
| 6 | Task Instance Execution | This is an example of a created Task Instance Execution. A Task Instance Execution allows you to view whether a task has completed successfully or not including the details of execution. The Task Instance Execution in this format also contains the pipeline name / executionUID that can be used to view the task process in detail in the relevant datafactory or synapse workspace. Further information can be obtained by selecting the task and either viewing its' Task Master (2) or viewing its' error logs (3). |