Model Catalog#
The Model Catalog is a centralized registry of base models available for training. It provides a collection of pre-trained models, each tailored to specific project types and imagery sources, that serve as the foundation for fine-tuning with your own labeled data.
Add a Model to Catalog#
Once a model has been trained and its inference has been fully processed, you can add it to the Model Catalog so it can be reused as a base model in future training runs. Follow the steps below:
Navigate to the Models table: Go to your project page and locate the models table for the image layer whose model you want to catalog. Click the three-dot menu icon next to the model you want to catalog. The Add Model to Catalog option will only be available for models whose inference status is Processed.
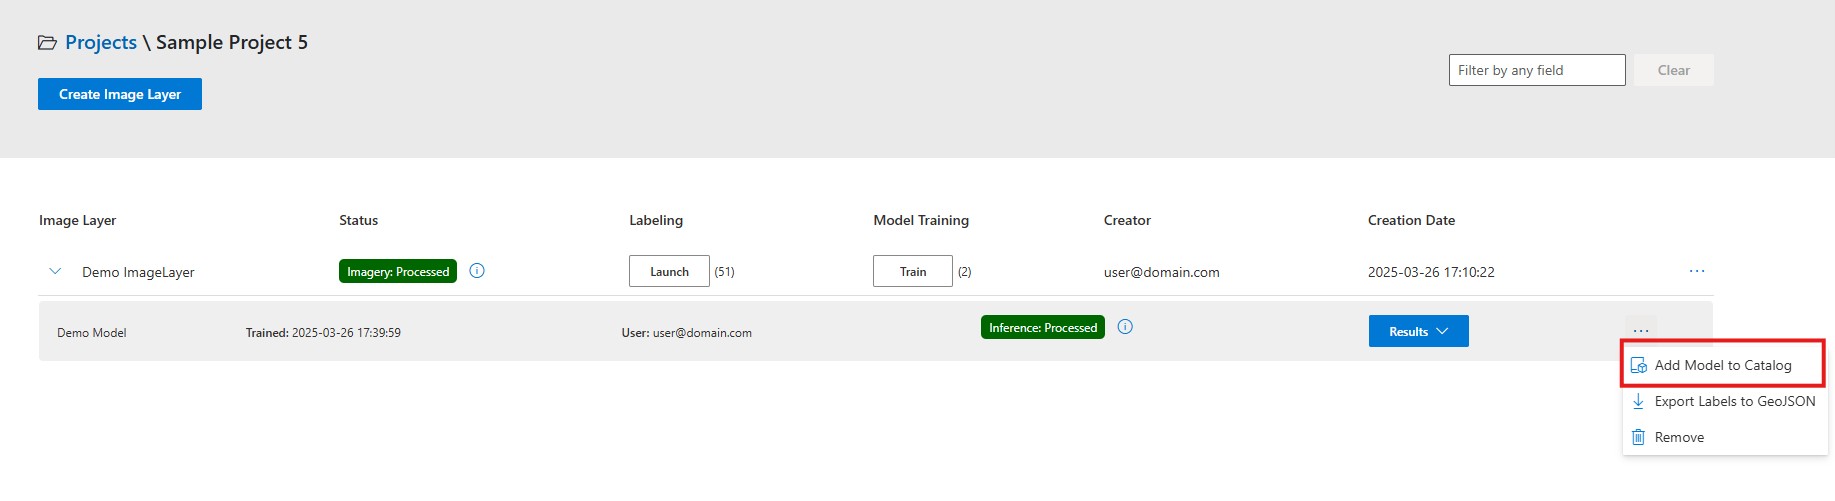
Fill in the form: A dialog will appear with the following fields:
Name: Provide a unique, descriptive name for the model in the catalog (max 100 characters).
Description: Add a detailed description of the model, including what it was trained on and its intended use (max 2000 characters).
Metadata: Optionally, add custom key-value metadata entries to tag and categorize the model. Click Add Metadata to create additional entries as needed.
Submit: Click the Submit button to add the model to the catalog. The model’s project type and imagery source will be automatically associated, so it appears as a base model option in matching future training runs.
Use the Model Catalog (Train a New Model using a Base Model)#
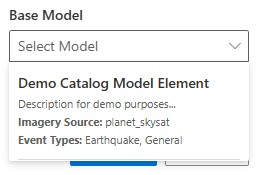
The Base Model is a parameter of the model training process. For a complete guide on training models, see Train a new model.
Remove a model from the Model Catalog#
A model can be removed from the Model Catalog. This action does not delete the original trained model from your project — it only removes it from the shared catalog so it will no longer appear as a base model option.
Navigate to the Model Catalog: Open the Model Catalog page from the main navigation. You will see a table listing all cataloged models with details such as name, description, source, event type, and cataloged date.
Locate the model: Use the search bar to filter models by name, description, or any other field to quickly find the model you want to remove.
Open the model menu: Click the three-dot menu icon next to the model you want to remove, then select Remove.

Confirm removal: A confirmation dialog will appear asking if you want to remove the model from the catalog. Click Yes to proceed or No to cancel.
Wait for completion: The application will display a loading indicator while the model is being removed. Once complete, a success message will confirm the model has been removed.
Important
This action requires Administrator privileges.